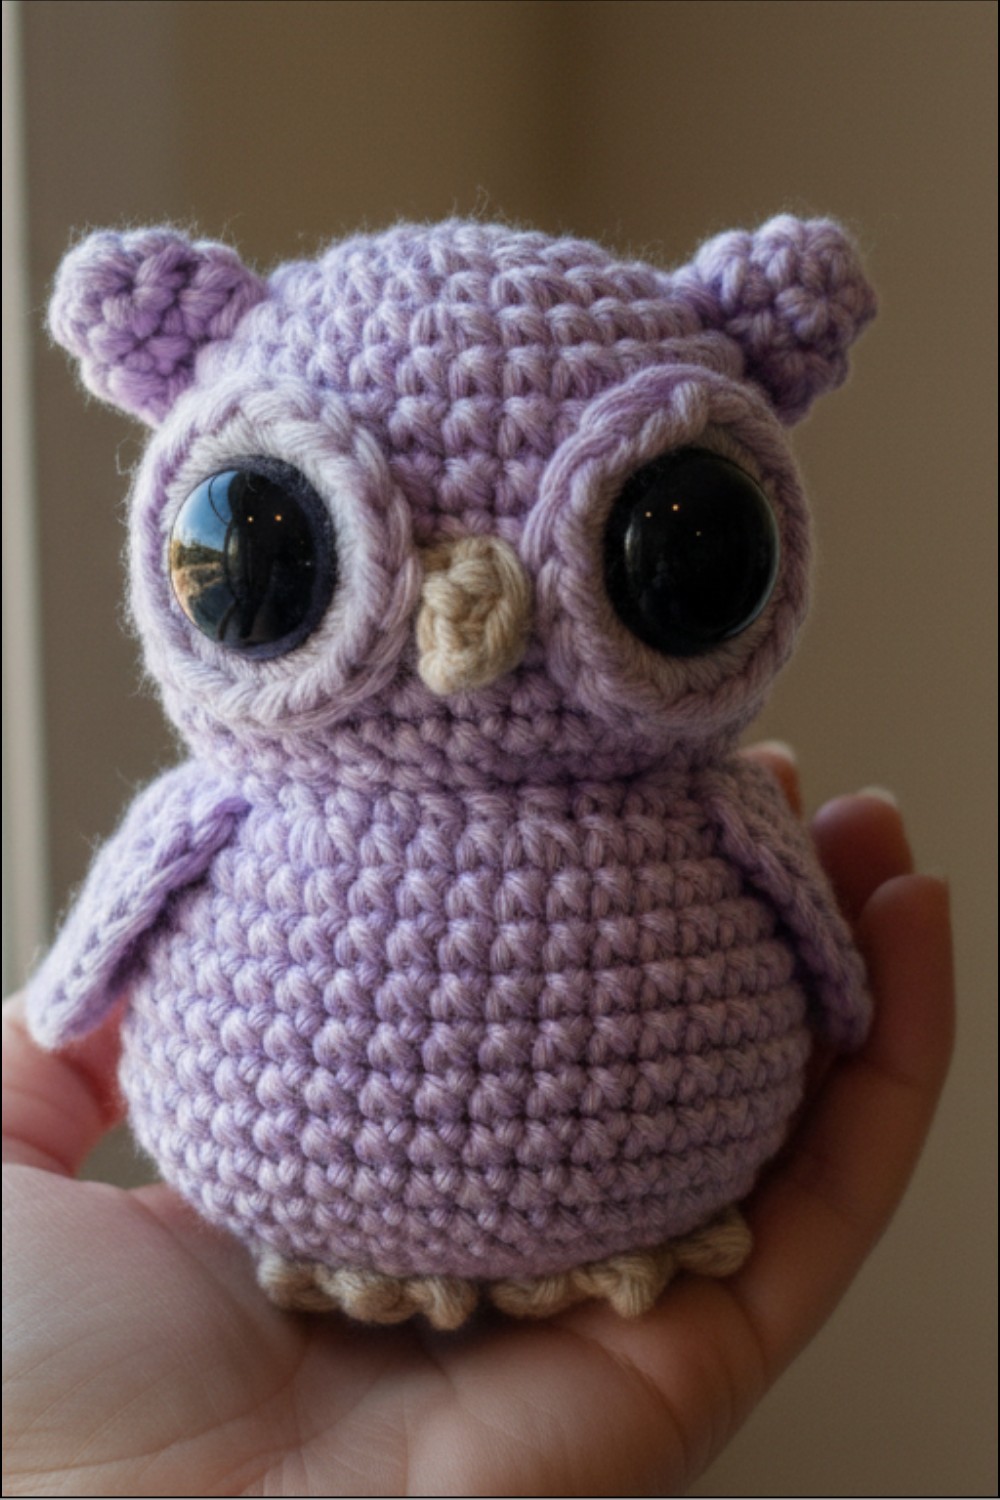
Magical Crochet Owl Pattern to Add a Touch of Enchantment
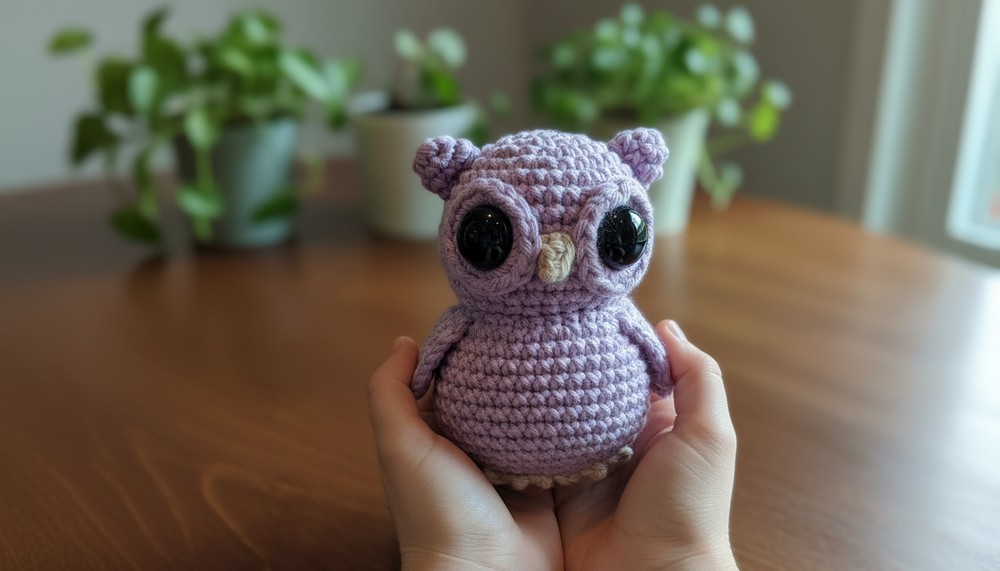
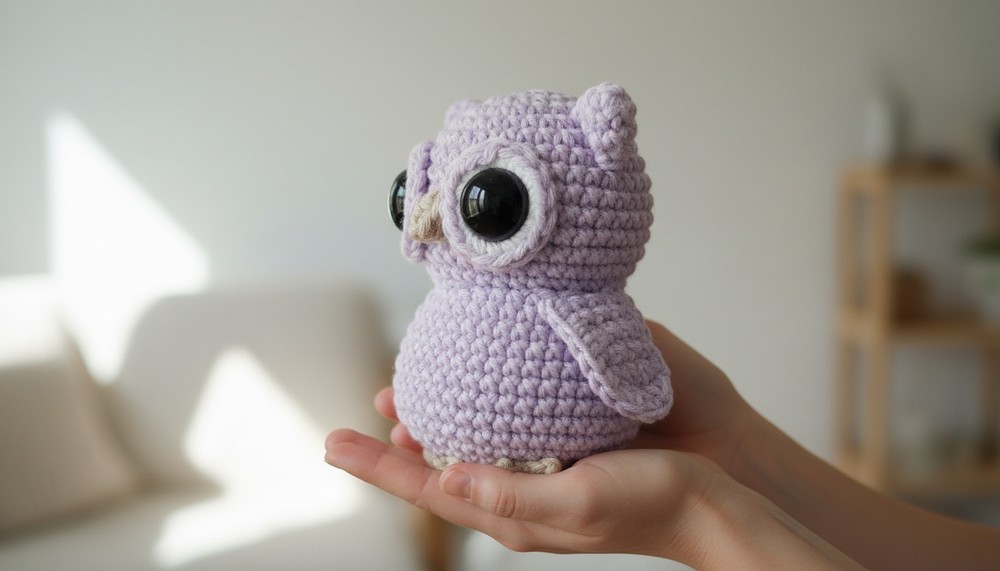
Who doesn’t love a cute little owl? This handmade creation is not only fun to make but also brings charm and friendliness to any space. Using a crochet owl pattern, you can design something that’s perfect for a bookshelf, a room decoration, or even as a thoughtful gift for someone special. Its soft and colorful look makes it ideal for kids’ rooms, nurseries, or as a fun keychain to carry everywhere.
You can customize the owl with different yarn colors to match your style or fit your home’s decor theme. It’s an enjoyable and relaxing project that allows you to crochet something beautiful with ease—no advanced skills needed! Plus, it’s perfect for beginners who want to explore crocheting while making something adorable. This creation adds personality to your surroundings and makes a heartwarming handmade gift that everyone will treasure.
Bring playful vibes to your space with this fun crochet owl pattern that's perfect for beginners and bursting with personality and charm.
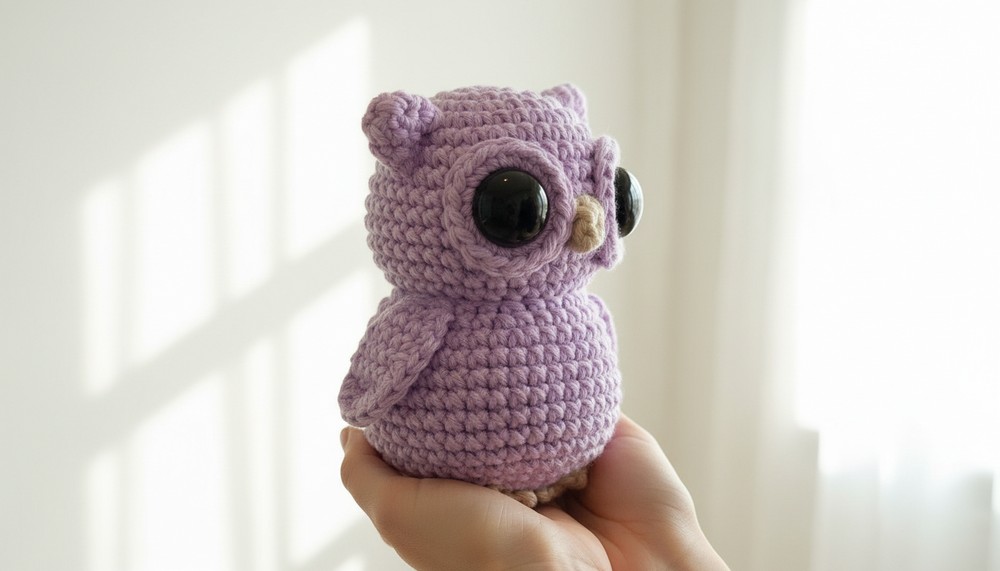
Hoo-tastic Crochet Owl Patterns Perfect for Your Collection
Skill Level
Intermediate: Requires experience using invisible joining, front loop and back loop stitches, and assembling amigurumi pieces.
Materials Needed
Yarn
- Hobbii Friends Cotton 8/8 or your preferred yarn type:
- White (approx. 30 grams for the body).
- Beige (approx. 3 grams for details like the beak and feet).
Tools and Accessories
- Hook:
- 3.5 mm hook (main)
- 3.0 mm hook (wings for precision; optional)
- Eyes: 18 mm safety eyes or pupil replacements as described in the pattern.
- Stuffing: Polyester fiberfill (~20 grams).
- Scissors: For trimming yarn ends.
- Needle: For sewing pieces together.
- Stitch markers: To track progress through joined rounds (optional).
- Optional: Fabric glue (for securing safety eyes).
Key Abbreviations
| Abbreviation | Meaning |
|---|---|
| mc | Magic Circle |
| sc | Single Crochet |
| hdcslst | Half Double Crochet Slip Stitch (detailed below) |
| ch | Chain |
| slst | Slip Stitch |
| inc | Increase (2 sc in the same stitch) |
| dec | Decrease (join two stitches into one using FLO technique) |
| ifo | Invisible Fasten Off (explained below) |
| ij | Invisible Joined Round |
| FLO | Front Loop Only |
| BLO | Back Loop Only |
| 3rdL | Third Loop Only (back bump) |
| YO/YU | Yarn Over / Yarn Under (creates “V” or “X”-shaped stitches) |
Special Notes
- Invisible Joins:
- Use invisible joins for seamless transitions between rounds when instructed.
- Always set your hook correctly for joined rounds to ensure neat edges.
- Tension:
- Keep tension consistent throughout; avoid overly tight stitches while stuffing.
- Placement:
- Pay close attention to placement instructions for eyes, beak, wings, and ears.
- Use stitch markers as guides when placing parts accurately.
- Bobble Notes:
- Follow instructions closely to make bobbles pop correctly for feather-like texture.
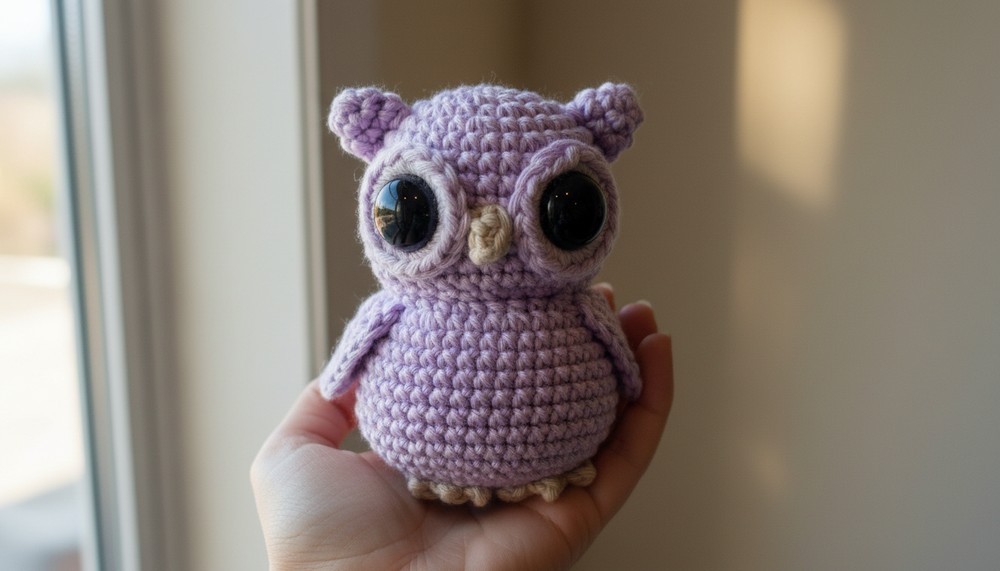
Step-by-Step Pattern
Ears (Make 2)
- R1: Work 4 sc into a mc, slst, ch1. (4 sts)
- R2: (1 sc, 1 inc) – repeat 2 times, slst, ch1. (6 sts)
- R3: (2 sc, 1 inc) – repeat 2 times, fasten off leaving a long tail for sewing. (8 sts)
Beak
- R1: Ch 3, work 3rdL 2 sc, starting in the 2nd ch from the hook. (2 sts)
- Pull through; no fastening off required.
Eye Rings (Make 2)
- R1: Work 17 sc into a mc, ifo. (18 sts)
- Note: Do not pull the circle too tight. Wait to sew them on until the assembly process.
Pupil (Optional Safety Eye Replacement)
- R1: Work 6 sc into a mc, ij. (6 sts)
- R2: (1 inc, 1 sc) – repeat 3 times. (9 sts)
- Note: Pull the tail through the first stitch of R3 to the inside for central alignment later.
Feet (Make 2)
- R1: Work 5 sc into a mc, slst, ch1. (5 sts)
- R2: Work 2 inc, then [sc, ch3, sc into 3rdL of the 1st ch, sc], then repeat the same sequence three more times, ifo. (15 sts)
- Leave a long tail for sewing the feet onto the body.
Wings (Make 2)
Use a 3 mm hook.
- R1: Leave a long tail, ch5.
- R2: Beginner tail carried through – start in 3rd stitch, work 3 hdcslst, ch1, turn, loosen tension slightly. (3 sts)
- R3: Work 3 hdcslst, ch1, turn, loosen tension slightly. (3 sts)
- R4: hdcslstinc, hdcslst, hdcslstinc, ch1, turn, loosen tension slightly. (5 sts)
- R5: Work 5 hdcslst, ch1, turn, loosen tension slightly. (5 sts)
- R6: hdcslstinc, 3 hdcslst, hdcslstinc, ch1, turn. (7 sts)
- R7: Work 7 sc. (7 sts)
Border & Completion:
- R8: Down the side, work 6 sc.
- R9: At the bottom side, work 3 sc.
- R10: Up the side, work 6 sc (carry the beginning tail along for neatness).
- Fasten off, leaving a long tail for sewing, and tie both tail ends.
Owl Body with Details
- R1: Work 6 sc into mc, slst, ch1. (6 sts)
- R2: Work 6 inc. (12 sts)
- R3: (Inc, sc) – repeat 6 times. (18 sts)
- R4: (Inc, sc x2) – repeat 6 times. (24 sts)
- R5: (Inc, sc x3) – repeat 6 times. (30 sts)
- R6: (Inc, sc x4) – repeat 6 times. (36 sts)
- Rounds 7–12: Work sc in each st around. (36 sts per round)
Assembly
- Eyes: Attach safety eyes between Rounds 9/10, spaced 7 stitches apart.
- Position eye-rings spanning Rounds 6–13 and sew them into place securely using the long tail.
- Beak: Position the beak between the eyes (leave 1 space gap) and sew it in place.
- Ears: Attach ears symmetrically between Rounds 4–8, referencing the beak and eye placement.
- Wings: Sew wings in Rounds 15/16, stitching securely to the body.
- Feet: Sew feet to the bottom circle of the owl, leaving out the toes for a cute finish.
Body Shaping
- Rounds 13–28: Gradually decrease rounds to form the base and flat bottom:
- R13: (4 sc, dec) – repeat 6 times. (30 sts)
- R24–26: … (details already explained in assembly).
- Final Rounds: Weave through last stitches and flatten the base for stability.
Conclusion
Your Owl Desk Buddy is now complete! This functional and whimsical design can hold small desk items while also being an adorable addition to your workspace. Customize the colors and details to make multiple variations.
Pattern Corrections
- Align eyes precisely and avoid tight stuffing to maintain proper feather-like texture.
- Double-check stitch counts and placement markers for wings and ears.
Tips
- Customization: Change yarn colors for themed owls (e.g., Halloween, Christmas).
- Assembly Accuracy: Use stitch markers to ensure symmetrical placement of features.
- Flat Base: Shape the base while finishing to ensure stability.