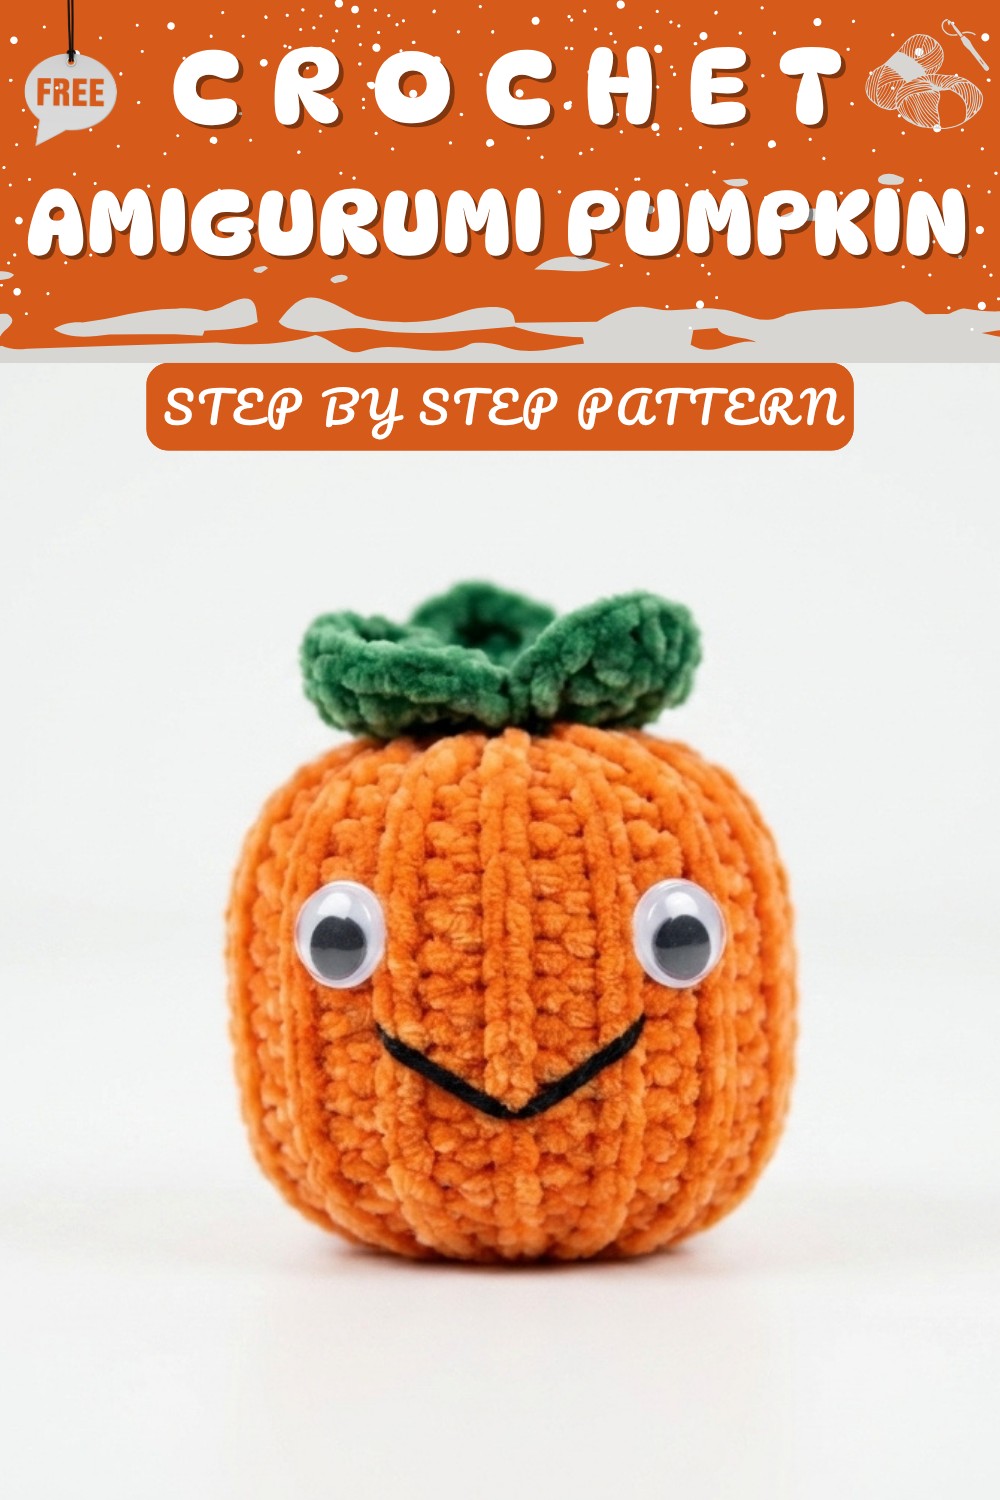
Lovely Crochet Pumpkin Free Pattern with Cozy Details
Welcome autumn with this Crochet Pumpkin Pattern to stitch a cozy handmade decoration that adds seasonal charm indoors.
One autumn afternoon, I wanted a small crochet project that could make my home feel warmer without taking much time to finish. After looking at the colorful pumpkins outside, the idea of making a soft crochet version seemed like the perfect choice. That simple idea soon became a favorite seasonal project because it was relaxing, enjoyable, and looked beautiful wherever I placed it.This Crochet Pumpkin project is easy to make.
Cute Crochet Pumpkin Free Amigurumi Pattern with Autumn Charm
The Crochet Pumpkin Pattern is a lovely option for anyone who enjoys amigurumi, crochet home décor, fall crochet, and mini crochet projects. First, the pumpkin has a soft round shape with gentle ridges that give it a natural appearance. Then, the small stem completes the classic autumn look without making the project complicated. Its compact size makes it suitable for shelves, coffee tables, tiered trays, and seasonal displays. Traditional orange shades are always popular, while cream, sage green, mustard, or soft brown create a cozy farmhouse style. Cotton yarn gives the pumpkin a neat finish, whereas quality acrylic yarn keeps it soft, lightweight, and durable.
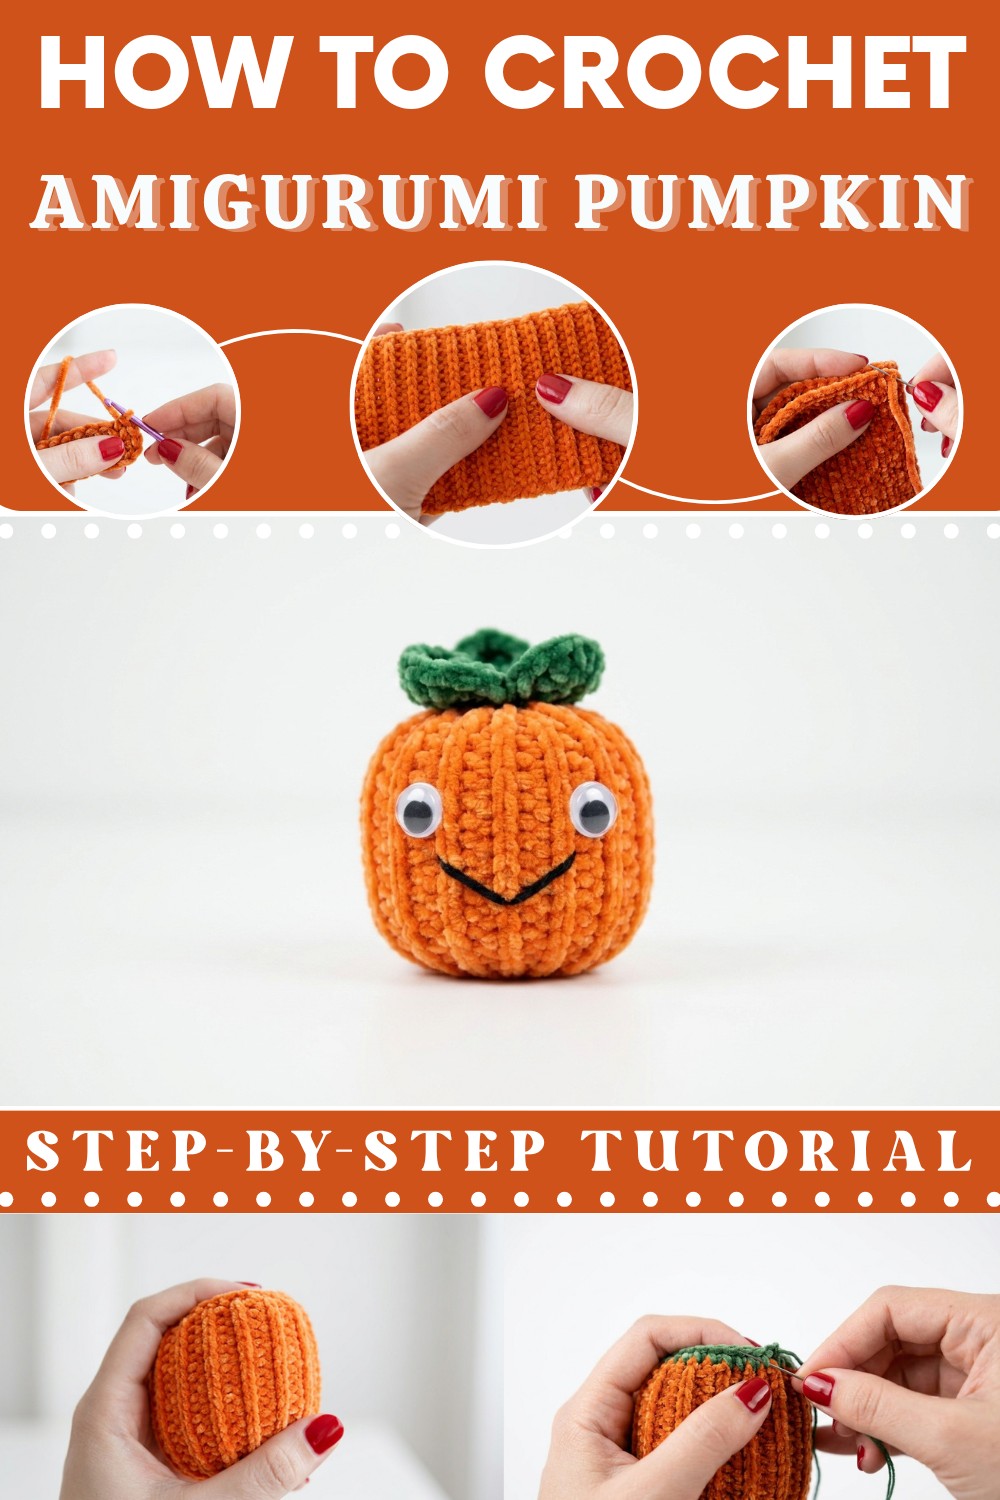
Beyond its charming appearance, this crochet pumpkin has many wonderful uses. For example, it can decorate your home during autumn, brighten a Thanksgiving table, or become part of a Halloween display. Likewise, it pairs beautifully with crochet leaves, acorns, mushrooms, ghosts, and other seasonal amigurumi to create a welcoming collection. It also makes a thoughtful handmade gift for friends, family, or anyone who enjoys fall decorations. Finally, the Cute Crochet Pumpkin Free Amigurumi Pattern is a relaxing project that adds comfort, warmth, and timeless seasonal charm to every handmade collection.
Crochet Pumpkin Pattern
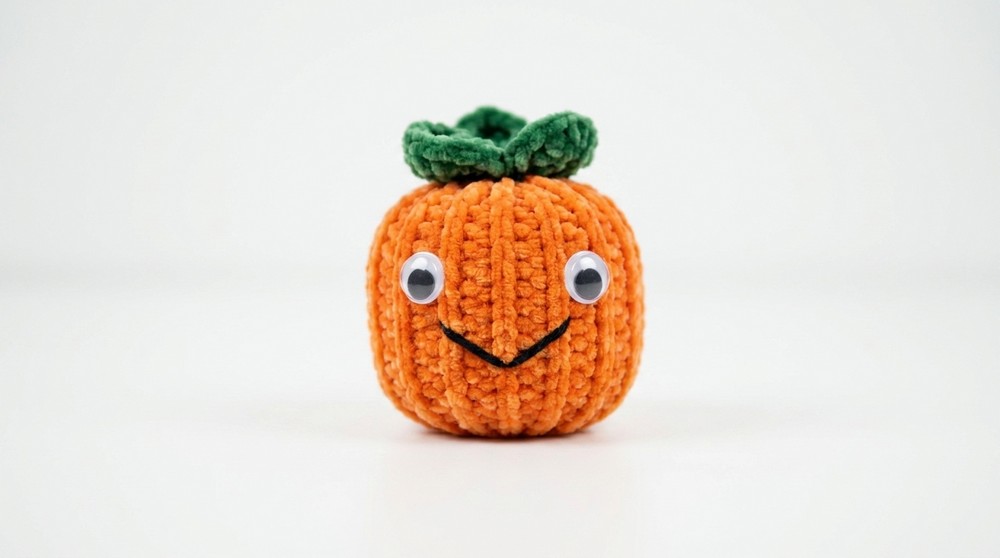
In this project, we will create a cute amigurumi pumpkin using basic crochet techniques. The pumpkin features vibrant orange and green colors with playful details like a green stem made from cotton yarn and adorable facial features accented with black yarn. You will also learn how to work with side loops to create a knitted texture effect, as well as how to assemble and finish the pumpkin with stuffing and pom-poms for eyes. This step-by-step pattern is clear and engaging, suitable for crocheters looking to make a festive decoration or gift.
Notes
- The pattern is worked flat initially, then joined into a round piece
- Side loop crochet is emphasized to develop a unique texture resembling knitted fabric
- Closing the pumpkin involves sewing front loops to back loops to maintain the texture alignment
- No fixed stitch counts for the green stem; worked evenly around
- Pom-poms and safety eyes add character but can be substituted with embroidered or felt eyes
Skill Level
Intermediate – requires knowledge of chain stitches, single crochet, working in side loops, seam sewing techniques, and basic finishing.
Materials
- Orange cotton yarn (or acrylic if preferred)
- Green cotton yarn
- Black yarn for lips and facial details
- Green pom-poms for eyes
- Toy stuffing
- 3.0 mm crochet hook
- Yarn needle
- Scissors
Measurements / Sizing
- The finished pumpkin is approximately 12.5 cm (5 inches) tall when assembled. Size may slightly vary depending on yarn and tension.
Gauge
- Not critical for this pattern, but a firm and consistent tension is recommended to maintain pumpkin shape.
- Single crochet gauge: approximately 20 stitches x 14 rows = 10 cm; worked in side loops for texture.
Stitch Abbreviations
- ch = chain
- sc = single crochet
- sl st = slip stitch
Special Stitches
Side Loop Single Crochet
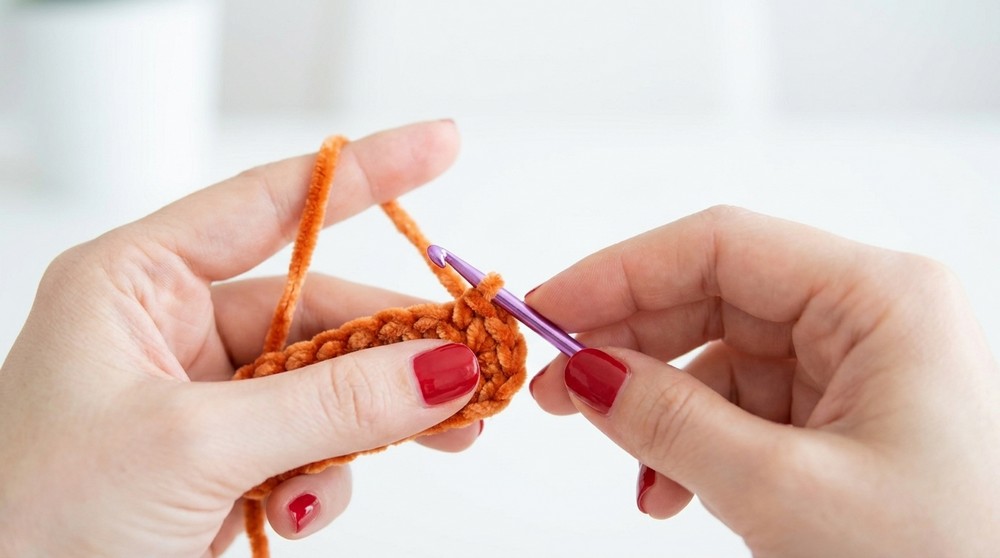
Instead of working through both loops of the stitch, insert hook only under the side loop (the loop between front and back loops) to create a knitted fabric effect. This stitch is worked throughout the panel edges to build texture.
The Crochet Pattern
Pumpkin Body Panel
Foundation:
- Using orange yarn, leave a 20 cm long tail for sewing.
- Make a slip knot and chain 21.
Row 1:
- Starting from the second chain from the hook, work 20 single crochet (sc) evenly across. (20 sc)
Row 2:
- Ch 1, turn your work.
- Work single crochet (sc) into the side loop only of each stitch for 19 stitches: starting from the third "V" (side loop), continue to the next side loops.
- For the last (20th) stitch, work into both loops to transition cleanly to the next row.
Row 3 and Onward:
- Repeat Row 2: chain 1, turn, and sc in side loops only for 19 stitches, finishing each row by working into both loops on the last stitch.
- Continue this pattern until your piece measures approximately 12.5 centimeters in height or you have 14 knitted-like stitches visible on both front and back sides (which creates the textured look).

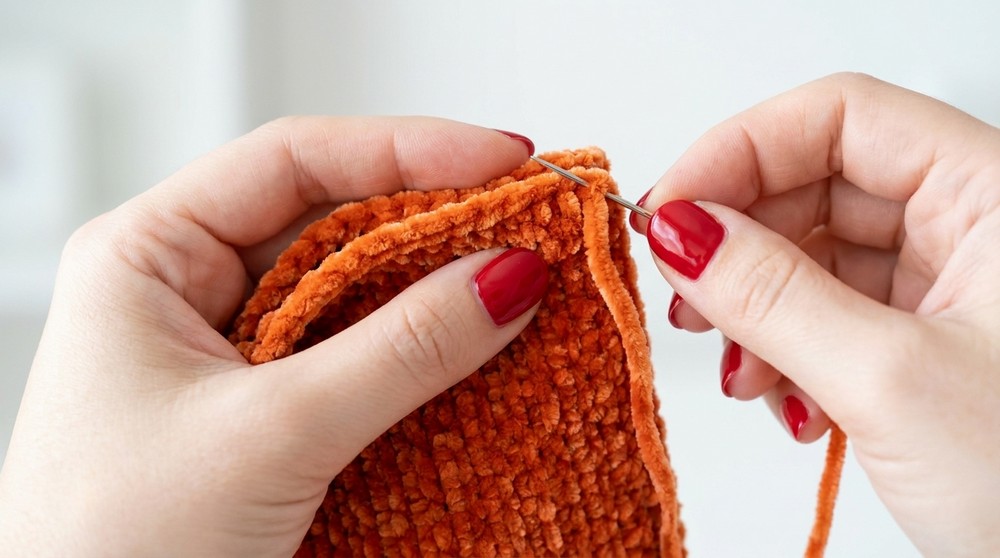
Seam the Pumpkin Body
- With right sides facing each other, fold your panel ends and seam the sides together by stitching through the front loops on one side and back loops on the other side to preserve texture alignment.
- Use a yarn needle and the tail from your foundation chain to sew the ends, ensuring a neat, sturdy seam.
Close the Bottom
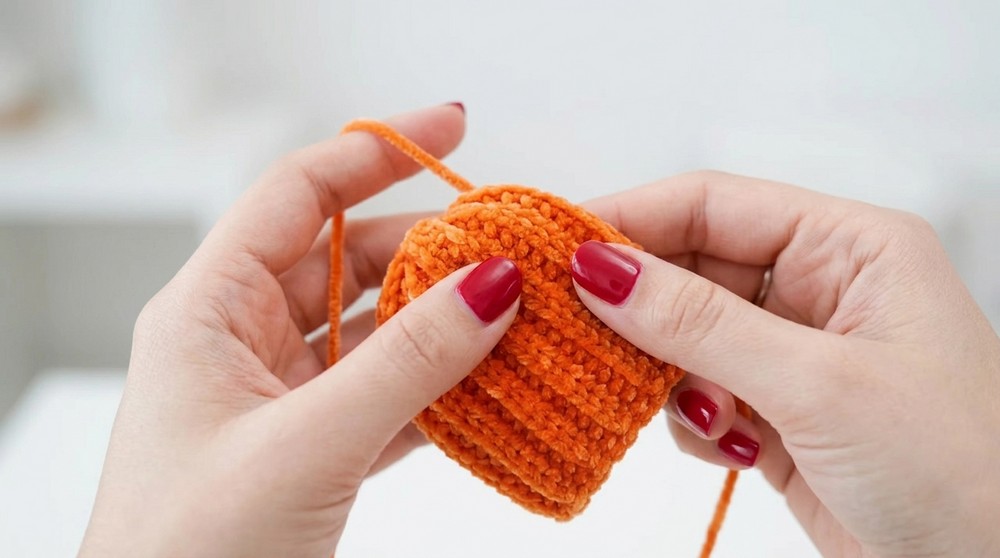
- Turn your pumpkin inside out through the open top.
- At the bottom edge, insert your crochet hook back and forth through stitches, slip stitch to close the hole tightly.
- Weave any excess yarn inside the pumpkin to hide it.
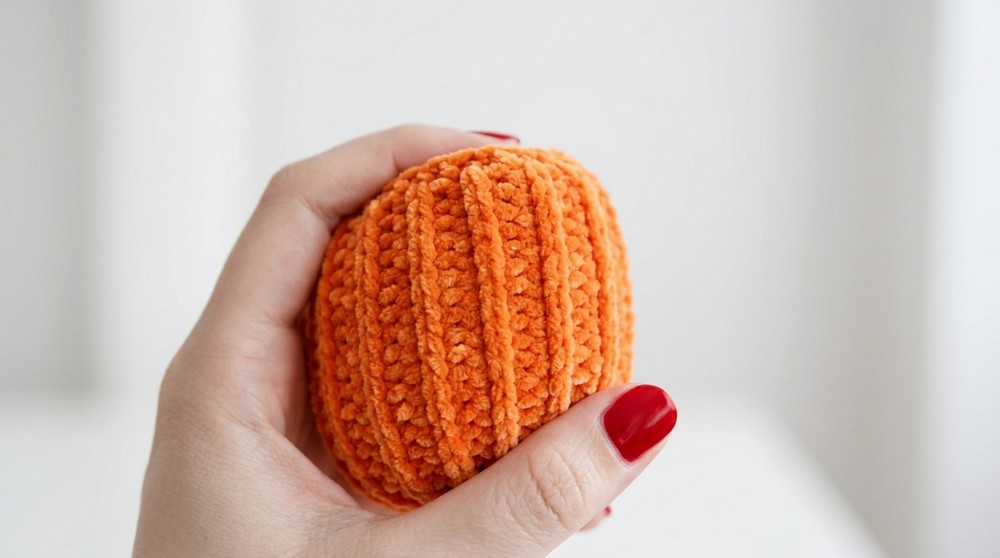
Stuff the Pumpkin
- Using toy stuffing, firmly fill the pumpkin body to give it a round, plump shape.
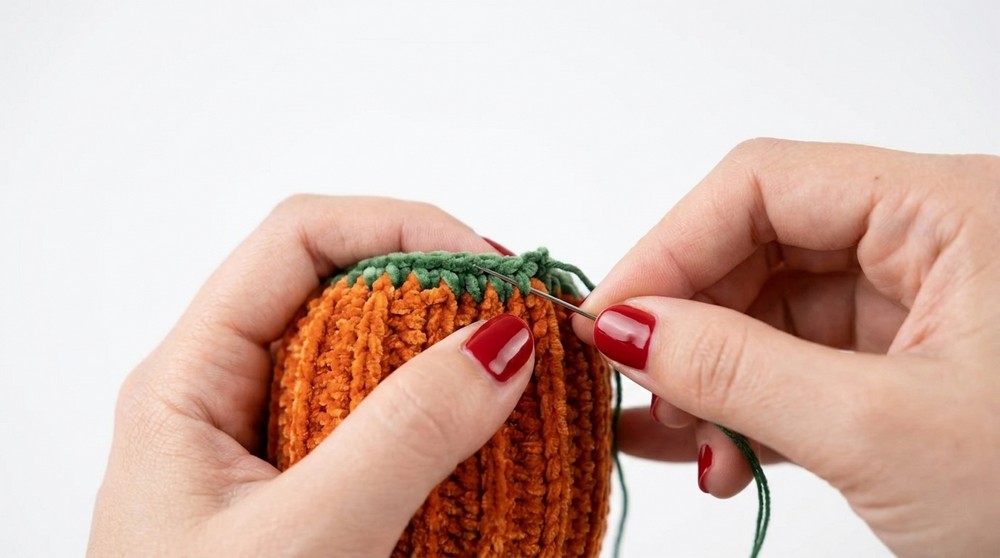
Stem (Green Top Part)
- Attach green yarn to the top edge of the pumpkin, inserting the hook in any stitch.
- Ch 1 and work single crochet stitches all around the top opening.
- There is no specific stitch count; work evenly to cover the circumference neatly.
- Join with slip stitch, chain 1, and fasten off leaving a long tail for sewing.
Final Assembly and Details
- Use your yarn needle to sew the green stem securely to the top of the pumpkin.
- Attach green pom-poms firmly as eyes with hot glue or sewing.
- Use black yarn to embroider the lips and other facial features as desired.
Assembly & Finished Size
- The finished amigurumi pumpkin stands approximately 12.5 cm tall.
- The stitched cylinder body and closed base provide a stable and sturdy shape.
- The stem adds character and height, while pom-pom eyes give a playful look.
Conclusion
This amigurumi pumpkin is a delightful and textured crochet project, ideal for seasonal decoration or gifting. With its simple materials and emphasis on texture through side loop single crochets, it inspires both intermediate and adventurous beginners. The sewing steps ensure a neat finish, while the embroidered and pom-pom details bring your pumpkin to life. We hope you enjoy making this festive amigurumi and welcome you to try variations with different colors or faces to create a unique charming collection. Happy hooking.
Quick Overview of Pattern
- Crochet an orange rectangular panel with single crochets worked through side loops to create texture
- Seam the panel into a cylindrical shape to form the pumpkin body
- Close the bottom with slip stitching and stuff firmly
- Use green yarn to crochet a round stem with single crochets
- Attach green pom-poms for eyes and embroider facial features using black yarn