
Cute Free Crochet Octopus Application Pattern for Accessories
Adorn clothing and décor with the Free Crochet Octopus Application Pattern, a playful handmade accent perfect for gifts, accessories, and cheerful projects
In the vast realm of marine life-inspired accessories, the octopus stands out as a symbol of intelligence and adaptability, captivating with its intricate tentacles and expressive eyes. Its playful yet elegant form makes it a popular motif for decorative applications, especially in the realm of crochet. This free crochet octopus application pattern offers a delightful project that transforms a simple set of stitches into a charming, versatile accessory. Whether used as a keychain, bag charm, or embellishment for various items, the octopus brings a splash of personality and whimsy to everyday objects. Its soft texture, vibrant appearance, and detailed construction make it an appealing addition to any collection, offering not only aesthetic charm but also functional versatility.
Detailed Crochet Octopus Application Pattern With Cute Appeal
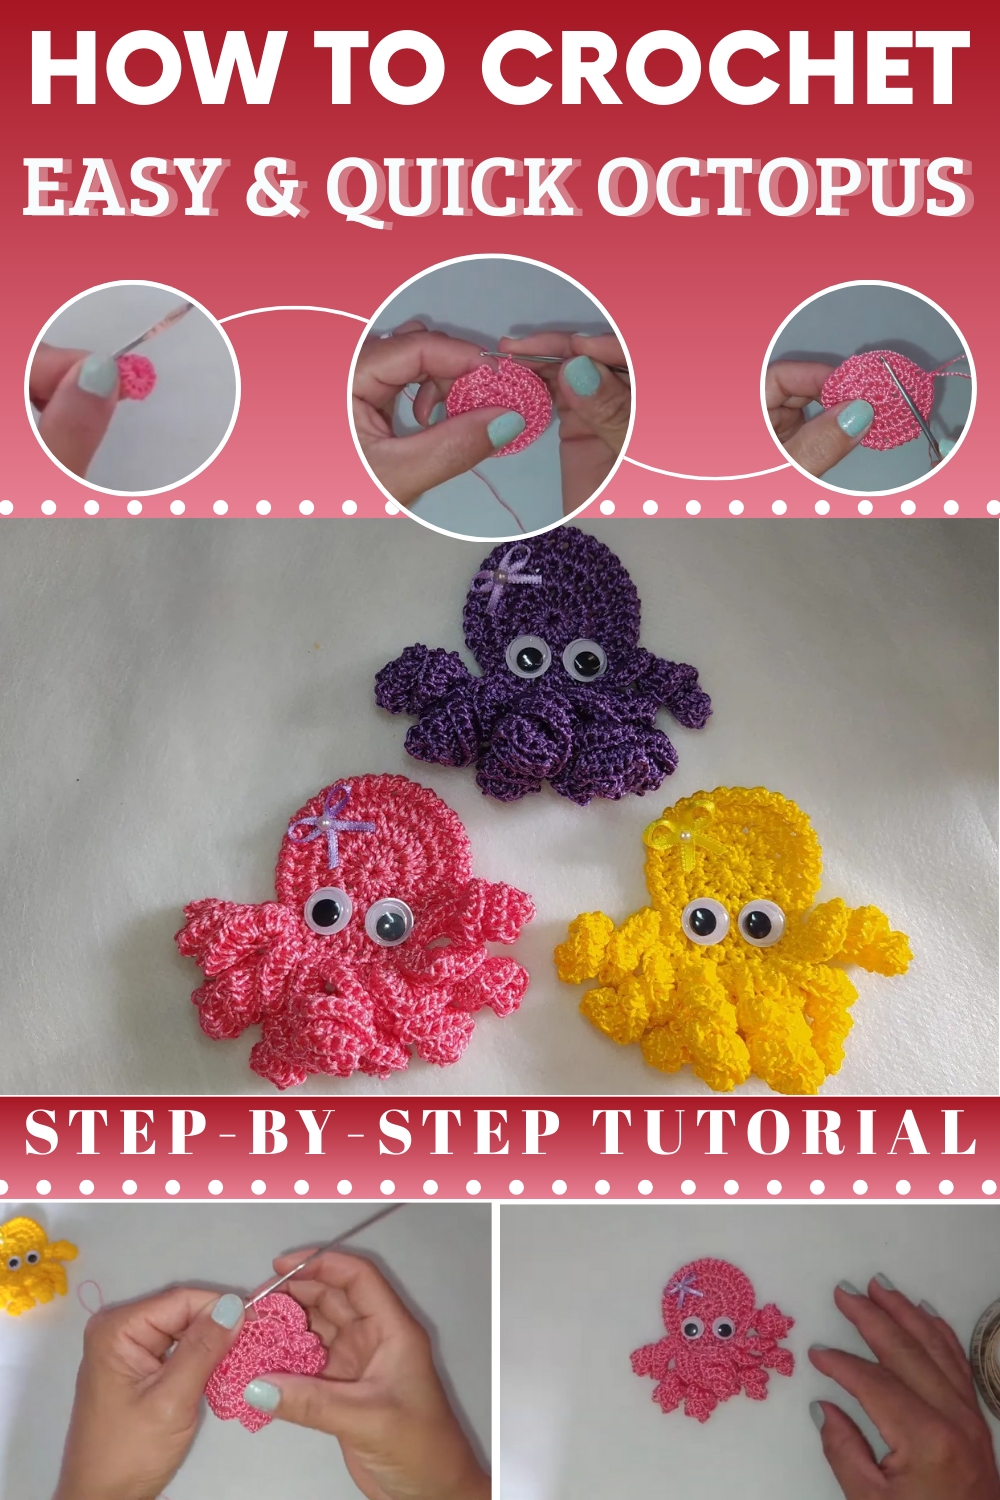
This crochet octopus application blends playful aesthetic with practical utility, making it perfect for personal use or thoughtful gifting. Its lively design can brighten up bags, keys, or even serve as a decorative charm for home or office spaces.
Beyond its visual appeal, it provides an engaging opportunity to practice essential crochet techniques, including working in rounds, attaching small parts, and finishing with precision. Ultimately, this octopus application offers a lively, attractive way to showcase creativity and oceanic beauty in everyday life, bringing a touch of the sea’s magic to any space.

Finished Size
- The final piece size may vary based on the yarn and hook used. When using silk thread (Tex 288) and a 1.75mm hook, the design measures approximately 6-8 cm in diameter.
Materials
To create this design, you will need:
- Yarn:
- Silk Thread (Tex 288) in pink rose (feminine version) or any color of choice.
- Optional: Anne thread for a lighter finish.
- Crochet Hook: Size 1.75mm.
- Finishing Tools:
- Scissors.
- Tapestry needle for weaving in ends.
- Optional Details for Customization:
- Eyes: 1 cm safety eyes, hot glue, or universal glue.
- *Ribbon #0 or smaller: For small bows or crowns.
- Half pearls: For additional decoration.
- Magnet backing (if converting the project into a magnet).
Special Techniques Used
- Magic Ring:
- Form a loop, insert the hook, pull up a loop, and secure with a slip stitch or chain.
- Half Double Crochet (HDC):
- Yarn over, insert the hook into the stitch, pull up a loop (3 loops on the hook), yarn over, and pull through all 3 loops.
- Slip Stitch (Sl St):
- Insert hook, yarn over, pull up a loop through both the stitch and the loop on the hook.
- Chain Stitch (Ch): A foundational crochet technique (referenced as "chains").
- Increase:
- Work two stitches into the same base stitch.
- Finishing Techniques:
- Weaving loose ends into the stitches for a polished look.
Pattern Instructions
Part 1: Octopus Body (Circular Base)
- Start with a Magic Ring:
- Create a magic ring and secure with a chain.
- Round 1:
- Ch 2 (counts as the first HDC).
- Work 14 HDC stitches into the magic ring.
- Pull the magic ring tight to close the circle.
- Slip stitch into the top of the chain-2 to join the round.
- Round 2 (Increase Round):
- Ch 2 (counts as the first HDC).
- Work 2 HDC stitches in each stitch around (an increase).
- Total stitches: 28 HDC.
- Slip stitch into the top of the chain-2 to join.
- Round 3 (Increasing Gradually):
- Ch 2.
- Work 1 HDC in the next stitch, 2 HDC in the following stitch. Repeat around the circle.
- Total stitches: 42 HDC.
- Slip stitch to finish.
- Round 4 (Edging with Lace Stitch):
- Begin a decorative lace edge:
- Ch 1, draw the loop for a puff/slip lace stitch (make into a larger, loose point), and secure at the base.
- Ch 1, slip stitch at the base. Repeat the lace edging entirely around the circle.
- Leave 9 stitches unworked for the tentacle section.
- Begin a decorative lace edge:


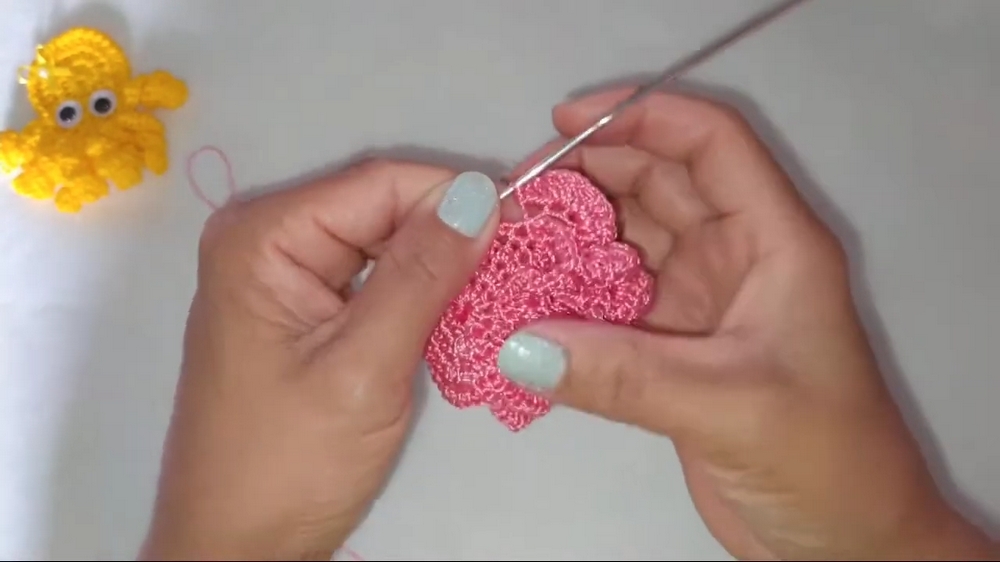
Part 2: Adding Tentacles (8 Total)
- Working Tentacles:
- Insert the hook at the unworked section. Work 1 SC into the next stitch to secure your position.
- Turn your work and begin chaining 12 stitches.
- On the third chain from the hook:
- Work 1 HDC.
- Work 2 HDC into the next stitches, creating 4 HDCs in total for each base space.
- Continue working back along the tentacle base by inserting HDC stitches into each consecutive space between stitches.
- Repeat:
- Repeat the tentacle-building process 8 times, with each tentacle starting at a different base stitch around the unworked area.
- Slip stitch and weave into the final stitch.

Part 3: Detailing and Customization
- Eyes:
- Apply 1 cm eyes using glue (universal or hot).
- Position the eyes symmetrically over the middle portion of the body.
- Adding Accessories:
- Attach a crocheted or ribbon bow to personalize the design. Add small pearls or embellishments if desired.
- Magnet Option:
- For refrigerator decor, glue a magnet on the back of the octopus.
Finishing
- Weave Loose Ends:
- Use a tapestry needle to weave all loose yarn ends through the stitches on the back of the project.
- Shape the Tentacles:
- Arrange and adjust the tentacles for uniformity. Gently stretch them to ensure that they fan out evenly.
Tips for Success
- Tension Matters:
- Maintain even yarn tension throughout to ensure the edges don’t curl and the tentacles remain uniform.
- Yarn Substitution:
- Experiment with Anne or cotton thread for a lighter and delicate finish.
- Use thicker yarn and a larger hook for a bigger sea creature.
- Customize Colors:
- Use lilac, yellow, and blue yarn for different combinations. Male designs can feature shades like blue or green.
- Practice the Magic Ring:
- If you’re new to this technique, practice first to ensure the center tightens evenly.
Final Words
Congratulations on completing your adorable 8-tentacle octopus! Whether used as an applique, accessory, or magnet, it’s sure to add charm to any creative project. Enjoy experimenting with different color combinations and embellishments to give your unique sea creature personality and flair.
Materials and Suggestions
- Materials: Marciana uses thick silk yarn (288 tex) in pink and a 1.75 mm crochet hook. She notes that you can also use Anne yarn, which is ideal for baby items like diapers.
- Difficulty: The project appears to be suitable for various skill levels as it primarily uses basic stitches like half double crochet, slip stitch, and single crochet.
Tip from the Creator
The eyes can be store-bought or crocheted, and you can use any preferred glue to attach them.
Step-by-Step Instructions
The tutorial on how to crochet a cute octopus applique. Creator shares a detailed guide for making a versatile octopus that you can use for various applications. Creator welcomes both new and returning viewers and introduces the project, noting that you can make it in different colors for boys and girls.
Conclusion
The creator concludes the video by showing the finished octopus and reminding viewers that they can apply it to many different items. She hopes everyone enjoyed the tutorial and wishes them well.