
Jolly Free Crochet Snowman Pattern to Brighten Your Holiday Decor
Spark a festive winter mood with this Crochet Snowman Pattern, a trendy and cheerful look that adds a splash of seasonal magic to any room.
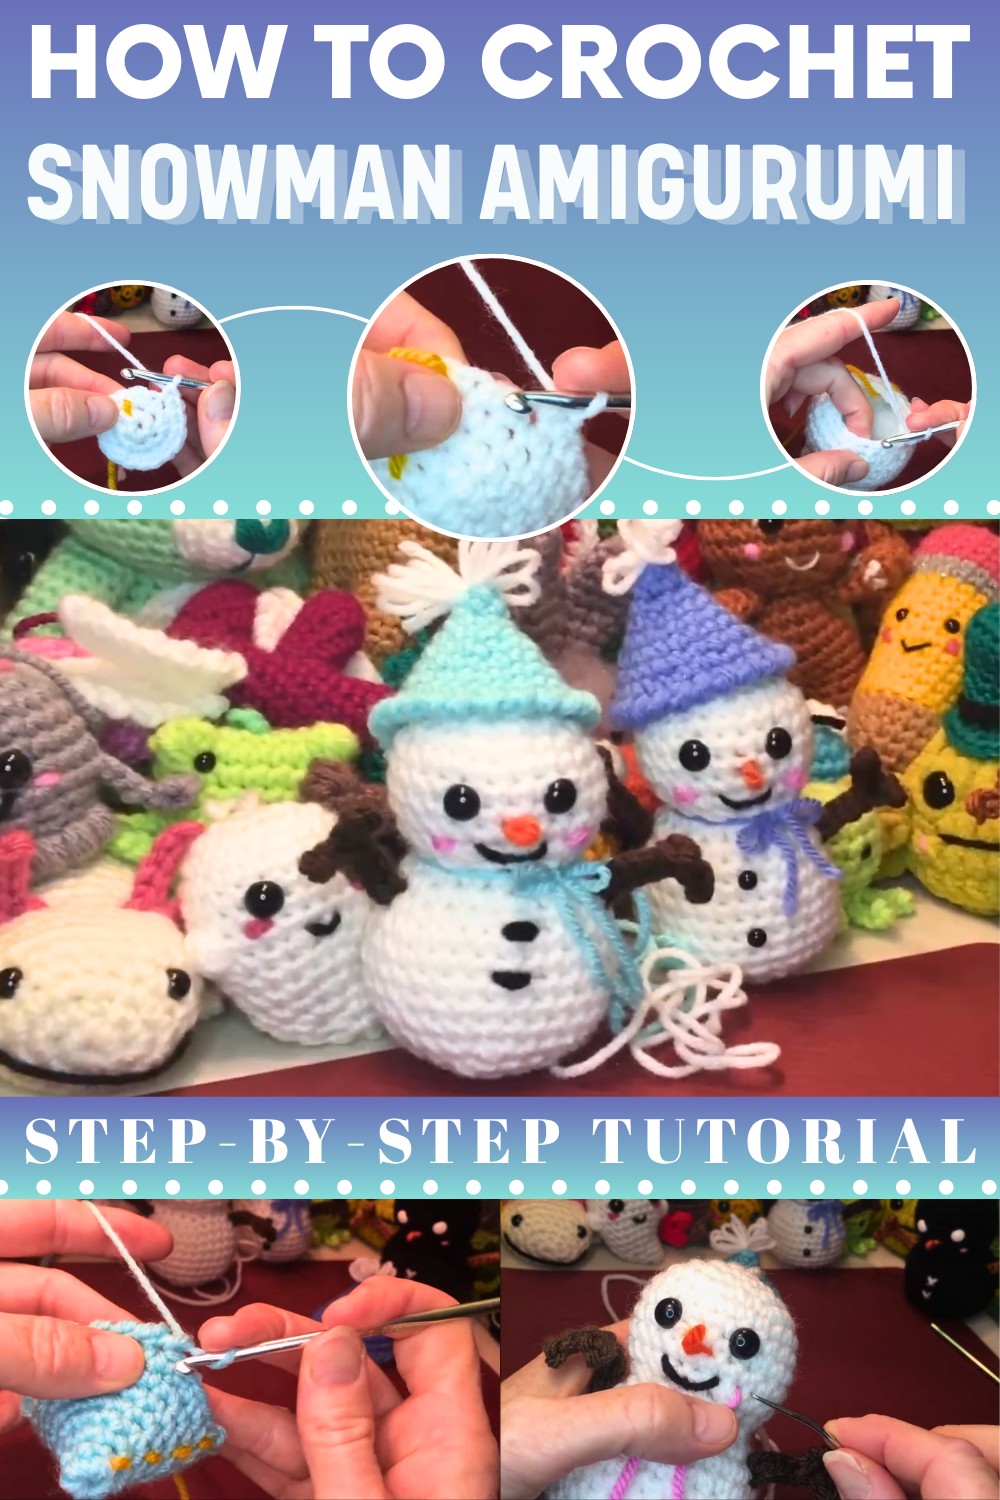
Plush Free Crochet Snowman Pattern to Squish All Winter Long
Delicate loops transform into a cheerful winter icon that brings a touch of frosty elegance to your festive home decor. This Crochet Snowman Pattern features a classic round silhouette and charming accessories like a tiny scarf and top hat for a high-quality professional finish. The finished piece stands tall and steady on any flat surface making it a perfect center for a holiday table or a sweet friend for a winter bedroom.

Making this cool character offers a quiet and peaceful way to spend your time while you learn new ways to work with your tools. This final work feels smooth and soft to the touch which makes it a great gift for family or a special item to keep for yourself. Its bright carrot nose and dark buttons stand out beautifully against the white body to grab everyone’s attention. By choosing this project you get a lovely decoration that adds a happy and lively feeling to your home.
Materials
-
Yarn: Medium weight (Number 4) worsted yarn in white (or black for the coal man), orange (for the nose), brown (for twig arms), and a chosen color for the hat and scarf.
-
Hook: 4.25 mm crochet hook.
-
Safety Eyes: 10 mm eyes for the snowman; optional 6 mm eyes for buttons.
-
Notions: Stitch marker, polyester fiberfill stuffing, tapestry needle, and scissors.
-
Optional: White nail polish for customizing eyes if making the coal man [01:21].
Step-by-Step Pattern
The Head and Body
-
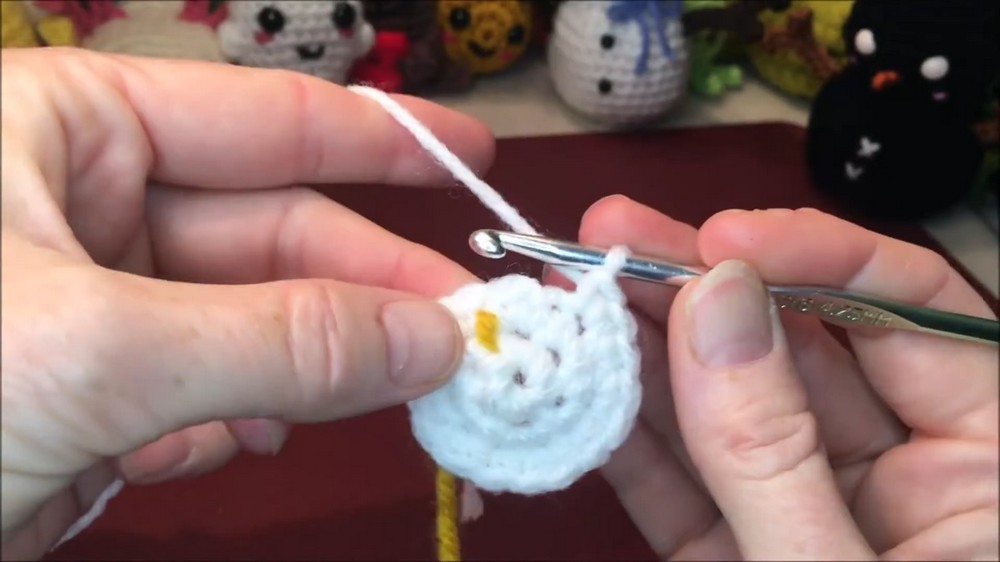
Row 1: Work 6 single crochets (sc) into a magic ring or chain-2 loop [03:44].
-
Row 2: Work 6 increases (inc) around (12 stitches) [04:27].
-
Row 3: Work a sequence of 1 sc, then 1 inc around (18 stitches) [05:18].
-
Row 4: Work 2 sc, then 1 inc around (24 stitches) [06:29].
-
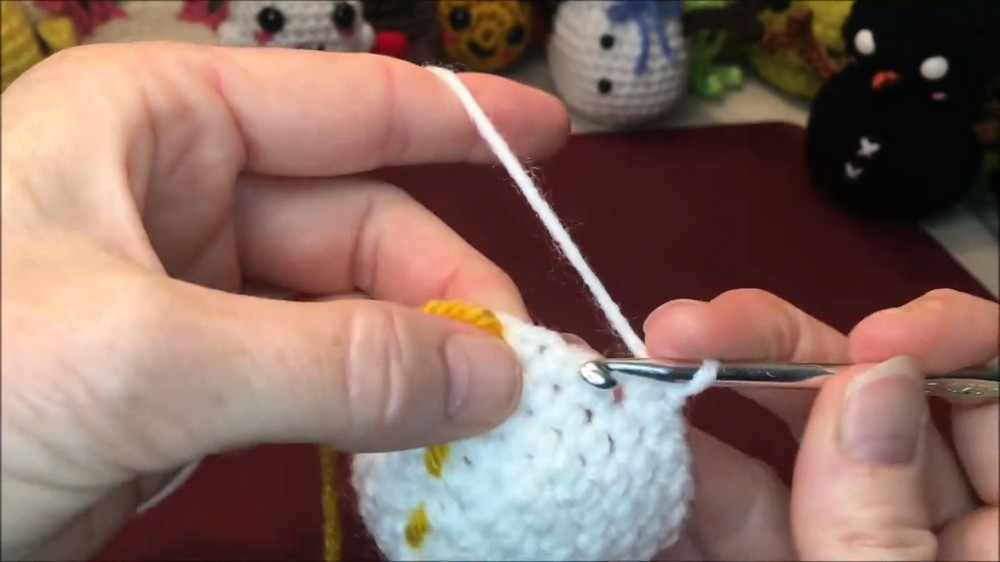
Rows 5–8: Crochet 24 sc in each row. Total of four rows [07:48].
-
Row 9: Work 2 sc, then 1 decrease (dec) around (18 stitches) [12:46].
-
Row 10: Work 1 sc, then 1 dec around (12 stitches) [13:56].
-
Row 11: Work 1 sc, then 1 inc around (18 stitches). This begins the body expansion [14:53].
-
Row 12: Work 2 sc, then 1 inc around (24 stitches) [15:58].
-
Row 13: Work 3 sc, then 1 inc around (30 stitches) [17:17].
-
Rows 14–18: Crochet 30 sc in each row. Total of five rows. Insert safety eyes between rows 6 and 7, about three holes apart [19:14].
-
Row 19: Work 3 sc, then 1 dec around (24 stitches) [27:51].
-
Row 20: Work 2 sc, then 1 dec around (18 stitches) [29:19].
-
Row 21: Work in the back loops only, work 1 sc, then 1 dec around (12 stitches). This creates a flat base [32:05].
-
Row 22: Stuff firmly, then work 6 dec around. Fasten off and weave the tail to close [34:46].

The Arms (Twig Color)
-
Instructions: Chain 7. Starting in the 2nd chain from the hook, slip stitch (sl st) 2. Chain 3, then sl st all the way back down to the start. Fasten off and attach to Row 13 of the body [38:16].

The Hat (Chosen Color)
-
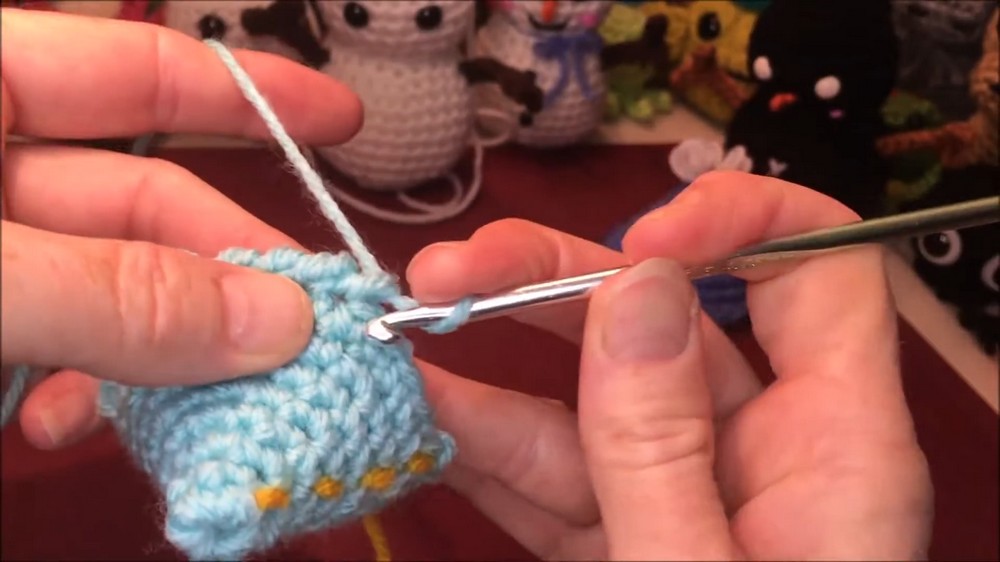
Pattern: Work increases up to 24 sc, then work straight sc rows to form the cap. Finish with a "reverse single crochet" (crab stitch) border for a textured edge [56:09].
Special Features
-
Reverse Single Crochet Border: This unique stitch provides a polished, rope-like texture to the hat's brim [56:09].
-
Flat Bottom Design: Using back loops in Row 21 ensures the snowman stands upright on its own [32:05].
-
No-Sew Tail: The head and body are worked as one continuous piece, minimizing assembly time.
Level of Difficulty
This project is an easy beginner pattern. The tutor demonstrates every stitch and provides a drop-down guide on screen for clear navigation [01:58].
Tutor's Suggestions
-
Stuffing Technique: Pack the stuffing firmly into the sides of the head and body to create a stout, round shape rather than a tall, thin one [30:57].
-
Painted Eyes: If you paint safety eyes with nail polish, allow them to cure fully for several days to avoid leaving fingerprints when pressing them into the fabric [01:27].
-
Arm Tension: Pull the arm knots tightly inside the body using the yarn tails to ensure the twig arms stay securely in place [43:02].
Uses
-
Christmas Ornaments: Add a yarn loop to the top of the head for hanging on a tree.
-
Keychains: The small size is perfect for bag charms or keyrings.
-
Winter Decor: Make a set of snowmen for a festive shelf display.
Conclusion
By following these steps, you create a sturdy and adorable winter character. This pattern is perfect for using up scrap yarn while practicing new techniques like the reverse single crochet.
Pro-Tip
When embroidering the smile, use a "V" shape and pull the center of the stitch down one row below the corners. This creates a more natural, cheerful grin [01:08:22].