
Eye-Catching Free Crochet Amigurumi Carrot Pattern for Decor
Fill your garden basket with this Crochet AMIGURUMI CARROT Pattern, a vibrant and quick stash buster project that's adorable in any kitchen.
Brightening up your workspace or organizing your keys becomes much more enjoyable when you use a vibrant, nature-inspired crochet AMIGURUMI CARROT pattern. These cheerful orange miniatures are perfect for adding a pop of color to a nursery, serving as a playful bag charm, or even acting as a soft, quiet toy for little ones. Choosing a personalized, textured item over plastic alternatives is a great way to prioritize sustainable style while keeping your essentials easy to find and comfortable to carry.
Free Crochet Amigurumi Carrot Pattern That Pops
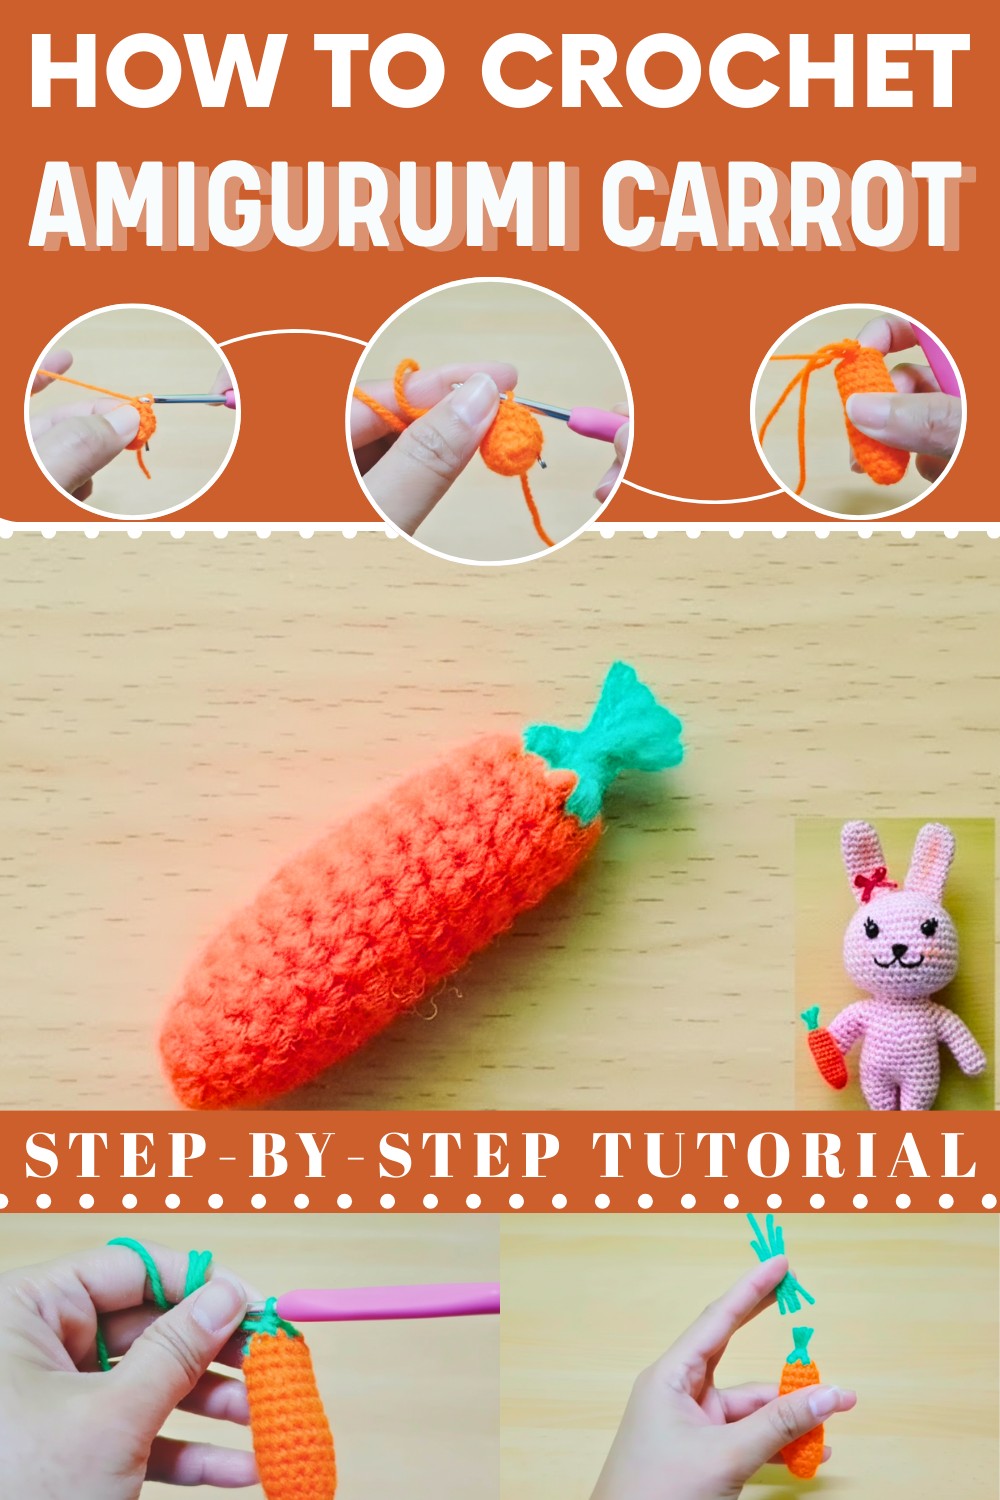
One of the best benefits of a crochet AMIGURUMI CARROT pattern is its simplicity, requiring only basic techniques and very little scrap yarn to complete. The project is finished by threading simple strands of green yarn through the top to represent leafy greens, providing a realistic 3D effect. It is a fast and satisfying way to produce a durable, lightweight gift that is as practical as it is adorable.
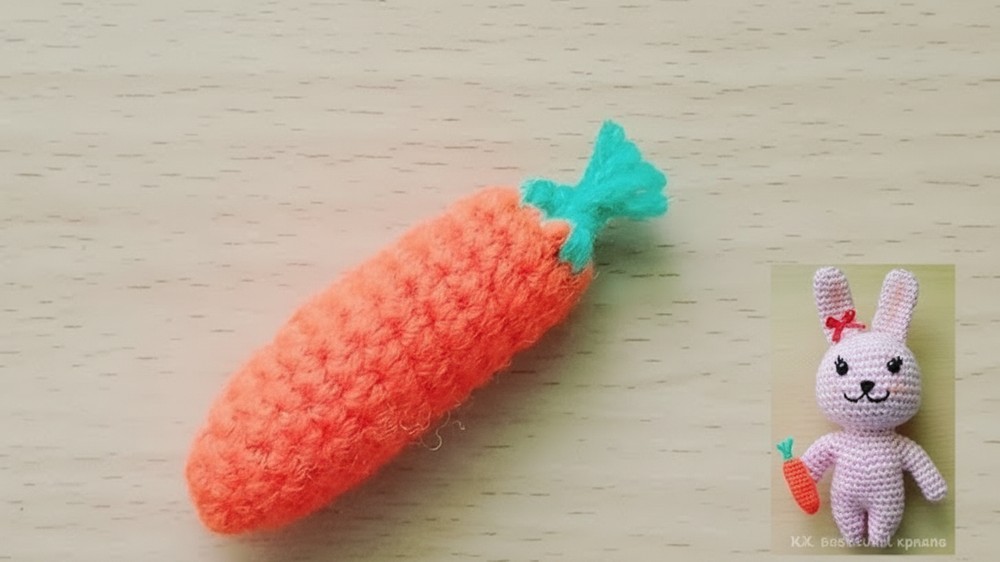
The design follows a straightforward structure that begins with a magic ring and six initial single crochet stitches to form the pointed tip. By working with a 3.5mm hook, you build the body through ten steady rounds of twelve stitches, ensuring the shape remains firm and plump once stuffed.
Free Crochet Amigurumi Carrot Pattern
Materials
- Yarn: Acrylic or cotton
- Orange (carrot body)
- Green (carrot tops)
- Hook: 3.5 mm crochet hook
- Toy stuffing (polyfill)
- Stitch marker (or safety pin)
- Yarn needle (for sewing/weaving in ends)
- Scissors
Key Abbreviations (US Terms)
| Abbreviation | Meaning |
|---|---|
| MR | magic ring (adjustable ring) |
| sc | single crochet |
| inc | increase (2 sc in 1 st) |
| dec | decrease (sc 2 sts together) |
| FLO | front loop only |
| ch | chain |
| sl st | slip stitch (join) |
| st(s) | stitch(es) |
Special Notes
- Work in a spiral; do not join rounds unless instructed.
- Use a stitch marker to mark the first stitch of each round.
- For a neater finish, use an invisible decrease (sc2tog in the front loops only).
- Change colors as described for carrot top.
Pattern
Carrot Body
In orange yarn:
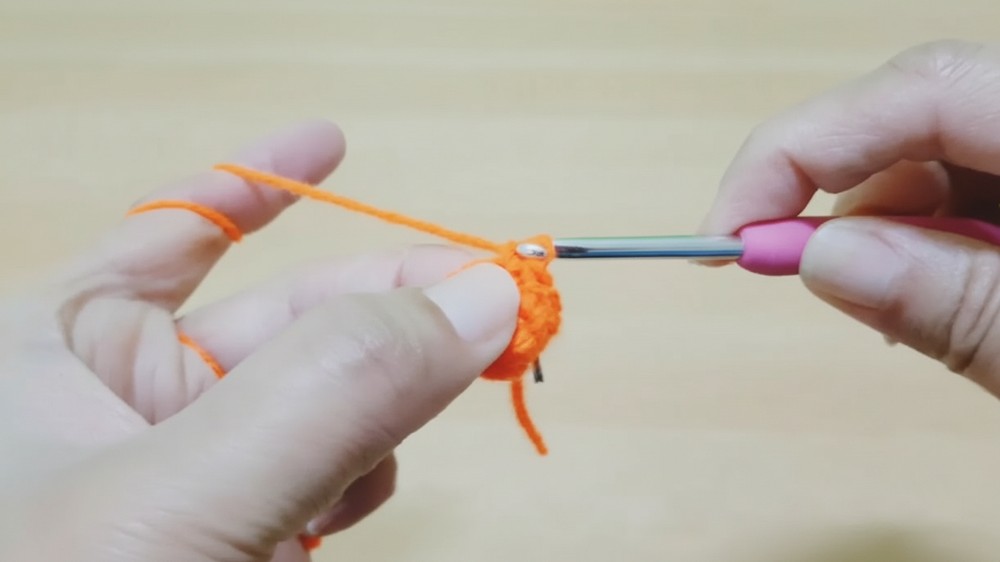
- Rnd 1: MR, 6 sc in ring. (6 sts)
- Rnd 2: Sc in each st around. (6 sts)
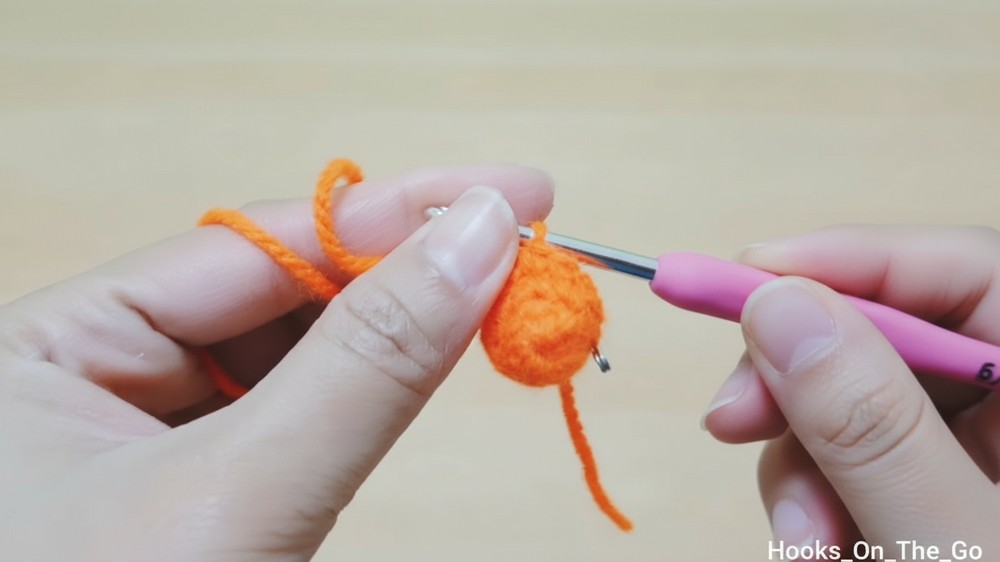
Place marker at the last st of this round and move it up each round. - Rnd 3: Inc in each st around. (12 sts)
- Rnds 4–13: Sc in each st around. (12 sts / 10 rounds)
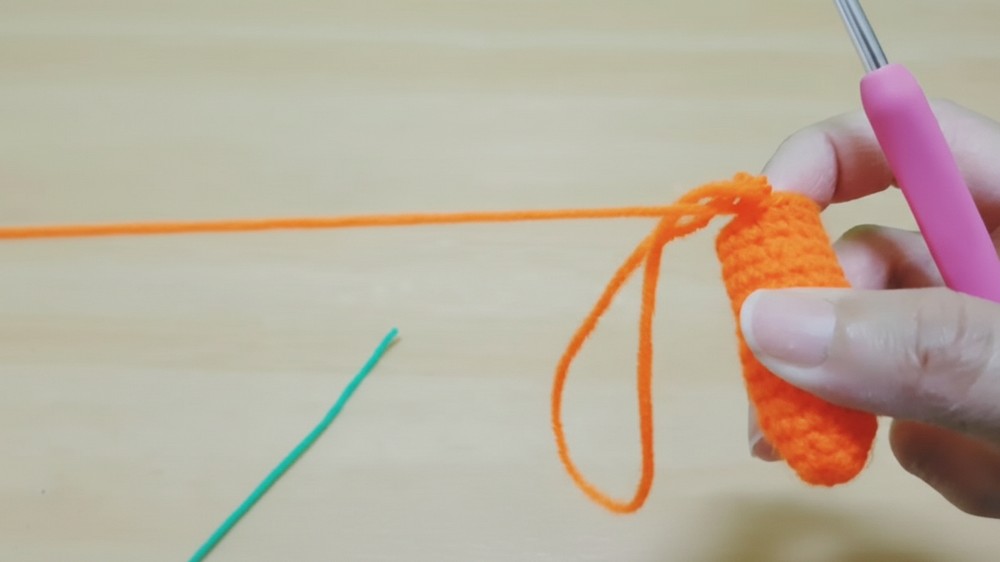
You should have a small tube, stuff firmly as you go.
Stuff the Carrot
- Fill the carrot body evenly and firmly with toy stuffing.
Carrot Top / Closing
Change to green yarn:
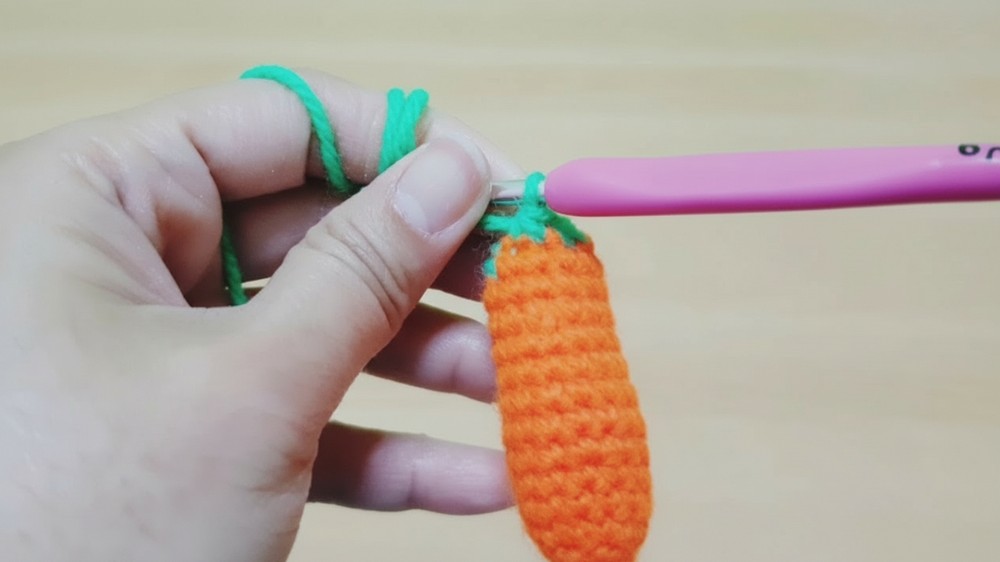
- Remove the last stitch (the orange one), insert your hook, and pull through green yarn to join.
- Rnd 14: In FLO, dec in each st around. (6 sts)
- Work decreases in front loops only for best closure.
- Finishing: Ch 1, fasten off. Thread yarn through remaining sts to close tip of carrot. Weave in ends.
Carrot Leaves
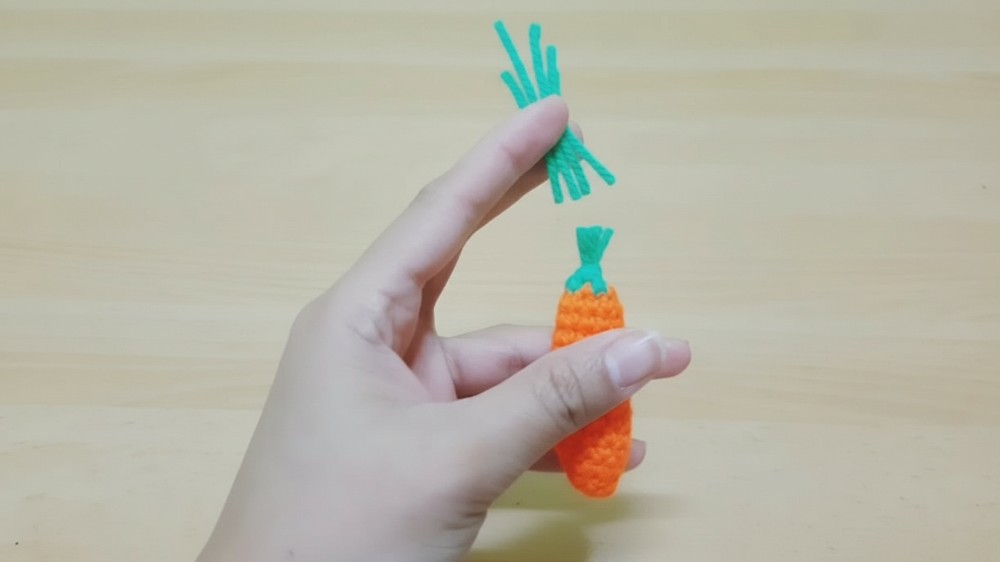
- Cut a long strand of green yarn, about 24-28 inches (60–70 cm).
- Separate the strand in two if using thick yarn.
- To attach:
- Fold yarn in half. With hook, go into carrot top, pull the folded loop through, and pull loose ends through the loop (lark’s head knot).
- Make leaves:
- For each leaf, ch 10.
- Work back down the ch:
- Slip stitch, sc, hdc, dc, dc, hdc, sc, sl st in each ch (or as preferred) for a wavy leaf look, or simply fasten off at 10 ch for straight leaves.
- Repeat for other leaves (usually 2–3).
- Fasten off, weave in or trim excess yarn.
Conclusion
You now have a simple, adorable amigurumi carrot—perfect as a gift, keychain, play food, or springtime/summer decor. This beginner-friendly project is a great stash-buster and can be completed in under an hour.
Pattern Corrections & Tips
- Correction: Carrot body is made in 13 rounds, not including the increase round.
- Tip: For a firmer, neater carrot, stuff as you go and use the invisible decrease in FLO for closing.
- Tip: Leaves can be curly (add more chains or vary stitches) or straight (just ch 10), depending on the look you want.
- To make larger or smaller carrots, change yarn weight or hook size.
- For a playful touch, embroider a cute smiley face on your carrot.