
Iconic Free Crochet Harry Potter Pattern Perfect for Fantasy Lovers
Spellbound thrills awaken with this Crochet Harry Potter Pattern delivering wizard vibes, bold energy, and striking fandom flair for fans.
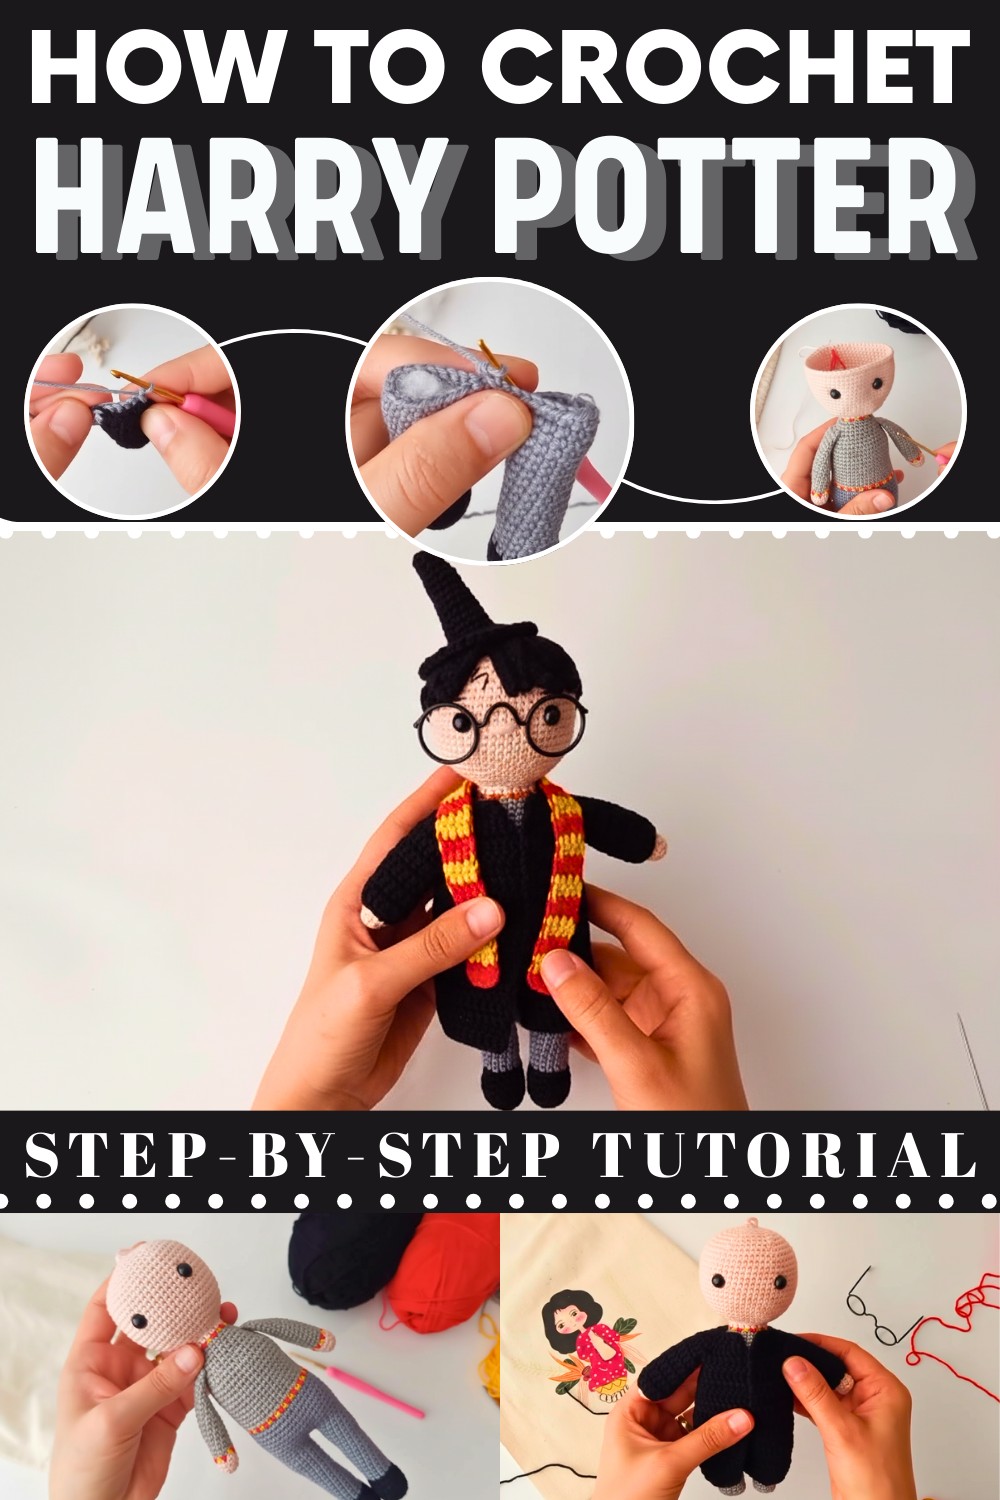
Free Crochet Harry Potter Pattern Every Fan Will Love
A small wizard figure with familiar details instantly brings a sense of magic and nostalgia to any space. This character-inspired crochet project is loved for its expressive face, tiny round glasses, and recognizable outfit that fans instantly connect with. Once finished, it works beautifully as a shelf display, desk companion, or thoughtful handmade gift for Harry Potter lovers of any age. The design focuses on clear shaping and neat details, helping improve control over stitch tension and character shaping while producing a collectible piece that feels personal and special.

Crochet Harry Potter Amigurumi Pattern
Materials
- Yarn: Sport or light worsted weight in these shades:
- Skin tone (beige)
- Black (shoes, hat, and hair)
- Light gray (pants)
- Dark gray (robe)
- Yellow and red (scarf, tie, and accent stripes)
- White (shirt)
- Hooks:
- 2 mm crochet hook (main amigurumi)
- (Optional: 2.5 mm for slightly looser gauge)
- Safety eyes: 8 mm (or embroider with yarn/thread)
- Stuffing: Polyester fiberfill
- Embroidery thread: Thin black (for scar, eyebrow, mouth detailing)
- Tapestry/yarn needle: For sewing parts, embroidering, and hiding yarn tails
- Scissors
Abbreviations (US Terms)
| Abbreviation | Meaning |
|---|---|
| MR | Magic Ring |
| ch | Chain |
| sc | Single Crochet |
| inc | Increase (2 sc in same st) |
| dec | Decrease (sc2tog) |
| hdc | Half Double Crochet |
| dc | Double Crochet |
| sl st | Slip Stitch |
| st(s) | Stitch(es) |
| FO | Fasten Off |
Special stitches
- Change color as instructed; carry unused color inside stitches for neatness.
- Instructions are worked in continuous rounds unless otherwise specified.
Special Notes
- For a neat color change, always finish the last yarn-over of the stitch before the color change with the new color.
- Stuff as you go, keeping the doll firmly shaped but not over-stuffed.
Pattern
Arm (Make 2)
With skin-tone yarn and 2 mm hook:
- Magic Ring: 6 sc in MR (6)
- Inc: inc in each st around (12)
- Single Crochet: sc in each st around for 12 rows (12)
- At the end of 2 rows, change to yellow and red for sleeve stripe: Alternate 1 sc in red, 1 sc in yellow around for 1 round, carrying unused yarn inside stitches.
- Change to light gray (start the robe sleeve): sc in each st around for 14 rows (12)
- Close arm: Flatten and sc through both layers across the end to close; FO, leave long tail for sewing.
Leg (Make 2)
Start with black (shoe):
- 6 sc in MR (6)
- [inc] in each st around (12)
- (sc, inc) around (18)
- sc in each st for 3 rows (18)
- Flatten slightly and stuff shoe.
- Dec: sc2tog x3 (to narrow the ankle), then sc even to end of round.
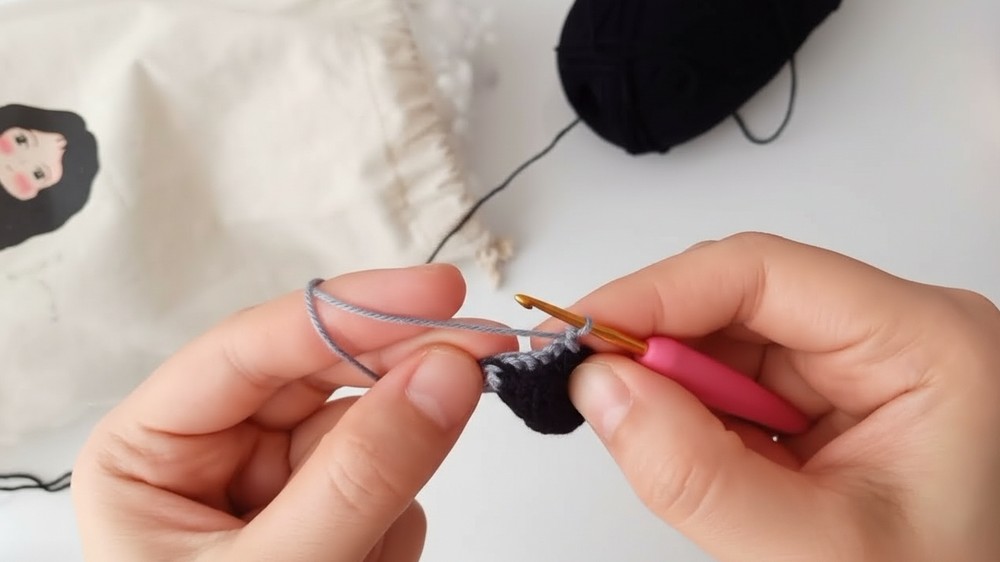
Change to light gray for pant leg:
7. sc in each st for 10 rows or until leg measures desired length
- (Optional, for shaping knee: sc 3, inc) around in 1 round.
- sc in each st for 6 rows; FO, leave long tail for sewing.
Repeat for second leg. Do not cut yarn after finishing second leg; instead, join legs as follows.

Body
- Join both legs with sc across, making sure heels/toes are positioned symmetrically.
- sc around both legs (total about 36 sts)
- sc around for 18 rows (no inc/dec) to form torso.
- For hips/shoulders, work (sc 4, inc) around for 1 round. Repeat a second time if needed.
Change to dark gray (robe):
5. sc in each st for 10 more rows.
Change to yellow and red for collar/tie:
6. As with sleeve, alternate 1 sc in yellow, 1 sc in red across 1 round.
Change to white (shirt):
7. sc in each st for 2 rows.
- FO, stuff body.
Join Arms
- Pin arms in place at shoulder level, making sure stripes line up with those on body.
- Sew securely with yarn needle.
Head
With skin tone:
- 6 sc in MR (6)
- [inc] in each st around (12)
- (sc, inc) around (18)
- (2 sc, inc) around (24)
- (3 sc, inc) around (30)
- (4 sc, inc) around (36)
- (5 sc, inc) around (42)
- (6 sc, inc) around (48)
- sc in each st for 12 rows
- Place safety eyes between rows 9–10, approx 12 sts apart. (Sew/embroider at this point if you’re not using safety eyes.)
- Start decreases: (6 sc, dec) around (42)
- (5 sc, dec) around (36)
- (4 sc, dec) around (30)
- (3 sc, dec) around (24)
- Stuff head very firmly.
- (2 sc, dec) around (18)
- (sc, dec) around (12)
- dec around (6)
- FO, use needle to close hole.
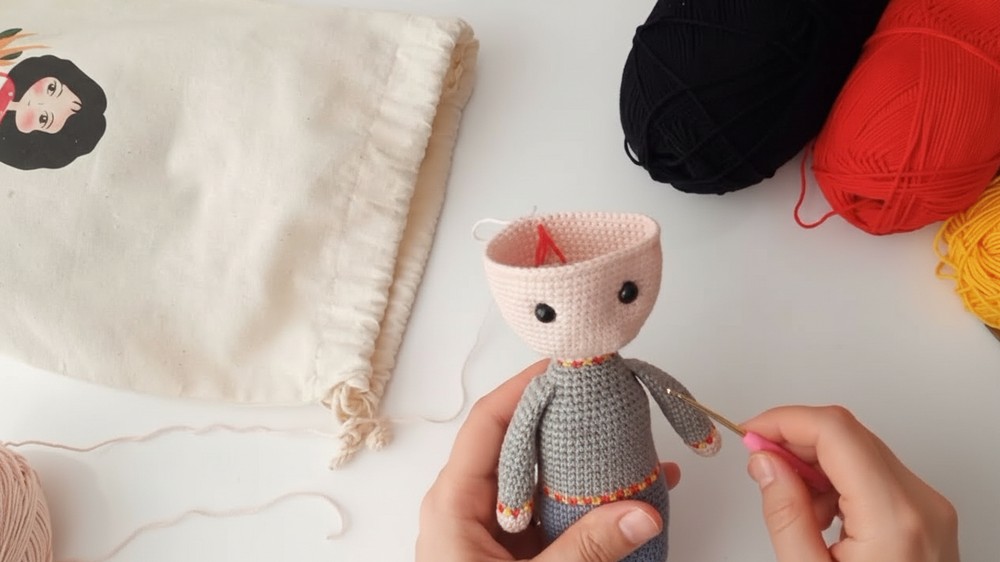

Embroider face:
- With thin black thread, embroider brows, mouth, and famous lightning scar.
Robe (Cardigan)
With dark gray:
- Ch 26.
- dc in 3rd ch from hook and across (24)
- Turn, ch 2, dc across (24)
- Repeat for a total of 5–8 rows or until desired robe length.
- Fasten off, sew short ends together for a tube, slip over body and sew at shoulders.
Robe Sleeves
With dark gray, join yarn at armhole:
- Pick up 24 dc evenly around armhole.
- sc in rounds for 6 rows (or desired sleeve length)
- Fasten off.

Hair
With black:
- MR, 6 sc in MR.
- Inc in each st around (12)
- (sc, inc) around (18)
- (2 sc, inc) around (24)
- (3 sc, inc) around (30)
- Continue increasing as needed for the crown of head.
For hair strands:
- Work across one side: ch 32, turn, sl st in each ch back, sl st next st of cap. Repeat for desired fullness.
- Make several longer, some shorter to create signature messy hair.
- FO, sew to head, arrange strands for randomized "mess."
Hat
With black:
- MR, 6 sc in ring.
- Inc in each st around (12)
- (sc, inc) around (18)
- sc in each st for 3 rows.
- (sc, dec) around (12)
- sc in each st for 2 rows; FO. Sew to head.
Scarf
With red and yellow:
- With red, ch 31.
- dc in 3rd ch from hook, change to yellow for next st, alternate.
- Repeat: Alternate colors every few stitches or each row for a striped effect.
- Continue until scarf measures desired length (recommend 25–27 rows).
- FO and weave in ends.
Assembly
- Attach head to body securely.
- Attach hair, style as desired.
- Attach robe/cardigan, then hat, then place scarf around neck.
- Embroider final facial features and lightning scar.
- Weave in all ends.
Pattern Correction
- Be sure your stitch counts remain consistent, especially when joining limbs and working increases/decreases.
- For an even color transition, always complete the final yarn-over of a stitch using the next color.
- Stuff gradually and shape as you go for the best results.
Tips
- Use a stitch marker to keep your rounds even.
- Embroider facial details after assembly for precise positioning.
- Adjust the length of scarf and hair to your liking.
Conclusion
This detailed Harry Potter amigurumi pattern lets you crochet your own magical wizard, full of Hogwarts personality! Use the instructions as written, or personalize accessories for any Hogwarts house.