
Fun Crochet Juan Carlos Bodoque Pattern for Desk Companions
Charm your crochet collection with the Free Crochet Juan Carlos Bodoque Pattern, a playful and nostalgic project perfect for décor, gifts, and collectibles.
A beloved character from children’s television, the Free Crochet Juan Carlos Bodoque Pattern brings charm and nostalgia into your hands, transforming a simple crochet project into a delightful keepsake. This pattern allows crafters to recreate his playful personality and iconic features, offering a fun yet practical addition to home décor, a quirky desk companion, or a unique gift for fans of all ages.
Detailed Crochet Juan Carlos Bodoque Pattern Capturing Iconic Features

The Free Crochet Juan Carlos Bodoque Pattern highlights essential details such as his expressive eyes, signature red fur, and distinctive attire. Following the step-by-step instructions, you can carefully construct the body, attach the arms and legs, and complete accessories that capture his characteristic style. Midway through the project, attention to proportion and detail ensures the finished figure stands firmly or sits gracefully, making it both visually appealing and durable.
Once completed, the crocheted Juan Carlos Bodoque becomes a charming accent for shelves, desks, or display areas, adding personality and warmth to any space. Its compact size and soft texture make it ideal for collectors or as a thoughtful, handmade gift. The Free Crochet Juan Carlos Bodoque Pattern offers not only a nostalgic tribute to a cultural icon but also an engaging, skill-enhancing project for crochet enthusiasts seeking a rewarding and creative experience.

Difficulty and Suggestions
The pattern assumes some basic knowledge of crochet, but the creator notes that if you are a beginner, you can find videos on her profile that explain the basic stitches in a step-by-step manner.
Materials and Special Features
- Safety Eyes: 9 mm safety eyes are used.
- Yarn: The nose is embroidered with yellow yarn. The video does not specify the type of yarn or needle used, but the final product is a small amigurumi keychain.
Uses
The finished product is a keychain.
Step-by-Step Instructions
1. Ears:
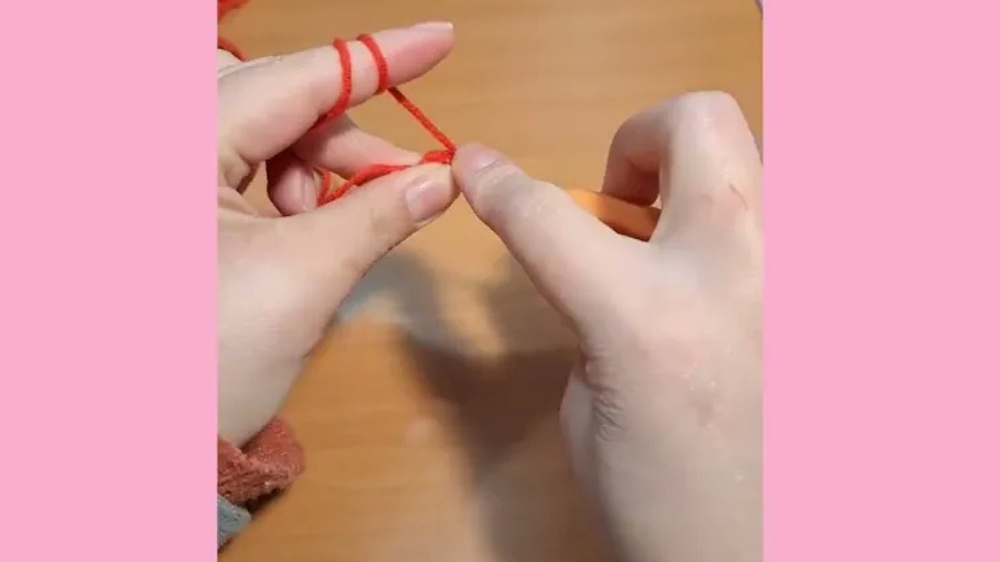
- Round 1: Start with a magic ring and make 6 single crochet stitches.
- Round 2: Make 6 increases to get a total of 12 stitches.
- Rounds 3-9: Repeat the 12 stitches to add height to the ears.
- Finishing: Leave a long thread for sewing and make a second identical piece.
2. Head:
- Rounds 1-2: The beginning of the head is the same as the ears, starting with 12 stitches.
- Round 3: Repeat the sequence of one single crochet and one increase six times to get 18 stitches.
- Round 4: Start with one single crochet and one increase, then repeat the sequence of two single crochet and one increase five times. Finish with one single crochet to get a total of 24 stitches.
- Round 5: Repeat the sequence of three single crochet and one increase six times to get 30 stitches.
- Round 6: Start with two single crochet and one increase, then repeat the sequence of four single crochet and one increase five times. Finish with two single crochet to get 36 stitches.
- Rounds 7-11: Work only single crochet stitches.


3. Assembling and Details:
- Before closing the head, the creator suggests sewing the pieces.
- Stuff the ears and sew them onto the top of the head.
- Embroider the nose with yellow thread, making it about three stitches wide.
- Place the 9mm safety eyes between rounds 9 and 10, with three stitches of separation from the nose.
- This is the moment to attach the keychain ring if desired.
4. Decreases (Head):
- Round 12: Start with two single crochet and one decrease, then repeat the sequence of four single crochet and one decrease five times. Finish with two single crochet for a total of 30 stitches.
- Round 13: Repeat the sequence of three single crochet and one decrease six times to get 24 stitches.
- Round 14: Start with one single crochet and one decrease, then repeat the sequence of two single crochet and one decrease five times. Finish with one single crochet to get 18 stitches.
- Round 15: Repeat the sequence of one single crochet and one decrease six times to get 12 stitches.
- Stuffing: Stuff the head at this point.
- Round 16: Make six decreases to get a final count of 6 stitches.


5. Finishing:
- Close the opening with a needle and hide any loose threads.
Conclusion
The creator, Katgurumi, concludes by hoping that the tutorial was enjoyable and helpful.
Pro-Tip
A tip from the creator is to sew the pieces together before closing and stuffing the main body of the head, as it is easier to work with.