
How To Crochet Mini Tulip Pot With Free Pattern +Tutorial
Make a Crochet Mini Tulip Pot to add a cute and handmade look that brightens your home with soft colorful flowers and a lovely look everywhere.
Add color and happiness to your home with a small, bright flower pot made with yarn. The Crochet Mini Tulip Pot is perfect for your desk, windowsill, or any small space. The pretty tulip flowers look cheerful and fresh all year round.
Free Crochet Mini Tulip Pot Pattern for Home Accessories
Pattern Credit:
This pattern is from the YouTube tutorial by DIY Yarn Crafts. Thank you to the creator for the clear instructions and beautiful design. Check out their channel to watch the full video and support their work.
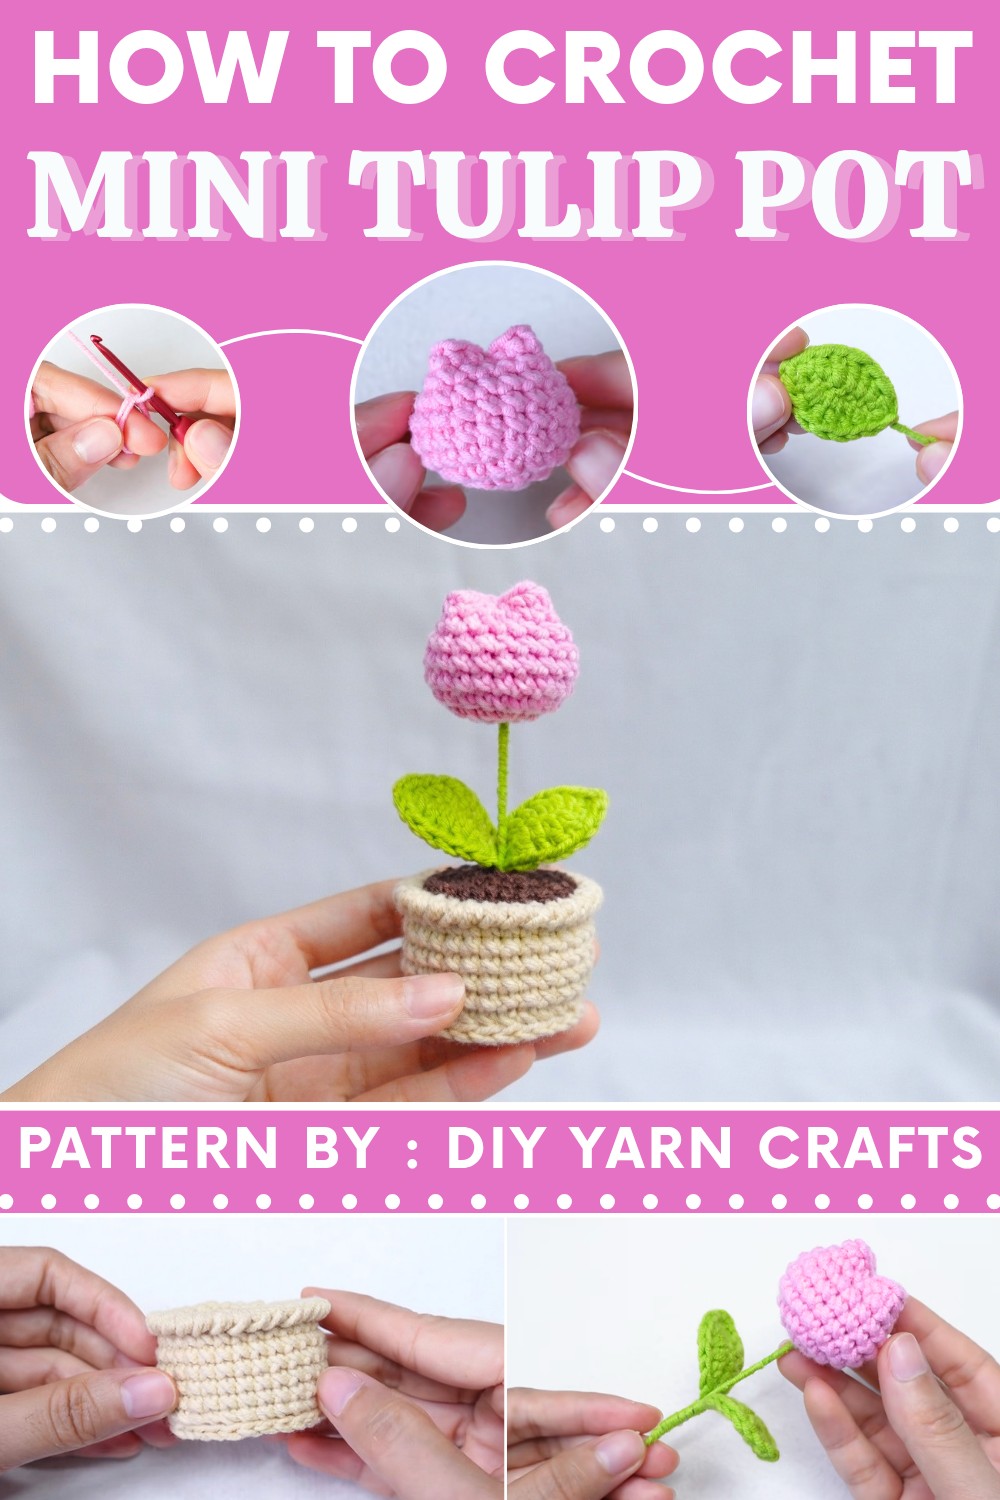
This project has soft tulip flowers in a cozy little pot. The flowers are made with yarn and feel nice to touch. Even though it is small, the bright colors make it stand out. You only need a few things: colorful yarn, a crochet hook, and some stuffing to make the flowers soft and full.
The Crochet Mini Tulip Pot is easy to make, even if you are new to crochet. The steps are simple to follow. This project helps you learn basic crochet stitches like single crochet and working in circles. You also practice putting pieces together to make a complete pot with flowers.
When you finish, you will have a lovely flower pot to keep or give as a gift. It is a nice, handmade item that brings joy to any space.
Crochet Tulip Pot Pattern
In this pattern, I'm going to show you how to crochet a beautiful tulip pot in a very simple and easy way.
Pattern Basic Points
• Tulip Bud
- Magic ring start for a seamless look.
- Becomes a realistic bud with rounds of single crochet, increases, and shaping.
- Closed and shaped using cross stitches.
• Leaves
- Each leaf is worked around floral wire for shaping and realism.
- Gentle increase and taper for a natural look.
• Pot & Soil
- Pot is worked from the bottom up in rounds, forming a sturdy structure with decorative edging.
- Soil is a simple, dense round disk, filling and anchoring the arrangement.
• Branch and Assembly
- Wire and hot glue create a firm stem.
- Leaves attached to wire branch and bud; all components combined securely.
Special Notes
- Use stitch markers at the start of each round for both bud and pot to ensure accuracy.
- When attaching leaves and finishing the stem, wrap yarn tightly for a neat finish.
- Do not overfill pot or bud; keep the shape but don't stretch the stitches.
- Adjust number of rounds for taller or shorter buds as desired.
- Use sturdy wire for the branch so the tulip stands upright.
Skill Level
Beginner to Advanced Beginner
You need to know how to:
- Crochet in the round
- Make basic increases/decreases
- Work with wires for shape
- Assemble with glue and hand sewing
Materials
- Yarn: Susan’s Family 5 (or comparable)
- Tulip color for bud
- Green for leaves and stem
- Pot color
- Brown or black for soil
- Hook: 2.5 mm crochet hook
- Wire: 0.5 mm (leaves, 12 cm each, 2 pieces); 1 mm (stem, ~10 cm)
- Fiberfill or cotton for stuffing
- Darning needle
- Hot glue gun and glue sticks
- Scissors
- Stitch markers
Measurements / Sizing (Optional Schematic)
- Bud: Approximately 3–4 cm tall after shaping
- Leaves: ~7–9 cm long with wire
- Pot: ~5 cm tall, 5–7 cm wide
- Full tulip (with stem & leaves): ~10–13 cm tall
Gauge (and Stitch Pattern)
- Gauge isn't critical; use a tight stitch to hold stuffing and shape.
- Main stitches: Single crochet (sc), double crochet (dc), half double crochet (hdc), slip stitch (sl st), crab stitch (reverse sc).
- Work in rounds for bud and pot, rows around wire for leaves.
Stitch Abbreviations
| Abbreviation | Definition |
|---|---|
| ch | Chain |
| sc | Single crochet |
| hdc | Half double crochet |
| dc | Double crochet |
| inc | Increase (2 sc in one st) |
| BLO | Back loop only |
| FLO | Front loop only |
| sl st | Slip stitch |
| st(s) | Stitch(es) |
Special Stitches
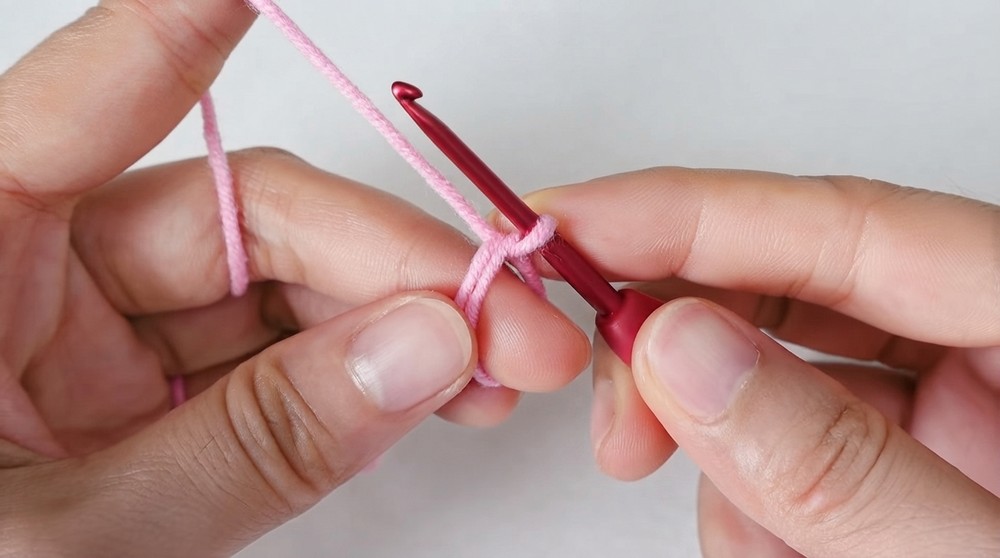
- Magic Ring: Formed by wrapping yarn around your finger and working into the ring for seamless starts.
- Crab Stitch (Reverse sc): Worked right-to-left (opposite of normal), making a twisted cord-like edge.
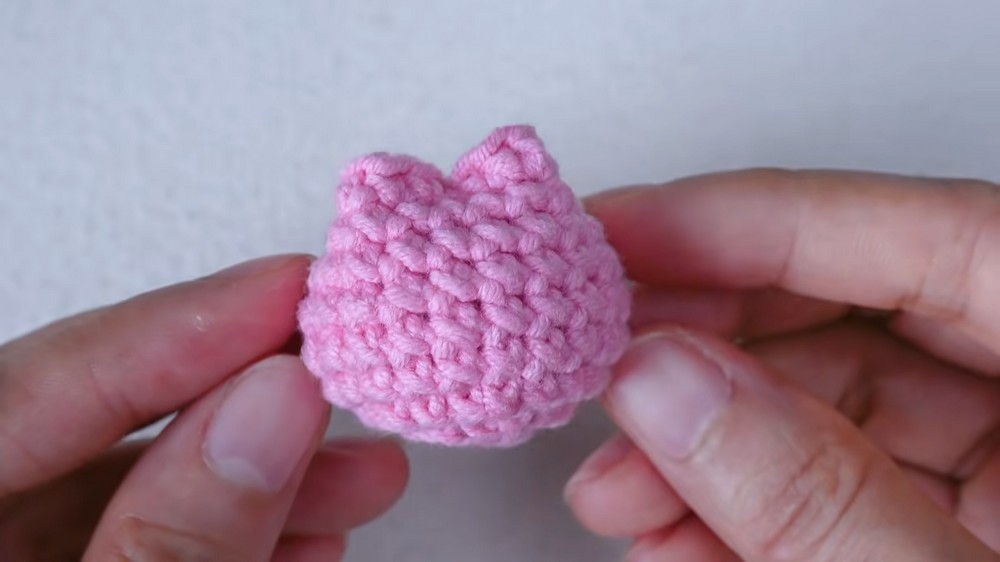
- Cross Stitch Closure for Bud: Sewn at the opening to pinch and shape the bud naturally.
Crochet Guide
TULIP BUD
- Start with a magic ring.
- Round 1:
- Work 7 sc into the magic ring.
- Mark the first stitch.
- Tighten ring.
- Round 2:
- Inc in every stitch (2 sc in each, 7 times)—14 sc.
- Round 3:
- (1 sc, inc) around for 7 times—21 sc.
- Rounds 4–9:
- Sc in every stitch—21 sc each round (6 rounds).
- Fasten Off:
- Sl st into next st after round 9. Cut yarn leaving a long tail for sewing.
- Stuff the bud with fiberfill.
- Shape the top:
- Sew a cross with your yarn at the open (last) round to pinch and close, forming the tulip shape.
LEAVES (Make 2)
- With green yarn, make a slip knot.
- Ch 8.
- Prepare 12 cm of 0.5 mm wire—bend to match ch.
- Work the first side:
- Skip first ch, insert hook in 2nd ch.
- Sc (while enclosing the wire),
- Hdc in next ch (under wire),
- Dc in next 3 ch (under wire),
- Hdc in next ch,
- Sc in last ch.
- Ch 2, then sc again in the same last ch.
- Turn, work back on other side of foundation chain:
- Hdc in next st,
- Dc in next 3 sts,
- Hdc in next st,
- Sc in last st.
- Sl st to first st to close. Fasten off.
- Wrap yarn around wire near base to tidy. Make knot. Trim excess yarn.

POT
- Magic ring.
- Round 1: 7 sc in ring. Mark first st. Sl st to join.
- Round 2: Inc in each st (2 sc in each)—14 sc.
- Round 3: (1 sc, inc) around for 7—21 sc.
- Round 4: (sc in 2, inc) around for 7—28 sc.
- Round 5 (BLO):
- Sc in back loop only in each st (28 sc).
- Rounds 6–10: Sc in every st (28 sc per round).
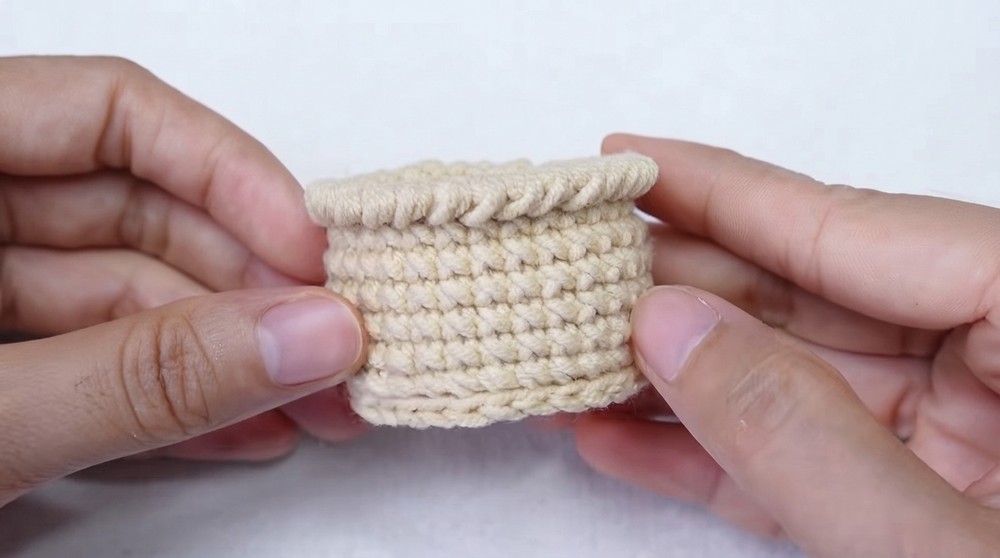
- Round 11 (FLO - Crab stitch rim):
- Work crab stitch (reverse sc) in front loop of each st around.
- Fasten off, weave in end.
- Bottom finishing:
- Attach new yarn in leftover back loops from round 5 at base.
- Sl st in each loop around, join, ch 1, fasten off.
- Pull yarn tails inside pot and tie securely.
SOIL
- Work rounds 1–4 of pot pattern in brown/black, leaving hole in magic ring center.
- Finish round 4, sl st to close, ch 1.
- Cut yarn leaving a 30 cm tail for sewing.
Assembly & Finished Size
- Stuff the pot (cotton/stones for stability if desired).
- Place the soil disk on top. Sew it to pot using the long tail, going all around edge firmly.
- Make the stem:
- Cut 10 cm of 1 mm wire.
- Apply hot glue to one end; insert firmly in center of bud.
- Cover ~5 cm of wire with green yarn, securing with additional glue.
- Attach Leaves:
- Apply a little glue to the stem where leaves begin.
- Place each leaf, continuing to wrap and glue green yarn down the wire, enclosing leaf bases.
- Continue to branch bottom, cut off extra stick/wire, and glue yarn at end for tidy finish.
- Insert stem through hole in the soil and down into the stuffing. Secure with glue if needed.
- Adjust leaves and bud for a natural look.

Final Size:
- Tulip in pot stands approx. 12–14 cm tall, with spread leaves and a plump tulip bud above the rim.

Conclusion
This project combines easy, beginner-friendly stitches with simple shaping and creative assembly. The result is a realistic, cheerful tulip arrangement that’s perfect for your workspace, a gift, or any place needing a touch of handmade charm.