
How to Crochet Hug Monster Pattern for Kids’ Rooms
Cuddle-friendly fun awaits with the Free Crochet Hug Monster Pattern, perfect for gifts, playful décor, and lovable handmade companions for all ages.
A mischievous grin broke into soft stitches as this cuddly companion came to life, bringing warmth and whimsy to any corner it occupies. The Free Crochet Hug Monster Pattern offers a delightful way to make a lovable plush friend that adapts to many roles, be it a bedside buddy, a playful gift, or a cheerful décor accent.
Free Crochet Hug Monster Pattern for Playful Home Accents
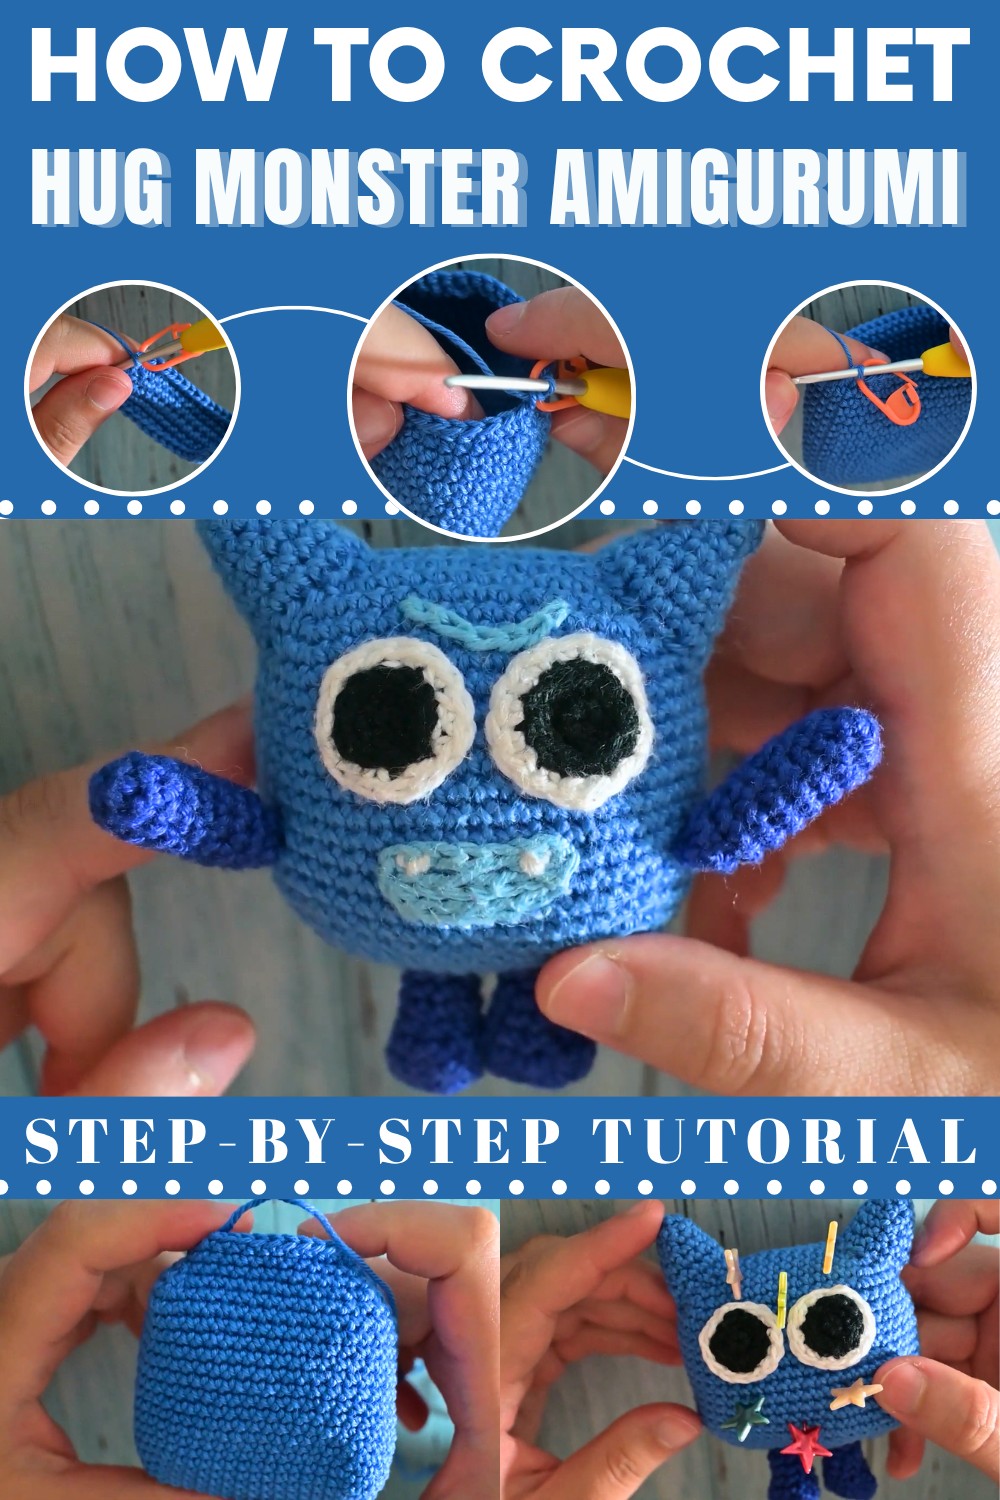
One of its standout features is the oversized arms that wrap gently around the body, evoking a genuine “hug” feel while remaining easy to manage for makers of all skill levels. The body’s rounded shape and minimal shaping make it approachable, and the subtle texture adds depth without complication. You’ll appreciate how the eyes and mouth sit just right to capture expression, bringing personality without extra fuss. Because the form is lightweight yet steady, this monster holds its posture during play or display, and it’s ideal for a quick meaningful project.
Materials
- Yarn:
- Blue (main body and ears)
- Small amounts of white and black (eyes, details)
- Hook: 2.5–3.0 mm or size suitable for your yarn
- Stuffing: Polyester fiberfill
- Yarn needle
- Scissors
- Stitch marker
- Embroidery thread (black and white for mouth, eyes, eyebrows, and teeth)
- Optional: Safety eyes if preferred
Abbreviations (US Terms)
| Abbreviation | Meaning |
|---|---|
| MR | Magic Ring |
| sc | Single Crochet |
| inc | Increase (2 sc in same st) |
| dec | Decrease (sc2tog; single crochet decrease) |
| st(s) | Stitch(es) |
| FO | Fasten Off |
Special Notes
- All rounds are worked in a continuous spiral unless otherwise indicated.
- Always use a stitch marker to mark the first stitch of your round.
- Stuff parts lightly to keep a soft, flexible shape.
- Move your stitch marker as directed to keep your decreases aligned and maintain an oval shape for the body.
Pattern
EARS (Make 2)
With blue:
- Rnd 1: MR, 4 sc (4)
- Rnd 2: (sc, inc) x2 (6)
- Rnd 3: (2 sc, inc) x2 (8)
- Rnd 4: (3 sc, inc) x2 (10)
- Rnd 5: (4 sc, inc) x2 (12)
- Rnd 6: (5 sc, inc) x2 (14)
- Rnd 7: (6 sc, inc) x2 (16)
- FO, leaving a long tail for sewing.
- Stuff lightly before sewing to head.
BODY
With blue:
- Foundation: Ch 14, ch 1 more (for turning)
- Rnd 1: Starting in second ch from hook: 1 inc, 12 sc, 4 sc in last st, rotate to work along opposite side of starting chain, 12 sc, 1 inc (32)
- Rnd 2: 1 sc, 1 inc, 12 sc, 1 inc, 2 sc, 1 inc, 12 sc, 1 inc, 1 sc (36)
- Rnd 3: 2 sc, 1 inc, 12 sc, 1 inc, 4 sc, 1 inc, 12 sc, 1 inc, 2 sc (40)
- Rnd 4: 3 sc, 1 inc, 12 sc, 1 inc, 6 sc, 1 inc, 12 sc, 1 inc, 3 sc (44)
- Rnd 5: 4 sc, 1 inc, 12 sc, 1 inc, 8 sc, 1 inc, 12 sc, 1 inc, 4 sc (48)
- Rnds 6–18: 1 sc in each st (48)
- Rnd 19: 8 sc, dec, 12 sc, dec, 8 sc, dec, 12 sc, dec (44)
- Rnd 20: 6 sc, dec, 12 sc, dec, 6 sc, dec, 12 sc, dec, 1 sc, move marker (40)
- Add 1 more sc before moving your marker at the end.
- Rnd 21: 4 sc, dec, 12 sc, dec, 4 sc, dec, 12 sc, dec (36)
- Rnd 22: dec, 2 sc, dec, 12 sc, dec, 2 sc, dec, 12 sc (32)
- Rnd 23: 2 dec, 12 sc, 2 dec, 12 sc (28)


- FO, leaving a long tail for closing.
- Stuff body firmly before finishing. Sew closed as in previous "red germ" pattern.

ASSEMBLY & EMBROIDERY DETAILS
- Ears:
- Stuff lightly and sew to top/side of head.
- Eyes:
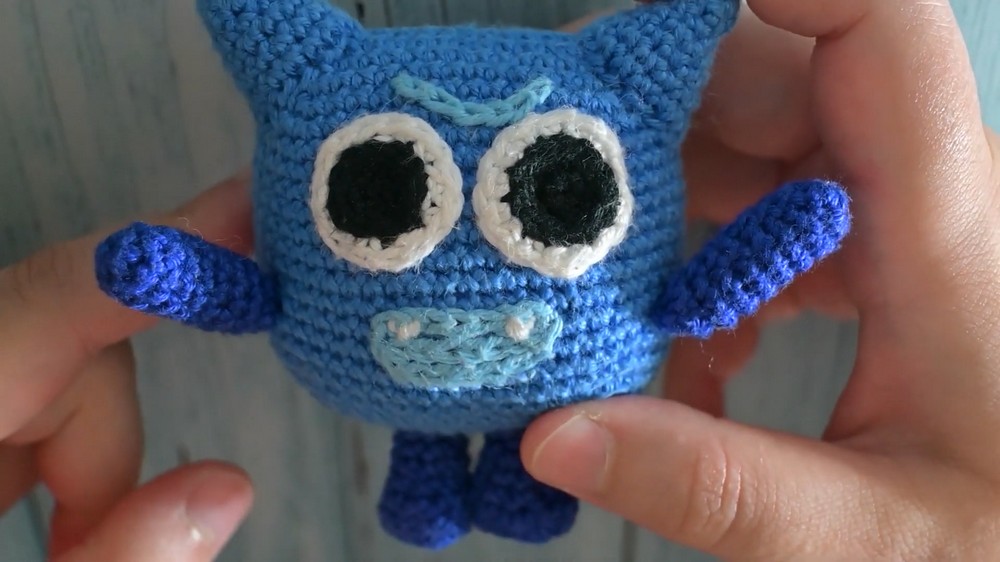
- Sew or embroider as ovals, white with black centers, positioned 5 rounds down from the start of the body and on either side of the “middle.”
- Optional: Use safety eyes.
- Eyebrows:
- Use embroidery two rounds above eye, starting from mid-eye width.
- Mouth:
- Embroider a curved smile two rounds below the centerline between eyes.
- Embroider two “teeth” using white thread under the mouth line for effect.
- Arms:
- Place at mouth level (about halfway down the ears), attach with cross-shaped sewing for a movable effect. Secure both arm ends from the inside.
- Legs:
- Attach so that one points each direction (as described for the “red germ”).

Conclusion
You have crafted a fun Blue Germ Amigurumi with expressive features. Embroidered details allow for a customizable face and poseable arms. Practice neat color shifts and even spacing for a professional finish.
Pattern Correction & Tips
- Ovals: Be sure to count stitches correctly when turning the foundation chain to create a proper oval base.
- Marker Adjustment: Move your marker as described so decrease lines stay at the “ends” and maintain shape.
- Assembly: Sew parts together securely, especially at high-stress points (arms/legs).
- Embroidery: For crisp details, use a sharp needle and gently pull stitches taut.
- Tip: Slightly stuff ears and arms before attaching for a fuller, cuter look!