
How to Crochet Bunny Teether Pattern for Tiny Hands
Soothe little ones with this Free Crochet Bunny Teether Pattern, crafting a cute, safe, and playful accessory perfect for teething comfort and fun.
Soft textures and gentle shapes have always offered comfort to little ones, and the bunny teether brings this comfort in a playful, soothing form. Perfect for tiny hands, this adorable accessory not only keeps babies entertained but also provides relief during the teething stage. Its lightweight and portable design make it easy to carry in diaper bags, attach to strollers, or let babies hold independently, turning everyday moments into opportunities for sensory exploration and tactile development.
Gentle Crochet Bunny Teether Pattern That Encourages Grasping

The Free Crochet Bunny Teether Pattern begins with forming the rounded bunny head, followed by shaping long, flexible ears that babies can easily grasp. The body is then worked in gentle curves, ensuring a smooth, safe surface that is comfortable for chewing. Midway, subtle detailing like embroidered facial features is added to enhance visual appeal without posing any hazards. Finally, the teether ring is securely attached, completing a durable and baby-safe toy that combines fun with functionality.
Beyond its playful charm, this teether promotes motor skill development, hand-eye coordination, and sensory stimulation. It can serve as a thoughtful handmade gift, a soothing companion during teething discomfort, or a cheerful accessory for nursery décor. The Free Crochet Bunny Teether Pattern balances practicality with cuteness, providing a versatile, safe, and delightful addition to any baby’s daily routine.

Materials and Tools
- Chenille yarn
- A wooden ring
- A 4 mm crochet hook
- Stuffing
- Safety eyes
- Pink and black yarn
- Needles
Step-by-Step Instructions
Here is a summary of the steps to create the rabbit teether:
Head:
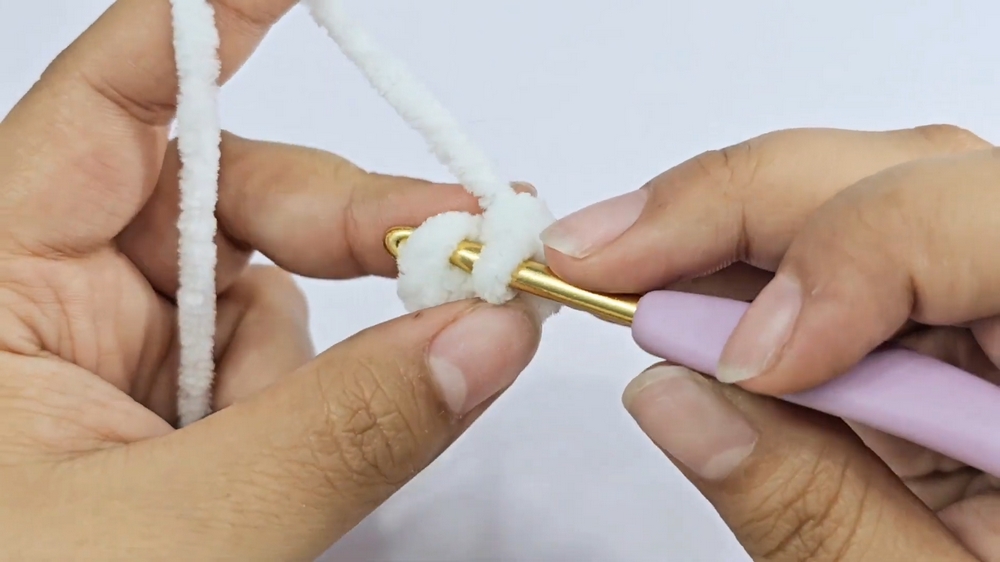
- Begin with a magic circle and crochet six single crochets.
- Increase in each stitch to get 12 single crochets.
- Crochet a single crochet followed by an increase, repeating this pattern to get 18 stitches.
- Crochet two single crochets and then an increase, which will result in 24 stitches.
- Crochet three single crochets followed by an increase to get a total of 30 stitches.
- Crochet four single crochets followed by an increase, which will result in 36 stitches.
- Crochet eight rows of 36 single crochets without any increases or decreases.
- Place the safety eyes on the fourth row from the center, leaving three stitches between the eyes.
- Begin decreasing by crocheting four single crochets followed by a decrease, which will leave you with 30 stitches.
- Crochet three single crochets followed by a decrease, leaving 24 stitches.
- Crochet two single crochets followed by a decrease, leaving 18 stitches.
- Crochet a single crochet followed by a decrease, leaving 12 stitches.
- Stuff the head.
- The last row consists of six decreases.
- Use a needle to close the remaining hole.


Face:
- Using a needle and yarn, create the nose two rows below the eyes, centered between them.
- Add a line for the mouth, three stitches below the nose.
- Use black yarn to add detailing around the eyes.
Ears:
- Begin with a magic circle of six single crochets.
- Increase in each stitch to get 12 stitches.
- The next row is a single crochet and an increase, repeating this pattern.
- The next row is two single crochets and an increase, repeated.
- Crochet six rows of a single crochet in each stitch without increases or decreases.
- The next row involves two single crochets and a decrease.
- Crochet five rows of a single crochet in each stitch without increases or decreases.
- The next row is a single crochet and a decrease.
- Crochet five more rows of a single crochet in each stitch without increases or decreases.
- Fold the piece and close it with single crochets.
- Sew the ears onto the head at row four.

Attaching the body to the wooden ring:
- Create a chain of 12 stitches, and crochet 12 single crochets in the next row.
- Chain one, turn, and crochet 12 single crochets in each row for a total of six rows.
- Leave a long tail for sewing, and sew the piece around the wooden ring and onto the head.

Conclusion
The tutorial concludes by showing the finished crocheted rabbit teether. The creator encourages viewers to like, subscribe, and activate notifications.
Tutor's Suggestions
The creator of the pattern mentioned that they can provide a link for a matching baby shoes tutorial if viewers leave a comment on their video.