
Heartfelt Free Crochet Snowman Amigurumi Pattern for a Special Gift
Celebrate a cheerful holiday with this Crochet Snowman Amigurumi Pattern, featuring a cozy scarf and simple stitches for a cute winter toy.
Bringing a splash of winter magic to your living space, these Crochet Snowman Amigurumi Pattern frosty characters serve as delightful mantel displays or cozy stocking stuffers. These handmade figures offer a wonderful alternative to mass-produced decor, allowing you to personalize your holiday theme with unique colors and textures. Engaging with this crochet provides a productive way to unwind during the busy season, as the focused nature of the work helps sharpen concentration while resulting in a professional-looking keepsake that lasts for years.
Charming Free Crochet Snowman Amigurumi Pattern for Kids' Playtime

The design utilizes standard single crochets and increases to form the body, while the scarf and hat provide opportunities to practice half-double crochets and color changes. A key feature of this tutorial is the emphasis on firm stuffing techniques, ensuring your winter friend stays perfectly upright on any flat surface.

With only a few basic stitches required, even those new to the project can master the pattern quickly to produce a batch of gifts. By using simple embroidery for the charcoal eyes and carrot nose, you can give each piece a distinct personality that radiates festive warmth and joy.
Materials
- Yarn (3.5–4.0 mm):
- White (body and head)
- Light blue (earmuffs & band)
- Red and green (scarf)
- Orange (nose)
- Black (buttons and eyes embroidery)
- Hook: 2.5 mm crochet hook
- Stuffing: Polyester/cotton fiberfill
- Stitch marker
- Yarn needle (tapestry needle)
- Scissors
Key Abbreviations (US TERMS)
| Abbreviation | Meaning |
|---|---|
| MR | Magic Ring |
| ch | Chain |
| sc | Single crochet |
| inc | Increase (2 sc in the same stitch) |
| dec | Decrease (sc2tog) |
| sl st | Slip Stitch |
| st(s) | Stitch(es) |
| FO | Fasten off |
Special Notes
- The body and most parts are worked in continuous spiral; do not join unless indicated.
- Use a stitch marker to mark the first st of each round.
- Stuff as you go for sturdier shape.
- All colors and striping on scarf can be adjusted to preference.
Pattern
Body (White)
- MR, ch 2 (counts as foundation), 8 sc into ring (8)
- Rnd 2: 2 sc in each st around (inc in every st) (16)
- Rnd 3: Sc in each st around (16)
- Rnd 4: Sc in 1 st, inc in next—repeat around (24)
- Rnd 5: Sc in each st around (24)
- Rnd 6: Sc in next 2 sts, inc in next—repeat around (32)
- Rnd 7–18: Sc in each st around (32, 12 rounds)
- Rnd 19: (Dec around)—Sc2tog all around (16)
- Rnd 20: Sc in each st around (16)
- Pause, stuff the body firmly.
- Rnd 21: (Dec around)—Sc2tog all around (8)
- FO, cut a long end for closing. Using yarn needle, weave through remaining stitches and pull tight to close.

Earmuffs (Make 2 ● Light Blue)
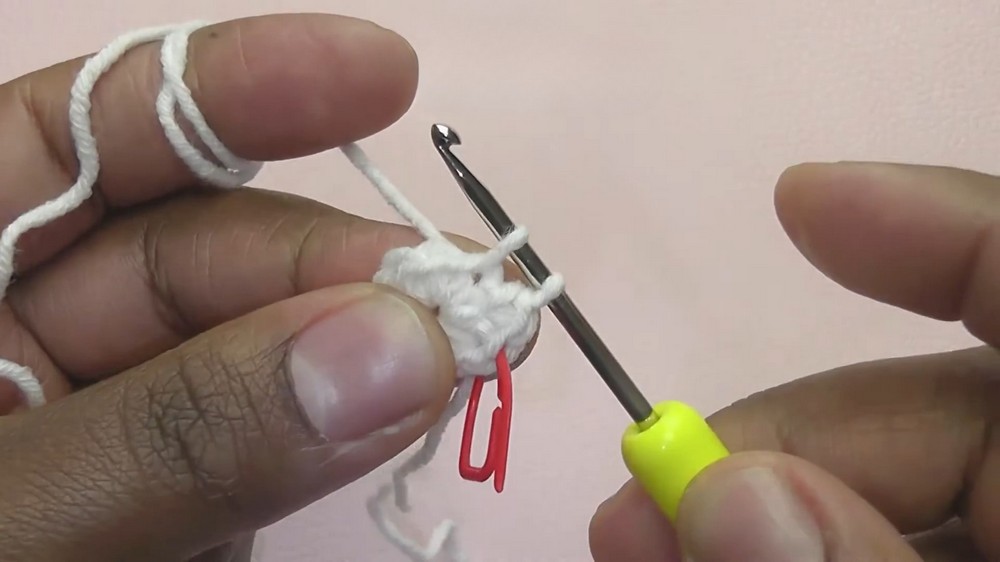
- MR, ch 2, 6 sc into ring (6)
- Rnd 2: 2 sc in each st around (12)
- Rnds 3–4: Sc in each st around (12)
- Rnd 5: Sl st in each st around
- FO, leave a long tail to sew to body.
- Stuff lightly for shape.
Earmuff Band (Light Blue)
- Ch 16–18 (to fit snugly over head).
- Sl st or sc in 2nd ch from hook and in each ch across.
- FO, leave ends for sewing.
Nose (Orange)
- Ch 6, sl st in each ch back.
- FO, leave a tail for sewing. Sew as a small carrot nose to face.

Scarf (Green, Red & White)
Green Stripe
- With green, ch 6.
- Attach with sc under the “earmuffs,” parallel to one of the eyes.
- Sc in each st around (as you pick up new ones around the neck).
- Sc evenly around the neck to where you began; FO.
White Stripe
- With white, attach to a stitch alongside the green stripe.
- Sl st in 5 sts along the green chain, then sc along the neck, following beside green.
- Continue all the way around; FO.
Red Stripe
- With red, attach to stitch alongside white stripe.
- Sl st in 5 sts along red, then sc along neck, following beside white.
- Continue all the way around; FO.
- Tidy all ends and stitch scarf tails to body if desired.
Assembly
- Sew earmuffs to each side of the head.
- Sew band across the top between earmuffs.
- Sew nose to center front of head.
- Embroider eyes and mouth with black yarn/thread.
- Embroider three buttons to center front of body.
- Dress with scarf, securing tails as you like.


Conclusion
Your adorable snowman amigurumi is now complete! He makes a charming festive decoration, gift, or toy. Experiment with colors, scarf styles, or add other wintery details.
Pattern Correction & Tips
- Adjust the stuffing as you close to maintain a round shape.
- Earmuff band length may differ depending on yarn stretch.
- If you wish, add a hanging loop for use as an ornament.
- Embroider the face before attaching the scarf for easiest access.
- Tip: Invisible decrease (using front loops only) will give smoother shaping on the head and body.