
Haunting Crochet Chucky Pattern for Ultimate Horror Decor
Summon spooky fun with this Free Crochet Chucky Pattern bringing bold character, playful creepiness, and a standout handmade accent for fans.
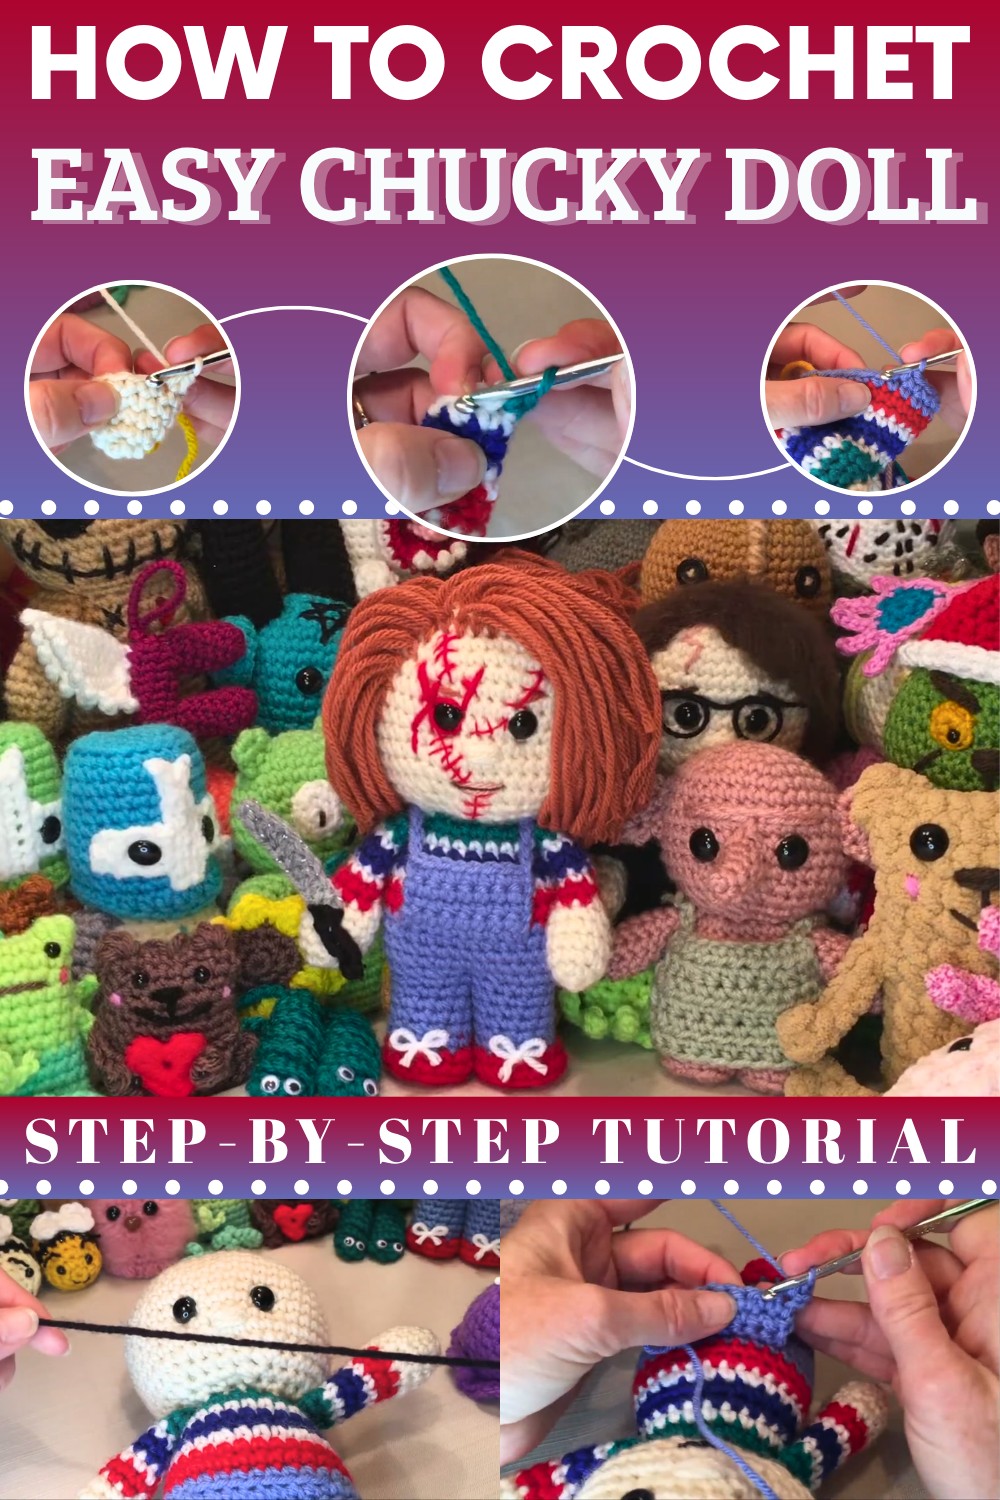
Unique Crochet Chucky Pattern for Horror-Themed Gifts
Distinctive inspiration shapes a handmade figure that transforms a well-known character into a soft and visually engaging creation. A Crochet Chucky Pattern offers an exciting project that blends detailed shaping with expressive design, resulting in a piece that stands out in themed décor, collector shelves, and unique gift collections. Carefully formed features, signature outfit elements, and balanced proportions give the finished figure a recognizable yet artistic appearance. This pattern supports skill development by encouraging precision, color coordination, and refined finishing techniques. Flexible yarn choices allow personal interpretation while preserving the character’s iconic style.

The making process feels immersive and satisfying, promoting focus and a strong sense of achievement as each detail comes together. The finished figure stands out as a statement display piece or a unique collectible that instantly sparks interest. Layered stitches, defined textures, and thoughtful detailing bring movement and depth to the overall appearance. The final result highlights artistic confidence, character-driven style, and the special appeal that only a carefully handmade piece can offer.
Step-by-Step Instructions
Materials Needed
- Yarn: Multiple colors including skin tones, red (for shoes and scars), blue (for overalls), white, green, and yellow.
- Crochet Hook: Hook size to suit your yarn, typically 4mm for worsted weight yarn.
- Stuffing: Fiberfill for firm body and legs.
- Safety Eyes: 10–15mm eyes (adjust size as needed).
- Stitch Marker: Optional but helpful for counting stitches in a round.
- Needles: For final weaving and facial stitches (preferably embroidery needles).
- Scissors & Pins: For cutting yarn and marking areas (e.g., hair placement).
- Phone or Object: Used to measure yarn length for hair.
Building the Doll
1. Creating the Head:
- Start with a magic loop and chain one yarn loop to secure. Add six single crochets to begin.
- Follow with standard increases:
- Round 2: Add six increases (two stitches per stitch).
- Round 3: Alternate one single crochet and one increase for 18 stitches.
- Continue rounds alternating single crochets and increases until reaching 42 stitches (e.g., Round 5 uses three single crochets and one increase).
- Crochet evenly in 42 single crochets for seven rows (rounds 8–14).
- Begin decreasing rounds at Row 15 (e.g., five single crochets and one decrease). Continue decreasing stitches until closing the head fully.
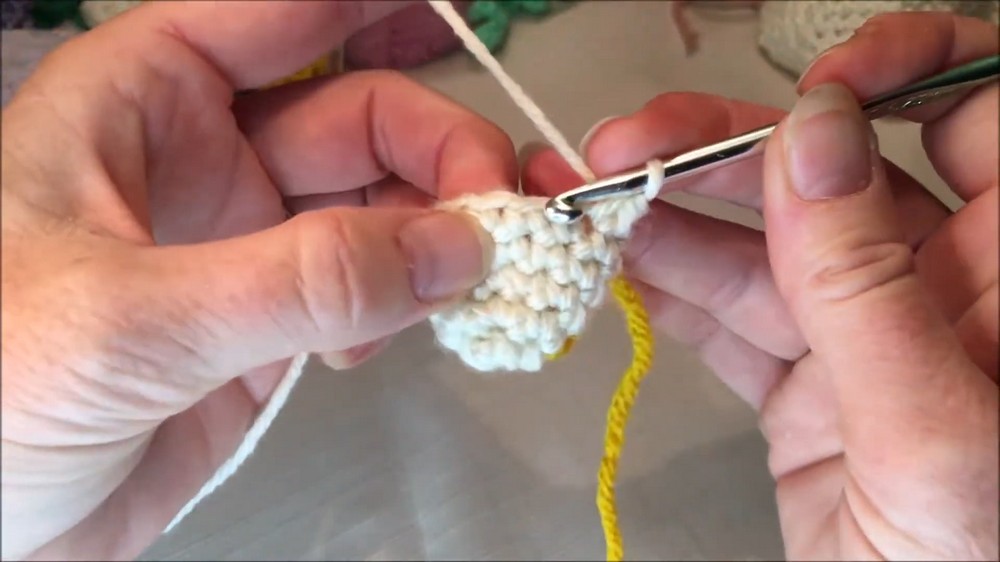
2. Adding the Arms:
- Create arms using a magic loop with skin-colored yarn.
- Round 1: Crochet six single crochets into the loop.
- Round 2: Perform six increases for a total of 12 stitches.
- Crochet in a flat color for three rows, then switch colors following instructions for striped sleeves (e.g., red and white for alternating rows).
- Stuff lightly before closing the hand.
- Attach the arms directly to the head and body.

3. Forming the Body:
- Continue crocheting directly from the head into the body using color changes for Chucky's clothes:
- Green, white, and blue for the torso.
- Finish with red for the shoes.
- Add stuffing toward the end to achieve desired firmness.

4. Building the Legs and Feet:
- Crochet legs directly from the body's lower portion, ensuring even placement for symmetry.
- Add stuffing to make the legs firm and allow the doll to stand.
- Crochet flat loops at the bottom of each leg for a sturdy base.
Facial Details
1. Eyes:
- Place safety eyes between rows 11 and 12 of the head, leaving three stitches between them.
- Insert the backs of the eyes and stuff the head firmly around them.
2. Nose:
- Use skin-colored yarn. Embroider a diagonal design two rows below the eyes.
- Secure the yarn and hide the ends.
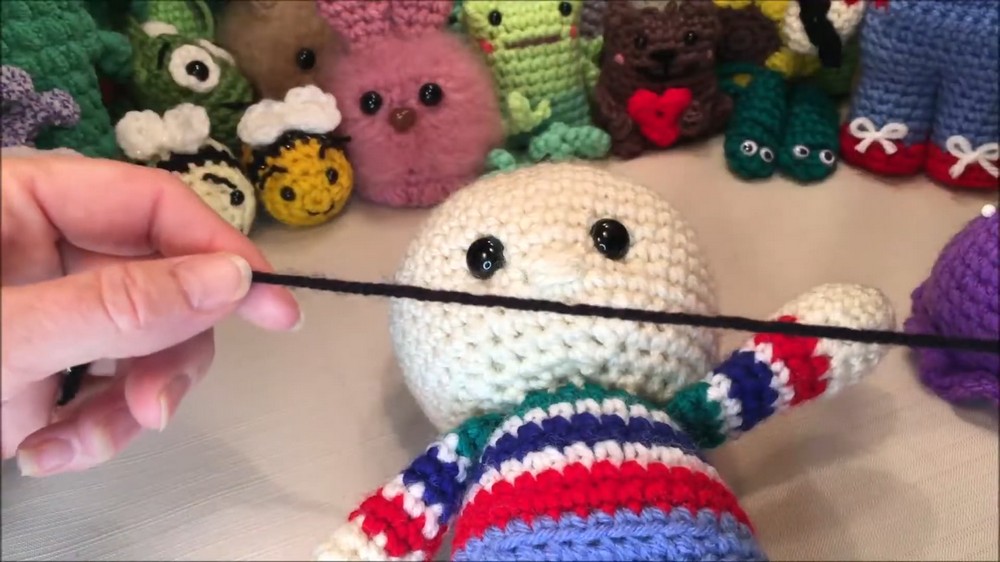
3. Scars:
- Use red yarn to embroider scars over the face, including around the eyes, forehead, mouth, and cheeks.
- Add thinner stitches using split yarn for finer scar details.
4. Mouth & Eyebrows:
- Use black yarn to outline a simple curved smile.
- For eyebrows, add short diagonal lines above the eyes. Focus placement based on Chucky's facial expression.
Hair Instructions
- Use your phone (or a similar object) to measure yarn lengths for the hair. Wrap yarn around the phone, then cut multiple strands.
- Mark the desired hairline using pins (usually 6–7 rows down from the top of the head).
- Insert the yarn into designated stitches along the hairline.
- Style the hair as needed, ensuring fullness and matching Chucky’s signature look.
Adding Overalls
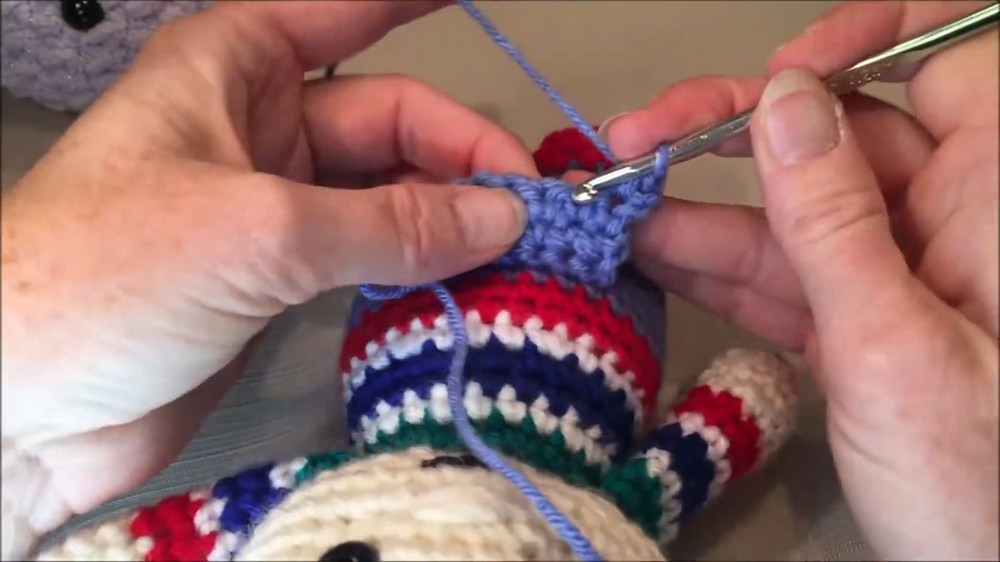
- Use blue yarn to crochet Chucky’s bib:
- Insert into front loops from the body row and crochet eight single crochets across.
- Turn and repeat for five rows.
- Attach straps using chain stitches (approximately 13 chains per strap).
- Secure straps to the body and weave in yarn ends.
Final Assembly & Customization
- Attach arms and legs securely using leftover yarn tails.
- Stuff evenly to maintain shape and firmness.
- Add details to Chucky's overalls, like bib edges or additional patterns, based on personal preference.
Special Features
- 100% No-Sew Design: The entire doll, including attachments for arms and legs, is crocheted directly.
- Highly Customizable: Adjust facial expression, hairline, scars, clothing details, and colors.
- Interactive Process: The tutor provides step-by-step guidance alongside viewers.
- Unique Additions: Features include Chucky’s signature outfit, realistic scars, and a two-tone striped design for sleeves and overalls.
Level of Difficulty
This tutorial is intermediate-friendly with beginner accessibility. The tutor guides viewers through each step of the process, including challenging elements like color changes, attaching arms/legs, and embroidering facial details. Beginners can participate with patience and a willingness to pause the video frequently.
Tutor's Suggestions
- Use Stitch Markers: Track critical points like color changes, decreases, and body segment transitions.
- Experiment with Hair Quantity: Add or reduce strands based on personal styling preferences.
- Stuff Carefully: Firm stuffing ensures the doll remains upright but avoid overstuffing, which may distort stitches.
- Take Your Time: The long tutorial ensures every step is detailed; pause and rewind when necessary.
Uses
- Display Piece: Perfect for Halloween or horror enthusiasts.
- Gift Item: A creative handmade gift for fans of "Child’s Play."
- Custom Collectible: Adapt Chucky's design for personal collections or themed decorations.
Tip for Success
Use pins to map the placement for scars and hair before starting. This will ensure symmetry and allow adjustments before committing to stitches.
Conclusion
The Chucky Doll Crochet pattern is an exciting project for fans of horror and crochet enthusiasts looking to challenge themselves. With its no-sew design, detailed instructions, and opportunities for creative customization, this doll is a unique addition to your handmade creations.