
Happy Crochet Chick Amigurumi Pattern That's Bring Smiles
Adorable and unique, this Free Crochet Chick Amigurumi Pattern is perfect for making cute gifts or adding a cheerful touch to your favorite spaces!
There’s something heartwarming about shaping a cheerful crochet chick amigurumi with just yarn and a hook. This charming piece is thoughtful and playful, making it a joy to make and treasure. With its delicate features, tiny wings, a sweet round body, and a gentle expression, it holds the potential to brighten anyone’s day. Whether nestled in a nursery, perched on a shelf, or attached to a bag as a keychain, it effortlessly brings a touch of charm and personality to any space.
Colorful Crochet Chick Amigurumi Pattern Great for Springtime
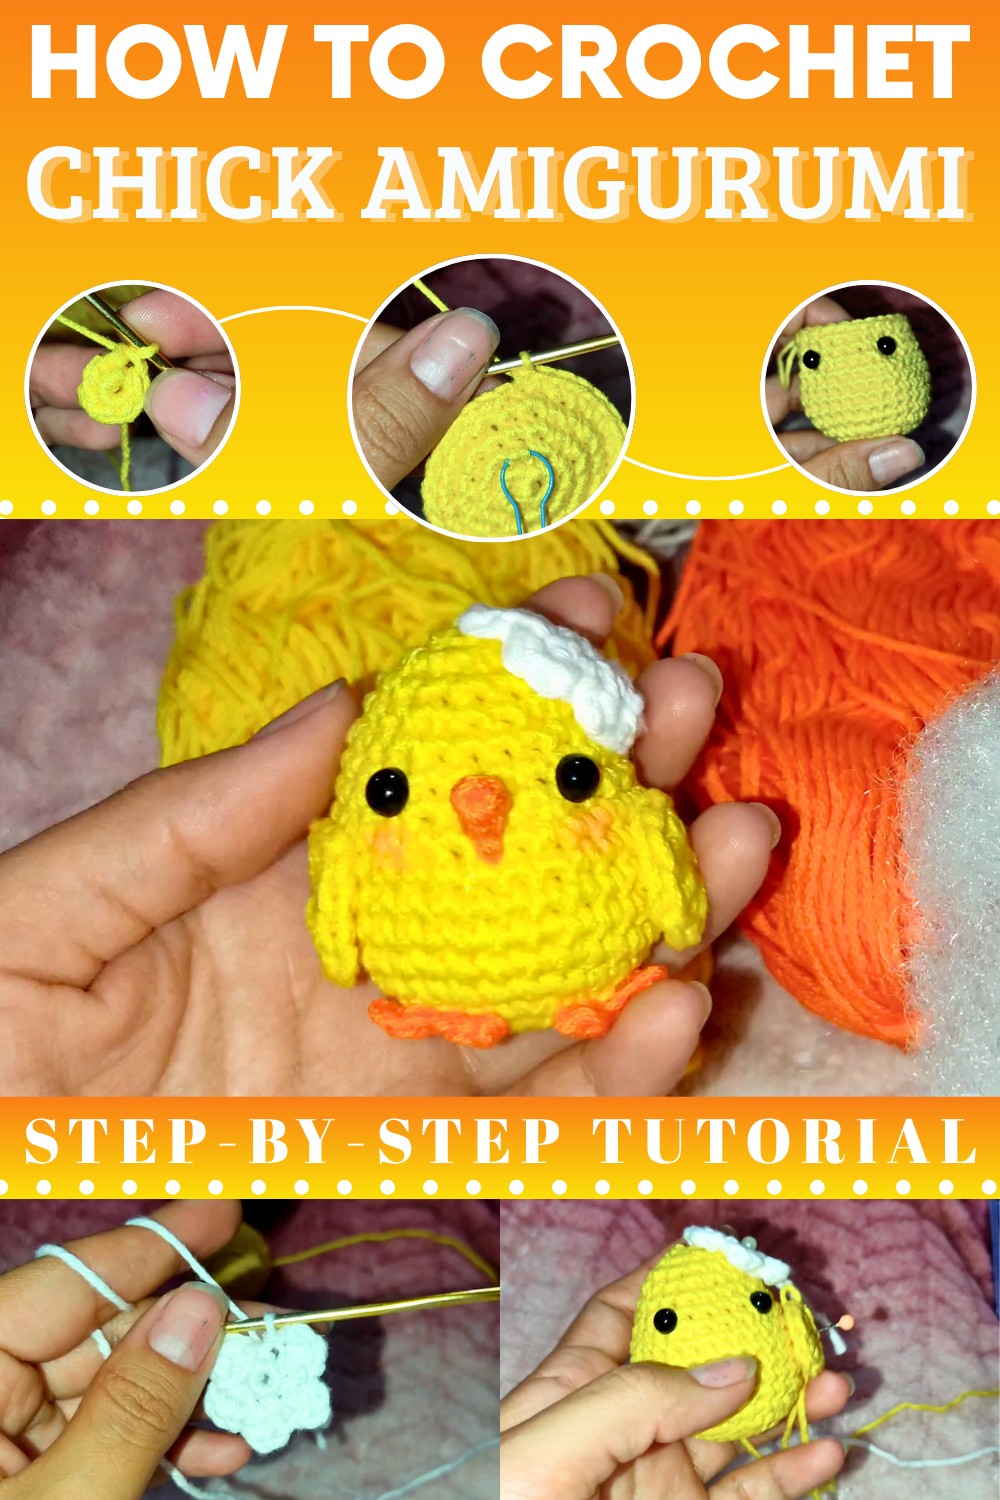
Perfect as a gift, this little chick is a heartfelt token for celebrating special occasions or simply reminding loved ones of your care. Its size makes it ideal for quick projects without losing the attention to detail that makes it truly special. For beginners, this calming activity is an excellent opportunity to practice foundational techniques and enjoy the satisfaction of seeing progress unfold.
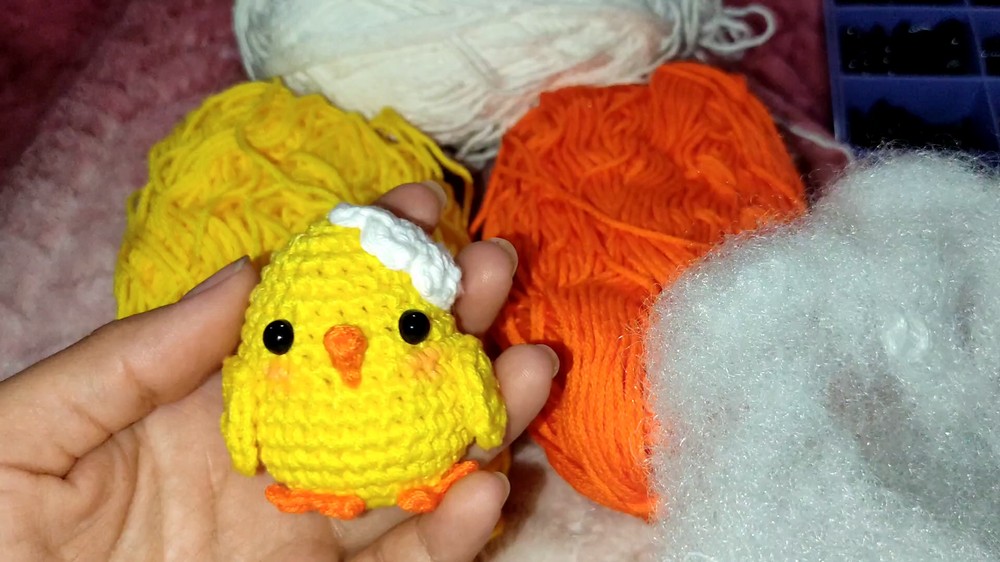
Whether for decoration, play, or keepsakes, crocheting this chick offers the benefit of personalizing your home or presenting a gift filled with thoughtfulness. A finished piece is not just a toy or ornament, it’s a labor of love with the power to spread smiles far and wide. Let it bring joy into your everyday moments.
Materials Needed:
To make the crocheted chick, you’ll need:
- Yarn: Yellow, orange, and white (cotton yarn recommended)
- Crochet hook: 2.5 mm
- Stuffing
- 6 mm googly eyes
- Blush (optional)
- Small brush for applying blush
- Scissors
- Yarn needle
- Stitch marker
- Pins (helpful for attaching pieces while sewing)
- Keychain ring (optional for turning it into a keychain)
Step-by-Step Details:
1. Start with the Chick’s Body:
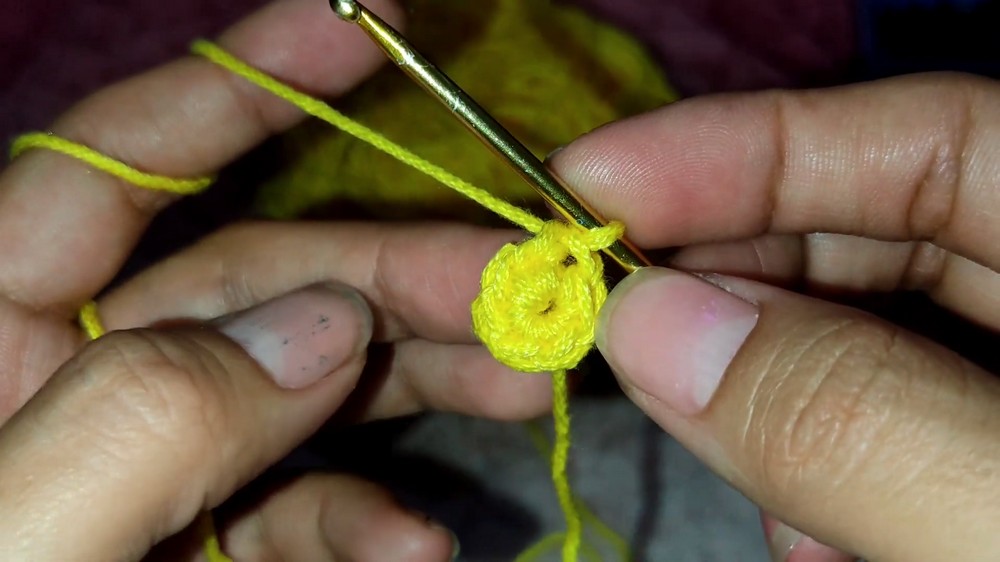
- Use yellow yarn to make a magic ring with 6 single crochet stitches.
- Crochet another round of 6 single crochet stitches, then pull the yarn tight to close the ring and join for the next round.
- Begin increasing stitches:
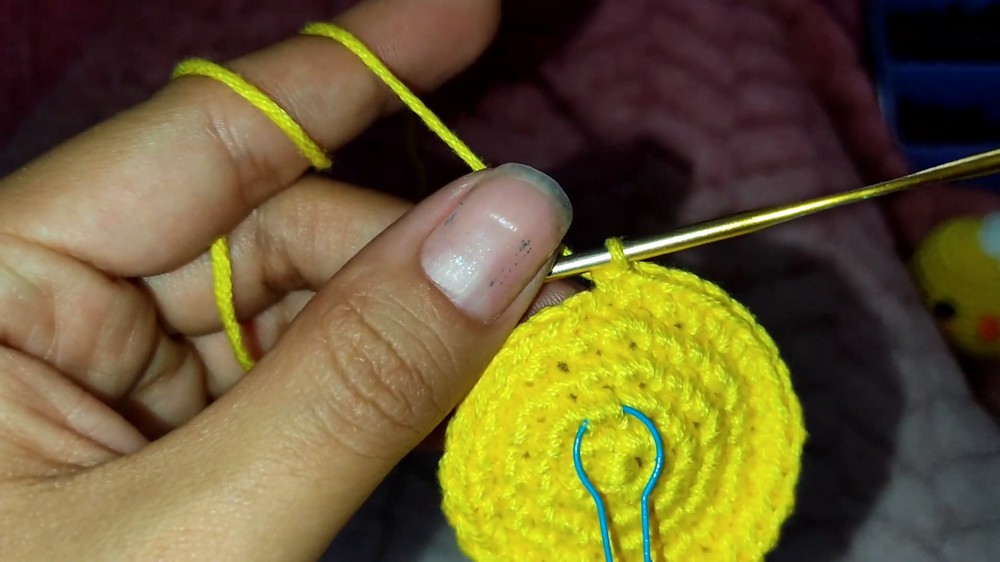
- Round 2: Add 2 single crochet stitches in each, totaling 12 stitches.
- Round 3: Add 1 single crochet and 1 increase alternately (18 stitches).
- Round 4: Add 2 single crochet stitches and 1 increase alternately (24 stitches).
- Round 5: Add 3 single crochet stitches and 1 increase alternately (30 stitches). Adjust placement slightly to round out the shape by starting with 1 single crochet and 1 increase.
- Continue by crocheting five rounds with no increases—just 1 stitch in each space.
2. Decrease to Shape the Chick:
- Start reducing stitches:
- For each decrease round, reduce by 6 stitches.
- Round 6: Add 3 single crochets and 1 decrease alternately (24 stitches).
- Crochet 2 rounds of single stitches in each space (still 24 stitches).
- Round 7: Add 2 single crochets and 1 decrease alternately (18 stitches).
- Round 8: Add 1 single crochet and 1 decrease alternately (12 stitches).
- Add stuffing as you work and continue decreasing until only 6 stitches remain.
- Use a needle to close the remaining stitches neatly.
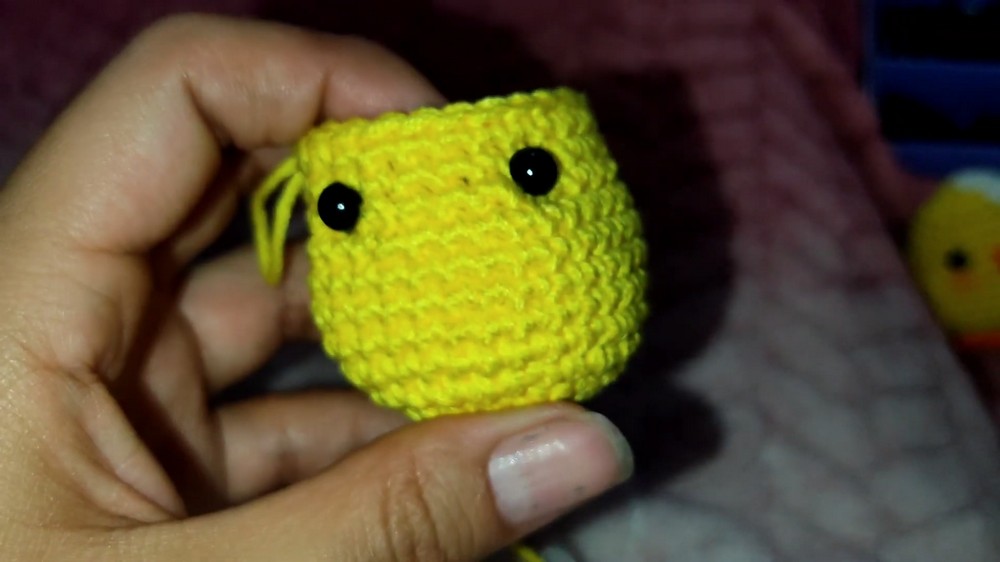
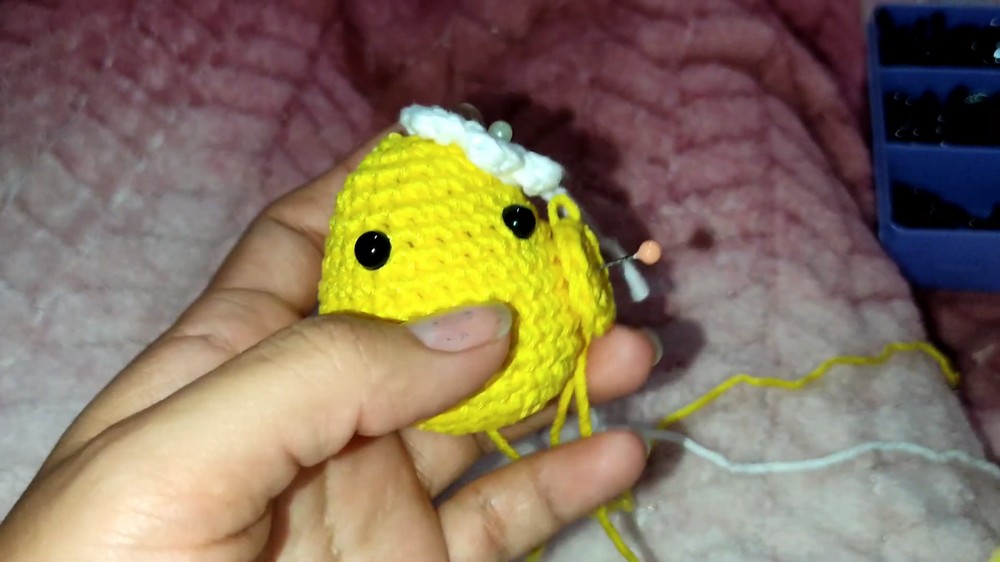
3. Add the Features:
Eyes:
- Position the googly eyes between rounds 11 and 12, leaving 4 holes between them for even placement. Use safety pins to secure before fastening them.
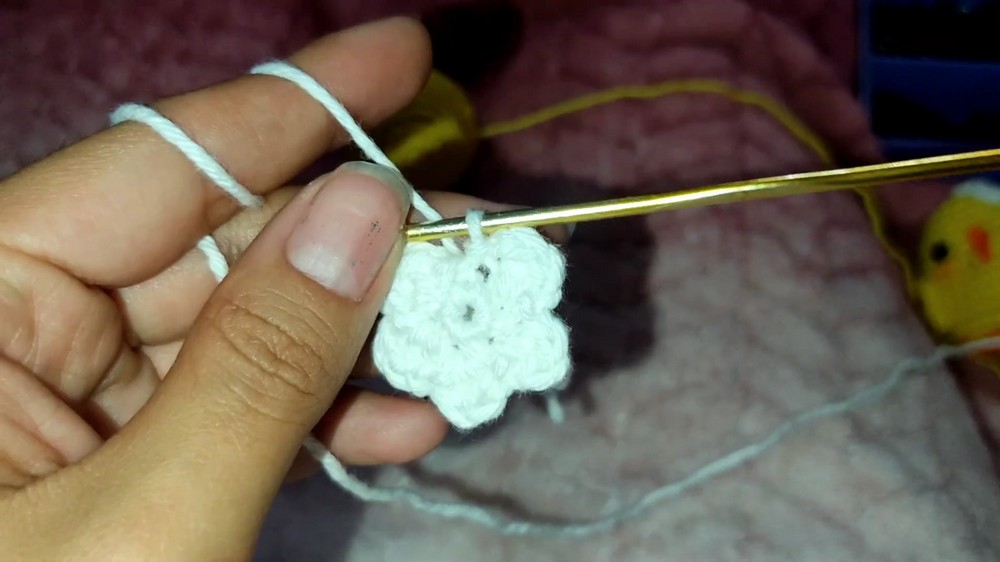
Shell (White Yarn):
- Make a magic ring with 6 single crochet stitches.
- Crochet petals:
- Join with a slip stitch, chain 1, and crochet 2 double crochets in the same stitch.
- Chain 1, slip stitch, and repeat the process to form petals.
- You can create 5 or 6 petals depending on preference.
- Leave enough yarn to sew the shell onto the back of the chick.
Wings:
- Make a magic ring and chain 1. Add:
- 4 half double crochets, followed by 2 double crochets.
- End with 4 more half double crochets and close the ring.
- Join with a slip stitch and leave extra yarn to attach the wings to the sides.
Beak:
- No magic ring needed. Chain 3 stitches, then:
- Single crochet into the first stitch.
- Create a slip stitch into the second chain, chain 1, and leave a tail for sewing.
- Attach the beak right below the chick’s eyes.
Legs:
- Chain 3. Skip the first chain, and slip stitch into the second and third chains.
- Repeat the process to create two legs, then sew them underneath the chick.
Special Features:
- Includes unique accessories like blush for cheeks and a white crocheted shell for added cuteness.
- Flexible design accommodates personal touches, like varying yarn thickness to adjust size.
- The project is beginner-friendly, requiring simple stitches such as single crochet, double crochet, and slip stitch.
Tutor’s Suggestions:
- Use stitch markers to keep track of rounds for accuracy.
- Stuff the chick gradually as it takes shape to avoid gaps.
- Be creative—adjust yarn sizes or colors for a unique look.
- Only sew along one side of the wings for a raised, playful appearance.
Uses:
- Perfect as a keychain by attaching a ring.
- Great decorative item for kids' rooms, gifts, or desk décor.
- Can be customized into other small characters with different features.
Conclusion:
This crochet chick tutorial delivers a fun, charming project that’s easy to follow and packed with creativity. It’s a delightful way to practice crochet techniques while creating something adorable and functional.