
Grab Crochet Reindeer Amigurumi Pattern for Peak Cozy Energy
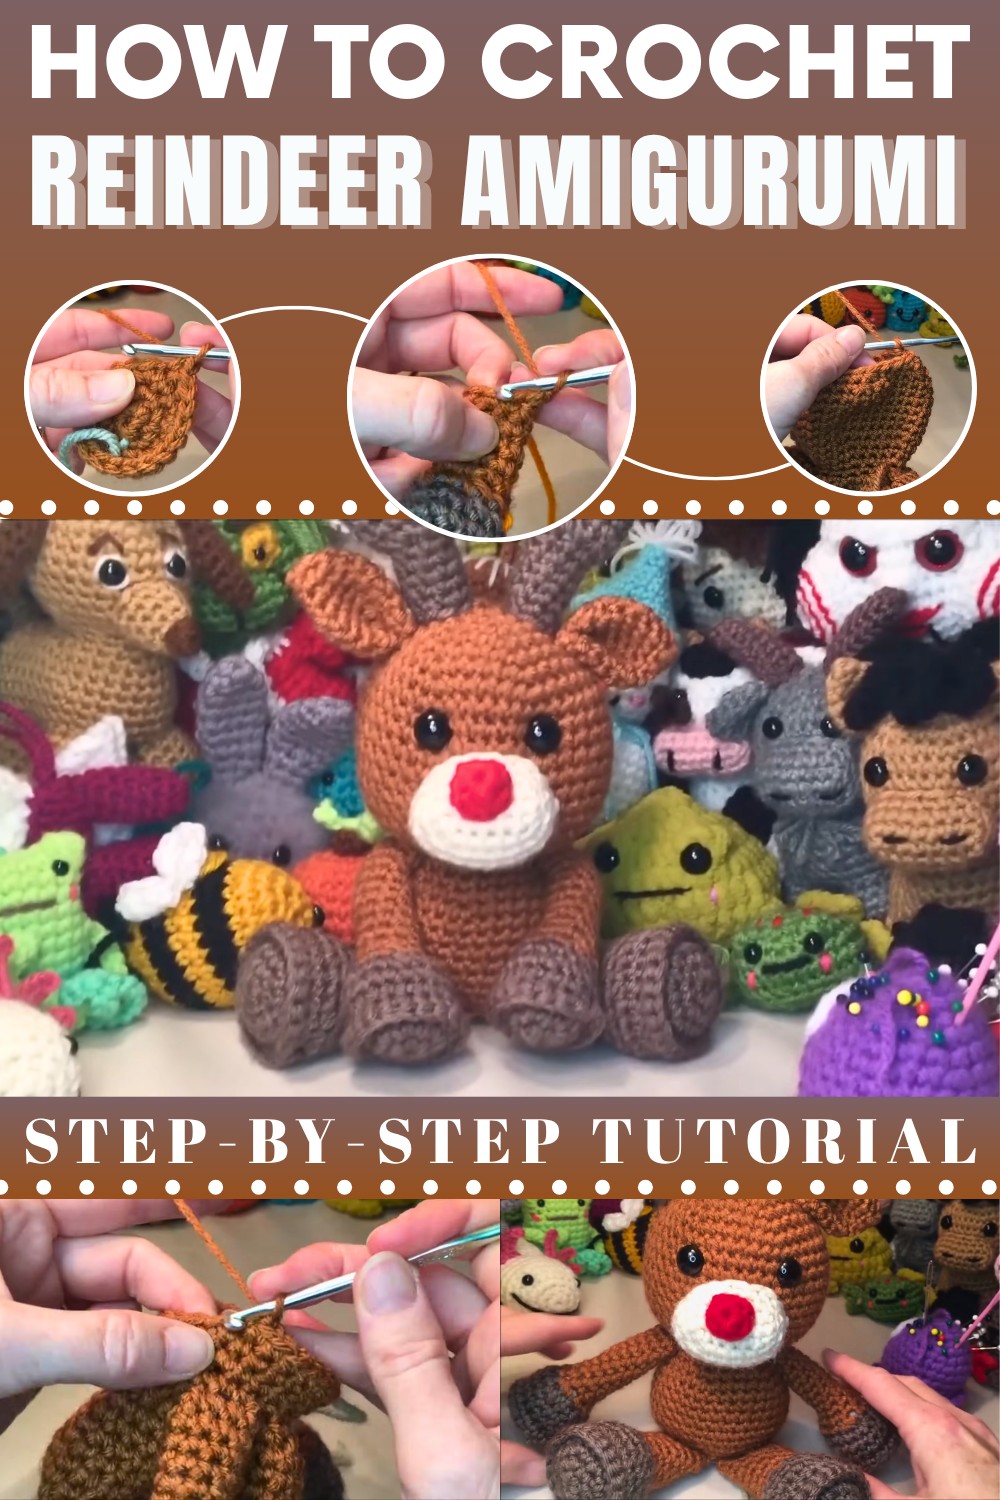
Snag with this Crochet Reindeer Amigurumi Pattern to build a posh holiday with festive antlers and a cozy vibe that everyone surely loves.
Master Crochet Reindeer Amigurumi Pattern for Seasonal Aesthetic
Capture the festive spirit of the winter season with a sophisticated holiday companion that radiates warmth and seasonal magic. This elegant Crochet Reindeer Amigurumi Pattern results in a stunning, soulful figure featuring graceful antlers and a gentle expression that brightens any room it occupies. Perfect as a centerpiece for holiday mantels, a snuggly heirloom for little ones, or a thoughtful surprise for a loved one, this piece serves many purposes beyond simple decoration.
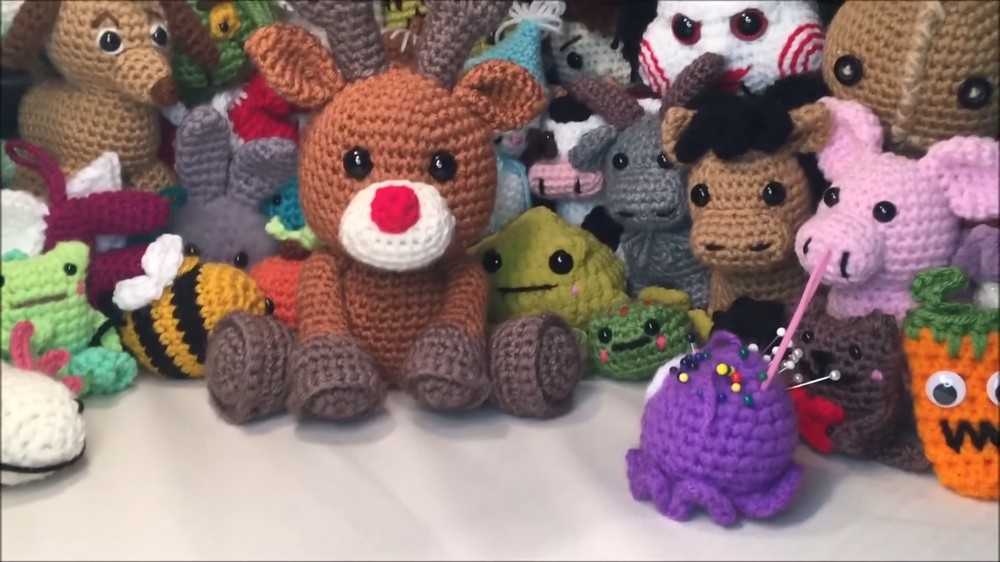
Engaging with this project offers a refreshing mental reset, allowing for a deep focus that sharpens precision while delivering a high-quality finished product. The overall look is defined by its plush texture and timeless woodland charm, making it a standout addition to any collection of high-end yarn art. Today, makers value this design for its blend of rustic elegance and modern appeal, ensuring that every stitch contributes to a posh, spirited holiday mascot that remains a favorite for years.
Materials
- Yarn: #4 Medium Weight (Worsted Weight).
- Main Color: Brown (Body, Head, Limbs).
- Accent Color: Dark Brown/Black (Hooves).
- Contrast Color: Beige/Cream (Muzzle, Antlers).
- Red (Nose, optional Lights).
- Various colors for lights (optional).
- Hook: 4.25 mm.
- Eyes: 14 mm Safety Eyes.
- Tools: Stitch markers, Yarn needle, Scissors, Stuffing (Polyfil).
Special Features
- One-Piece Body: The head, neck, and body are crocheted as a single unit.
- No-Sew Limbs: Arms and legs are crocheted directly into the body, minimizing sewing.
- Sitting Posture: Designed with a flat bottom to sit perfectly on shelves or mantles.
Difficulty Level
Intermediate: Involves joining pieces while crocheting (arms/legs) and working in rounds.
Step-by-Step Pattern
Part 1: Arms (Make 2)
Start with Hoof Color.
- R1: 6 sc in a magic loop. (6)
- R2: 6 inc. (12)
- R3: (1 sc, inc) x 6. (18)
- R4: 18 sc in Front Loop Only (FLO). (18)
- R5: 18 sc in Back Loops of the previous row (creates the hoof ridge). (18)
- R6: 18 sc. (18)
- R7: (1 sc, dec) x 6. (12)
- Change to Body Color (Brown) in the last stitch of R7.
- R8: (1 sc, dec) x 4. (8)
- R9 – R18: 8 sc around (10 rows). (8)
- Finish: Lightly stuff the bottom (hoof) but keep the top empty. Flatten the opening and sc 3 stitches across through both layers to close. Tie off.

Part 2: Legs (Make 2)
Start with Hoof Color.
- R1: 6 sc in a magic loop. (6)
- R2: 6 inc. (12)
- R3: (1 sc, inc) x 6. (18)
- R4: (2 sc, inc) x 6. (24)
- R5: 24 sc in Front Loop Only (FLO). (24)
- R6: 24 sc in Back Loops of R4. (24)
- R7: (2 sc, dec) x 6. (18)
- R8: 18 sc. (18)
- R9: (1 sc, dec) x 6. (12)
- Change to Body Color (Brown).
- R10 – R16: 12 sc around (7 rows). (12)
- Finish: Stuff hoof firmly (make it bulge) but keep the top flat. Flatten the opening and make 6 sc across to close (increase in the middle if needed to get 6 stitches). Tie off.

Part 3: Head & Body
Start with Body Color at the top of the head.
- R1: 6 sc in a magic loop. (6)
- R2: 6 inc. (12)
- R3: (1 sc, inc) x 6. (18)
- R4: (2 sc, inc) x 6. (24)
- R5: (3 sc, inc) x 6. (30)
- R6: (4 sc, inc) x 6. (36)
- R7: (5 sc, inc) x 6. (42)
- R8 – R16: 42 sc around (9 rows). (42)
- R17: (5 sc, dec) x 6. (36)
- R18: 18 invisible decreases (severe decrease row). (18)
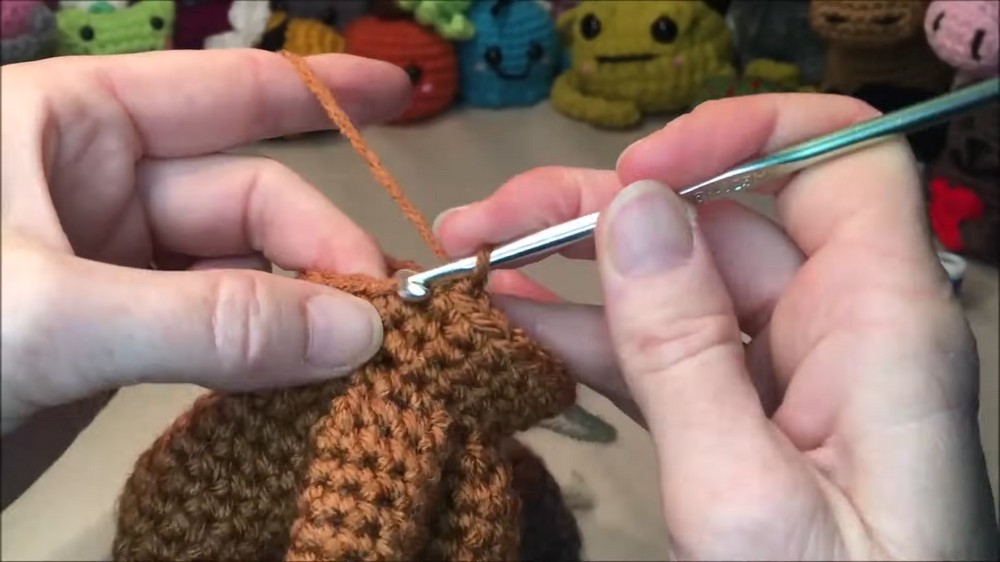
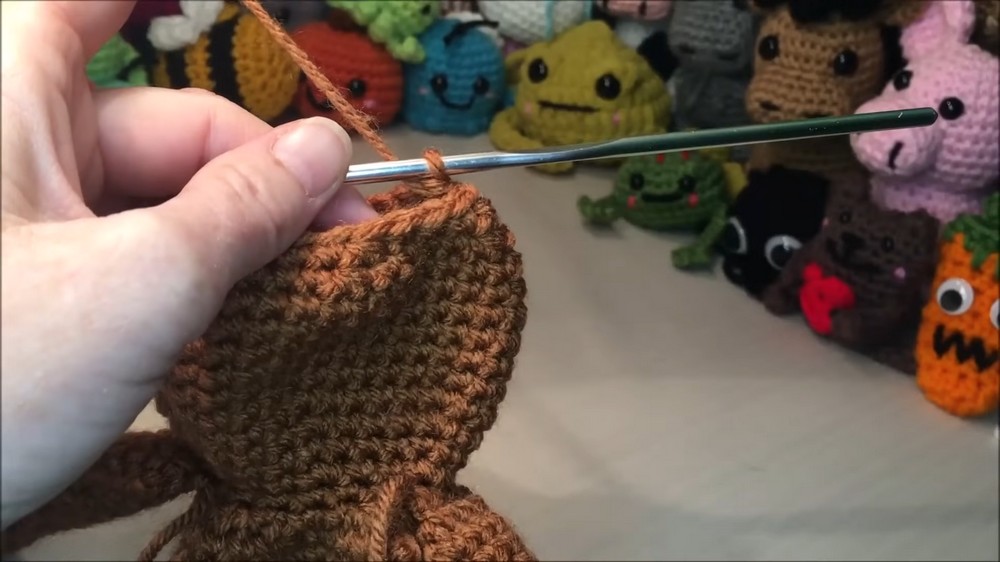
- R19 (Join Arms): 3 sc, attach Arm 1 (3 sc through arm and head stitches), 6 sc (front of chest), attach Arm 2 (3 sc through arm and head), 3 sc. (18)
- R20: (2 sc, inc) x 6. (24)
- R21: 24 sc. (24)
- R22: (3 sc, inc) x 6. (30)
- R23: (4 sc, inc) x 6. (36)
- R24 – R29: 36 sc around (6 rows). (36)
- Insert Safety Eyes between R9 and R10, approximately 4 holes apart.
- Begin stuffing the head firmly.
- R30: (4 sc, dec) x 6. (30)
- R31: (3 sc, dec) x 6. (24)
- R32 (Join Legs): Ensure center alignment (12 stitches across front).
- 8 sc (body only).
- 6 sc (crochet through Leg 1 and body).
- 6 sc (crochet through Leg 2 and body).
- 4 sc (body only). (24)
- R33: (2 sc, dec) x 6. (18)
- R34: (1 sc, dec) x 6. (12)
- Finish: Fasten off. Weave yarn through the remaining 12 stitches to close the hole securely.
Part 4: Muzzle
Use Beige/Cream.
- Foundation: Chain 7.
- R1: Start in 2nd ch. 5 sc, 3 sc in last ch (turn corner). Working up the other side: 4 sc, 2 sc in last stitch.
- R2: Inc, 4 sc, 3 inc, 4 sc, 2 inc.
- R3 – R6: 20 sc around. (20)
- Finish: Slip stitch, leave long tail for sewing.
Part 5: Ears (Make 2)
Use Body Color.
- R1: 6 sc in loop. (6)
- R2: (1 sc, inc) x 3. (9)
- R3: (2 sc, inc) x 3. (12)
- R4: (3 sc, inc) x 3. (15)
- R5 – R6: 15 sc around. (15)
- R7: (3 sc, dec) x 3. (12)
- R8: (2 sc, dec) x 3. (9)
- Finish: Fold in half and sc across to close.
Part 6: Antlers (Make 2)
Use Beige/Cream.
- Small Piece:
- R1: 6 sc in loop.
- R2: (2 sc, inc) x 2. (8)
- R3 – R5: 8 sc. (8)
- Fasten off.
- Main Piece:
- R1: 6 sc in loop.
- R2: (2 sc, inc) x 2. (8)
- R3 – R8: 8 sc. (8)
- Join (R9): Crochet 8 sc around the Small Piece, then 8 sc around the Main Piece. (16)
- R10: 16 sc. (16)
- R11: 8 decreases. (8)
- R12 – R17: 8 sc around. (8)
- Finish: Leave tail for sewing. Stuff firmly so they stand tall.
Part 7: Nose
Use Red.
- R1: 8 sc in magic loop. (8)
- R2: 8 sc. (8)
- Finish: Leave tail for sewing.
Part 8: Christmas Lights (Optional)
- Bulbs: Chain 4. In 2nd ch from hook: sc, hdc, sc in last ch. Fasten off. Make multiple in different colors.
- String: Chain 9, sc attach a bulb, chain 9, attach next bulb, repeat.
Assembly Instructions
- Muzzle: Sew onto face centered below eyes. Stuff lightly before closing.
- Antlers: Sew onto top of head, aligned with arms.
- Ears: Sew right next to/below antlers.
- Nose: Sew onto the top edge of the muzzle.
- Lights: Wrap around the reindeer's body/neck.

Tutor's Suggestions
- Stuffing: Ensure the hoofs bulge out for a cute look, but keep the top of the legs flat so they don't force the body to tip over.
- Antlers: Stuff the bottom of the antlers firmly; otherwise, they will flop over.
- Safety Eyes: Before fastening the backs, check that they are centered relative to where the arms fall.
Uses
- Shelf Sitter: The flat bottom design allows it to sit perfectly on edges.
- Holiday Gift: A quick, handmade present for Christmas.
- Tree Decor: Can be modified with a loop to hang.
Tip
Even Stuffing: When stuffing the legs, grab the total amount of stuffing you think you need for both legs first, then split that pile in half. This ensures both legs are stuffed to the exact same size and firmness!