
Beginner-Friendly Crochet Baby Chick Tutorial for Easter Fun
Soft handmade decor comes alive with this Crochet Baby Chick pattern using simple stitches for cute gifts, seasonal displays, and quick yarn projects.

Soft yarn textures and cheerful colors make a tiny crocheted chick a delight to look at and fun to use in many ways. This soft handmade bird make lovely décor pieces, cheerful gifts for friends or Easter baskets, and even keychains or backpack charms. Following a Crochet Baby Chick pattern helps you make something both beautiful and useful, teaching you essential crochet techniques while creating a finished toy you’ll be proud of.
Quick Handmade Gift Using a Crochet Baby Chick Tutorial

This makes your handmade creation perfect for gifts, seasonal decorations, or simply showcasing your growing crochet skills.
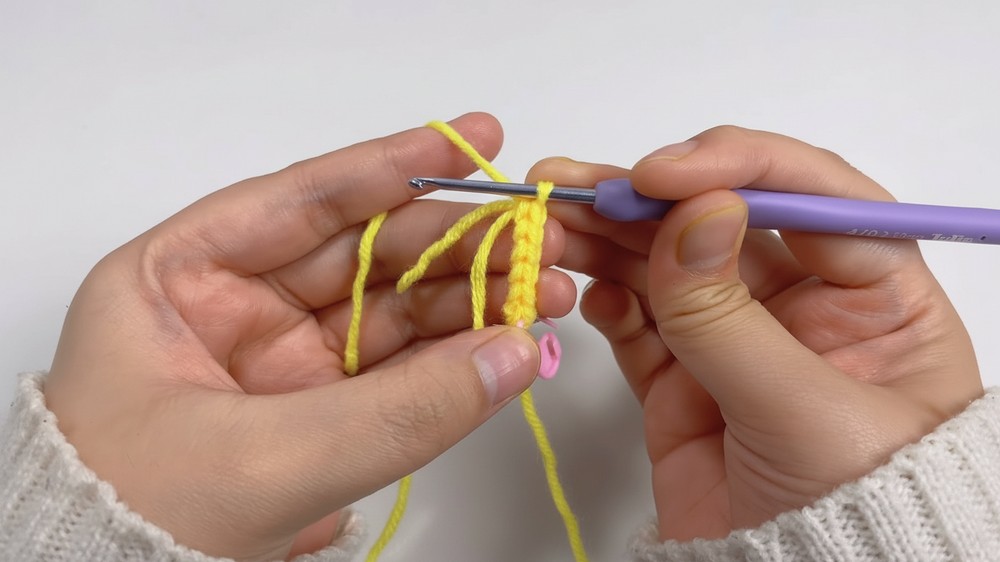
This type of pattern usually features basic stitches like single crochet (sc), increase (inc) and decrease (dec), often starting with a magic ring to shape the body and head.

These simple steps make it beginner-friendly, so even if you’re new to crochet, you can follow along and finish your project in just a couple of hours.

Once you’ve mastered this, you’ll build confidence for larger or more detailed projects.

- Level of Difficulty: Beginner-Friendly. The project uses basic amigurumi shapes and techniques, making it perfect for those new to crochet.

One of the benefits of working on a baby chick crochet pattern is how customizable it is — you can pick fun yarn colors, add cute details like safety eyes or tiny wings, and even adjust the size by using different hook sizes or yarn weights.
Crochet Baby Chick Project
General Information
-
Special Features: The chick features a seamless body-and-head design, tiny wings, and an embroidered face that gives it a sweet personality.
-
Uses: Ideal as an Easter decoration, a nursery ornament, a keychain (if using thinner yarn), or a small gift for children.
Materials Needed
-
YARN: 4ply or 5ply milk cotton yarn
-
HOOK: 2.5 mm or 3.00 mm
-
Eyes: 8mm or 10mm safety eyes.
-
Tools: Scissors, yarn needle, and stitch markers.
Step-by-Step Instructions
This tutorial walks you through the creation of a round, fluffy baby chick amigurumi. It is a quick and satisfying project that results in a charming handmade toy or decoration, characterized by its simple shape and vibrant colors.
Tutor's Suggestions
-
Stitch Markers: Use a stitch marker at the beginning of every round to avoid losing your place, as plush yarn can make it hard to see individual stitches.
-
Stuffing Technique: Don’t overstuff the very bottom so the chick can sit flat without rolling over.
-
Yarn Choice: Using "velvet" or "chenille" yarn makes the chick look extra soft and hides any minor stitch imperfections.
Conclusion
This Crochet Baby Chick is a wonderful project for practicing circular crochet and basic assembly. Its minimalist design makes it very forgiving for beginners while still producing a high-quality, professional-looking result.
Tip for Success
To give your chick more character, try "sunken" eyes. After placing the safety eyes, use a strand of matching yarn to pull the area behind the eyes slightly inward before stuffing. This creates a more defined face and a cuter, "chibi" look!