
Fun Crochet Tulip Pattern to Brighten Your Space
Unearth this Crochet Tulip Pattern and fashion a vibrant, everlasting garden that brings a pop of spring color to any cozy nook.

Capture the spirit of spring with this Crochet Tulip that allows you to create a vibrant, everlasting bloom that never fades. It features a realistic, bell-shaped flower with multiple layers of soft petals that give it a full and elegant appearance. You can use these bright tulips to brighten up your desk, create a permanent bouquet for your dining table, or even gift a "forever" flower to someone special who loves gardening. Its sturdy yet flexible structure means you can pose the petals and stem to look just like a real flower dancing in a breeze.
Crochet Tulip Pattern That Will Last Forever

Whether you’re designing home decor, creating personalized gifts, or simply enjoying the therapeutic rhythm of crochet, this tulip project is sure to impress. Craft it once, cherish it forever—it’s elegance at your fingertips.
Crochet Tulip Pattern
Special Features
- Beginner to Intermediate Skill Level: While some basic crochet knowledge is needed, the pattern is simple when followed step-by-step.
- Realism: Includes six carefully constructed petals (3 large, 3 small), textured leaves, and a sturdy stem.
- Customizable: Easily adjust the colors and materials to suit your preferences or event themes (e.g., weddings, spring decor).
- Durability: Reinforced wire and materials like thread ensure the flower can be posed, shaped, and remain long-lasting.
Materials Needed
- Yarn:
- Light or thread-weight yarn in 3 colors:
- Yellow for the tulip center.
- Pink (Rosa Mexicano) for the petals.
- Green for the leaves and stem. Suggested brands: Eulali for yellow thread and Sinfonía for the pink and green threads.
- Light or thread-weight yarn in 3 colors:
- Hooks: 1.5 mm and 2 mm aluminum crochet hooks.
- Thin Wire: Jewelry wire, thin and flexible, to shape the petals and leaves.
- Flower Tape: For covering the stem and securing components.
- Skewer Stick: A standard wooden skewer for the main stem.
- Tools:
- Scissors.
- Point marker.
- Tapestry needle.
- Adhesive (e.g., hot glue gun or silicone glue).
Step-by-Step Pattern
I. Large Petals
You will create 3 large petals to add depth to the tulip’s structure.
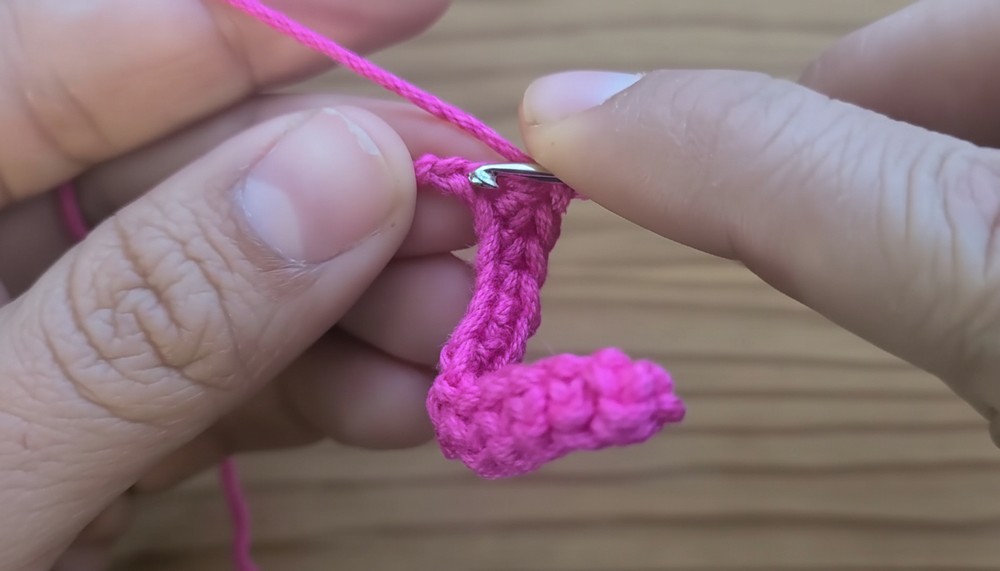
Step 1: Create the Foundation
- Using pink yarn, chain 15 stitches to start.
- Skip 1 chain from the hook, then work 13 single crochet (SC) into the next 13 chains.
- In the last chain, work a triple increase (3 SC in the same chain) to round the edge.
Step 2: Work the Other Side
- Turn the piece and work along the bottom side of the foundation chain.
- Crochet 13 SC, hiding the starting tail thread as you go.
- In the chain you skipped at the start, work another triple increase of SC.
💡 At the end of this round, you should have 32 stitches.
Step 3: Add Height with Half Double Crochets (HDC)
- Chain 1, then work:
- 1 SC into the first stitch.
- 13 Half Double Crochets (HDC) into the next stitches.
- Triple increase of HDC in the following stitch.
- 13 more HDC along the other side.
- To finish off, create a triple increase of SC in the last stitch.
💡 At the end of this round, there should be 36 stitches.
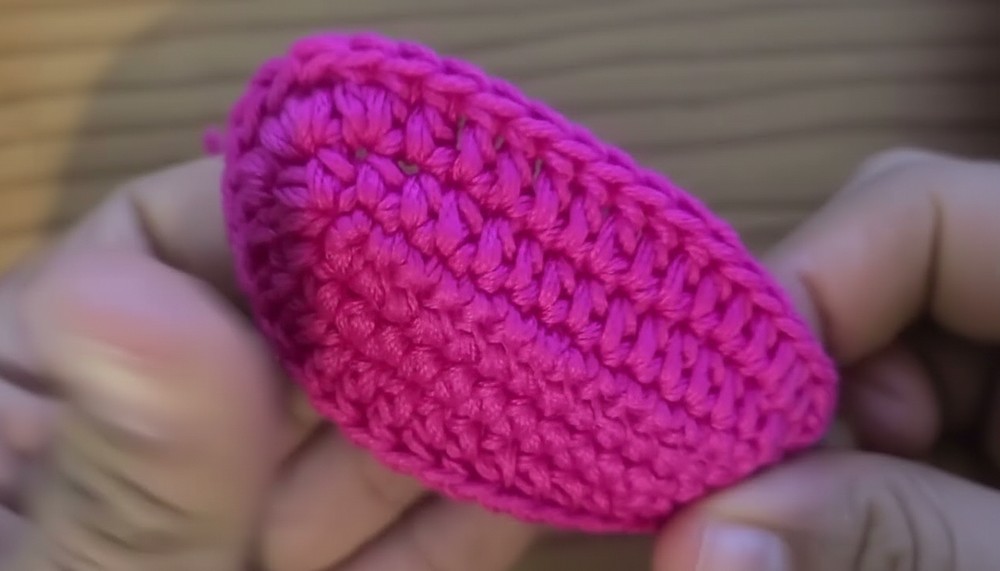
Step 4: Final Round with Wire Reinforcement
- Introduce the thin wire just below the crochet piece. Ensure you leave a longer end to prevent it from slipping.
- Crochet 6 HDC, ensuring the wire runs underneath your stitches.
- Continue with:
- 8 Double Crochets (DC).
- 1 increase of DC.
- Triple increase of Treble Crochets (TRC) (yarn over twice at the start before pulling through).
- Another DC increase.
- Repeat these steps symmetrically along the other side to form a natural petal shape.
- End with 2 HDC, making sure the stitches embrace the wire. Cut off the excess wire and secure.
💡 Each large petal is completed! Repeat this pattern to create 3 large petals.
II. Small Petals
The small petals follow a similar methodology with minor adjustments:
- Work 15 chains as the foundation.
- Replace all HDCs with DC in Step 3 of the Large Petal instructions.
💡 You will need 3 small petals.
III. Leaves
- Using green yarn, chain 30 stitches for the foundation.
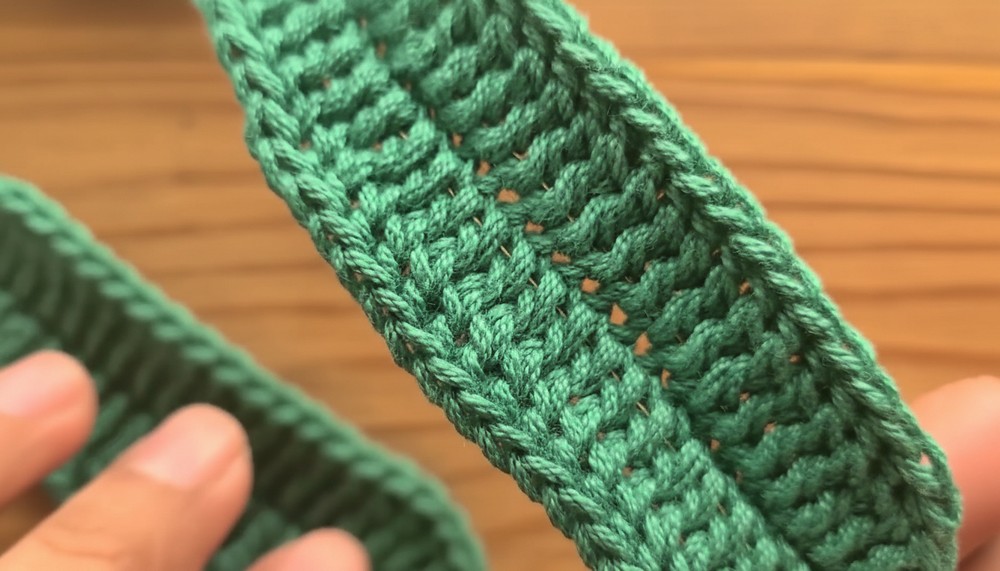
- Along the chain, crochet:
- 2 SC,
- 1 HDC,
- 1 DC,
- 17 TRC for the tapered shape.
- Mirror this along the bottom of the chain and reinforce with wire.
💡 Create 1 or 2, depending on your preference.

IV. Flower Center
- With yellow thread, create a magic ring and work 6 SC in the loop.
- Close the ring tightly and fasten off, leaving a small gap in the center for the skewer stick.

V. Assembly
- Secure the center ball onto the skewer stick using adhesive or hot glue.
- Attach the small petals around the center, followed by layering the large petals for depth.
- Use flower tape to cover the skewer stick while securing the leaves along the tape at a slight angle.

Tutor’s Suggestions
- Materials Matter: Use vibrant yarn colors for lifelike results. Cotton threads work especially well for definition.
- Shape Carefully: Thanks to the wire, you can bend and position the petals and leaves for a natural look.
- Glue Neatly: Use minimal adhesive to prevent excess glue visibility on the petals.
Uses
- Home decor: Add these tulips to a vase for charming spring or year-round decor.
- Gifting: Use as a thoughtful handmade gift for friends or loved ones.
- Craft Displays: Showcase in floral crafts like bouquets or garlands.
Conclusion
This crochet tulip flower is an incredibly rewarding project that combines skill and creativity to mimic nature’s beauty. From constructing each petal to shaping the leaves, the result is a handcrafted masterpiece you’ll be proud to display or gift. Perfect for intermediate crocheters or any floral enthusiast, this pattern allows you to experiment with colors, materials, and creative applications.
Bonus Tip
- To add a finishing touch, lightly spray your tulip with fabric stiffener to help your petals maintain shape over time.