
Fun Crochet Mario Turtle Shell Pattern That Looks Amazing
Power up your playroom with Crochet Mario Turtle Shell, a bold handmade gaming accent that makes a fun gift or colorful shelf display.

Add a playful, nostalgic twist to your life with this Crochet Mario Turtle Shell! Inspired by the iconic plumber’s game, this vibrant shell bursts with bold red and yellow hues, perfectly capturing the charm of the video game world. Whether you're giving a gift, crafting for décor, or upgrading your crochet collection, its smooth, tidy stitches and unmistakable design are sure to steal the spotlight.
Level Up with This Crochet Mario Turtle Shell Pattern

For beginners, this project is a great way to practice working in rounds and shaping without feeling confused or overwhelmed. The steps are clear and manageable, helping you build confidence as you see the shell take form row by row. It can be used as a shelf display, a playful prop for photos, or a thoughtful handmade surprise for someone who loves video games. The finished piece is lightweight and easy to move around, so you can place it wherever you want a pop of fun.
Crochet Mario Turtle Shell Pattern
Materials Needed
- Yarns:
- Red (or green) for the shell.
- White yarn for the border.
- Yellow yarn for the bottom shell.
- Black yarn for embroidery (optional).
- Other Items:
- 3.5 mm crochet hook.
- Black fabric paint.
- Keyring.
- Fiberfill for stuffing.
- Tapestry needle.
- Scissors.
- Stitch marker (or a piece of yarn).
Special Features of this Pattern
- Customization: Change colors to create red or green turtle shells.
- Textural Difference: The top shell is curved, while the bottom is made flat for a realistic look.
- Embroidery or Painting: Add shell details with stitches or paint for a clean finish.
- Intermediate-Friendly: Although beginner-friendly, it employs stitching techniques like working in continuous rounds, increases, and joining pieces.
Difficulty Level
Intermediate – This project requires some experience with basic shapes and stitch combinations. However, with focus and determination, beginners can complete it.
Step-by-Step Crochet Pattern
Part 1: Top Shell (Red or Green)
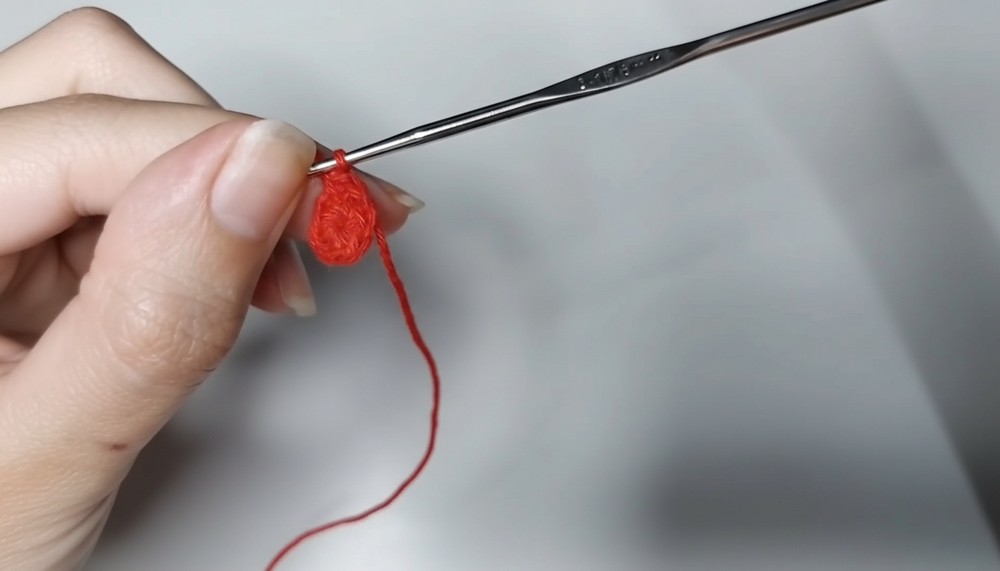
- Start with a Magic Ring.
- Work 6 single crochets (sc) into the ring. Tighten the ring.
- Round 1:
- Increase in every stitch: Work 2 sc in each stitch (12 stitches in total).
- Round 2:
- 1 sc, 1 increase around the row (18 stitches).
- Round 3:
- 2 sc, 1 increase around the row (24 stitches).
- Round 4-6 (Continue Increasing):
- Round 4: 3 sc, 1 increase around (30 stitches).
- Round 5: 4 sc, 1 increase around (36 stitches).
- Round 6: 5 sc, 1 increase around (42 stitches).
- Final Round of Increases:
- 6 sc, 1 increase around for a total of 48 stitches.
- Shape the Shell by Working Straight Rows:
- Work 3 straight rounds (48 sc each) without increasing or decreasing. (This shapes the curve of the shell).
- Cut the red/green yarn, leaving enough length to fasten it securely.

Part 2: Bottom Shell (Yellow)
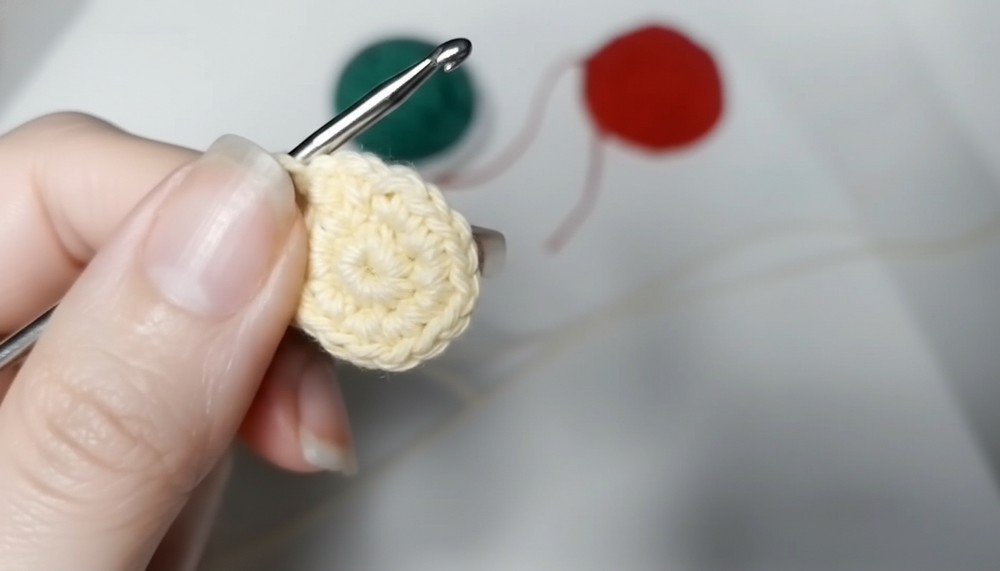
- Start with a Magic Ring.
- Work 8 sc into the magic ring.
- Continue in Rounds:
- Round 1: Increase in each stitch: Work 2 sc in each stitch (16 stitches).
- Round 2: 1 sc, 1 increase (24 stitches).
- Round 3: 2 sc, 1 increase (32 stitches).
- Round 4: 3 sc, 1 increase (40 stitches).
- Round 5: 4 sc, 1 increase (48 stitches).
- Work Straight Rows for a Flat Base:
- Work 2 straight rounds (48 sc each) to create the flat portion of the shell.
- Cut the yellow yarn and weave it securely.
Step 3: Joining the Two Parts
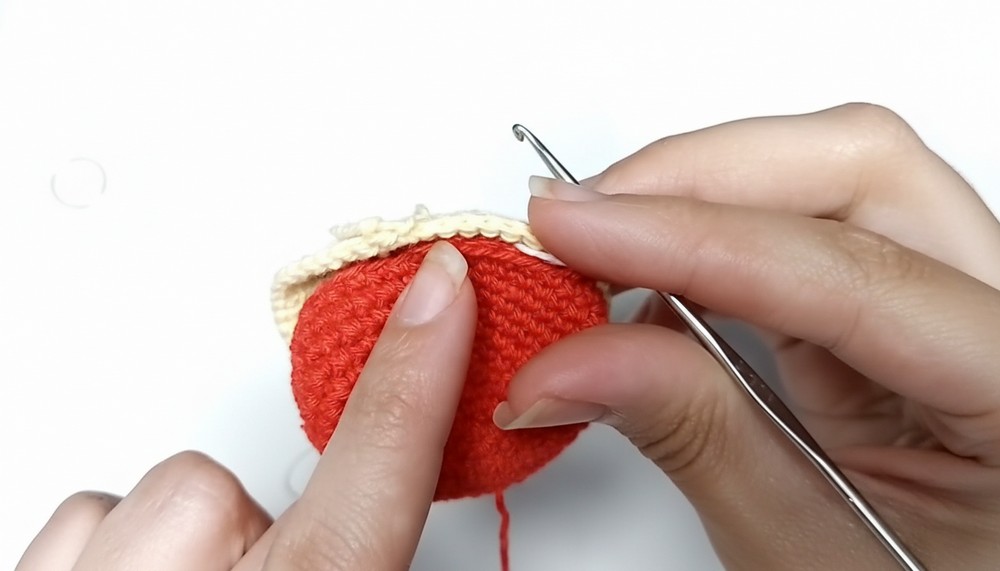
- Align the Pieces: Place the curved top shell over the flat bottom shell, with their edges matching.
- Begin Joining with White Yarn:
- Using the tapestry needle and white yarn, work a single crochet seam by going through the top and bottom edges.
- Work around the entire shell, leaving a small gap to stuff.
- Add Stuffing:
- Fill the shell with fiberfill, making it firm yet soft.
- Close the Gap: Continue joining until the shell is fully sealed.
Step 4: Decorative Details
Option 1: Embroidery
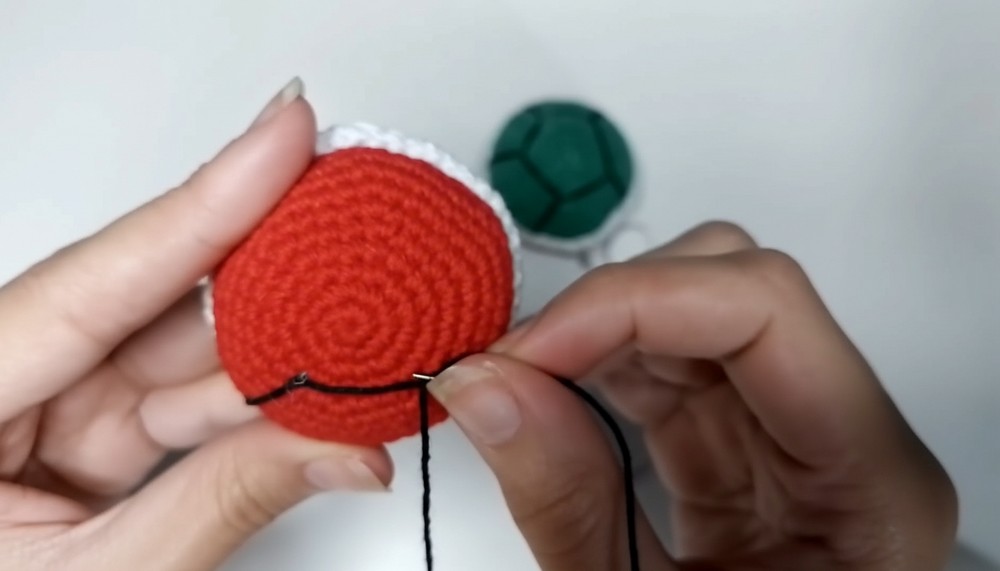
- Use black yarn and a tapestry needle to embroider the five-sided pentagon or lines onto the top shell.
- Take your time to ensure proportionate spacing.
Option 2: Painting
- Use black fabric paint and a fine brush to outline the pentagon and additional lines.
- Let the paint dry completely before handling.
Step 5: Add the Keyring
- Insert the keyring at the top of the shell, where the lines converge.
- Secure it to hold firmly.

Tutor’s Suggestions
- For a larger shell, use a thicker yarn and corresponding hook size.
- Adjust the stitch count proportionally to maintain the shell shape.
Uses of the Shell
- Keychain Accessory.
- Mario-Themed Party Favor.
- Bag Charm.
- Small Gift for gamers or crochet enthusiasts.
Conclusion
The Mario-inspired turtle shell keychain is a creative, customizable crochet pattern perfect for gifts or personal use. With simple materials and detailed stitching, you can bring a piece of the Mario universe to life. Enjoy the process and tweak the design to showcase your personality!
Final Tip
When increasing rounds for amigurumi, place a stitch marker at the start of each row to avoid losing track. This will ensure accurate stitch counts and a perfect shell shape.