
Soft Crochet Bear Keychain Pattern to Carry Everywhere
Stitch a cute Crochet Bear Keychain Pattern that brings tiny adorable bears to life for gifts charms and playful accessories that spark joy every day.
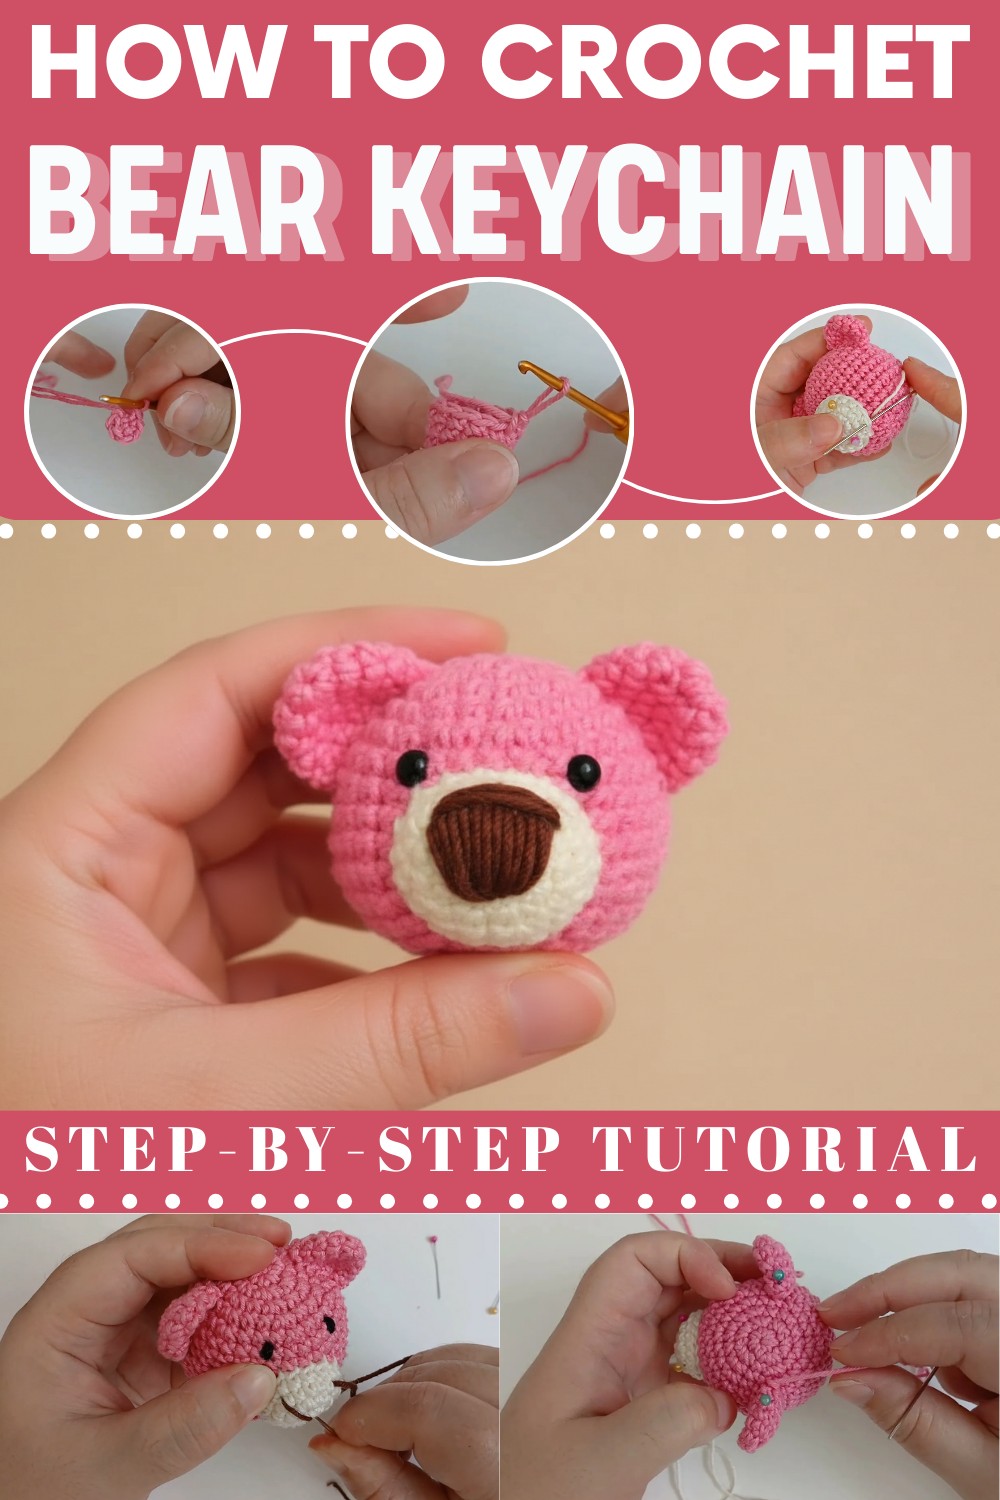
Add a touch of handmade charm that instantly delights with every glance. Small, cozy stitches transform into a playful accessory with a Free Crochet Bear Keychain Pattern, perfect for keys, backpacks, or bag charms. This amigurumi-style project features simple rounds, gentle shaping, and sweet details like rounded ears and a tiny snout to give the bear personality.
Quick Crochet Bear Keychain for Gifts & Collections

Ideal for using leftover yarn, practicing tension, and trying new techniques, it also makes a thoughtful gift. The finished keychain brings warmth, playfulness, and a handcrafted touch to everyday items while encouraging creativity and confidence in every stitch.
Crochet Bear Keychain Amigurumi Pattern for Beginners
Special Features
- Beginner-Friendly: The project uses simple techniques, making it accessible for those new to crocheting amigurumi.
- Customizable Colors: Use any yarn color you like to craft a unique bear keychain that suits your taste or the recipient's preference.
- Soft and Durable: Perfect to carry as a keychain or use as a small decorative item.
- Quick and Easy: A project that can be completed within a few hours, ideal for crafting gifts.
Level of Difficulty
- Beginner-friendly: If you have basic amigurumi skills (magic ring, single crochet, increases, decreases, and sewing), then this project will be an excellent next step for you!
Materials Needed
- Yarn: Amigurumi yarn or fine cotton yarn, in the colors of your choice. For this tutorial:
- Color A (Main color for the bear): Pink (used in this tutorial is "Rosa Pitaya 3182").
- Color B (Felt/secondary for the snout/nose): Off-white or light beige.
- Color C: Black yarn, for embroidered eyes and nose.
- Hook: 2.5mm crochet hook (use a smaller hook than the yarn recommends to make tight stitches).
- Tapestry needle: Blunt needle for sewing pieces together and for embroidering details.
- Stuffing: Small amount of polyester fiberfill (just enough to fill ears, snout, and sphere).
- Safety pins or sewing pins: To position elements like the ears and snout while sewing securely.
- Keychain rings: To attach to your bear and make it a functional keychain.
- Optional tools: A small pair of pliers for handling keychain rings.
Step-by-Step Instructions
1. The Sphere (The Bear’s Head/Base)
If you don’t already have the basic amigurumi ball, start with these steps:
- Magic Ring: Begin with a magic ring and place 6 single crochets (sc) into the loop. Pull to close. (6 sts)
- Round 2: Make 6 increases (2 sc in each stitch). (12 sts)
- Round 3: Work 1 sc, 1 increase around. (18 sts)
- Round 4: Work 2 sc, 1 increase around. (24 sts)
- Rounds 5–10: Work 1 sc in each stitch (no increases). (24 sts per round) This shapes the ball.

- Round 11: Begin decreasing: 2 sc, 1 decrease around. (18 sts)
- Round 12: 1 sc, 1 decrease around. (12 sts)
- Stuff the ball lightly using polyester fiberfill to keep its shape.
- Round 13: 6 decreases around. (6 sts)
- Cut the yarn, leaving a long tail to close the hole securely with a tapestry needle.
2. The Ears (Make 2)
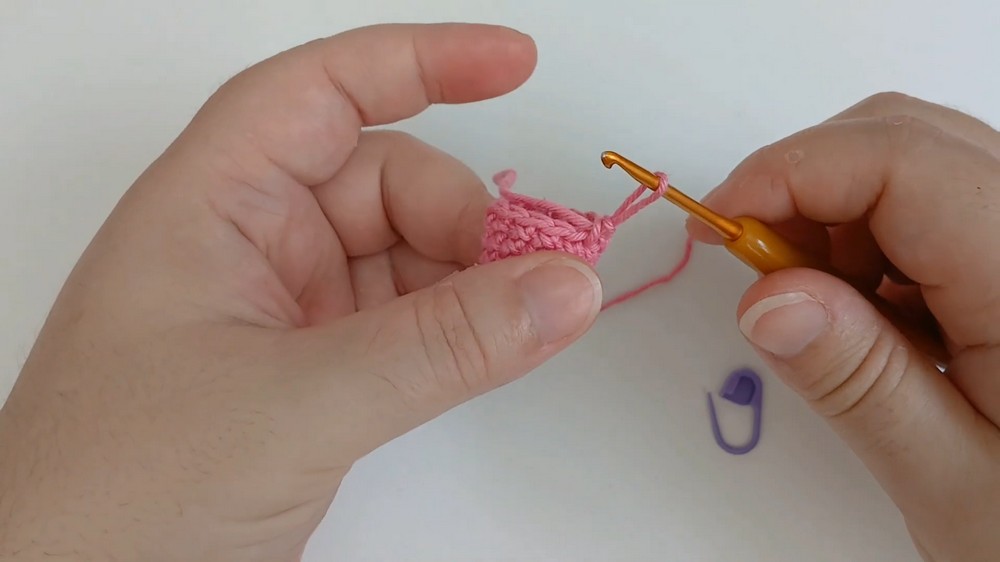
- Magic Ring: Begin by creating a magic ring. Place 6 sc into the ring. Close the ring tightly. (6 sts)
- Round 2: Work 6 increases (2 sc in each stitch). (12 sts)
- Rounds 3–4: Work 1 sc in each stitch. (12 sts per round)
- Cut the yarn, leaving a long tail for sewing.
- Fold each ear in half and sew at the edges to help them flatten (creating half-circles).
3. The Snout (Nose)
- Magic Ring: Make a magic ring and place 6 sc into the loop. (6 sts)
- Round 2: Work 6 increases (2 sc in each stitch). (12 sts)
- Round 3: Work 1 sc, 1 increase around. (18 sts)
- Round 4: Work 1 sc in each stitch. (18 sts)
- Stuff lightly and close the snout using a tapestry needle, leaving a long tail for sewing.

4. Assembly
- Position Ears:
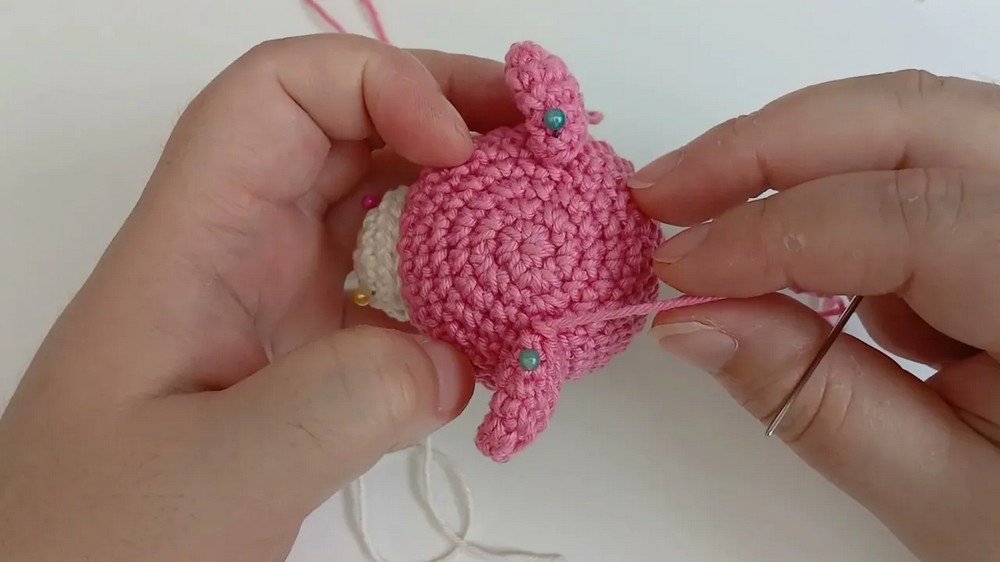
- Use pins to map where you want the ears to go on the head. Typically, they are positioned on the third row from the top, with equal spacing from both sides.
- Sew the ears onto the head using your long tails, repeating the process used to close the head. Ensure they are symmetrical. Remove the pins.
- Attach the Snout:
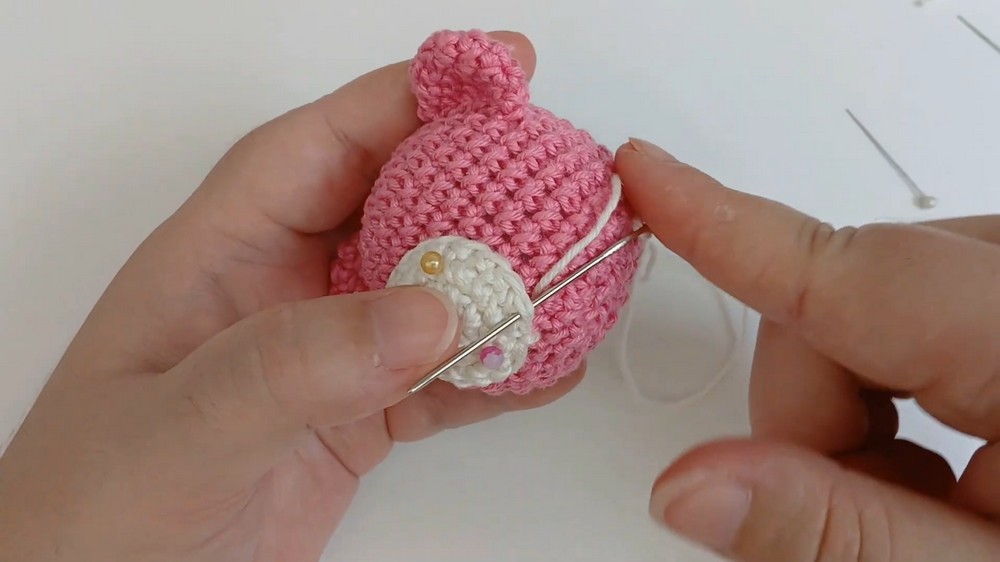
- Position the snout between the 7th and 8th rows from the top of the head. Use pins to hold the snout in place.
- Halfway through sewing, add a small amount of stuffing to give the snout a slight curve that pops out. Finish sewing it along the edges and close securely.
- Embroider the Nose and Eyes:
- Using black yarn, embroider the nose on the snout in a small triangular shape. Secure the yarn by weaving the tail into the fiberfill inside the head.
- Embroider the eyes using black yarn. Position the eyes two rows above the snout and 5 stitches apart. Create simple two-line oval eyes for a charming look.
- Add a Keychain Ring:
- Secure the keychain ring to the top of the bear's head. Use a keyring plier to attach the ring to a stitch or loop at the top.
Tutor’s Suggestions
- Take Your Time with the Magic Ring: If you’re new to this foundational step, practice it slowly. It may seem challenging initially, but it’s easier with patience.
- Use Pins: When assembling the ears and snout, use pins to ensure proper placement before sewing. This will help achieve symmetry and avoid mistakes.
- Keep Stitches Tight: Always use a crochet hook size smaller than recommended for the yarn to create tighter stitches that hold the fiberfill inside securely.
Uses
- Keychain: A practical and adorable accessory for your keys or bag.
- Gift: Perfect for kids or any bear-lover. A handmade charm for birthdays, holidays, or special occasions.
- Decor: Use it as a cute hanging decoration for your workspace, car mirror, or even as a Christmas ornament.
Tip
For a polished, professional look, ensure your sewing and embroidery are neat. Tweak and adjust any misaligned pieces before sewing. Also, consider adding extra details like embroidered eyebrows, a small bow, or even blush (using fabric paint or makeup) to personalize the bear even more!
Conclusion
You’ve now transformed a simple amigurumi ball into an adorable bear keychain! Whether for yourself or as a thoughtful gift, this handmade creation combines love and creativity. Be proud of your achievement and share your masterpiece with friends, family, or your crafting community. Don’t forget to experiment with different colors and embellishments to make each bear unique. Happy crocheting—until next time!