
Fun Crochet Bow Star Amigurumi Pattern That Feels Modern
Experience the charm of the Free Crochet Bow Star Amigurumi, perfect for adding warmth and beauty to your spaces or sharing joy through thoughtful gifts.
On a quiet evening, surrounded by the rhythmic hum of creativity, crochet enthusiasts often find solace in crocheting pieces that hold meaning beyond their stitches. Among the many patterns that capture the imagination, the Crochet Bow Star Amigurumi emerges as a perfect blend of elegance and charm. These radiant star designs, delicately embellished with neat bows, offer more than just visual appeal, they symbolize thoughtfulness and care, woven into every loop.
Mini Crochet Bow Star Amigurumi Pattern that's Big on Style
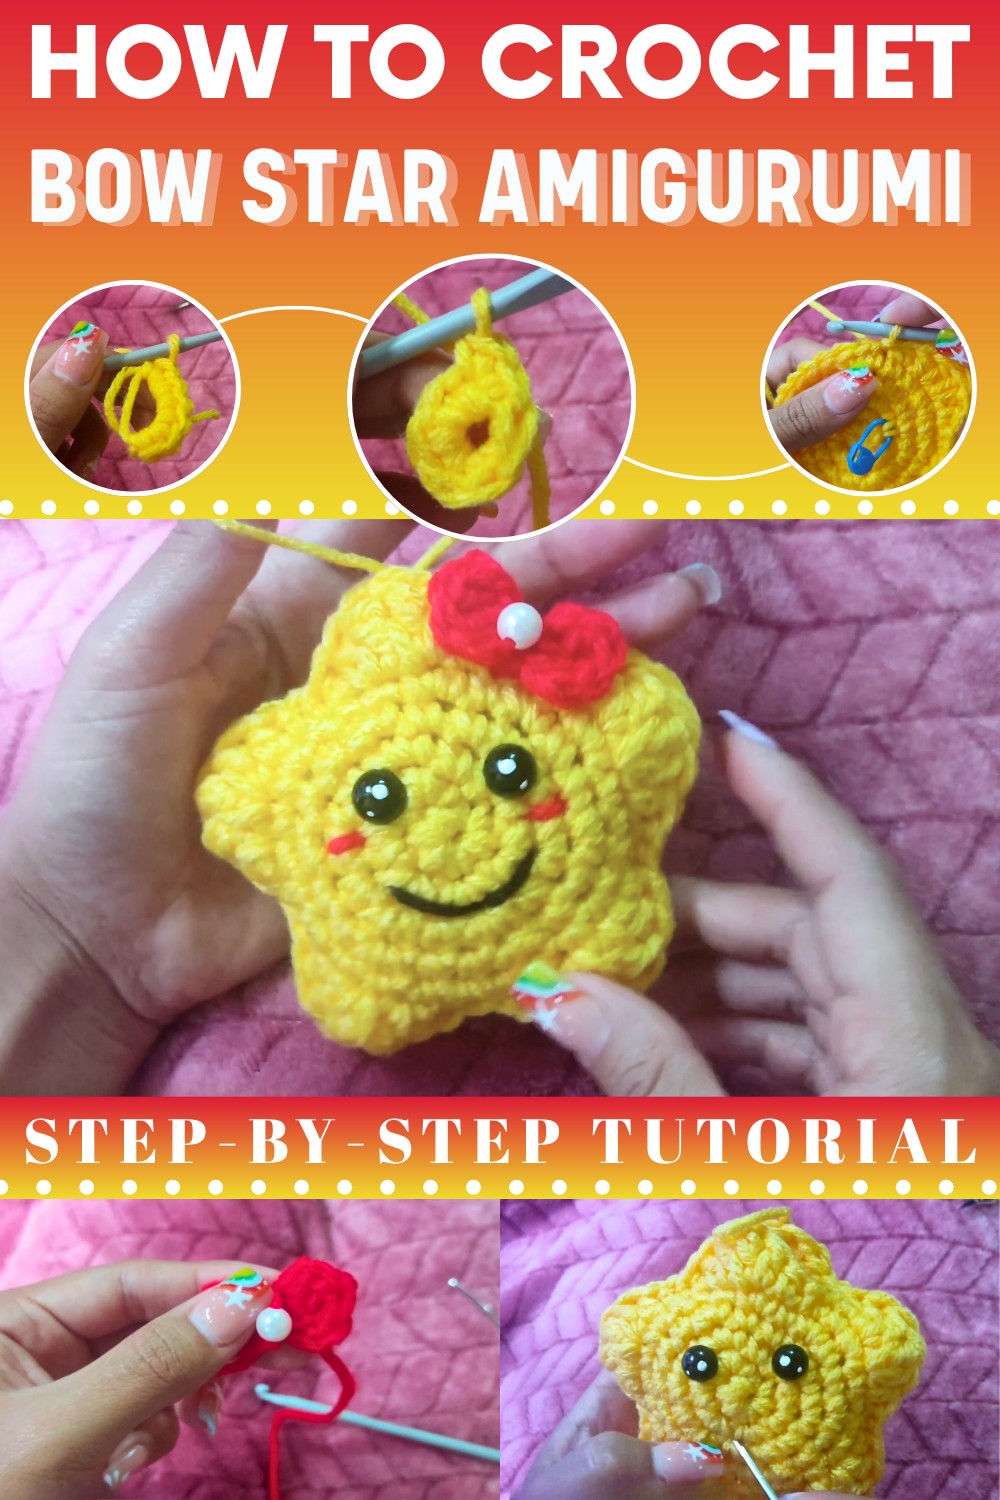
The Bow Star Amigurumi is a versatile creation that brings life to a variety of settings. They can be displayed as cheerful décor in cozy corners, used as unique gift accents for special occasions, or turned into ornaments, garlands, or keychains that spread joy wherever they land. Their compact size and playful design make them easy to customize with different colors and textures, ensuring each star tells its own story.
What makes these crochet treasures truly special is the joy of their creation. From the first stitch to the final detail, the process is both soothing and rewarding. Not only do they brighten spaces and moments, but they also serve as a reminder that even the simplest designs can carry beauty, warmth, and a touch of magic into our everyday lives.
How to Make Crochet Chick Amigurumi: Step-by-Step Tutorial
Special Features of the Crochet Chick Amigurumi
- Small, cheerful, and detailed design measuring around 10 centimeters in size.
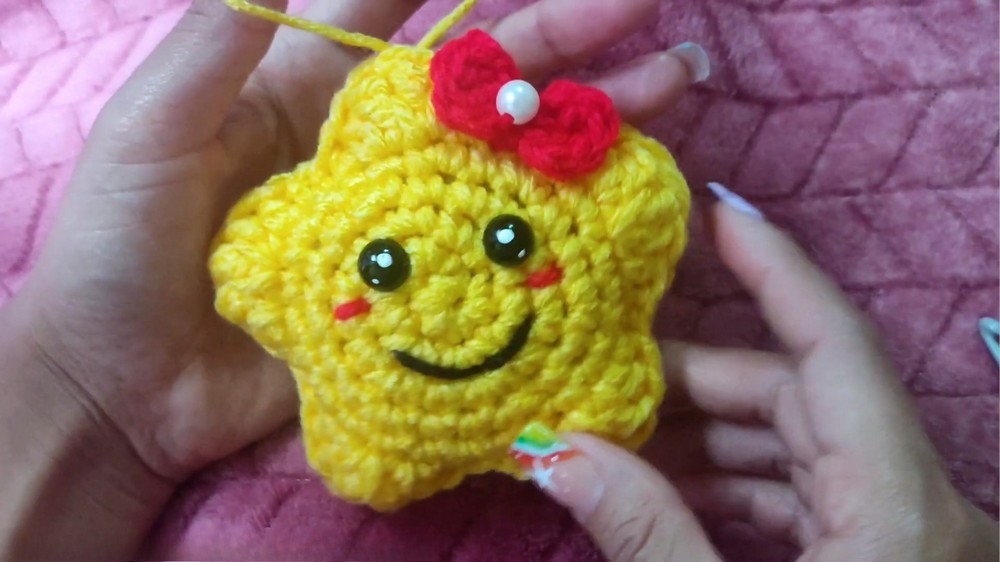
- Features playful details like red bow, expressive eyes, and cute rosy cheeks.
- Includes steps for creating adorable little “spikes” to shape the head and adding personalized touches.
- Can be further styled as a hanging decoration, kid toy, or seasonal gift (e.g., for Easter or Christmas).
Level of Difficulty
This tutorial is rated beginner to intermediate as it covers basic stitches and techniques, including single crochet, double crochet, triple crochet, and slip stitches. New crocheters will find the instructions easy to follow, thanks to the clear and patient guidance provided by the tutor.
Materials Needed
- Yarn
- Yellow yarn for the body.
- Red yarn for the bow.
- Dark yarn for the mouth.
- Crochet Hook
- Match the yarn thickness; the instructor uses a 4.5 mm hook.
- Eyes
- Use 10mm plastic eyes or create your own with paint dots if necessary.
- Scissors
- Markers
- Stuffing for shaping the chick.
Step-by-Step Instructions
Starting the Body
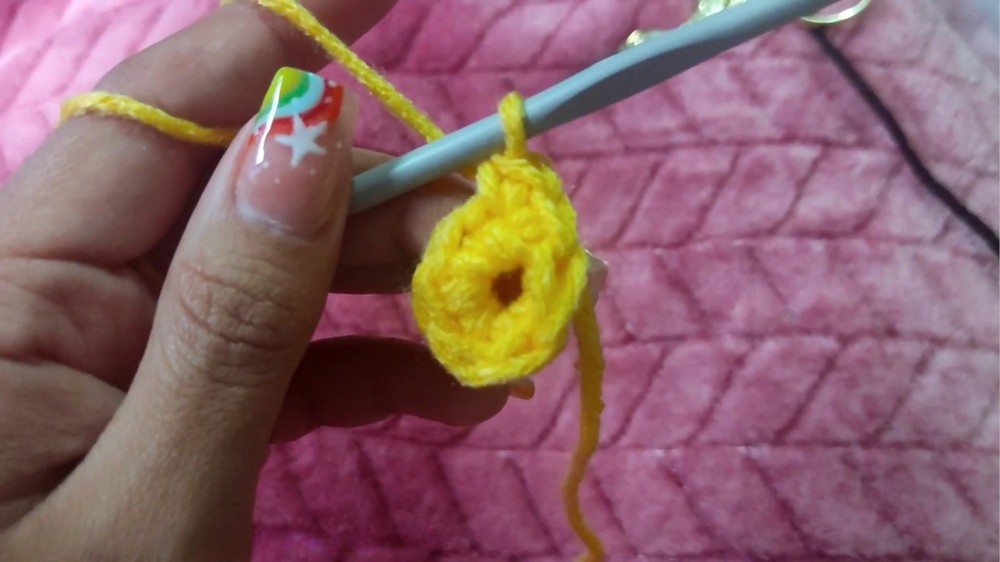
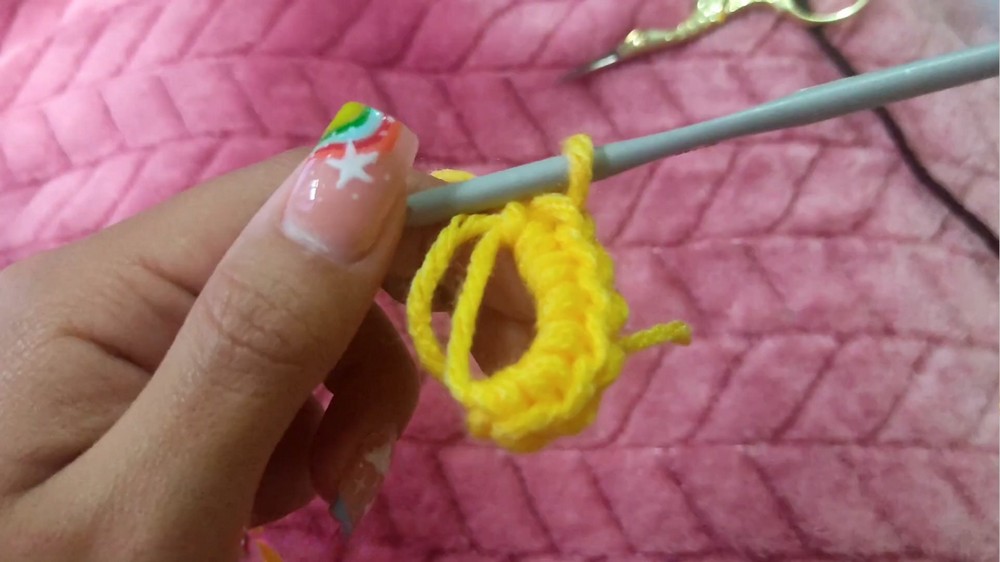
- Begin with a magic ring and crochet 6 single stitches inside the ring. Tighten the ring to close it.
- Use increases in the second round by creating two stitches in every space to reach 12 single crochets.
- In the third round, alternate between one single crochet and one increase to achieve 18 single crochets in total.
- Follow the same process in the fourth round, using one single crochet and one increase to reach 24 stitches.
Shaping the Chick
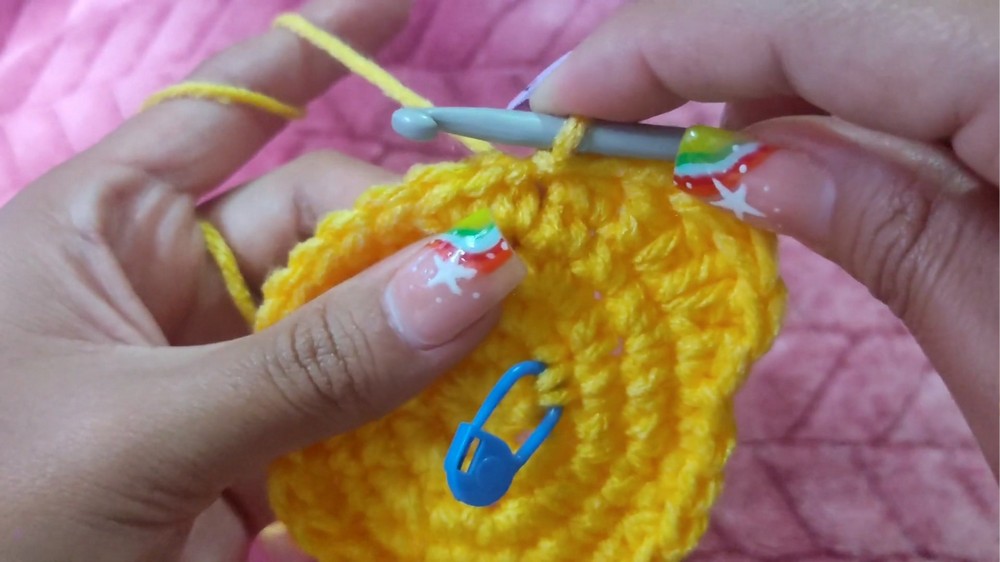
- Alternate between three single crochets and one increase on the next round to create 30 single crochets.
- Continue working until you finish your round with two single crochets.
Creating the “Peaks”
- Divide the chick’s 30 total stitches into five peaks, with six stitches per peak.
- For each peak:
- Start with a slip stitch.
- Move to the next space and work one half double crochet.
- Work one double crochet, then two double crochets in the same stitch.
- Next, create one treble crochet in the following stitch.
- Finish the peak with one half treble crochet and a slip stitch.
- Repeat this process for three more peaks.
Joining the Pieces Together
- Crochet two identical chick amigurumi pieces. Without cutting the thread of the second piece, join the two pieces together with slip stitches along the edge.
- Before closing the edges completely, add stuffing to give it shape.
Adding Eyes and Features
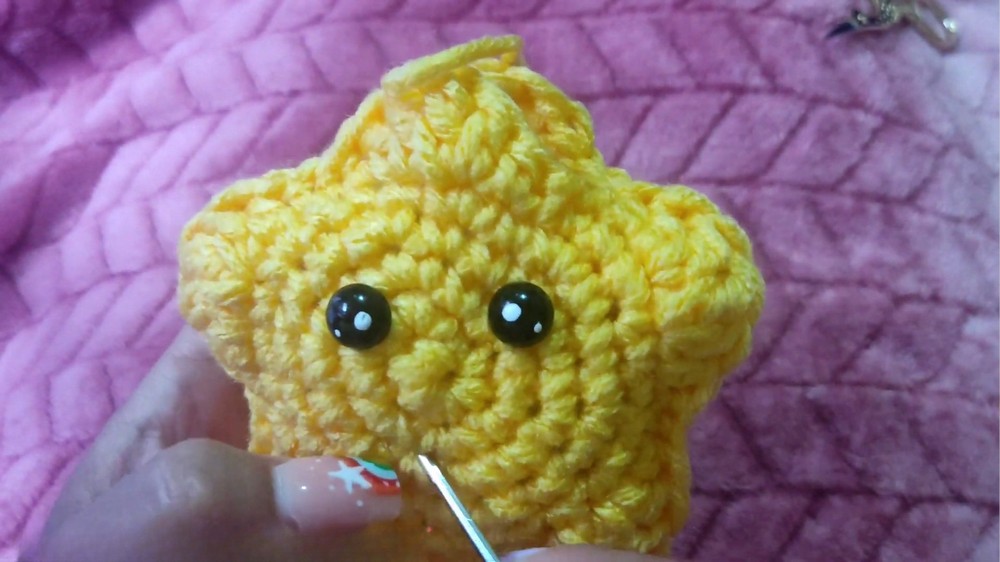
- Insert the plastic eyes (or paint-dotted eyes) into the front of the chick where the design looks best. Secure them and ensure they sit evenly apart.
- Use stuffing to ensure that the chick head appears rounded and adorable.
Making the Bow
- Crochet the bow with red yarn and start with a magic loop.
- Inside the loop: crochet two chains, followed by two double crochets, and then two more chains—finish with a slip stitch to join.
- Repeat the bow sequence to create the other side.
- Twist the bow several times in the middle and add a decorative pearl for extra flair.

Finishing Touches
- Sew the bow onto one edge of the chick, ensuring it’s centered and secure.
- Make rosy cheeks by sewing small decorative buttons or stitches on either side of the face.
Tutor’s Suggestions
- Use painted eyes to substitute plastic ones if you don’t have the right size for your design.
- Always stuff your crochet piece before completely closing it to achieve a defined shape.
- Be precise with your stitches to ensure the chick retains its cute rounded appearance.
Uses for Crochet Chick Amigurumi
- Perfect for Easter decorations or holiday gifts.
- Adorable handmade toy for kids.
- Thoughtful keepsake for birthdays or baby showers.
- Whimsical ornament or keychain accessory when attached with a small thread loop for hanging.
Conclusion
Following this step-by-step crochet tutorial, you’ll craft an adorable chick amigurumi with delightful details, like five peaks, a vibrant bow, and personalized features. It’s perfect for seasonal décor, gifting, or a sweet keepsake for loved ones. Whether you’re a beginner or an experienced crocheter, this project is bound to bring joy and satisfaction as you complete it.
Tip
When adding stuffing, avoid overfilling as it can distort the shape. Aim for just enough to give the chick a firm yet rounded look. Adjust carefully for the perfect finish!