
Versatile Crochet GARLAND Pattern That Fits Any Theme
Brighten any space with the Free Crochet GARLAND Pattern, a charming project that adds handmade beauty and reusable style to every occasion
A string of decorative accents has long been used to bring warmth and charm into homes, celebrations, and special gatherings. Whether draped across a mantel, hung above a party table, or used to brighten up a cozy corner, garlands carry a timeless appeal. The Free Crochet Garland Pattern offers a thoughtful way to personalize these decorations, making them not only visually appealing but also meaningful. With this project, you can work a sequence of connected motifs that flow seamlessly into one another, forming a beautiful chain of texture and color.
Versatile Crochet GARLAND Pattern That Fits Any Theme

The pattern allows flexibility in length, size, and style, so it can easily be adapted to suit festive occasions, seasonal themes, or everyday décor. Each motif comes together with basic stitches that are approachable for different skill levels, while the repetition provides a soothing rhythm to the work. Once completed, the garland becomes a versatile decoration, perfect for birthdays, holidays, weddings, or simply adding a handmade touch to a living space.
Lightweight yet sturdy, it can be reused year after year, offering both charm and practicality. With the Free Crochet Garland Pattern, every strand carries not only beauty but also a story of patience and care, making it a meaningful part of any setting.
Special Features
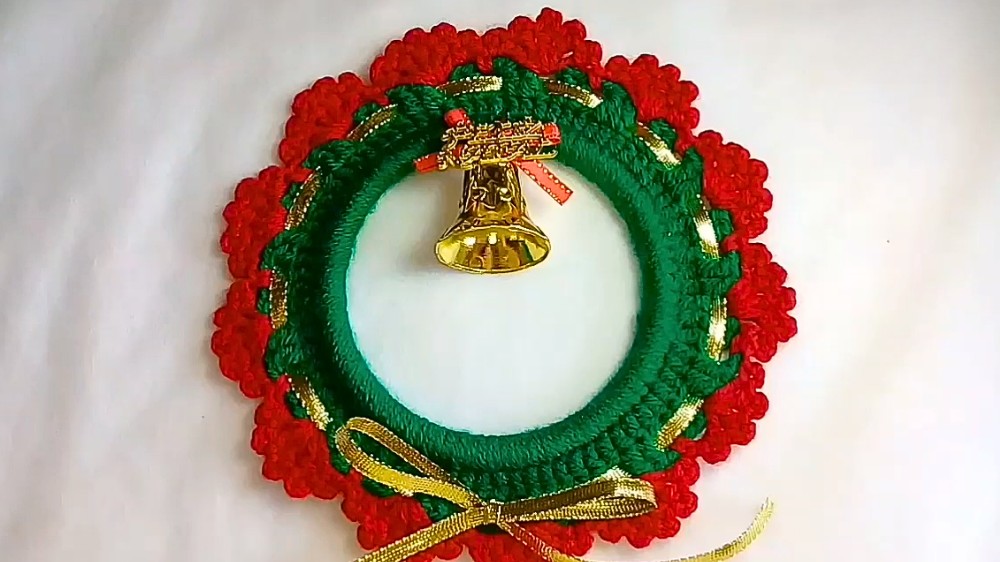
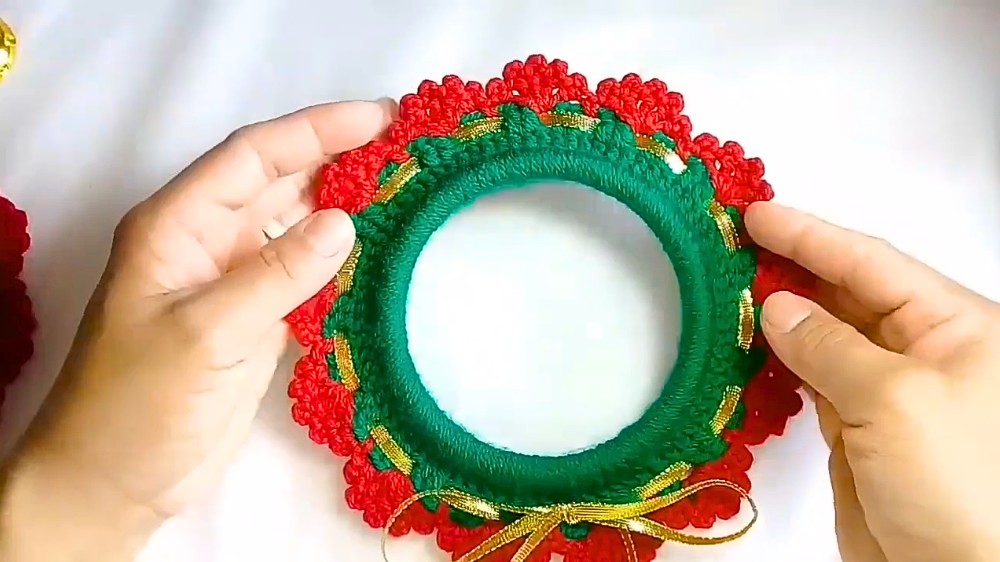
- Festive and Decorative: The wreath’s green and red colors make it ideal for Christmas celebrations.
- Customizable: You can add your own decorations, including ribbons, bells, and more.
- Beginner-Friendly: The tutorial uses basic crochet stitches and simple techniques, making it accessible to all crocheters.
Level of Difficulty
This project is suitable for beginners to intermediate crocheters. The basic stitches (single crochet, double crochet, and chains) are explained clearly, and there’s flexibility with stitch counts and decorations. Even if you are fairly new to crocheting, Marciana’s step-by-step guidance makes this project manageable.
Step-by-Step Instructions
Step 1: Gather Materials
You’ll need the following materials:
- Acrylic Ring: 12 cm in diameter (or any size of your choice).
- Green and Red Wool Yarn: The wreath uses green as the primary color and red for accents.
- Crochet Hook: Size 2.5 mm.
- Decorative Ribbon: Golden ribbon or satin ribbon (size similar to ribbon #1).
- Bell or Ornament: Optional, for enhancing the decoration.
- Felt Circle: For finishing touches.
- Scissors: To trim yarn and ribbon.
- Glue: For attaching decorations.
- Tape Measure: To measure the ring.
Step 2: Wrap the Acrylic Ring
- Start by attaching the green yarn to the acrylic ring with a knot.
- Use single crochet stitches to completely cover the ring.
- Insert your hook into the ring, yarn over, and pull up a loop for a single crochet.
- Keep going until the ring is fully covered, leaving no gaps.
- Trim and secure the yarn.
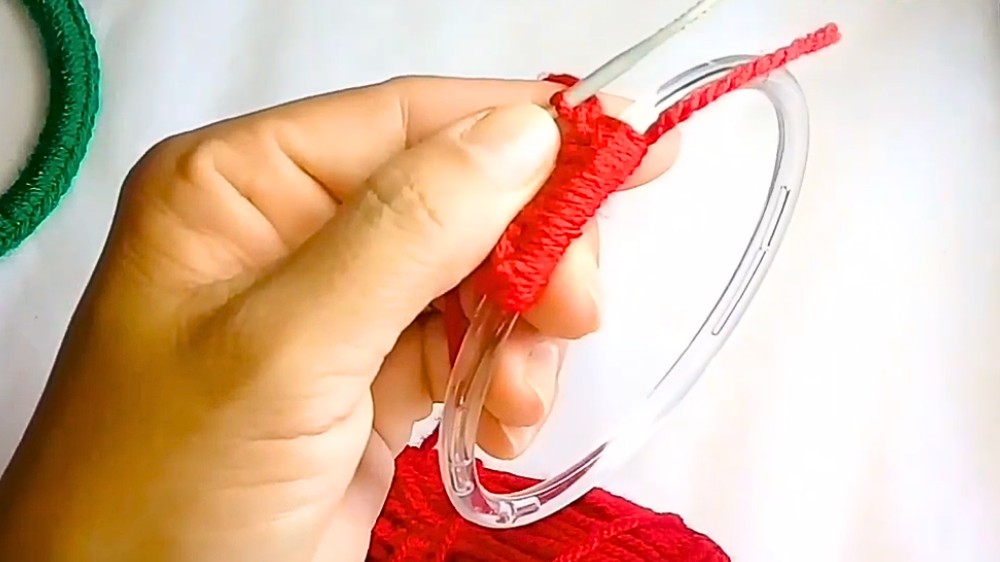
Note: There’s no set number of single crochets; the goal is to fully and neatly cover the ring.
Step 3: Add the First Layer of Stitches
- Attach the green yarn to any stitch on the ring.
- Chain 3 to start the row.
- Make one double crochet into each stitch from the previous layer (base stitch).
- Slip stitch into the third chain at the end of the round to complete the layer.
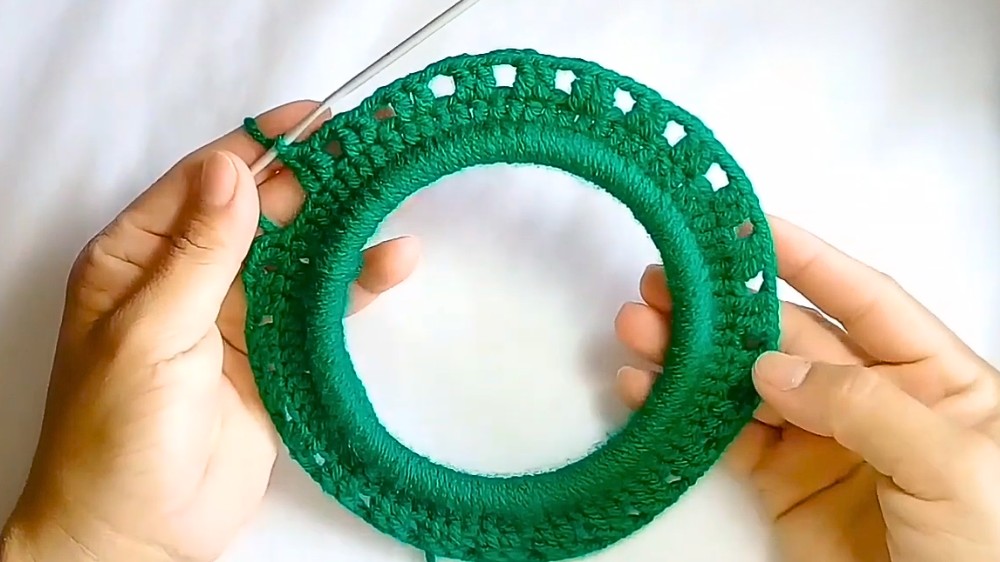
Tip: Double-check that the stitches are even and firm.
Step 4: Create Blocks of Double Crochet
- Begin by chaining 3 for the height.
- Work 2 double crochet stitches into consecutive stitches, forming a block of 2 double crochets.
- Chain 2, then skip one stitch and repeat (2 double crochets, 2 chains, skip one).
- Do this all the way around the ring.
Step 5: Red Yarn Accent
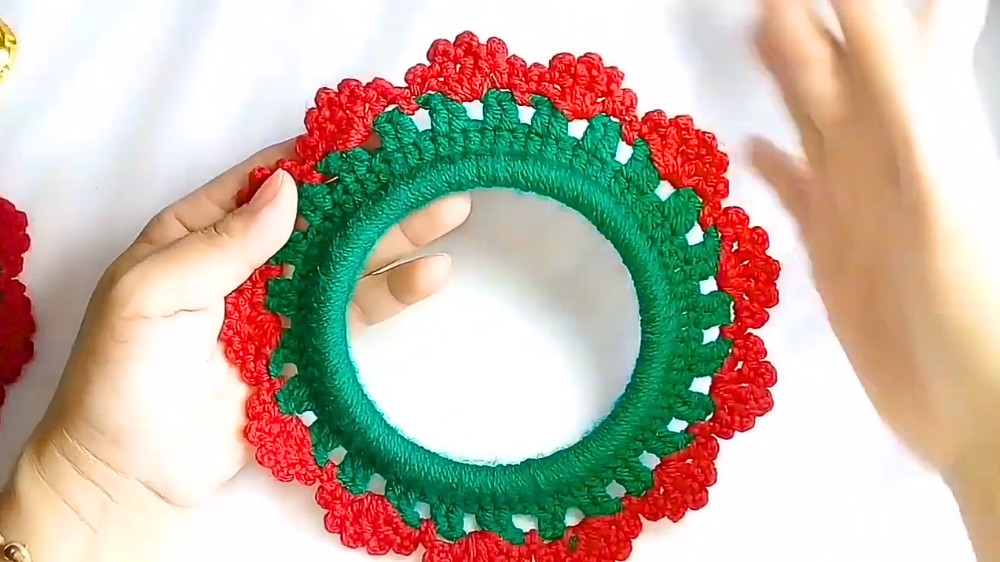
- Attach the red yarn in one of the chain spaces from the previous row.
- Chain 3, then work 5 double crochets in the same space to form a cluster.
- Chain 3, then slip stitch into the third chain to create a picot (pointed tip).
- Continue working 5 double crochets and picots in every chain space.
- Between clusters, make a single crochet in the next chain space.
- Repeat this pattern all around the wreath.
Step 6: Add Final Touches
- Trim and Secure the Yarn: Once the crocheting is complete, cut the yarn, secure the ends, and weave them in neatly.
- Decorate:
- Use a decorative ribbon to wrap around the wreath.
- Tie the ribbon into a bow at the top of the wreath.
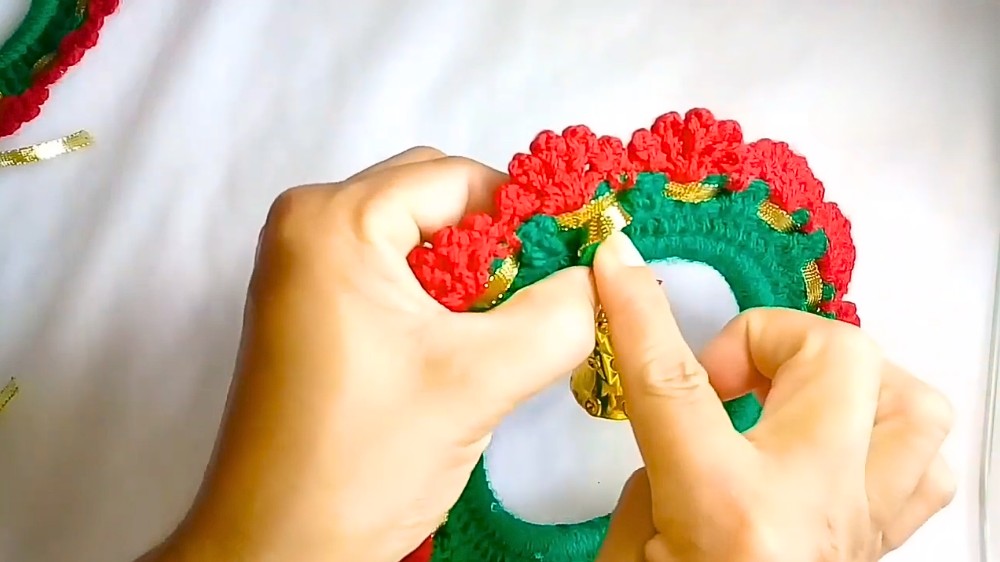
- Add a bell or ornament to the center (measure and glue it securely).
- Finishing Backing: Apply a felt circle to the back of the wreath with glue to create a polished look and add a hanging loop.
Tutor's Suggestions
- Be Creative: While the video demonstrates specific materials, you can customize with items you already have at home.
- Make It Unique: Feel free to choose different yarn colors or decorations to match your personal taste.
- Start Small: If it’s your first time, consider trying a smaller ring to practice.
- Sealing Edges: Always secure and hide yarn ends by weaving them in for a clean finish.
Uses
- Holiday Décor: Hang it on doors, walls, or windows to celebrate Christmas.
- Gifting: Handmade wreaths make thoughtful and affordable presents.
- Craft Fair Items: These wreaths are lightweight and cost-effective, making them great for selling at craft fairs.
Tip
Pro Tip: When adding decorative elements like bells or bows, measure and mark the center point of the wreath beforehand to ensure balanced and symmetrical placement.
Conclusion
This festive crochet Christmas wreath is a perfect project for the holiday season. It is simple, quick to make, and requires only basic materials. With the various customization options, each wreath can be unique and beautifully personalized. Creator encourages viewers to experiment and share their creations.