
Free SunFlower Pot Crochet Pattern for Beginners
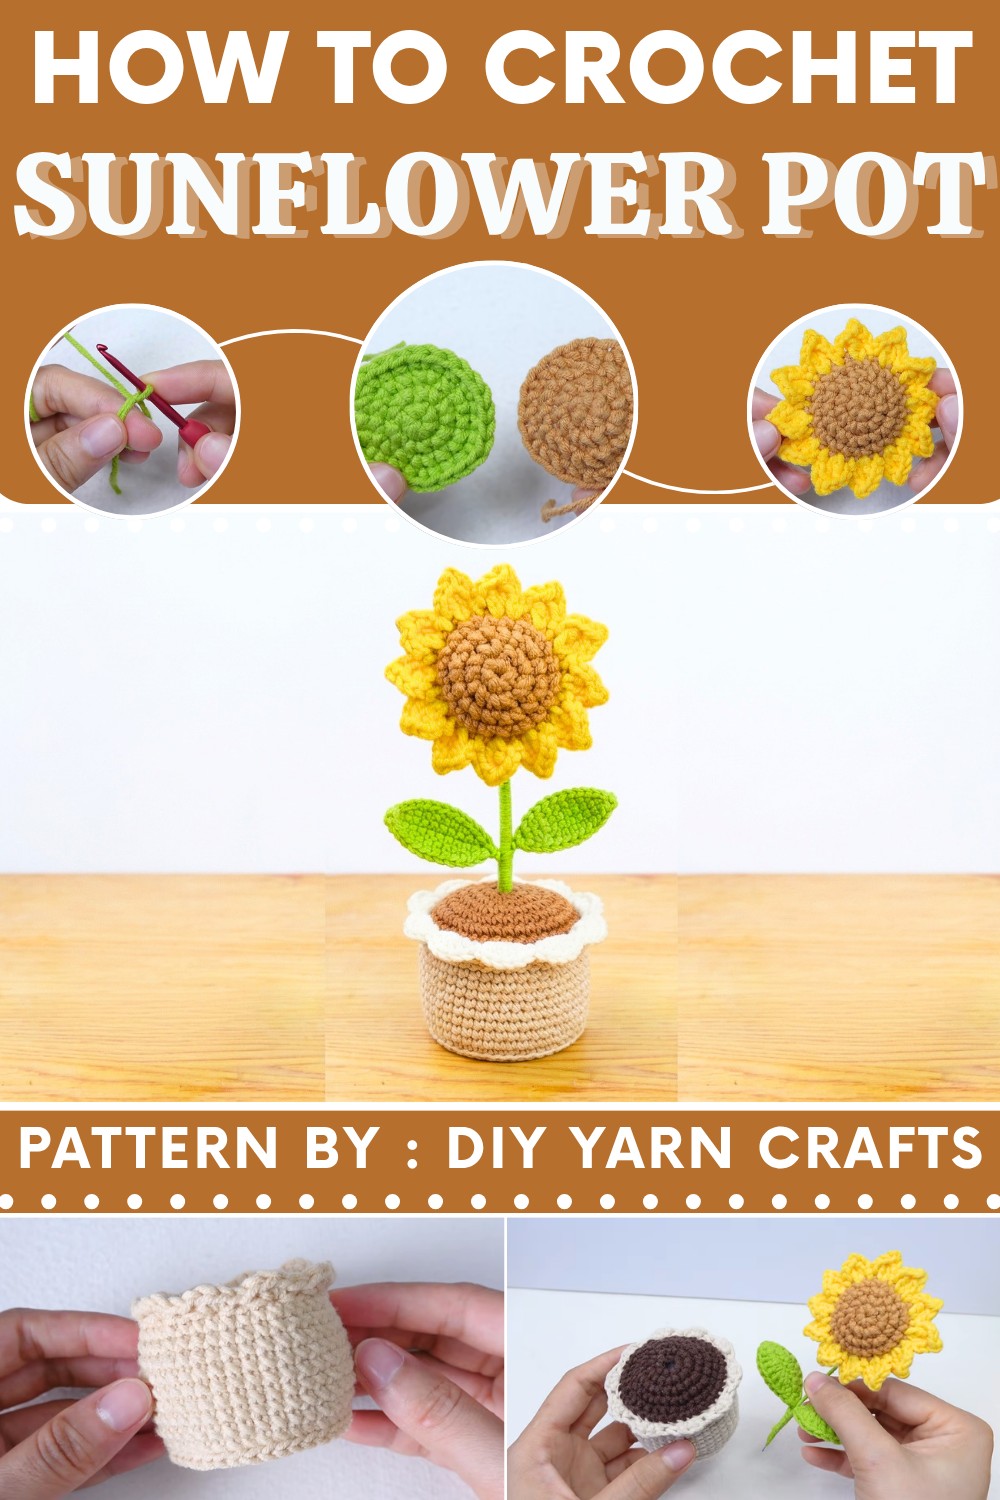
Besides being pretty, the sunflower pot is also useful. It can protect the pot that holds your plant, stopping it from scratching your furniture. It also brings a warm, handmade feel to your home. This sunflower pot makes a thoughtful gift for friends or family who love plants or enjoy handmade projects. Even though it is not something you can wear, its bright and friendly look makes any place feel cozy and full of life.
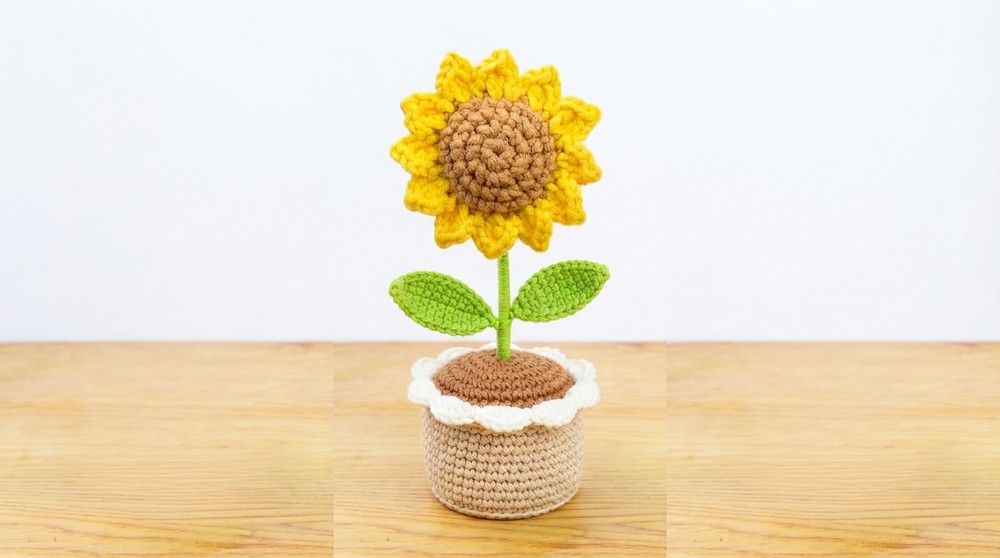
If you want to try a simple and fun project, this free crochet sunflower pot pattern is a great choice. It is quick to finish, looks lovely, and will bring a little sunshine into your home or to someone you love.
Crochet Sunflower Pot Pattern
This detailed crochet pattern walks you through creating a delightful sunflower pot using yarn and a 2.5 mm crochet hook. The sunflower consists of a green sepal, brown receptacle, bright petals, a leafy branch, and a textured pot filled with a soil-like topping. Each component is worked carefully following step-by-step instructions and then assembled to form a charming decorative sunflower in a pot. The pattern offers balanced stitchwork and innovative uses of crochet techniques to create a three-dimensional floral accessory.
Quick Overview of Pattern
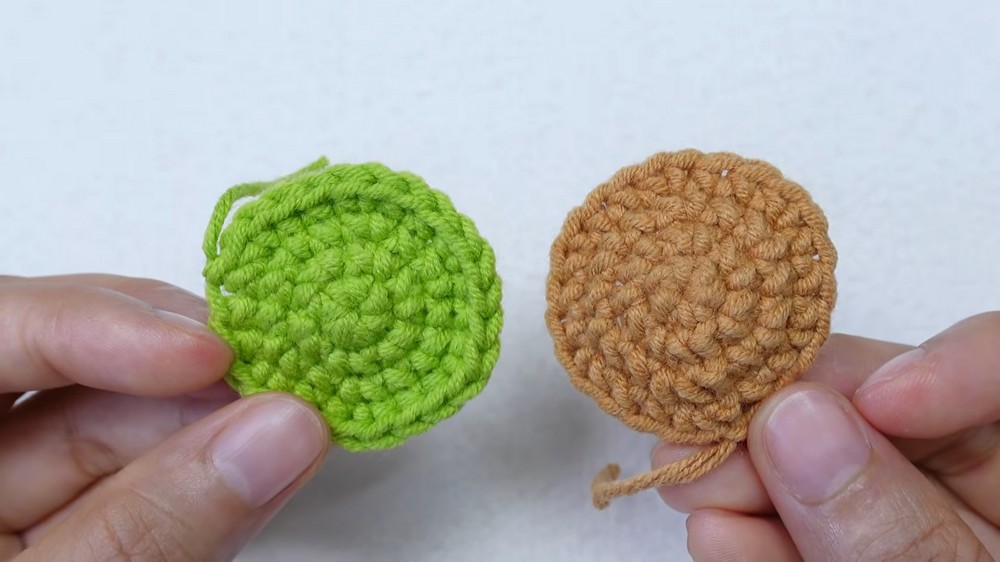
- Sepal & Receptacle: Two matching circular bases, one in green and one in brown, which are joined and serve as the flower foundation.
- Petals: Twelve small crochet petals worked across both base layers, finished with stuffing for volume.
- Sunflower Branch: A wired stem wrapped in green yarn provides structure and hold for the flower and leaves.
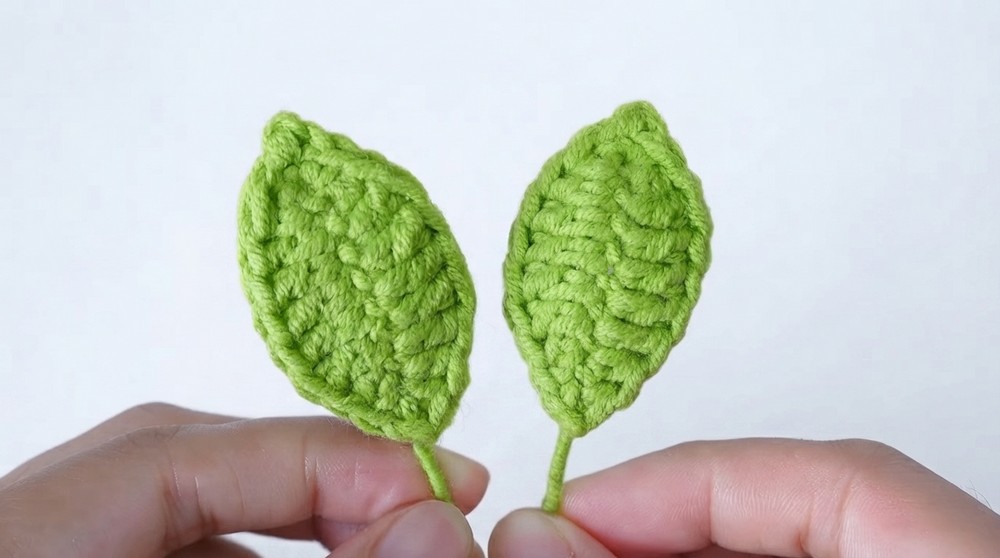
- Leaves: Worked flat over a 16 cm wire using varying stitches to simulate leaves’ texture and veins.
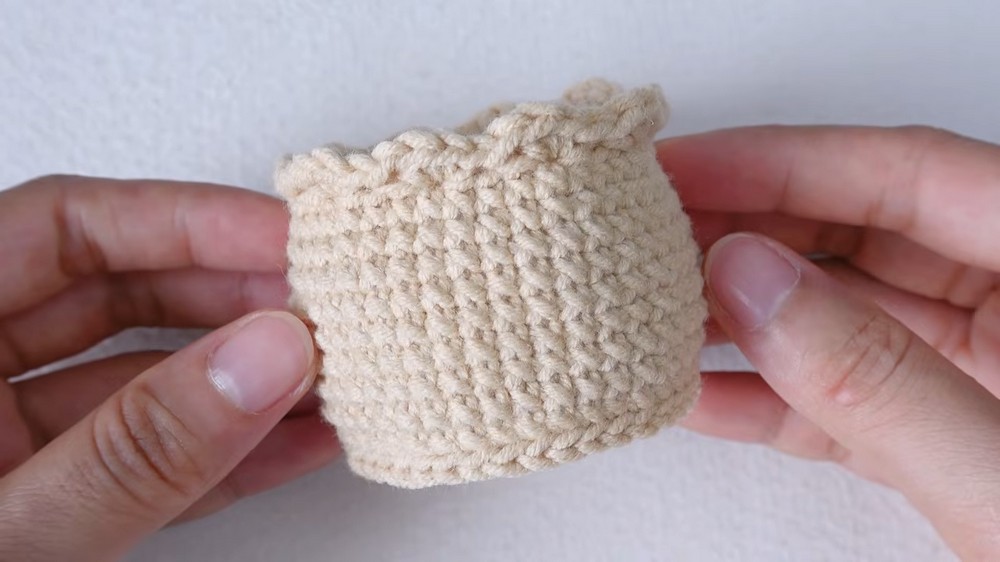
- Pot: Constructed in rounds with increasing stitch counts, featuring both back loop and front loop techniques for decorative patterning.
- Soil & Assembly: A separate soil piece tops the stuffed pot and is sewn securely in place.
Notes
- The two circular bases (sepal and receptacle) are worked separately and then joined by crocheting through both layers.
- Petals work through both layers to firmly attach and shape the flower.
- Wired stem and leaves help maintain natural form and prevent drooping.
- Pot uses differing loop works (back and front loops only) for texture and trim.
- Assembly involves stuffing for shape, glue for wire security, and sewing for finishing.
- Closely monitor stitch count to ensure consistency in size and form.
Skill Level
Intermediate — Requires comfort with magic ring, various crochet stitches (sc, hdc, dc), working in loops only, wire integration, and three-dimensional assembly.
Materials
- Yarn in:
- Green (for sepal, leaves, stem)
- Brown (receptacle, pot, soil)
- Yellow (petals)
- Crochet hook size: 2.5 mm
- Fiberfill stuffing
- Floral wire: 14 cm (flower stem), 16 cm (leaf support)
- Craft glue or hot glue
- Tapestry needle for weaving and sewing
- Scissors
Measurements / Sizing
- Sunflower diameter (across sepal & petals): approx. 7-8 cm
- Leaf length (with wire): approx. 16-18 cm
- Pot diameter: approx. 8-9 cm
- Pot height: approx. 6-7 cm
- Overall height with stem: approx. 20 cm
Gauge and Stitch Pattern
- Gauge is flexible but consistent stitch tension is essential to maintain shape and neat joins.
- Typical gauge for single crochet with this hook and yarn: approximately 18 stitches × 20 rows = 10 cm.
- Pot texture incorporates back loops only (BLO) and front loops only (FLO).
Stitch Abbreviations
| Abbreviation | Meaning |
|---|---|
| ch | Chain |
| sc | Single crochet |
| hdc | Half double crochet |
| dc | Double crochet |
| sl st | Slip stitch |
| inc | Increase (2 sc in one stitch) |
| MR | Magic ring |
Special Stitches
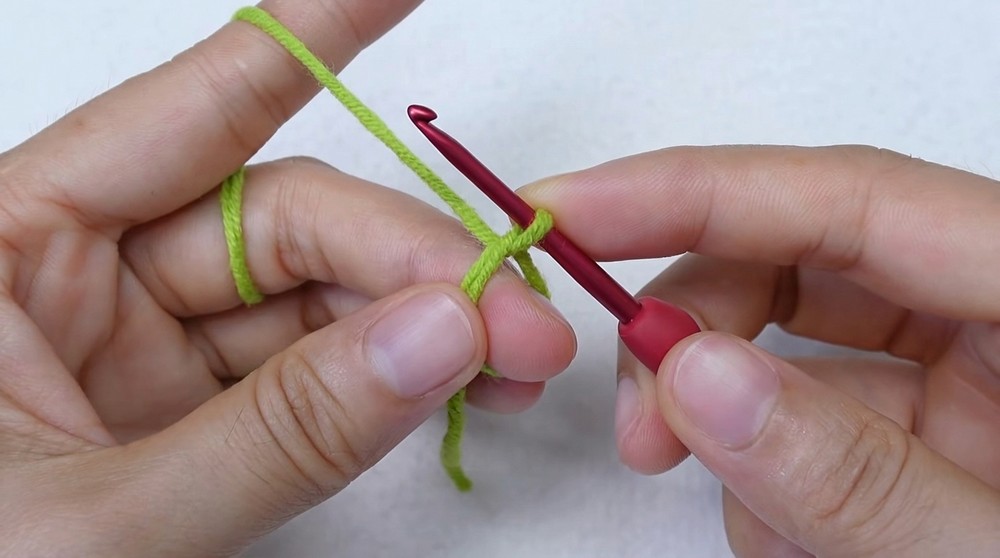
- Magic Ring (MR): Adjustable loop to start rounds tightly without gaps.
- Back Loops Only (BLO): Crocheting into back loop only creates ridged texture on pot surface.
- Front Loops Only (FLO): Works only into the front loop yielding raised loops for decoration.
- Picot: A small loop created by chaining and slipping to make a decorative point on petals.
The Crochet Pattern
1. Sepal & Receptacle (Make two identical pieces, one green, one brown)
- Round 1:
- Start with a magic ring.
- Work 6 single crochets (sc) into the magic ring.
- Slip stitch to join.
- [6 stitches]
- Round 2:
- Chain 1 to start.
- Work 6 increases (2 sc in each stitch around).
- Slip stitch to join.
- [12 stitches]
- Round 3:
- Chain 1.
- 1 sc, 1 increase repeat 6 times around.
- Slip stitch to join.
- [18 stitches]
- Round 4:
- Chain 1.
- 2 sc, 1 increase repeat 6 times.
- Slip stitch to join.
- [24 stitches]
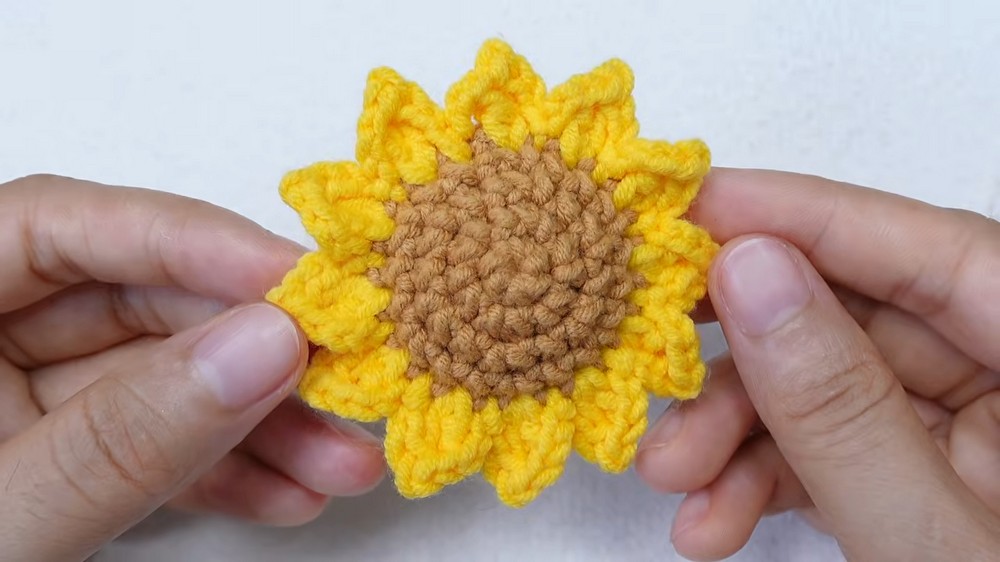
2. Petals (Worked joining the brown and green pieces wrong sides facing)
- Join yellow yarn through both layers to begin.
- Petal Pattern (to be repeated 12 times):
- Chain 2.
- 1 double crochet (dc).
- Chain 1.
- Slip stitch (sl st) into the top of the previous dc forming a picot.
- 1 dc.
- Chain 2.
- Slip stitch into the next stitch.
- Repeat this petal sequence 12 times evenly around both layers.
- After completing 9 petals, stuff the flower lightly with cotton stuffing for fullness.
- Finish the last 3 petals to close the flower form.
3. Sunflower Branch
- Insert a 14 cm floral wire into the center of the petals and sepal piece.
- Apply glue to secure the wire firmly inside the flower base.
- Wrap the wire stem completely with green yarn, tightly covering it to create a finished look.
4. Leaves
- Chain 10, skipping the first chain from the hook.
- Work over a 16 cm wire to reinforce shape.
- Working one side:
- 1 sc in the second chain from hook.
- 1 half double crochet (hdc).
- 5 double crochets (dc).
- 1 hdc.
- 1 sc in last chain.
- Chain 2, slip stitch in 2nd chain from hook.
- 1 sc in the same stitch.
- Turn work and repeat the sequence symmetrically on the other side of the chain.
5. Pot
- Round 1:
- Magic ring.
- 8 sc into ring.
- Slip stitch.
- [8 stitches]
- Round 2:
- Work 8 increases (inc) evenly.
- Slip stitch.
- [16 stitches]
- Round 3:
- Chain 1.
- 1 sc, 1 inc repeat 8 times.
- Slip stitch.
- [24 stitches]
- Round 4:
- Chain 1.
- 2 sc, 1 inc repeat 8 times.
- Slip stitch.
- [32 stitches]
- Round 5:
- Chain 1.
- 3 sc, 1 inc repeat 8 times.
- Slip stitch.
- [40 stitches]
- Round 6 (Back Loops Only):
- Chain 1.
- Work 1 sc in back loop only of each stitch around.
- Slip stitch.
- [40 stitches]
- Rounds 7-14:
- Chain 1.
- Work 1 sc in both loops of each stitch around.
- Slip stitch.
- [40 stitches per round]
- Round 15 (Front Loops Only Decorative Round):
- Chain 1.
- Skip 3 stitches, 4 sc in the 4th stitch’s front loop repeat around.
- Slip stitch.
- Base Trim:
- Attach yarn to loops remaining from Round 6.
- Slip stitch evenly around to create a neat edge.
6. Soil and Assembly
- Soil:
- Repeat Rounds 1 to 5 of the pot pattern to create a flat circular soil piece.
- Leave a small center hole to allow stuffing to compress.
- Assembly:
- Stuff the pot firmly with fiberfill.
- Place the soil piece atop the stuffing, aligning with pot edge.
- Using a tapestry or darning needle, sew the soil edges securely to the pot opening ensuring a durable finish.
Assembly & Finished Size
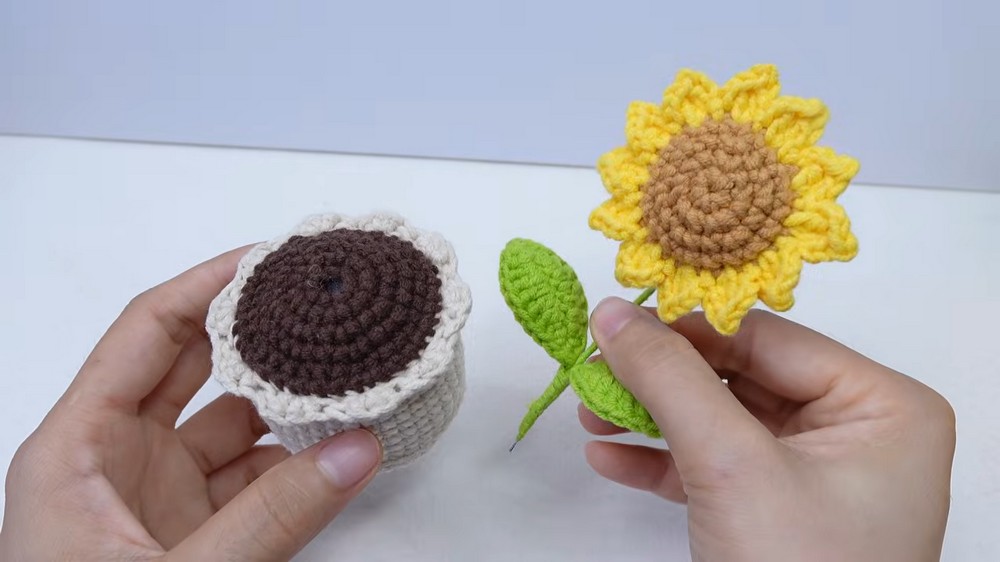
- The sunflower components are completed separately and assembled by wiring and sewing securely.
- The finished pot measures approximately 8-9 cm in diameter and 6-7 cm tall.
- Sunflower section with branch and leaves extends up to about 20 cm in height, making this a compact and attractive decorative piece.
- The pot’s decorative front loop trim provides visual interest and texture contrast to the smooth flower and leaves.
Conclusion
This sunflower pot crochet pattern combines foundational techniques with thoughtful design elements to craft a charming, realistic flower in a pot. From shaping tight circular bases to layering petals and adding structural wires in the stem and leaves, this pattern offers rewarding intermediate-level crochet practice.
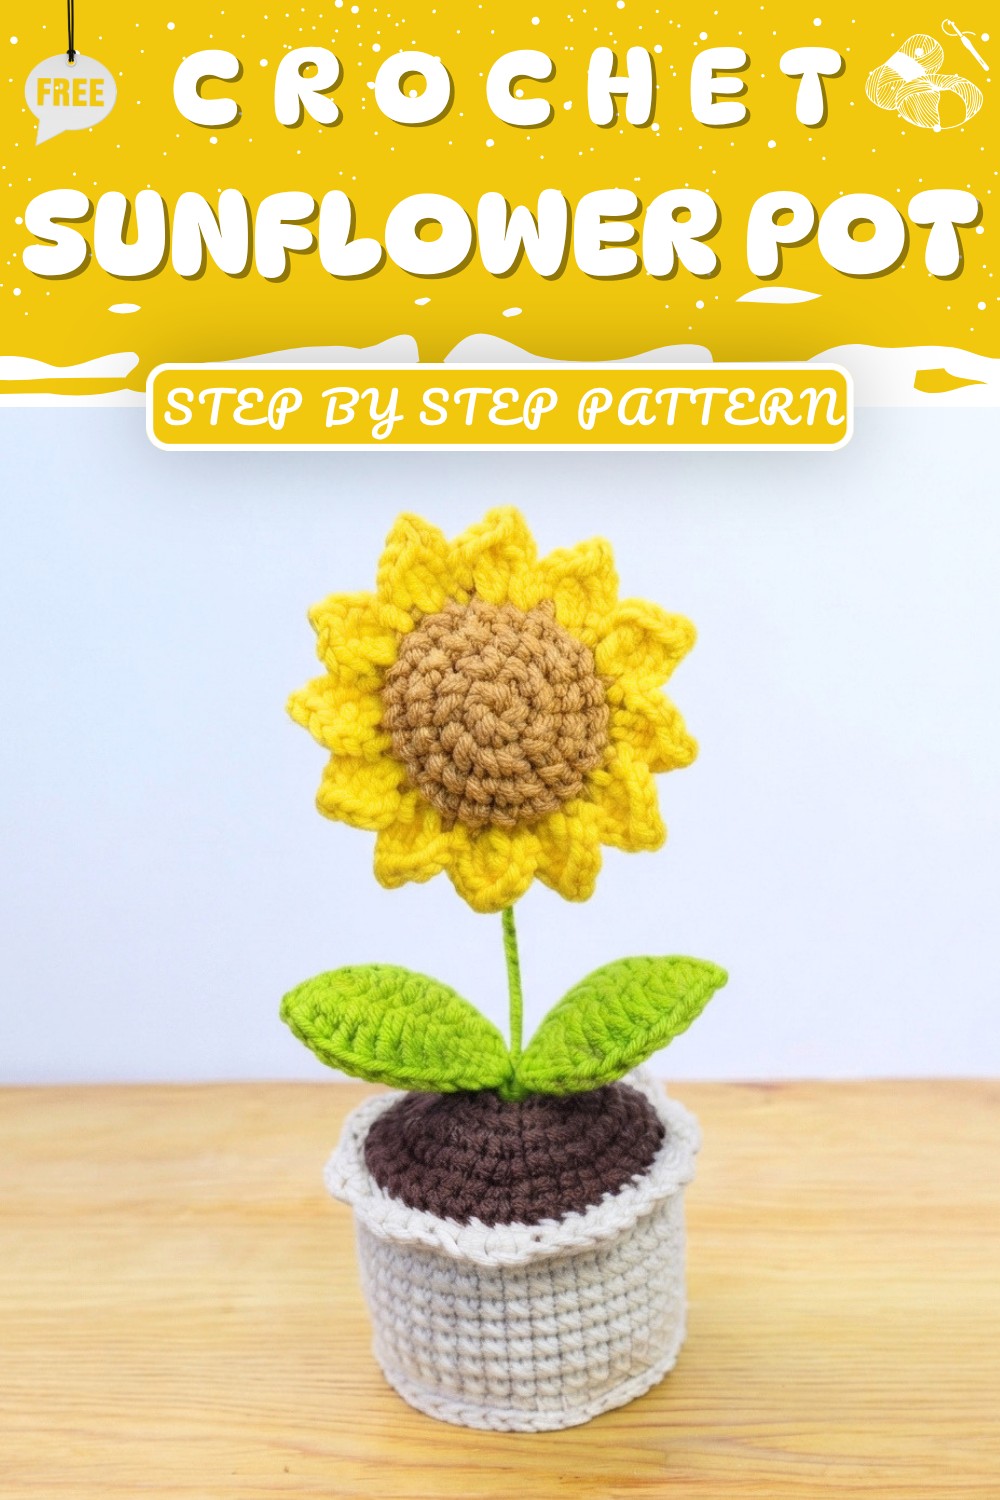
Crocheters will appreciate the balance of stitch variation, shaping rounds, and assembly finesse that culminate in a decorative piece ideal for gifting or personal display. Carefully worked petal picots and pot detailing elevate this project beyond a simple amigurumi, resulting in a tactile and eye-catching sunflower accessory. With patience and attention, you’ll bring life to this cheerful sunflower, capturing the warmth of summer blooms year-round.