
Free Crochet Tulip Pot Pattern Including Easy Crochet Steps
Make a Crochet Tulip Pot to create a unique and beautiful handmade decoration that adds warmth and charm to your home or makes a thoughtful gift.
Do you want a flower decoration that stays bright and pretty all the time? The Crochet Tulip Pot is a wonderful choice. This cheerful crochet pot has soft tulip flowers made from yarn. It brings a colorful and warm feeling to any room. DIY Yarn Crafts, who is the designer, created this sweet and simple pattern so you can have flowers that never wilt.
Cute Crochet Tulip Pot Free Pattern to Brighten Shelves and Desks
This project looks great on a desk, shelf, or windowsill. It brightens spaces without needing water or sunlight, making it easy to care for. You can use it as a cute decoration for your home, office, or classroom. It also works well as a gift, party decoration, or even a centerpiece on a table. The bright tulip petals and cozy pot add a happy and friendly touch wherever you place it.
The design by DIY Yarn Crafts is easy enough for beginners, but fun for anyone who likes yarn projects. You don’t need much experience to make this colorful flower pot. It’s a nice way to add decoration that looks fresh and bright all year.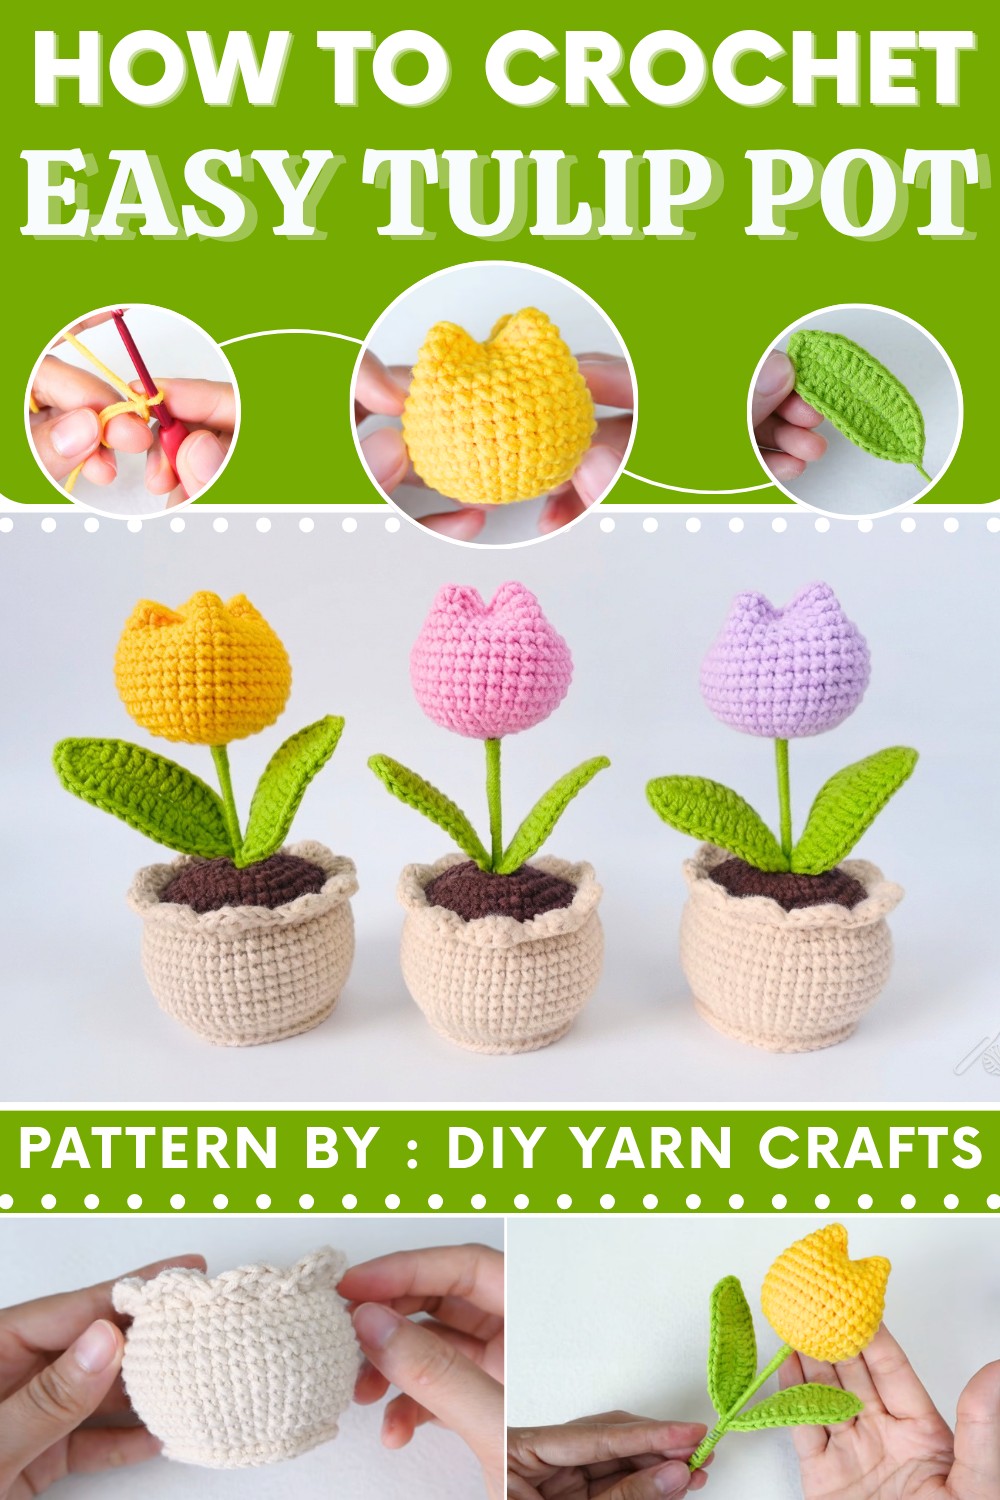

If you would like a happy flower pot that never fades, check out the free Crochet Tulip Pot pattern. Bring a bit of color and cheer to your home with this lovely crochet!
Crochet Tulip Pot – Full Step-by-Step Pattern
In this pattern, you’ll learn how to crochet a beautiful tulip pot easily and step by step. We’ll make a realistic tulip bud, leaves with wire for shaping, a sturdy soil insert, and a textured pot. Let’s begin!
Pattern Basic Points
The Tulip Bud
- Crocheted in the round, starting with a magic ring.
- Uses single crochets with simple increases.
- Stitched in continuous rounds, stuffed, and shaped at the end.
The Leaves
- Made using chains, single crochet, half double crochet, and double crochet.
- Crocheted around a 0.5 mm wire for shape and durability.
- Two identical leaves are made.
The Pot
- Worked in the round from the base upwards, beginning with a magic ring.
- Expanded with increases, then built up with single crochet.
- Special textured round in the front loops only for design.
- Finished with a reinforced edge and a separate soil insert (base).
The Soil (Base Insert)
- Repeat of early pot mechanics, slightly smaller for fitting snug inside the pot.
- Assembled with fiberfill and stones for stability.
Assembly
- All pieces are joined with basic sewing and gluing.
- The stem is constructed from a wrapped stick, to which bud and leaves are glued and attached securely for realism.
Special Notes
- Use stitch markers to keep track of rounds, especially at the beginning of buds and pot base.
- Be careful when handling the wire for the leaves.
- Pull magic ring tails securely to close the centers tightly.
- When stuffing, don’t overfill; maintain the natural tulip bud shape.
- Use glue sparingly to avoid yarn discoloration.
- Adjust the pot/soil width by increasing or decreasing stitch counts in the early rounds to match your tension.
Skill Level
Advanced Beginner / Confident Beginner
- Must be comfortable with:
- Magic ring
- Single crochet, half double crochet, double crochet
- Working in the round
- Making increases and decreases
- Basic sewing and assembling
Materials
- Yarn: Susan’s Family 5 brand, or similar medium-weight yarn in three colors:
- Tulip color (your choice)
- Green for leaves and stem
- Brown or black for soil
- Your pot color
- Hook: 2.5 mm crochet hook
- 0.5 mm floral wire: 20 cm per leaf
- Stuffing (fiberfill)
- 12 cm stick (for stem)
- Hot glue gun and glue
- Small gravel stones (for weight, optional)
- Stitch markers, scissors, darning needle
Measurements / Sizing (Optional Schematic)
- Tulip bud: Approx. 5–6 cm tall, 3–4 cm wide
- Pot: Approx. 7–8 cm tall, 7–8 cm wide at top
- Leaves: Approx. 10–12 cm long each
- Complete height (with stem): Approx. 15–18 cm depending on assembly
Gauge (and Stitch Pattern if applicable)
Gauge: Not critical for this pattern. Stitches should be fairly tight for structure.
Stitch Pattern: US terms; single crochet, half double crochet, double crochet.
Stitch Abbreviations
| Abbrev | Meaning |
|---|---|
| ch | chain |
| sc | single crochet |
| hdc | half double crochet |
| dc | double crochet |
| st | stitch |
| sl st | slip stitch |
| inc | increase (2 st in one stitch) |
| dec | decrease (single crochet two together) |
| BLO | back loops only |
| FLO | front loops only |
Special Stitches
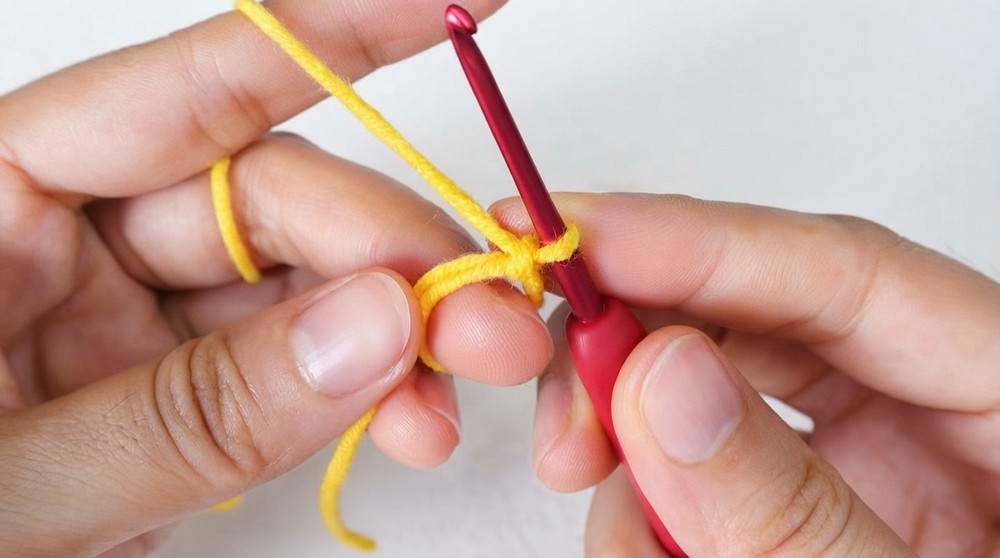
- Magic ring: Form a loop, work stitches into it, then pull tail to close ring.
- Increase (inc): Work two stitches into the same stitch.
- Decrease (dec): For pot only – sc2tog across front loops as shown in the pattern.
- Slip stitch (sl st): Insert hook into indicated stitch, yarn over, pull through both loops.
Crochet Instructions
Tulip Bud
- Start with a magic ring (see instructions above).
- Round 1: 8 sc into magic ring.
- Pull tail to close. (8 sts)
- Round 2: 2 sc in each stitch around (inc in each st). (16 sts)
- Round 3: 1 sc in next st, 2 sc in next st (inc), repeat all the way (24 sts)
- Round 4: 1 sc in next 2 sts, inc in next st, repeat (32 sts)
- Rounds 5–14: 1 sc in each stitch around. (32 sts each round)
- End: Sl st in next st, ch 1, cut yarn leaving a tail for sewing.
- Stuff the bud firmly with fiberfill.
- Using a needle and the long tail, sew a cross or star pattern to shape the top of the bud, closing it securely.

Leaves (Make 2)
- Make a slip knot, ch 15.
- Prepare a 0.5mm wire approx. 20cm, slightly bent.
- Begin crocheting with the wire placed along the foundation chain.
- Row 1:
- Sc in 2nd ch from hook, incorporating wire under hook and working yarn.
- Hdc in next ch.
- Dc in each of next 9 ch.
- Hdc in next ch.
- Sc in last ch.
- End of row: ch 2, sc in same ch.
- Turn, work along the other side:
- Hdc in next st.
- Dc in next 9 st.
- Hdc in next st.
- Sc in next/last st.
- Sl st to first sc, ch 1, cut yarn.
- Wrap yarn around wire and knot on the back, trim excess yarn.
- Repeat to make 2 leaves.

Pot
- Round 1: Magic ring, 8 sc in ring. Pull tight. (8 sts)
- Sl st to join.
- Round 2: Ch 1, 2 sc in each st (inc in all sts). (16 sts)
- Sl st to join.
- Round 3: Ch 1, 1 sc in next st, 2 sc in next st (inc), repeat around. (24 sts)
- Sl st to join.
- Round 4: Ch 1, 1 sc in next 2 sts, 2 sc in next st (inc), repeat around. (32 sts)
- Sl st to join.
- Round 5: Ch 1, 1 sc in next 3 sts, 2 sc in next st (inc), repeat around. (40 sts)
- Sl st to join.
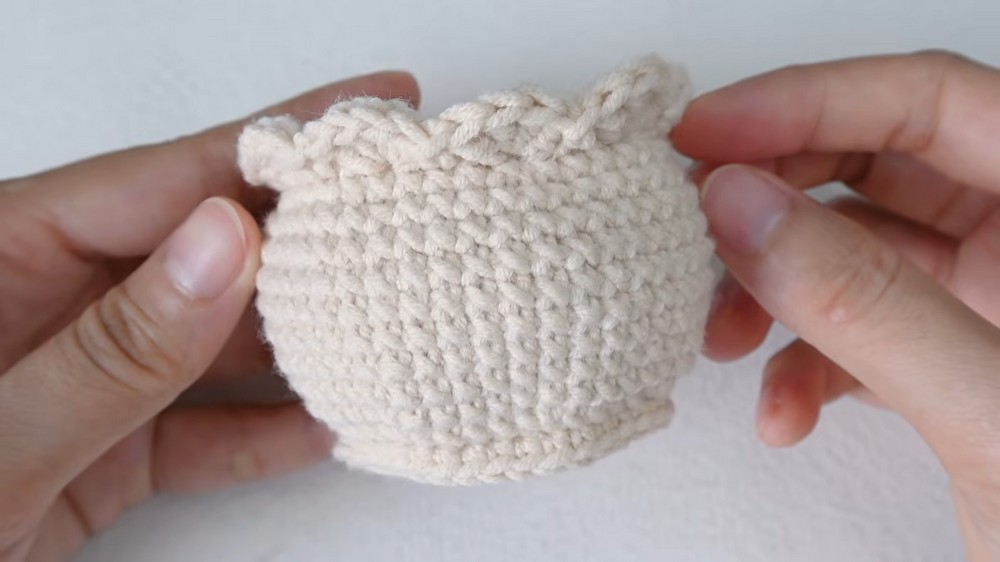
- Round 6 (BLO): Ch 1, 1 sc in BLO of next 4 sts, 2 sc in BLO of next st, repeat around. (48 sts)
- Sl st to join.
- Rounds 7–14: Ch 1, 1 sc in each st (both loops). Join with sl st at end of round. (48 sts each round)
- Round 15: Ch 1, 1 sc in next 4 sts, dec (sc2tog) over next 2 sts (see Special Stitches), repeat. (40 sts)
- Sl st to join.
- Round 16 (FLO): Ch 1,
- Sc in 1st st (FLO),
- Skip 1, 4 dc in FLO of next st; skip 1, sc in FLO of next st,
- Repeat pattern around.
- Sl st to first sc, ch 1, cut yarn. Hide tails inside the pot.
Soil
- Repeat Rounds 1–5 of Pot instructions with your "soil" color. (Up to 40 sts.)
- Leave a long tail (about 40cm) for sewing.
- Do not pull center too tight—leave a small hole for inserting flower stem.
Assembly & Finished Size
- Stuff pot with fiberfill and add gravel for weight if desired.
- Place “soil” piece on top. Use yarn tail to sew soil to pot rim using darning needle; secure and hide end.
- Make tulip stem:
- Insert stick into bud center using hot glue.
- Wrap stick with green yarn, using glue to secure.
- Attach leaves around the stem: glue in place, wrap yarn, continue down stem, trimming any excess stick.
- Finish wrapping and glue the yarn at the bottom.
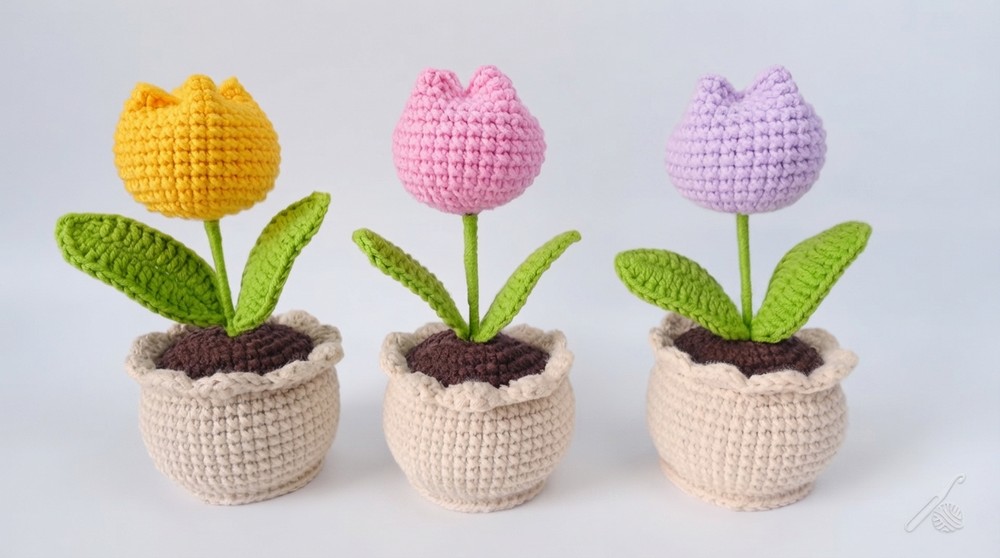
- Insert stem through hole in soil, using glue to secure if needed.
- Adjust leaves, fluff cotton if necessary, and ensure the tulip sits upright and neat.

Conclusion
This project covers several essential crochet skills, including working in the round, simple shaping, color changes, and assembly for three-dimensional pieces. The use of wire for the leaves, fun colorwork for the soil and pot, and creative finishing ensure a professional result that makes a lovely decorative accent or a thoughtful handmade gift.