
Free Crochet Snowman Pattern with Step-by-Step Tutorial
Find a unique Crochet Snowman that brings warmth and joy to your winter decor, makes a handmade gift, and adds festive charm to any space.
This written pattern is adapted from the original YouTube tutorial by [Shelen Crochet]. If you enjoy this project, I highly recommend watching her full video(Link is below) and supporting her creative work.
Handmade Crochet Snowman Free Pattern Ideal for Christmas Decorations
The Crochet Snowman is a charming and cozy decoration perfect for bringing a bit of winter cheer into your home. Standing around 6 to 8 inches tall, this small amigurumi figure features soft, rounded shapes made using simple crochet stitches, making it an ideal project for beginners or those with some basic experience.
You can personalize your snowman by adding accessories such as colorful scarves, buttons for eyes and belly, a tiny hat, or even a carrot-shaped nose to give it lots of character. Full credit for this delightful design goes to Shelen Crochet, whose clear instructions and helpful tips make the creation process enjoyable and easy to follow.
To complete this project, you will need some standard materials — medium weight acrylic or cotton yarn works well, along with a corresponding crochet hook, polyester stuffing for the figure’s body, and a few small items for embellishments.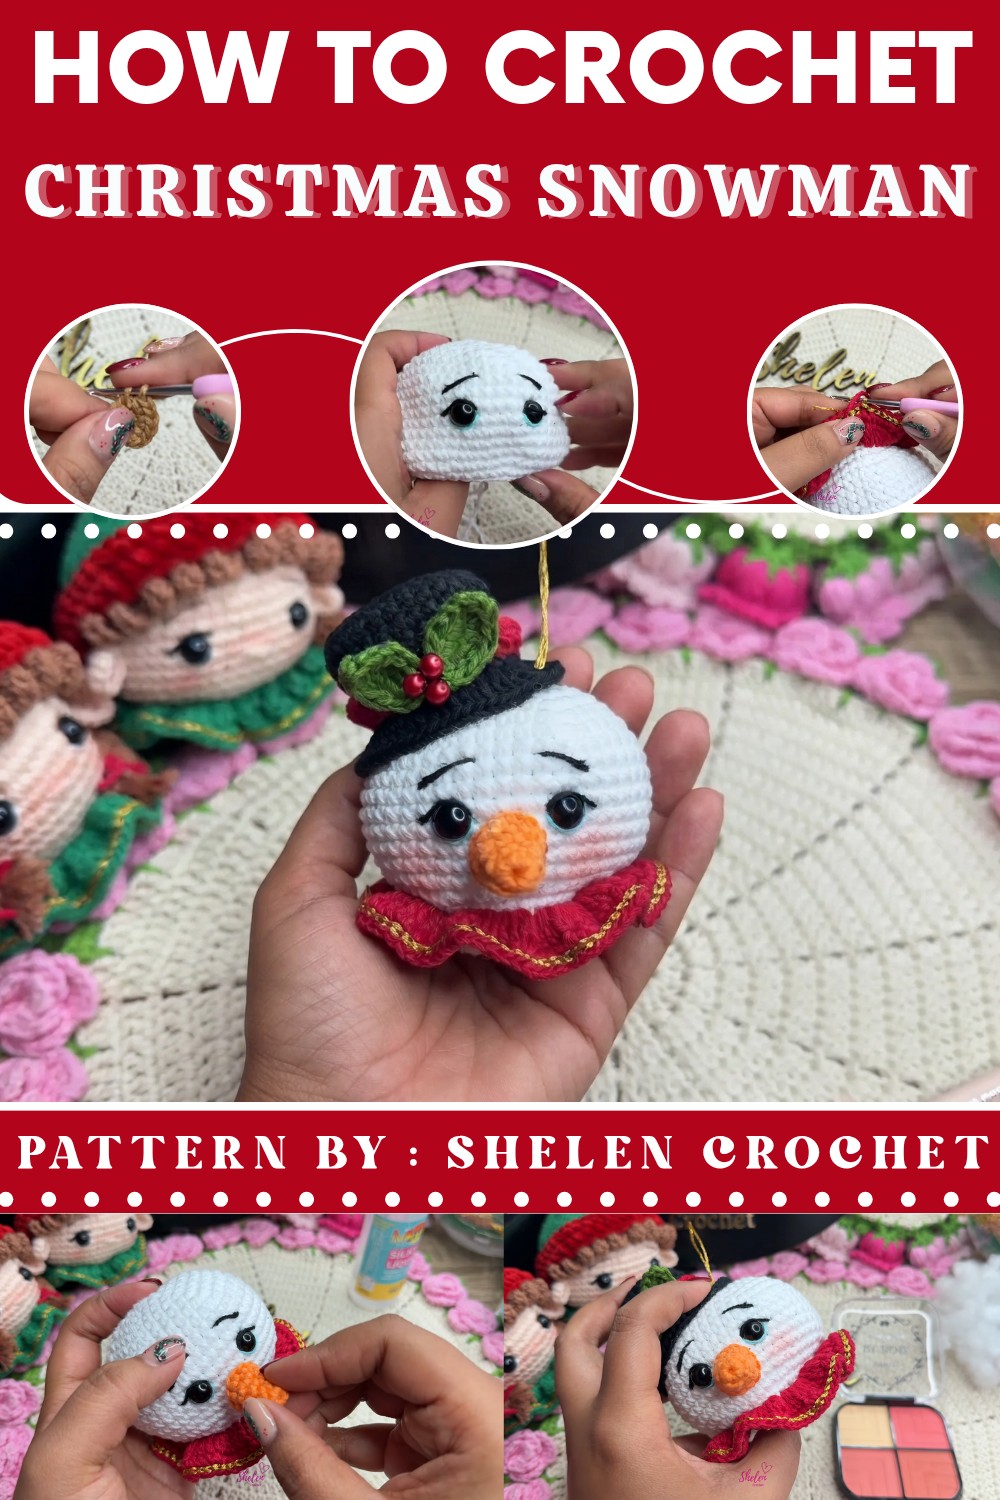
The pattern primarily uses simple stitches like single crochet and increases and decreases, so it’s a great way to practice these foundational skills while making something festive and cute.
Overall, the Crochet Snowman is a warm and inviting handmade decoration or gift. Whether you’re crafting it for yourself or to give to a loved one, this project captures the cozy spirit of winter and the joy of crafting with yarn.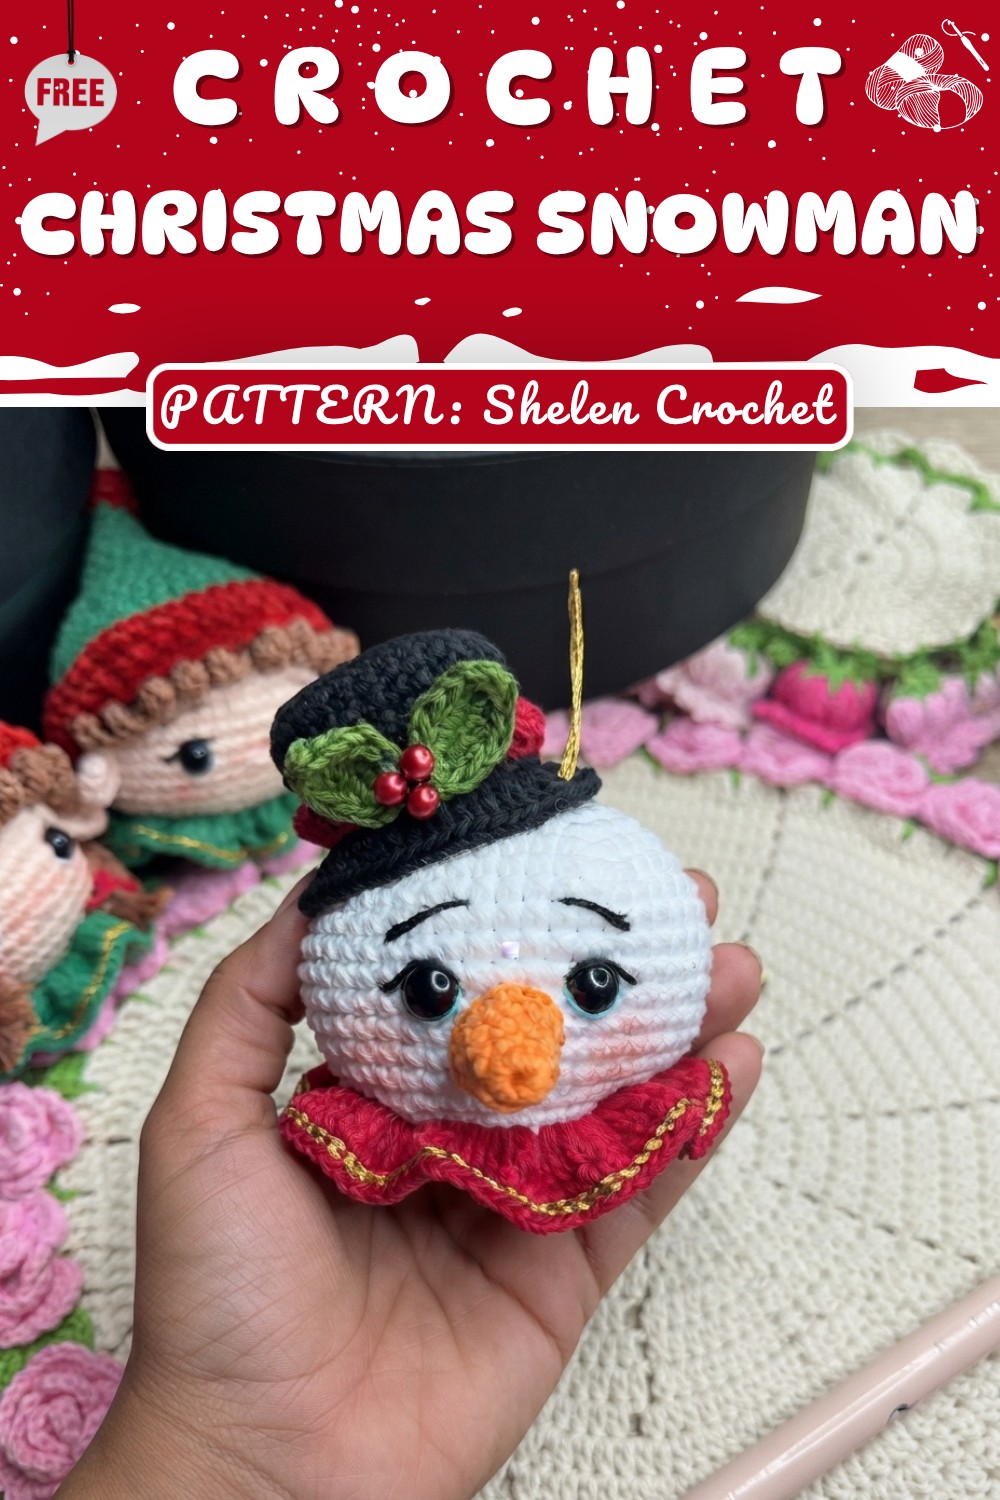
Monkey Snow Pattern – Chellen Crochet
In today’s tutorial, we’ll be making an adorable Monkey Snow amigurumi. This project features charming winter-themed details such as a decorative neck frill, a carrot nose, a festive hat, and customized facial embroidery. Follow along for a delightful, creative crochet experience perfect for gift-giving or decorating.
Pattern Highlights
Head Construction
- Begins with a magic ring, working up to 23 rounds; gradual increases and decreases for a perfect sphere.
Neck Decoration
- Uses carmine color yarn for a decorative neck frill and gold thread for edging.
Carrot Nose
- Simple amigurumi nose using tangerine color yarn, shaped and attached at the face center.
Black Top Hat
- Crocheted in rounds with crown and brim, finished with a carmine band, leaves, and red pearls.
Facial Embroidery
- Safety eyes placement, embroidered blue and black details, eye brows using floss, blush for cheeks.
Final Assembly
- Strategic application of glue and stuffing for neat finish, addition of metal plates for snow effect.
Notes
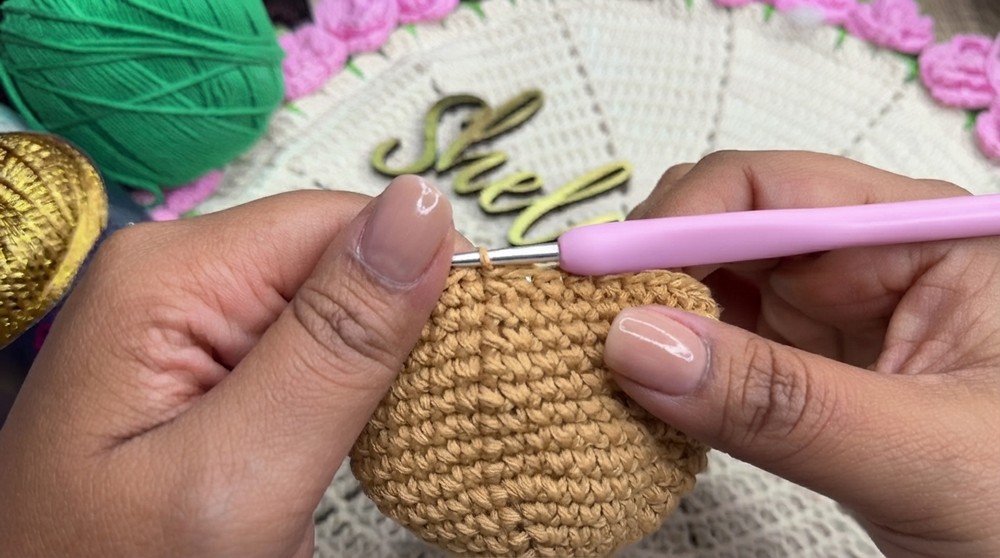
- Head is worked in white cotton; tobacco color is used in the video only for clarity.
- Use the false X stitch for better texture.
- Always finish rounds with a slip stitch and chain for the next round.
- Stuff head firmly before advancing to final decreases.
- Eyes are secured and melted lightly for stability.
- All neck and hat decorations are sewn or glued securely.
- Customizations (beads, metal plates, blush, leaves, etc.) may vary in color, use as preferred.

Skill Level
Intermediate:
Experience with amigurumi (increases/decreases), working in rounds and rows, embroidery, and basic assembly.
Materials
- Number six cotton yarn: carmine, white, black, blue (any shade), tangerine, grass green, gold
- Size 2.20 mm hook
- Pillow stuffing
- Glue (silicone)
- Safety eyes (size 9)
- 20 small brushes for blush application
- Little red pearls (for hat decoration)
- Embroidery needle
- Metal plates (optional for snow effect)
- Scissors
Measurements / Sizing
- Finished snow monkey: height approx. 12–14 cm (depends on stuffing and hat arrangement)
- Hat band: 35 ch long, leaves: 6 ch each
- Red pearl size: small (about 3–4 mm)
Gauge
- Not critical for amigurumi, but after round 8, the head should be about 4–5 cm in diameter.
- Work tightly to prevent filling showing through.
Stitch Abbreviations
| Abbreviation | Description |
|---|---|
| ch | chain |
| sc | single crochet |
| dc | double crochet |
| hdc | half double crochet |
| sl st | slip stitch |
| inc | increase (2 sc in same st) |
| dec | decrease (invisible decrease) |
| MR | magic ring |
Special Stitches
- False X Stitch: Take loop over yarn, close stitch by looping under yarn, results in an ‘X’ texture.
- Invisible Decrease: Insert hook into front loop of next 2 stitches, yarn over, pull through both, yarn over, pull through last two.
- Back Loop Only: For hat (round 5) and head (round 19), work specified rounds using only the back loops for neat edges.
- Eye Attachment: Burn/melt back of safety eyes for security after placement.
Crochet Pattern
Head:
- MR, 6 sc, join.
- Rnd 2: 6 inc (12).
- Rnd 3: (sc, inc) x 6 (18).
- Rnd 4: (2 sc, inc) x 6 (24).
- Rnd 5: (3 sc, inc) x 6 (30).
- Rnd 6: (4 sc, inc) x 6 (36).
- Rnd 7: (5 sc, inc) x 6 (42).
- Rnd 8: (6 sc, inc) x 6 (48).
- Rnds 9–16: sc around (48 each).
- Rnd 17: (6 sc, dec) x 6 (42).
- Rnd 18: (5 sc, dec) x 6 (36).
- Rnd 19 (back loop): (4 sc, dec) x 6 (30).
- Rnd 20: (3 sc, dec) x 6 (24).
- Rnd 21: (2 sc, dec) x 6 (18).
- Rnd 22: (sc, dec) x 6 (12).
- Fill firmly.
- Rnd 23: 6 dec (6).

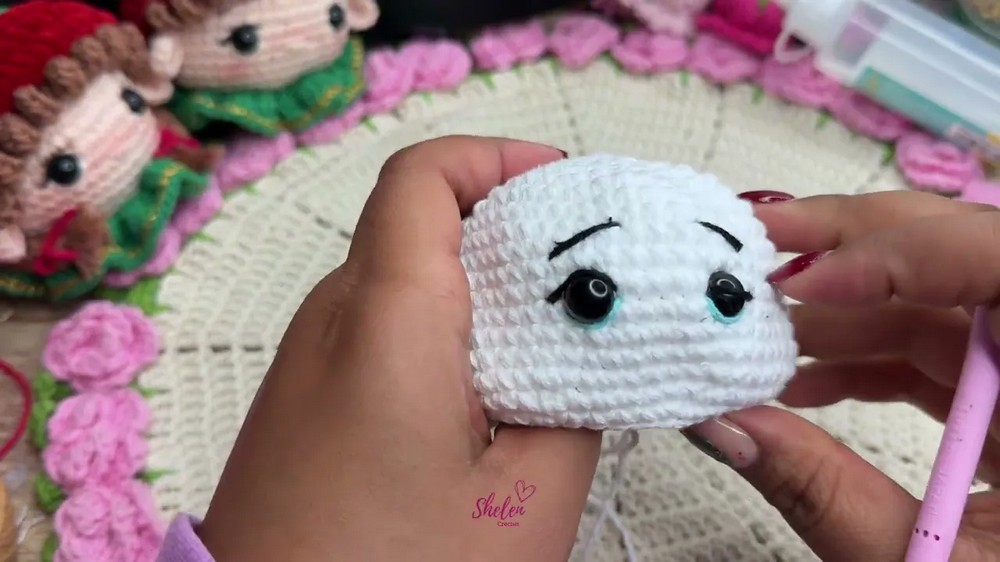
Facial Embroidery:
- Attach safety eyes between rounds 12 and 13, spaced by 6 stitches.
- Melt back to secure.
- Embroider blue detail and eyebrows (3 strands width).
- Apply blush.
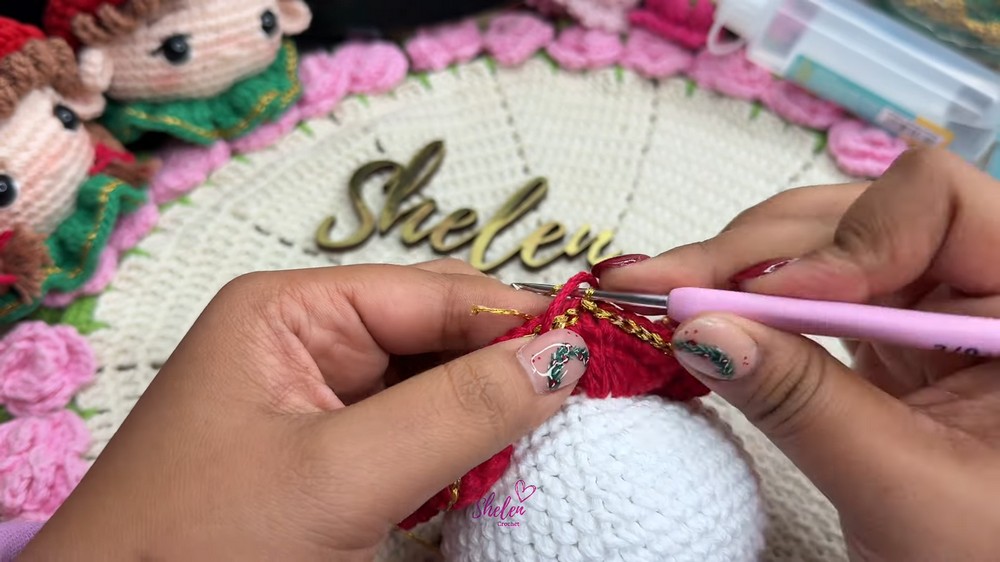
Neck:
- Carmine yarn: ch 3, dc x3 in each chain around.
- Next round: sc in each stitch.
- Gold thread: sl st in sc round for edge.
- Hide threads.
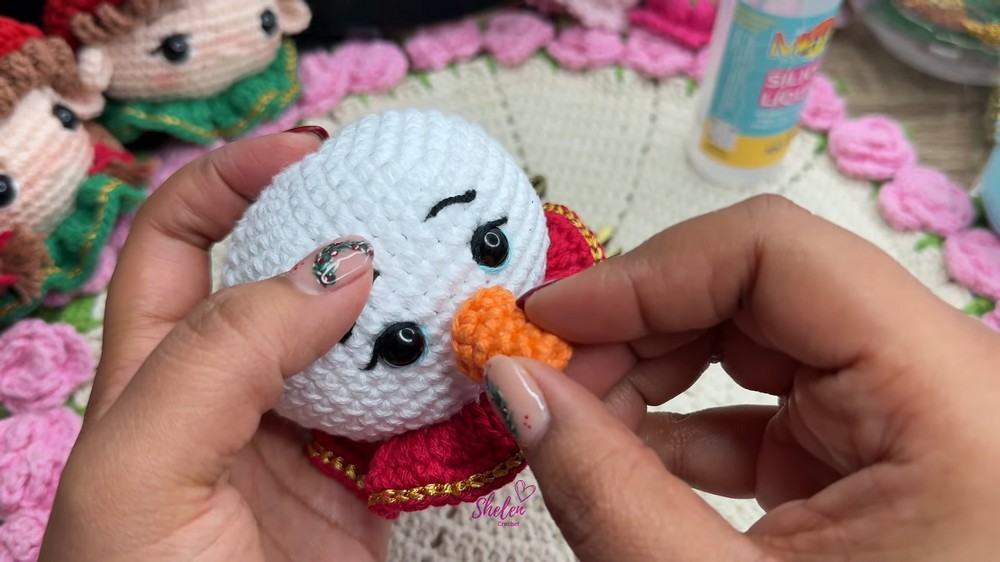
Nose:
- MR, 6 sc.
- Rnd 2: sc in each (6).
- Rnd 3: (sc, inc)x3 (9).
- Rnd 4: sc around (9).
- Rnd 5: (2 sc, inc)x3 (12).
- Sew or glue to center between eyes.
Hat:
- MR, 8 sc.
- Rnd 2: 8 inc (16).
- Rnd 3: (sc, inc)x8 (24).
- Rnd 4: (2 sc, inc)x8 (32).
- Rnd 5 (back loop): sc around (32).
- Rnd 6–8: sc around (32).
- Rnd 9: (6 sc, dec)x4 (28).
- Rnd 10: sc around (28).
- Rnd 11: (12 sc, dec)x2 (26).
- Rnd 12: ch 2, 2 dc in each st (52).
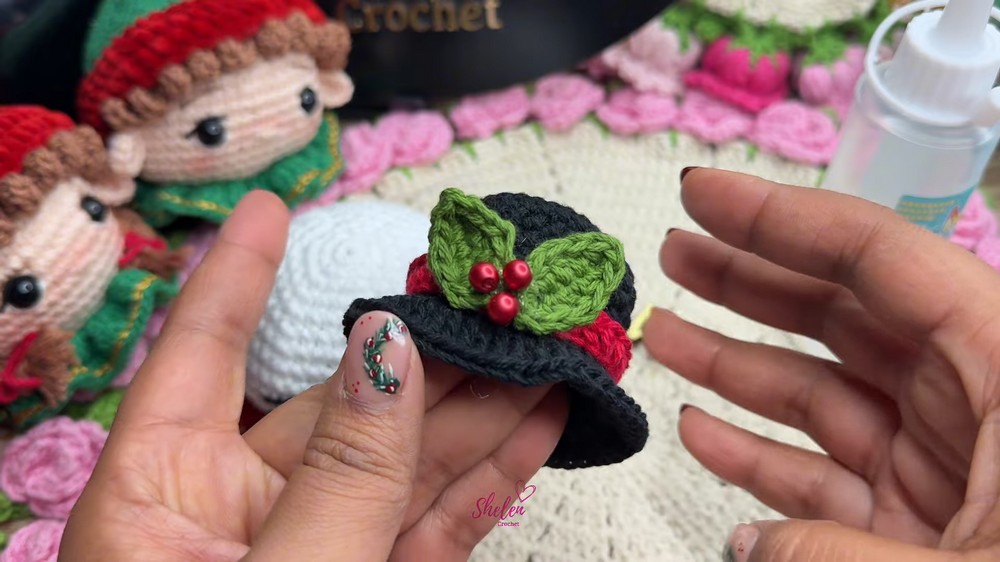
- Carmine band: ch 35, hdc in 2nd ch and across. Glue around hat.
- Leaves: ch 6, sc in 2nd ch, hdc, dc, hdc, sc, sc in same. Glue 2 leaves per hat, add 3 red pearls between leaves.
- Gold thread: weave through hat for accent.
Finishing Touches:
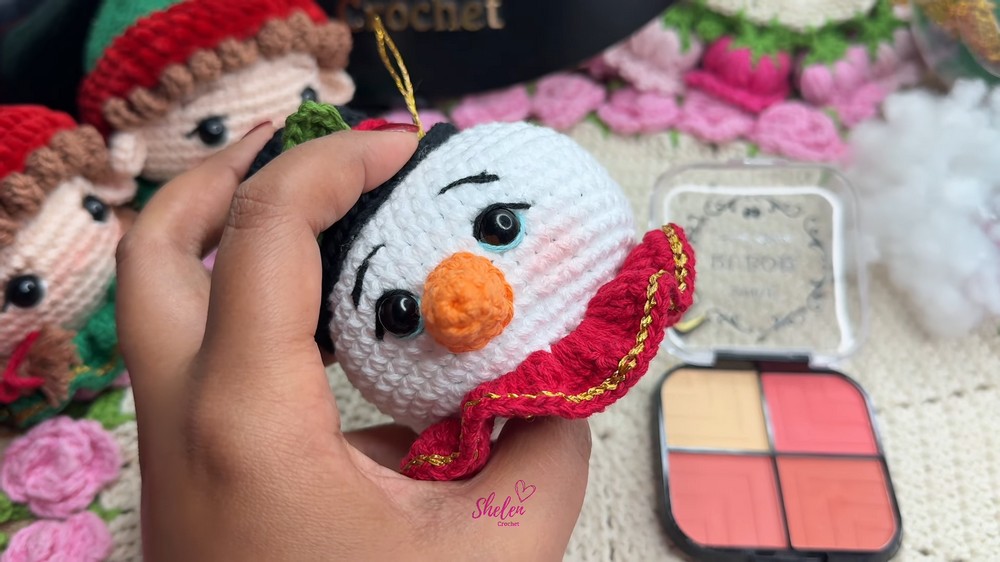
- Place tiny stuffing in hat, glue to head (sideways or upright).
- Remove excess silicone/glue after drying.
- Add metal plates, arrange for snow effect as desired.
- Final check that all decorative elements are secure.
Conclusion
Your Monkey Snow amigurumi is now complete, showcasing beautifully crafted details from the decorative neck to the festive hat and embellished face. This project brings together creativity, skill, and warmth—making it a delightful addition to any collection or a thoughtful handmade gift. Thank you for joining Chellen Crochet; I hope you enjoyed this tutorial and feel inspired for your next creation!