
Free Crochet Small Charmander Pattern Everyone Will Love
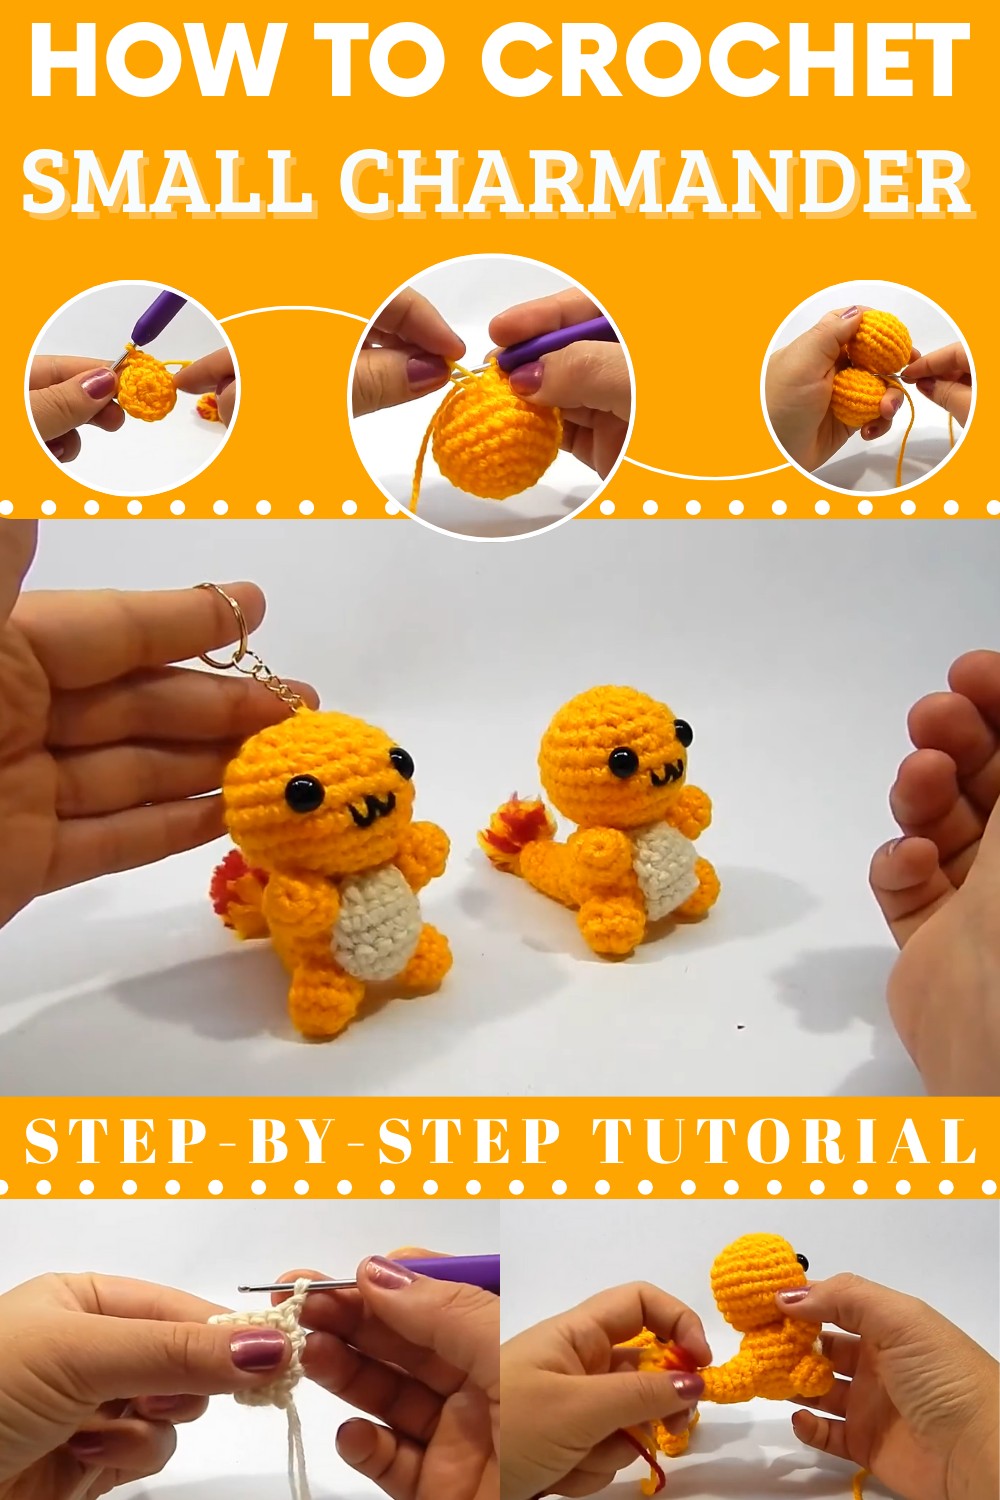
Bring charm to your collection with the Free Crochet Small Charmander Pattern, a playful and adorable handmade accessory to enjoy anytime.
If you’ve been on the lookout for a delightful hobby project, the Free Crochet Small Charmander Pattern could be your next favourite. This charming pattern offers a compact version of the beloved Pokémon that’s perfect for keychains, desk buddies or little gifts. With its vivid orange-red body, tiny flame-tail detail and subtle animation of the character’s playful spirit, it adds instant visual appeal to any handmade collection.
Vibrant Crochet Small Charmander Pattern to Add Personality
Uses & Practical Benefits
Thanks to its small size, the Free Crochet Small Charmander Pattern is wonderfully portable, ideal for on‑the‑go crocheting, making quick presents or simply adding a fun accent to your bag or car. Choose a soft cotton‑blend yarn and you get a sturdy piece that holds shape well. The pattern also helps sharpen your amigurumi skills, especially for shaping limbs, working colour changes and finishing details.

Why It Stands Out
There’s something elegant about a well‑made miniature. This pattern balances simplicity with expressive design, offering that satisfying finish without feeling overwhelming. Make it in bold colours and you’ll have a standout item; work it in muted tones and it turns into a sophisticated accessory that appeals to all ages.
Charmander Kawaii Keychain Amigurumi Pattern
Materials
- Yarn: 3–4 mm (or sport/DK weight)
- Orange (main color)
- Black (details)
- Red and yellow (tail flame)
- Pearl/cream (belly)
- Hook: 3.0 mm
- Stuffing: Synthetic polyester fiberfill
- Safety eyes: 10 mm
- Tapestry/yarn needle & sewing needle
- Scissors
- Stitch marker
- Blush and brush (optional, for cheeks)
- Keychain ring (optional)
- Comb or pet brush (for tail tip, optional)
- Glue (optional for securing knots/parts)
Key Abbreviations (US Terms)
| Abbreviation | Meaning |
|---|---|
| MR | Magic ring/circle |
| sc | Single crochet |
| hdc | Half double crochet |
| inc | Increase (2 hdc in same st) |
| dec | Decrease (hdc2tog) |
| sl st | Slip stitch |
| ch | Chain |
| st(s) | Stitch(es) |
| rep | Repeat |
Special Notes
- Always work in rounds unless otherwise noted; use a stitch marker to keep track.
- Adjust yarn/hook size for a larger or smaller piece.
- When sewing or attaching the tail flame, use a mix of colors for a more realistic effect.
- Add blush with a makeup brush for a soft cheek effect.
Pattern
HEAD
With orange yarn:
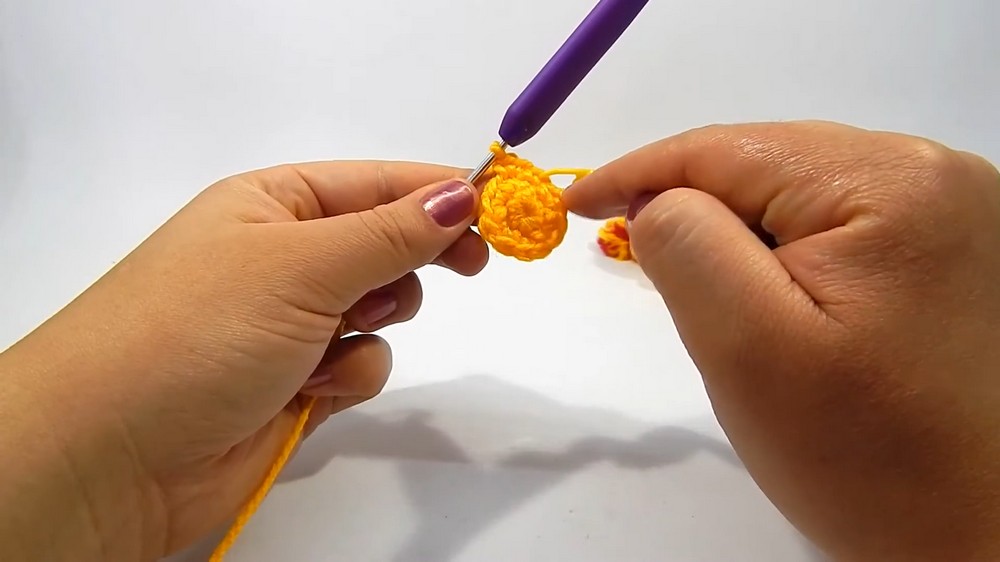
- MR, ch 1, 6 hdc in ring. (6 sts)
- Rnd 2: Inc in each st around (2 hdc in each st). (12 sts)
- Rnd 3: (1 hdc, inc) x6. (18 sts)
- Rnd 4: (2 hdc, inc) x6. (24 sts)
- Rnd 5: (3 hdc, inc) x6. (30 sts)
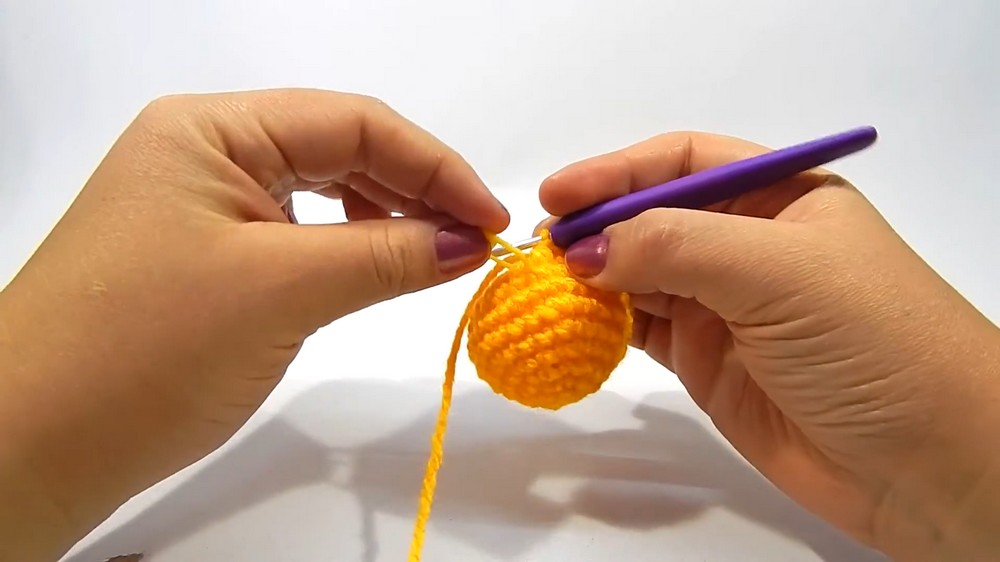
- Rnds 6–7: Hdc in each st around. (30 sts per round)
- Rnd 8: (3 hdc, dec) x6. (24 sts)
- Rnd 9: (2 hdc, dec) x6. (18 sts)
- Insert safety eyes between rounds 7 and 8, approx. 6 sts apart.
- Embroider mouth (W-shape) with black thread between round 6.
- Stuff head firmly.
- Rnd 10: (1 hdc, dec) x6. (12 sts)
- Rnd 11: Dec x6. (6 sts)
- Stuff, sl st to finish. Fasten off, weave in end to close top.
BELLY
With orange yarn:
- MR, 6 hdc in ring. (6 sts)
- Rnd 2: Inc in each st around. (12 sts)
- Rnd 3: (1 hdc, inc) x6. (18 sts)
- Rnd 4: (2 hdc, inc) x6. (24 sts)
- Rnds 5–6: Hdc in each st around. (24 sts per round)
- Rnd 7: (2 hdc, dec) x6. (18 sts)
- Rnd 8: (1 hdc, dec) x6. (12 sts)
- Rnd 9: Dec x6. (6 sts)
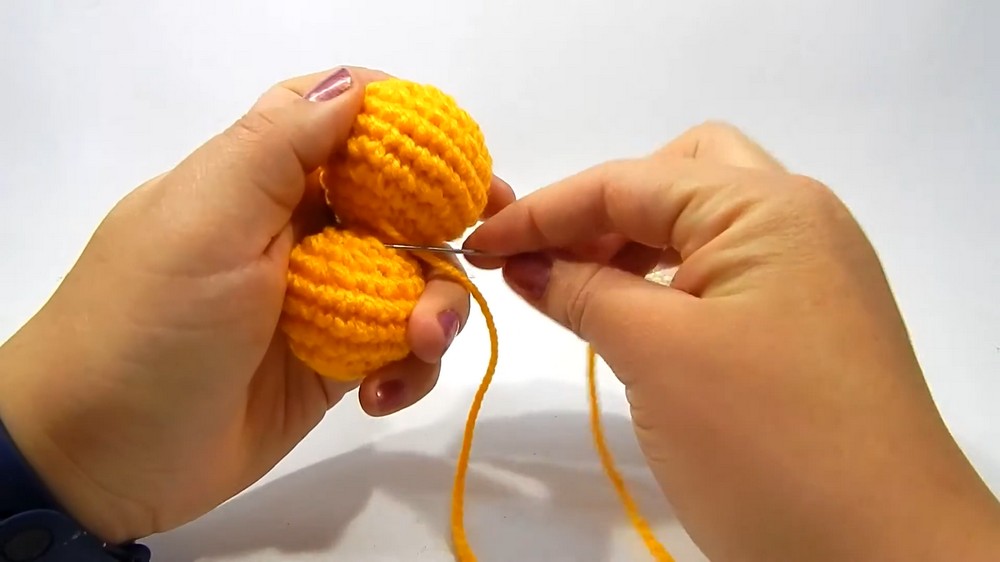
- Stuff, fasten off leaving long tail for sewing.
- Sew belly to head starting at the lower part of the head, so the two form a balanced oval (as visible in photos).
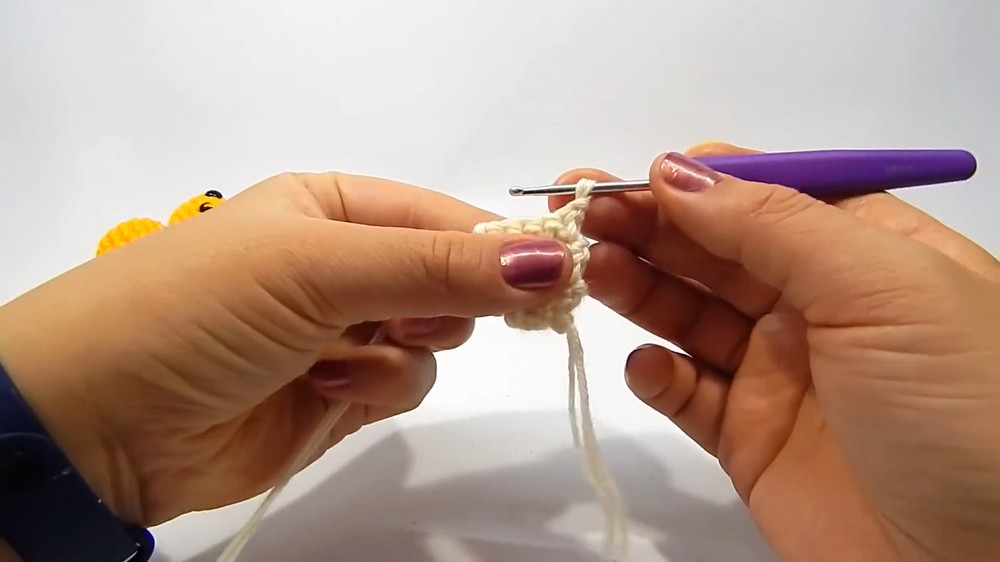
BELLY PATCH
With pearl/cream yarn:
- Ch 3, add 1 more as a turning chain (4 ch total).
- Row 1: 3 hdc across 3 ch. (3 sts)
- Row 2: Ch 1, turn. Inc, hdc, inc. (5 sts)
- Rows 3–5: Ch 1, turn. Hdc in each st across. (5 sts per row)
- Row 6: Ch 1, turn. Dec, hdc, dec. (3 sts)
- Fasten off, leave long tail. Sew to center of the joined head and body to form belly patch.
- Fasten off, leave long tail. Sew to center of the joined head and body to form belly patch.
ARMS (Make 2)
With orange yarn:
- MR, 6 hdc in ring. (6 sts)
- Rnds 2–3: Hdc in each st around. (6 sts per round)
- Insert a tiny bit of stuffing.
- Sl st, fasten off (for first arm, hide ends inside). For second arm, leave a long tail to sew to the side of the body near the seam of the belly patch.
FEET (Make 2)
With orange yarn:
- MR, 8 hdc in ring. (8 sts)
- Rnds 2–3: Hdc in each st around. (8 sts per round)
- Insert a bit of stuffing.
- Sl st, fasten off, hide ends for first foot. For second foot, leave tail for sewing.
- Sew feet to lower part of the body. To minimize ends, sew all limbs with the same tail.
TAIL (Base)
With orange yarn:
- MR, 6 hdc in ring. (6 sts)
- Rnds 2–4: Hdc in each st around. (6 sts per round)
- Rnd 5: (1 hdc, inc) x3. (9 sts)
- Rnd 6: (2 hdc, inc) x3. (12 sts)
- Stuff lightly. Fasten off, leaving long tail. Sew to lower back of the body.
TAIL FLAME
With red and yellow yarn:
- Cut several short strands of both red and yellow (or just red/orange if you don’t have yellow).
- Together, wrap over your fingers 5x, cut both ends to get ~6 cm/2.5" strands.
- Lay over a double strand of yarn, tie tightly at center.
- Fan out the yarn. Brush or comb the strands to fuzz them.
- Trim ends for a flame-like effect.
- Attach to tip of tail by stitching with the yarn tie or gluing in place.
DETAILS
- Use blush and a brush for cheeks.
- Attach keychain ring at the top for use as a keychain.
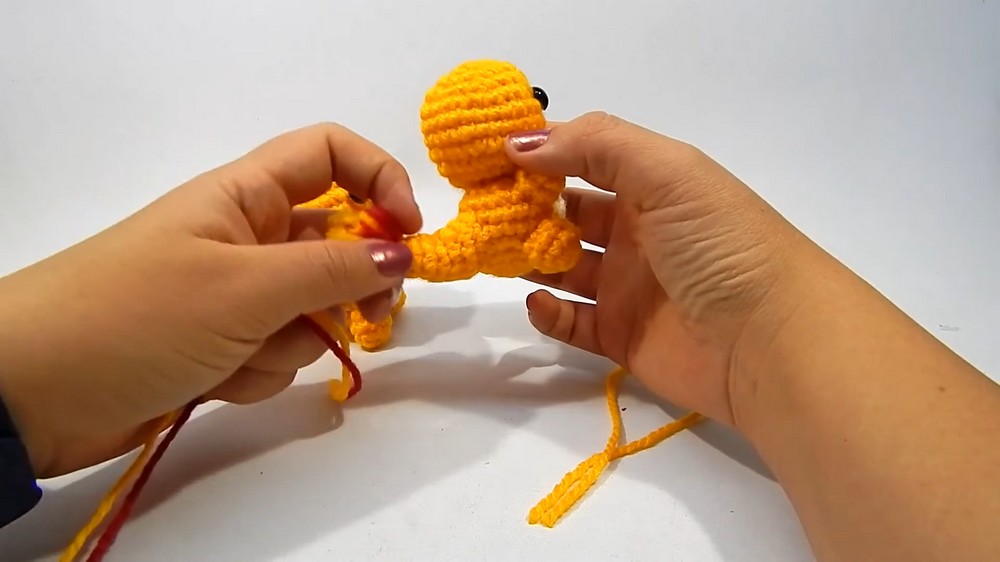
ASSEMBLY
- Sew arms to the upper sides of the body.
- Sew feet to the base of the belly.
- Sew tail to the back of the body.
- Attach tail flame to tip of tail.
- Secure all knots inside the body.
- Add blush to cheeks (optional).
- Insert keychain ring if desired.
Conclusion
You now have a cute, palm-sized Charmander amigurumi keychain, perfect for gifts, collecting, or selling! The design is quick, requires little material, and results in a lovable product.
Pattern Correction
- Center the face carefully for optimal cuteness.
- Stuffing should be firm but not overdone to hold shape.
Tips
- Use a stitch marker every round for accuracy.
- Brush tail flame to desired "fur" texture before attaching.
- For safety, always securely attach safety eyes (or embroider for small children).
- When selling, reinforce knots with a drop of glue.