
Free Crochet Rose Pot Pattern Including Easy Crochet Steps
Brighten your space with a charming Crochet Rose Pot that adds warmth and color making any room feel cheerful and full of cozy charm.
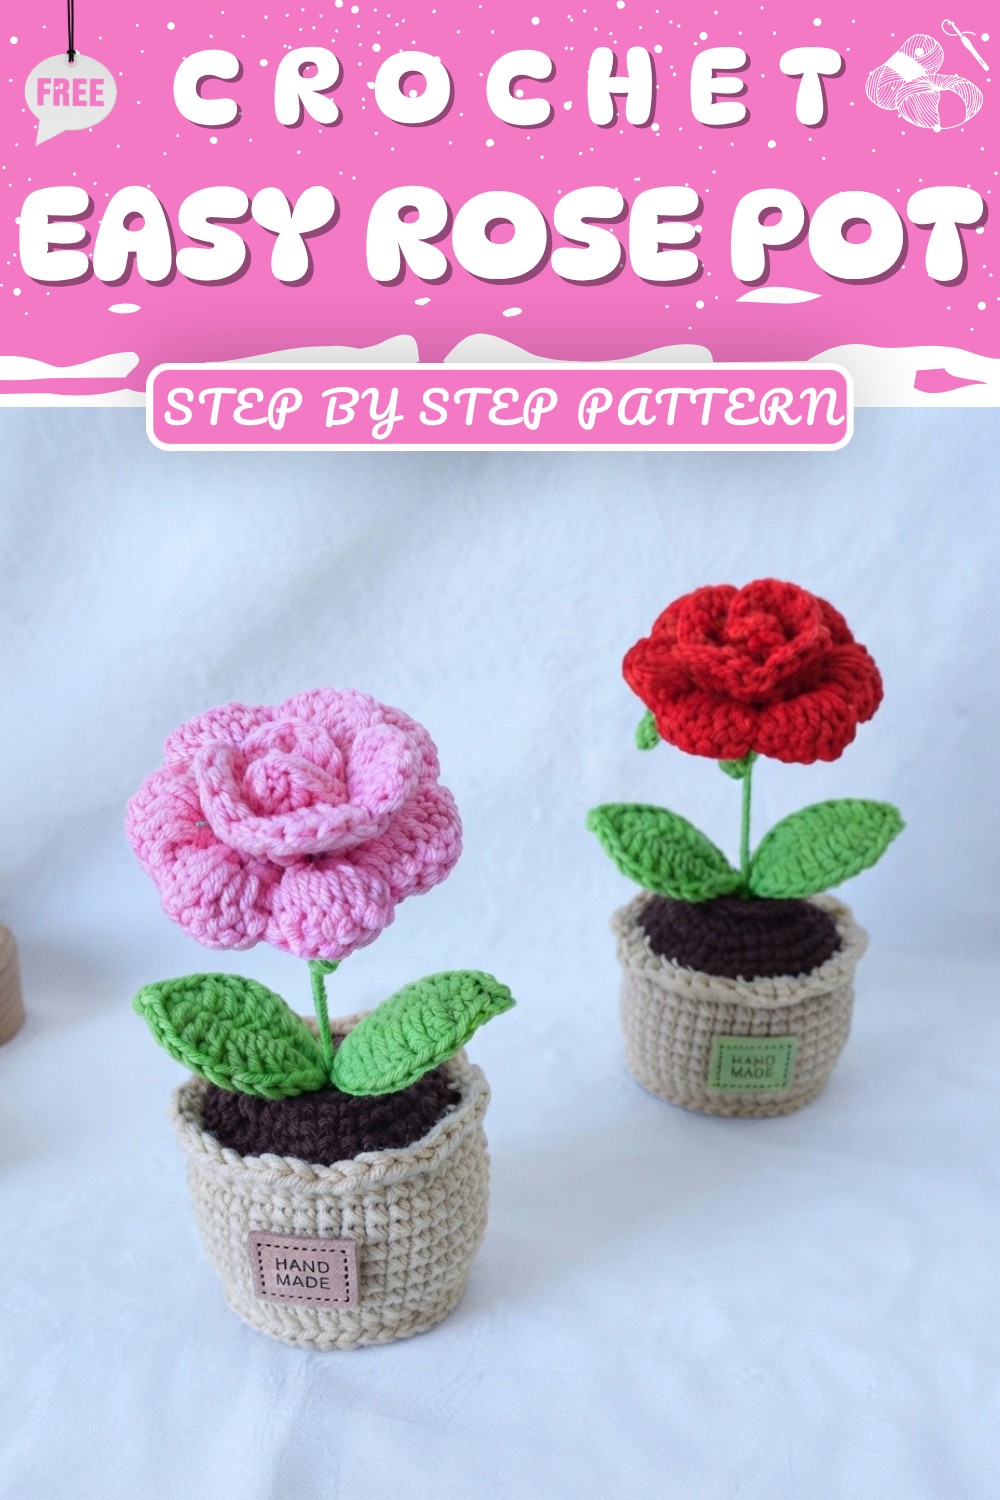
Looking for a colorful and cozy decoration? The Crochet Rose Pot created by DIY Yarn Crafts is a sweet and cheerful flower pot made from yarn. It features soft, round rose that look bright and happy. This little pot can sit nicely on a table, shelf, or windowsill, adding a warm and friendly touch to any room.
Easy Crochet Rose Pot Free Pattern for Handmade Gifts
This roses in the pot are full of soft petals that make them look gentle and inviting. They bring a splash of color and joy without needing water or sunlight like real flowers. This makes the Crochet Rose Pot a great choice for any spot in your home or even your workspace. Its small size fits well in many places, making the space feel lively and cozy.
The idea comes from DIY Yarn Crafts, who designed this lovely project with care and simplicity. The finished flower pot looks neat and tidy, showing off soft flowers held safely inside the pot. It can also be a thoughtful and sweet gift for friends or family who enjoy pretty decorations.If you want to have this cheerful flower pot at home, try the free pattern. It is easy to follow and helps you bring a bit of yarn sunshine into your space. Give yourself a little fun time with this warm and happy crochet project!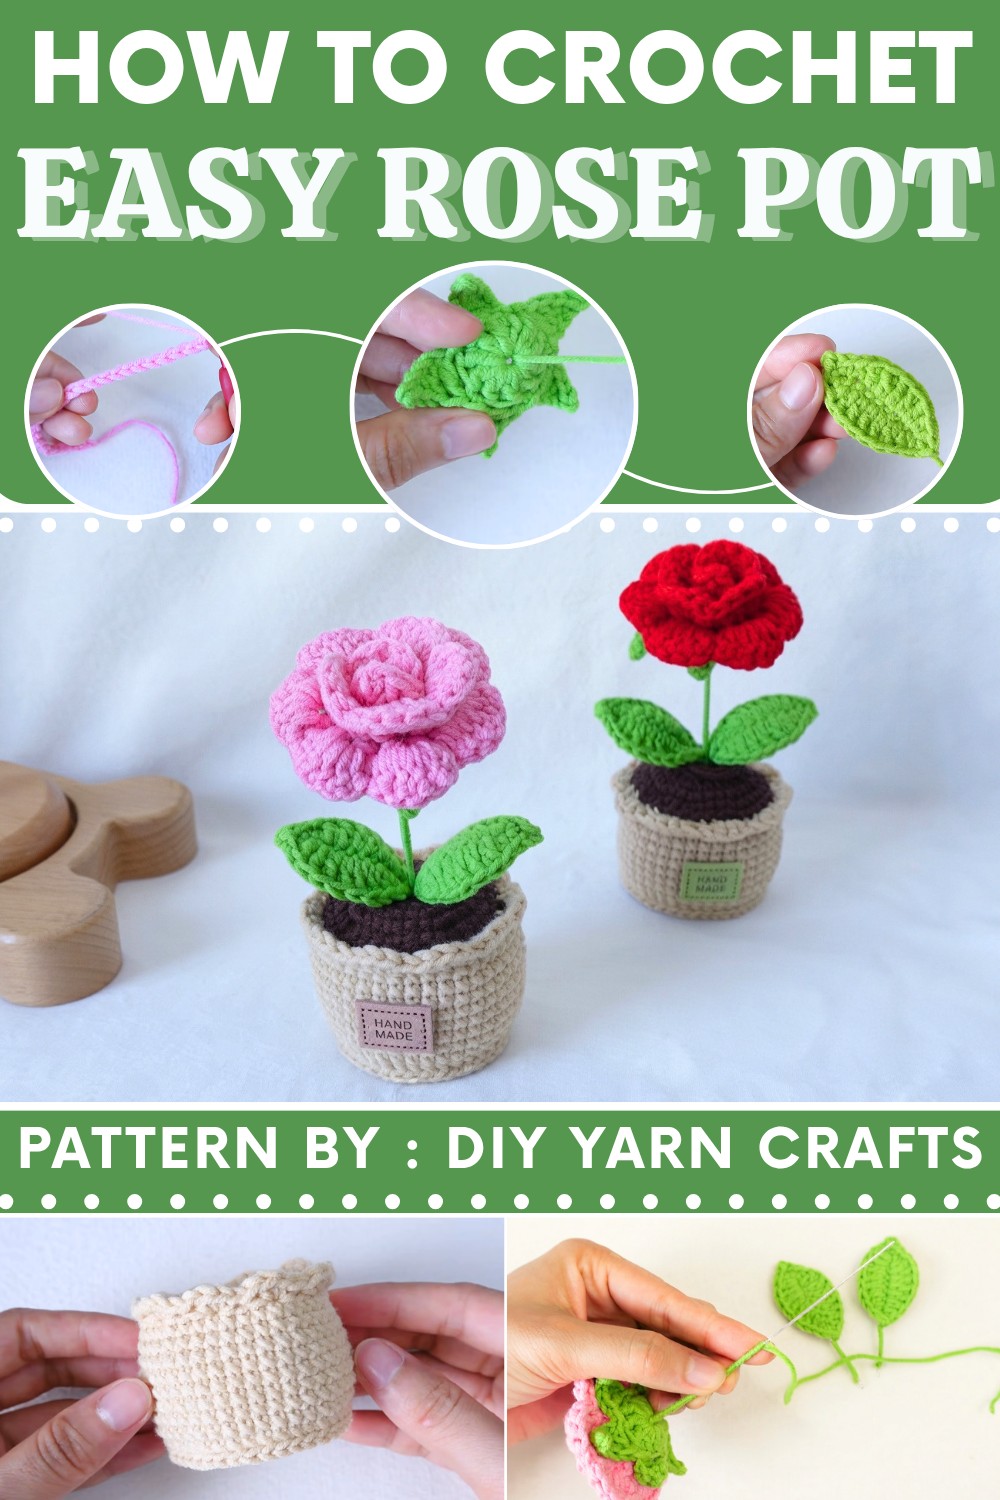
CROCHET ROSE POT PATTERN
In this pattern, I'm going to show you how to crochet a beautiful rose pot in a very simple and easy way.
Pattern Highlights
Rose Petals
- Simple foundation chain with V-stitch technique for petal shaping
- Worked in two rows and then rolled to form a realistic rose bloom
Sepal
- Made with a magic ring and double crochets
- Extended pointy sepals created using chain/short rows
Leaves
- Crocheted around wire for shape and stability
- Mixture of basic stitches for a natural leaf taper
Pot & Soil
- Dense rounds worked with single crochet
- Structured increases, textured sides, and decorative rim
- Separate soil disk for firm flower placement
Assembly
- Rose rolled around wire stem and glued for firmness
- Sepal and leaves attached and wrapped onto wire
- Everything secured into the pot with optional stones or stuffing for stability
Notes
- Mark the first stitch of each round for accuracy, especially on pot and sepal.
- When working petals, use tight stitches for a dense, natural effect.
- For leaves and sepals, incorporate wire as instructed for a sturdy finished plant.
- Ensure the soil disk is firm and leaves a central hole for the stem.
- Use hot glue carefully—only where needed for durability and appearance.
Skill Level
Beginner to Advanced Beginner
- Basic UK/US crochet stitches
- Working in the round
- Row and round increases
- Wire-supported construction
Materials
- Yarn: Susan's Family 5 brand, or similar (rose color, green, brown for soil, pot color)
- Hook: 2.5 mm crochet hook
- Wire: 0.5 mm for leaves (16 cm x2); 1 mm for stem (12 cm)
- Stuffing: Fiberfill/cotton, small gravel stones (optional)
- Hot glue gun
- Scissors, darning needle, stitch markers
Measurements / Sizing (Optional Schematic)
- Rose petal piece: ~26 chains; rolled to bloom ~6–7 cm diameter
- Leaves: ~7 cm long each
- Sepal: ~4–5 cm diameter
- Pot: 5–7 cm tall/wide
- Stem: ~12 cm wire
- Finished height: ~13–17 cm total
Gauge (and Stitch Pattern if applicable)
- Gauge is not critical, but keep stitches firm for a realistic flower and sturdy pot.
- Main stitches: Double crochet for petals/sepal, single crochet for pot.
Stitch Abbreviations
| Abbreviation | Stitch |
|---|---|
| ch | chain |
| sc | single crochet |
| dc | double crochet |
| hdc | half double crochet |
| sl st | slip stitch |
| inc | increase (2 sc in one stitch) |
| BLO | back loop only |
| FLO | front loop only |
| st(s) | stitch(es) |
Special Stitches
- Magic Ring: Create adjustable loop for rounds
- V-stitch: (dc, ch 2, dc) in same foundation chain
- Wire Wrapping: Crocheting over wire and wrapping yarn for secure finish
Pattern Instructions
Petals
Step 1:
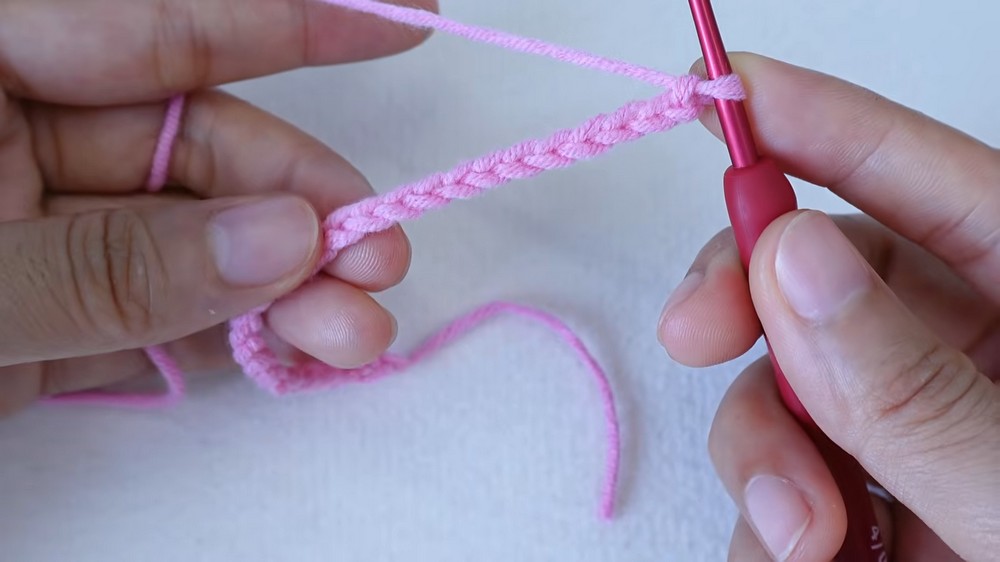
- Make a slip knot.
- Ch 26.
Row 1:
- Into 4th ch from hook: dc, ch 2, dc (first V-stitch).
- Skip 1 ch, dc into next ch, ch 2, dc in same ch.
- Repeat for total 12 V-stitches (last V-stitch into last chain).
Row 2:
- Ch 1, turn.
- Into first ch-2 space: 5 dc.
- Sc into space between next V-stitches (gap), 5 dc into next ch-2 space.
- Repeat until all petals are formed.
- Final: Sl st into last ch-3 space, ch 1, cut yarn.
Sepal
Step 1:
- Magic ring, ch 2.
Round 1:
- 10 dc into magic ring.
- Mark first st.
- Pull ring tight, sl st to join.
Round 2:
(Repeat 5 times for 5 sepals):
- Ch 5
- Sl st into 2nd ch from hook.
- Sc into next ch.
- Dc into last two chains.
- Skip first 2 stitches, sl st into 3rd stitch.
- Repeat for all points.
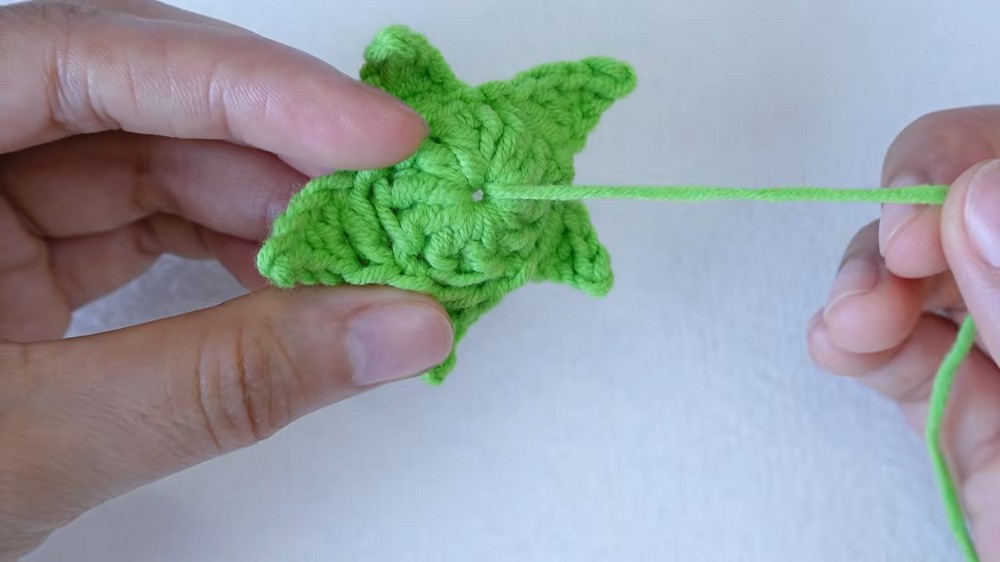
- Finish with sl st into last st, ch 1, cut leaving long tail.
- Pull tail through center.
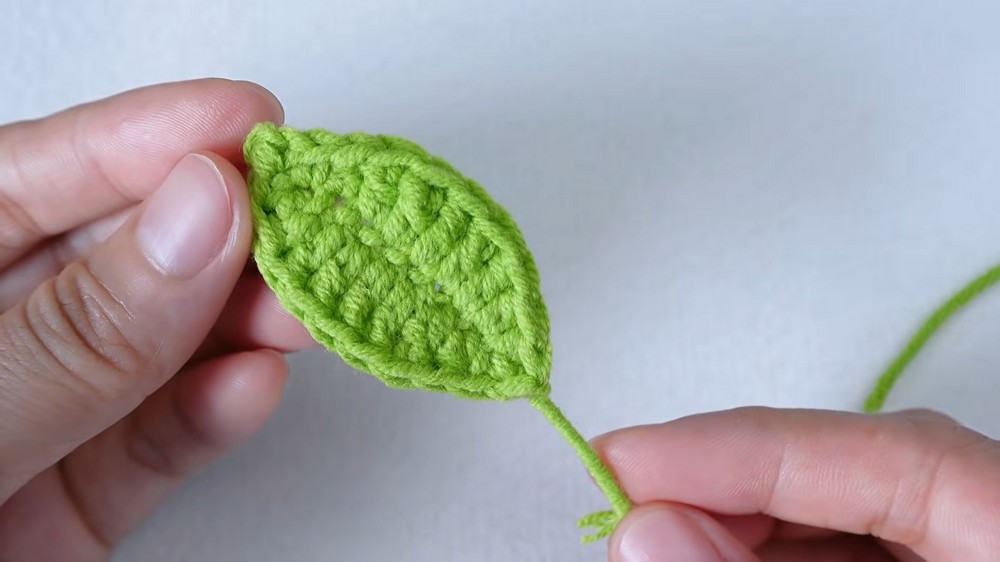
Leaves (Make 2)
Step 1:
- Make a slip knot, ch 10.
- Prepare 0.5mm wire 16cm, bend.
- Crochet with wire in the round.
Row 1:
- Skip first ch, sc into 2nd ch (enclose wire).
- Hdc in next ch.
- Dc in next 5 ch.
- Hdc in next ch.
- Sc in last ch.
- Ch 2, sk first ch, sl st in second ch, sc in same chain.
Row 2:
- Turn, work into lower loops.
- Hdc, dc in 5 sts, hdc, sc.
- Sl st into first st, ch 1, cut yarn.
- Wrap yarn around wire and knot.
- Trim excess yarn.
Pot
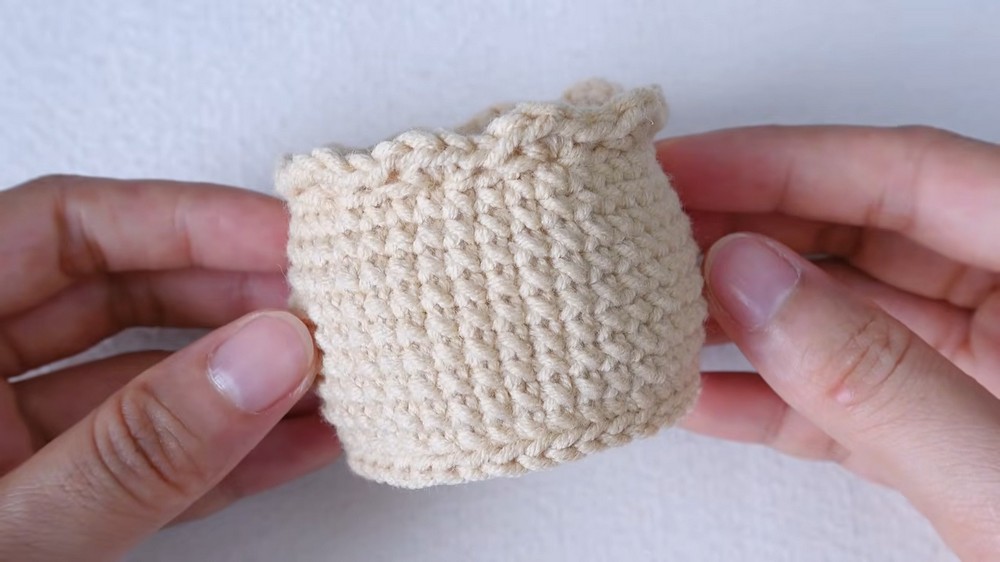
Round 1:
- Magic ring, 8 sc, pull tight, sl st to join.
Round 2:
- Ch 1, inc in each st around (2 sc in each), total 16.
- Sl st to join.
Round 3:
- Ch 1. (sc, inc) repeat around, total 24.
- Sl st to join.
Round 4:
- Ch 1. (sc in 2, inc) repeat around, total 32.
- Sl st to join.
Round 5:
- Ch 1. (sc in 3, inc) repeat around, total 40.
- Sl st to join.
Round 6 (BLO):
- Ch 1, sc in BLO around (40), mark first st, sl st to join.
Rounds 7–14:
- Ch 1, sc in each st (both loops), sl st to complete each round.
Round 15 (FLO, ruffle):
- Ch 1. (4 sc in FLO of next st, skip 3) repeat around.
- Sl st to join, ch 1, cut yarn.
Bottom finishing:
- Slip stitch around loops left from round 6 (bottom), join and tie off.
Soil
- Repeat pot rounds 1–5 using brown yarn.
- Leave central hole.
- Finish with sl st to join, leaving 40cm tail for sewing.
Assembly & Finished Size
- Stuff pot. Add stuffing and small gravel stones if desired.
- Sew soil disk into pot. Use yarn tail from soil to attach firmly.
- Make rose branch:
- Take 1 mm wire (12 cm), apply glue to top, attach flower petals by wrapping into bloom shape.
- Roll petals with glue, shaping a natural rose.
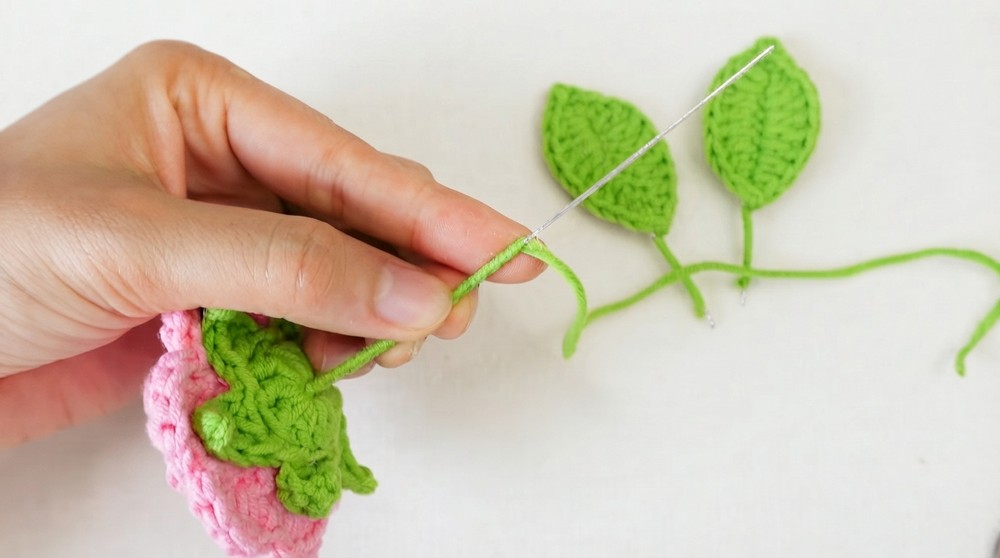
- Attach sepal:
- Insert wire through sepal center, secure with glue. Right side facing out.
- Wrap yarn tail around stem for about 5cm for neat finish.
- Add leaves:
- Glue leaves to stem, wrap around securely with yarn tail.
- Final touches:
- Trim excess wire and yarn. Glue yarn at end for secure finish.
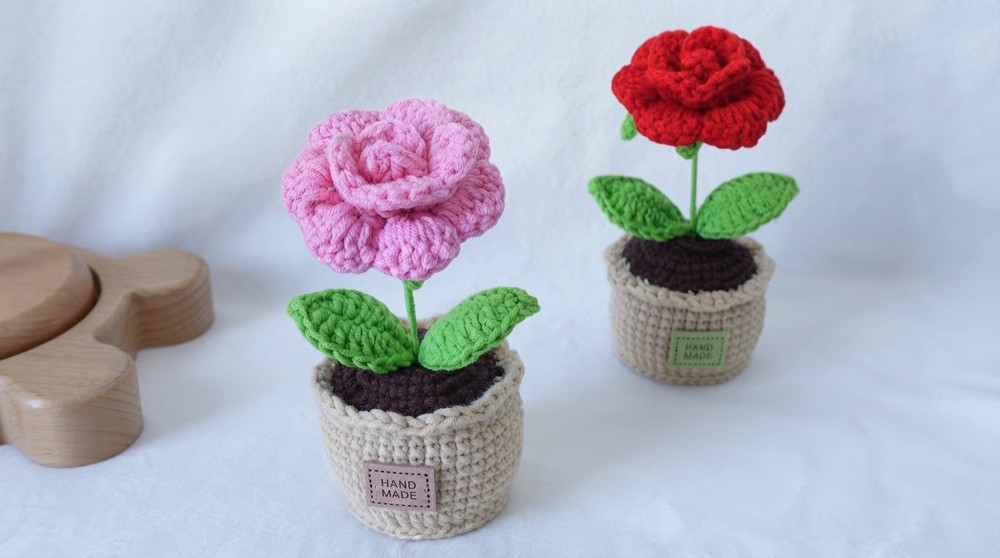
Finished Size:
- Pot: ~6–7 cm tall
- Rose: ~6–7 cm diameter
- Stem with leaves: ~13–17 cm total height
Conclusion
This beautiful crochet rose pot—a perfect project for beginners that covers flower, leaf, and pot construction! This pattern makes an adorable decor piece or a heartfelt handmade gift, and the techniques can be used in other amigurumi and floral projects.