
Free Crochet Reindeer Hat Pattern with Festive Winter Charm
Add a playful touch to winter crochet projects with this Crochet Reindeer Hat Pattern featuring a cute style for gifts and décor this season
Can a small crochet accessory add a cheerful holiday feeling to your handmade collection? This adorable amigurumi project brings a playful character to winter decorations, gifts, and festive displays with its charming appearance and cozy style.
Fun Crochet Reindeer Hat Free Amigurumi Pattern To Gifts
With its cute reindeer-inspired look, this mini crochet creation features a soft shape, festive details, and a fun style that attracts crochet lovers. The Fun Crochet Reindeer Hat Free Amigurumi Pattern is a lovely choice for decorating dolls, adding to Christmas collections, or sharing as a handmade gift. Its compact size makes it easy to display and enjoy during the holiday season.
Moreover, this crochet project is suitable for beginners and intermediate crocheters who want to practice small amigurumi creations. It helps improve skills such as working in the round, shaping, joining pieces, and adding decorative touches while keeping the project enjoyable and simple.
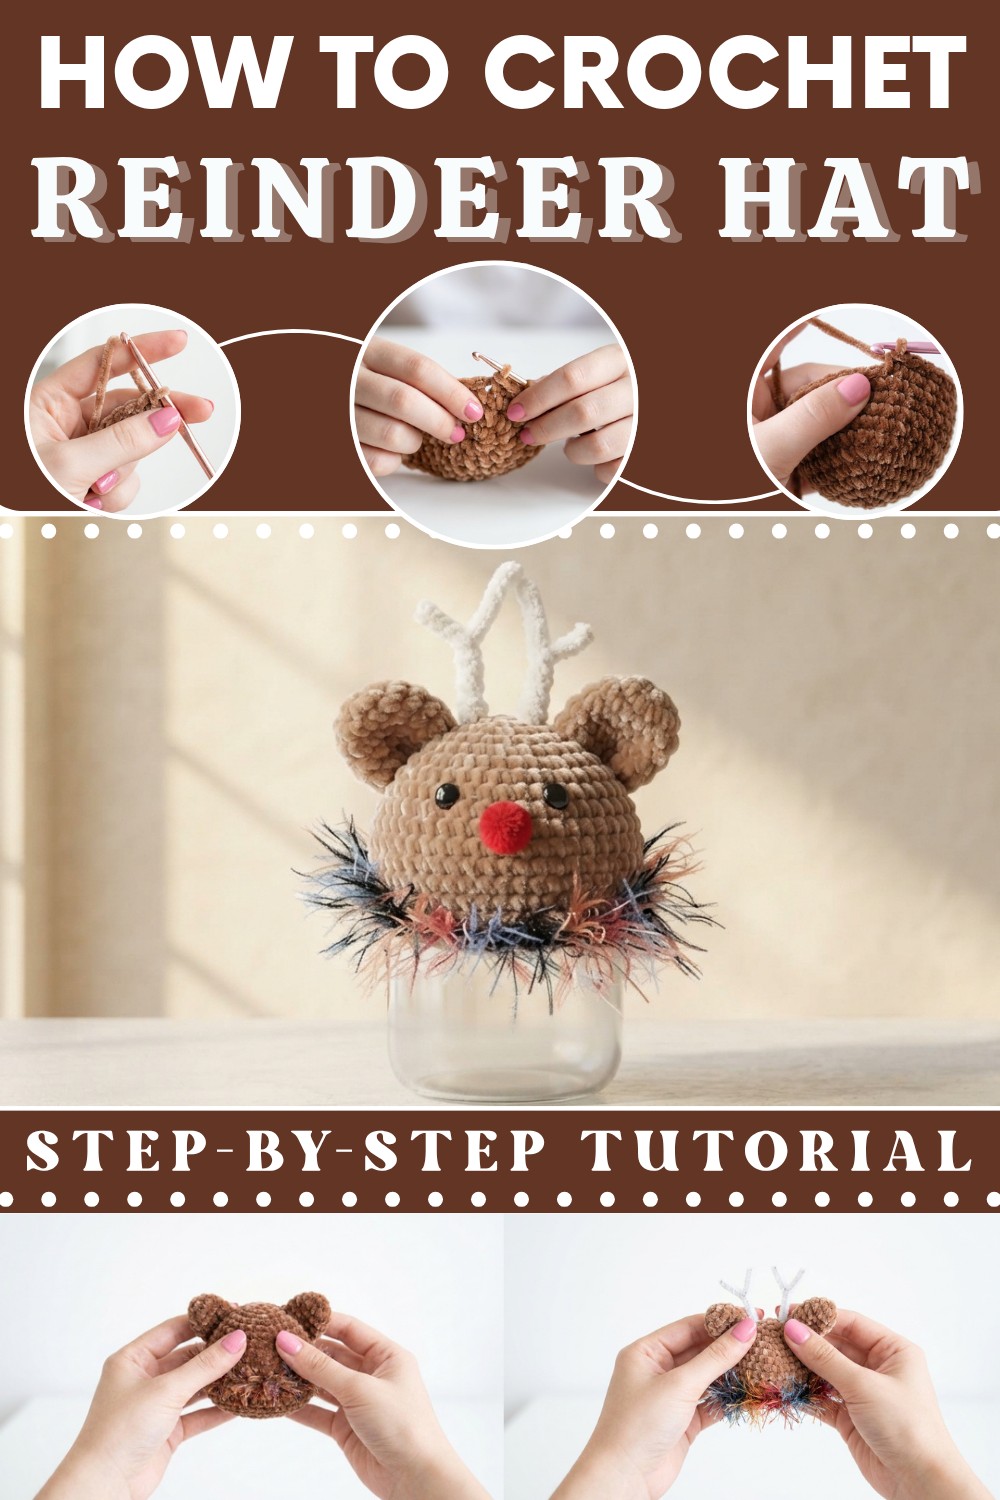
For those who love seasonal crochet ideas, this reindeer-themed accessory is a wonderful addition to winter décor and handmade collections. The Fun Crochet Reindeer Hat Free Amigurumi Pattern offers a creative way to create a cute festive item without complicated steps. Continue with the full crochet pattern to complete this charming piece and add a special handmade touch to your holiday projects.

Crochet Reindeer Hat Pattern
This project outlines the process for constructing a festive reindeer hat tailored for dolls. Perfect for those who love customizing accessories, this guide demonstrates how to work in continuous rounds using simple stitches to build a durable, three-dimensional shape. By utilizing brown poly-acrylic yarn and basic increase techniques, you will form a sturdy base before incorporating charming ears and uniquely posable antlers. The final steps involve adding playful facial accents, such as beads and a pom-pom nose, to provide your reindeer with a distinct, friendly personality. Following these detailed instructions carefully allows you to successfully produce a delightful fiber art piece that highlights the versatility of simple techniques. Whether you are expanding a doll collection or preparing for seasonal decor, this accessory offers a rewarding experience that combines technical skill with creative expression, ensuring a stylish look for any doll character.
Notes
-
The hat is worked in continuous rounds; do not join your rounds with a slip stitch unless specified.
-
Use a stitch marker to track the beginning of each round to ensure symmetry.
-
"Increase" (inc) means working two single crochet stitches into the same stitch.
-
The final round utilizes half-double crochet to add a contrasting texture to the brim.
-
Facial features and antler placement are fully customizable to your preference.
Skill Level
-
Beginner: Familiarity with basic crochet stitches and working in the round is all that is required.
Materials
-
Yarn: Brown poly-acrylic yarn (or any weight-appropriate yarn of your choice).
-
Hook: 3.5 mm crochet hook.
-
Eyes: Two small black beads.
-
Nose: One small red pom-pom.
-
Antlers: Two pipe cleaners.
-
Notions: Tapestry needle, stitch marker, and hot glue (for the nose).
Stitch Abbreviations
-
MR: Magic Ring
-
sc: Single Crochet
-
inc: Increase (2 sc in the same stitch)
-
hdc: Half-Double Crochet
-
st(s): Stitch(es)
-
ch: Chain
-
sl st: Slip Stitch
The Crochet Pattern
The Hat Base
We begin by forming the crown of the doll hat.
-
Round 1: Start with a Magic Ring. Make 6 sc inside the ring
. Pull the tail to close. (6 sts) -
Round 2: Work 2 sc in each stitch around. (12 sts)
-
Round 3: 1 sc, inc repeat around. (18 sts)
-
Round 4: 1 sc in the next 2 sts, inc repeat around. (24 sts)
-
Round 5: 1 sc in the next 3 sts, inc repeat around. (30 sts)
-
Round 6: 1 sc in the next 4 sts, inc repeat around. (36 sts)


Following the completion of the increases, we move on to building the height of the hat.
-
Rounds 7 – 12: Work 1 sc in each stitch around for six rounds total. (36 sts)
-
Final Round (The Brim): Switch to your chosen contrasting yarn if desired. Work 1 hdc in each stitch around the entire brim. Upon reaching the stitch marker, join with a sl st and fasten off securely.

The Reindeer Ears
The ears provide the essential structure for the antler placement. Make two.
-
Round 1: Start with a Magic Ring. Make 6 sc inside the ring. Pull the tail to close. (6 sts)
-
Round 2: Work 2 sc in each stitch around. (12 sts)
-
Rounds 3 – 5: Work 1 sc in each stitch around for three rounds. (12 sts)
-
Finishing: After the fifth round, fasten off and leave a tail for sewing.
The Antlers
To provide the signature look, the antlers are built upon the foundation of the pipe cleaners.
-
Preparation: Select two pipe cleaners. You may fold them or twist smaller segments around the main stem to mimic branching points, ensuring they are sturdy enough to stand upright.
-
Attachment: Once the ears are securely sewn onto the hat, insert the base of the prepared pipe cleaners through the fabric of the hat, positioning them immediately adjacent to the inner base of each ear.
-
Securing: Twist the inner ends of the pipe cleaners against the inside of the hat to lock them firmly in position. This allows the antlers to remain posable while ensuring they stay attached to the hat.
Assembly & Finished Size
With the components complete, it is time to assemble your doll accessory.
-
Ears: Position the two ears on the sides of the hat and use your tapestry needle to sew them securely into place.
-
Antlers: As detailed above, insert and secure the pipe cleaner antlers.
-
Facial Features: Sew the two black beads onto the front of the hat to serve as eyes. Using hot glue, attach the red pom-pom at the center to create the reindeer's nose.
-
Final Touches: Ensure all loose ends are woven in neatly. The finished piece should fit comfortably on your doll, offering a snug yet stylish look.


Quick Overview Of Pattern
-
Technique: Amigurumi-style construction, working in continuous rounds.
-
Structure: Started with a magic ring, increased to form the crown, worked in straight rounds for the height, and finished with a decorative border.
-
Features: Includes posable antlers made from pipe cleaners, ears, and optional facial accents like eyes and a nose.
-
Difficulty: Beginner-friendly.
Conclusion
You have now finished your custom reindeer doll hat. This accessory adds a wonderful touch of seasonal charm to any doll ensemble. By adjusting the yarn colors or the placement of the antlers, you can produce unique variations for different doll characters. Thank you for following along with this guide, and may your future projects bring as much joy as this one. Happy hooking.
