
Free Crochet Octopus Amigurumi - Step-by-Step Pattern
Brighten your day with this charming free crochet octopus amigurumi pattern perfect for adding a cute handmade touch to any collection.
Have you ever wished for a soft, cuddly sea friend to brighten your day? The free crochet Octopus Amigurumi pattern designed by DIY Yarn Crafts brings the charm of the ocean right into your hands. This adorable little octopus, with its round head and eight wavy legs, is perfect for snuggling, playing, or even decorating a cozy corner of your home. Its friendly face and perfectly shaped tentacles make it an eye-catching addition to any collection of handmade toys.
Learn How to Free Crochet Octopus Amigurumi Pattern with Simple Steps
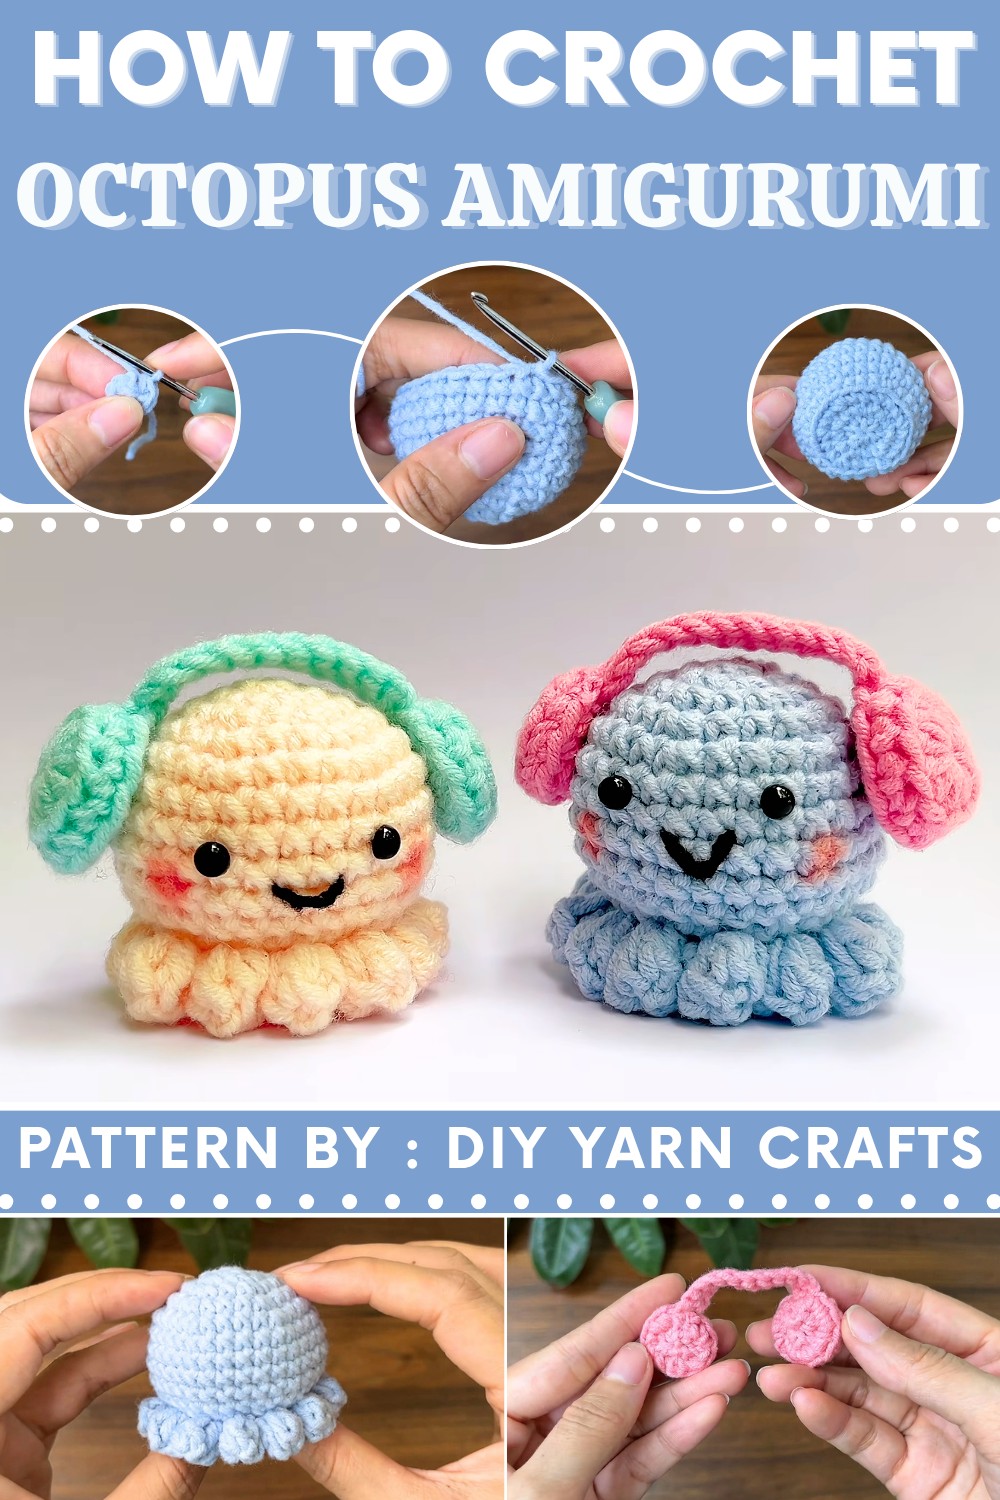
The style of this crochet octopus strikes a wonderful balance between cute and realistic, making it an enjoyable project for crocheters of all skill levels. Whether you want to gift it to a child, keep it as a unique keepsake, or simply enjoy making something creative, this pattern is a delightful choice. Each stitch adds personality and softness, resulting in a toy that feels alive with ocean magic.
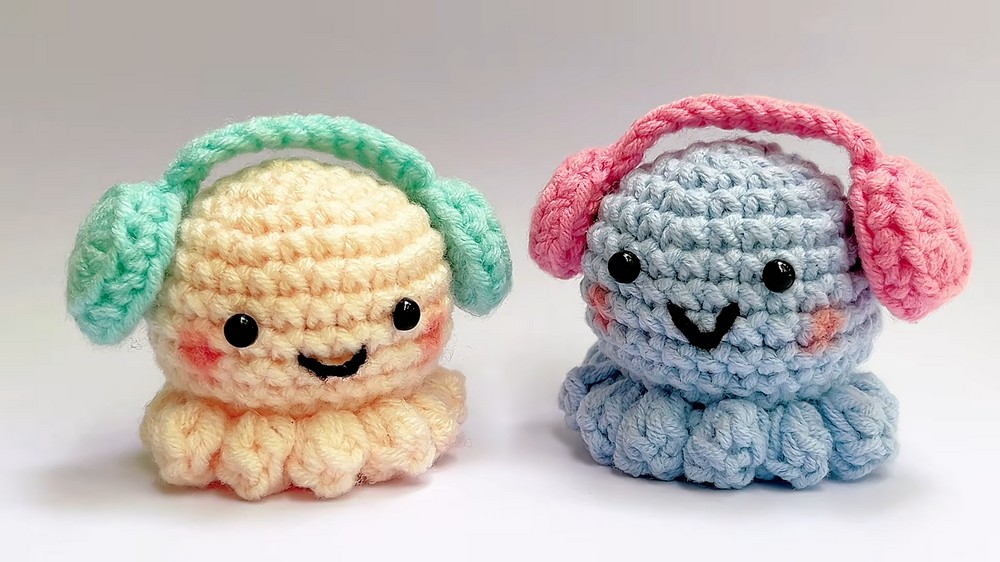
By following DIY Yarn Crafts’ easy-to-follow instructions, you’ll quickly see this charming sea creature come to life. The pattern is designed to be accessible and fun, ensuring your crocheting time is full of smiles and satisfaction. Plus, creating your own octopus amigurumi encourages creativity while developing your crochet skills.
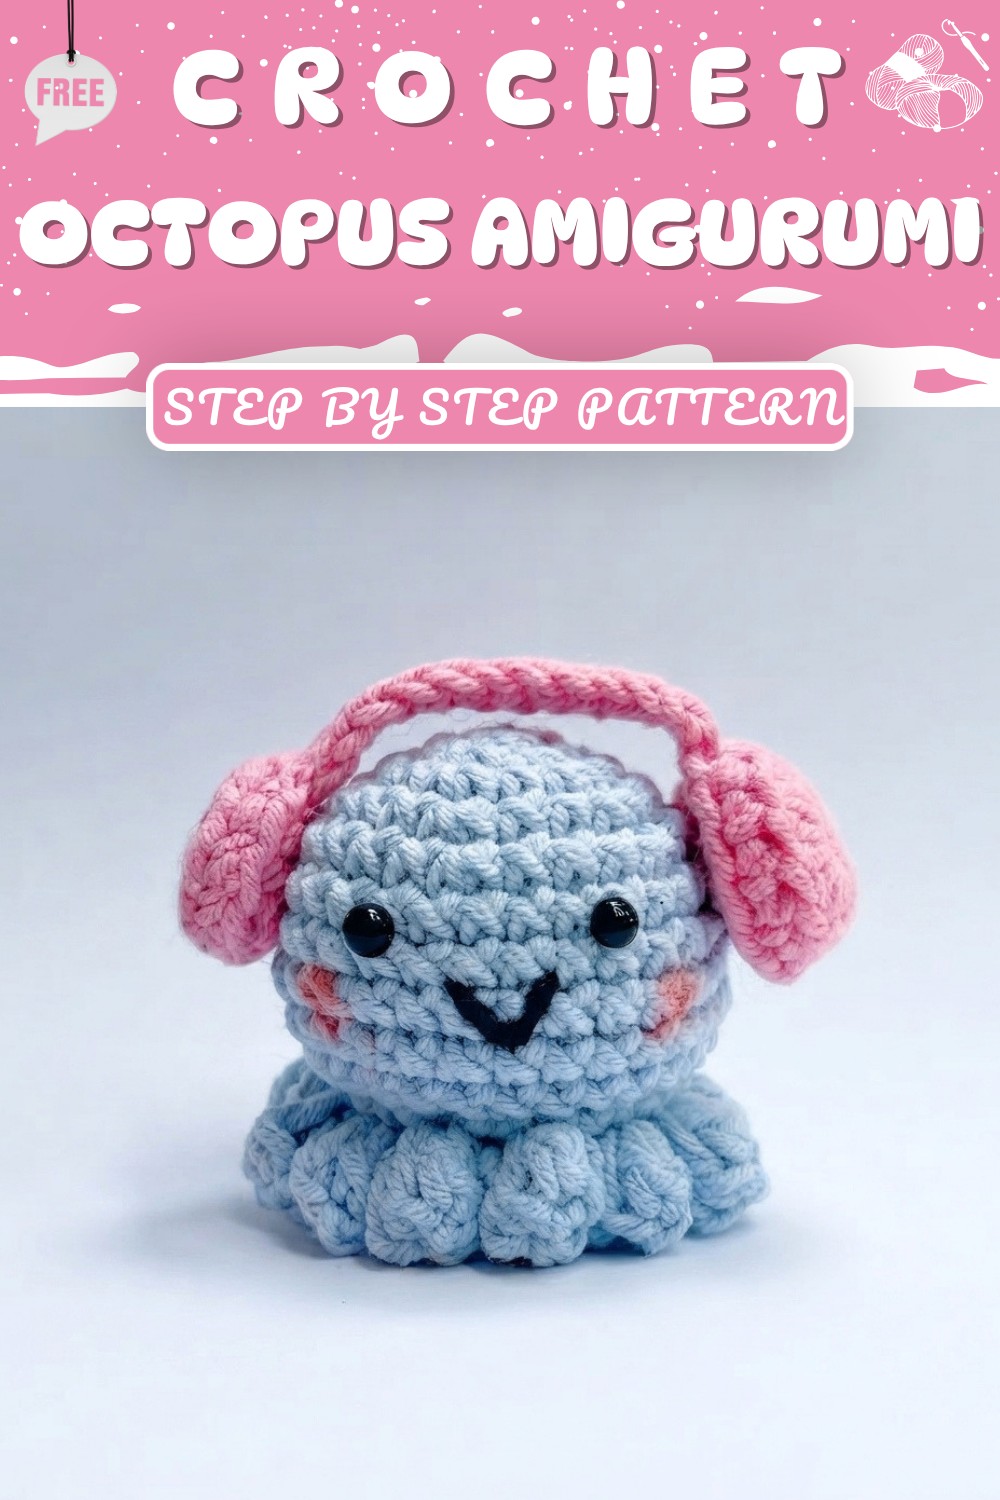
Ready to Create into a new project? Check out the free crochet Octopus Amigurumi pattern and create your very own sea friend today!
Crochet Pattern: No-Sew Octopus with Headphones
Welcome to this detailed crochet pattern for creating a charming no-sew octopus wearing headphones. This project combines basic amigurumi techniques with fun embellishments to make a delightful finished piece. Follow each step carefully as outlined below to ensure accuracy.
Quick Overview of the Pattern
- The Body: Worked in continuous rounds of single crochet, shaping with increases and decreases.
- The Tentacles: Created by working special stitches into the front loops of the body.
- The Face: Adding eyes and embroidery for personality.
- The Headphones: Crocheted in pieces and assembled, then attached to the octopus.
Notes
- This pattern is worked mostly in rounds and uses slip stitches to join.
- Stuff the body before decreasing fully to maintain shape.
- Work tentacles into specific front loops for a 3D effect.
- The headphones are small and require sewing or gluing for assembly.
- Refer to video for visual guidance during each step.
Skill Level
- Intermediate: Requires knowledge of amigurumi basics, increasing, decreasing, working in the back loops only, and sewing/gluing small parts.
Materials
- Worsted weight yarn in your chosen colors for the octopus and headphones
- Crochet hook appropriate for yarn weight (e.g., 3.5 or 4 mm)
- Fiberfill stuffing
- Yarn needle for weaving and sewing
- Stitch markers (optional but helpful)
- Safety eyes, 4mm
- Fabric glue or hot glue gun (for attaching eyes and headphones)
- Embroidery thread and needle for mouth detail
- Scissors
Measurements / Sizing
Optional: Approximate size of the finished octopus with headphones is about 4-5 inches tall (10-12 cm). Size may vary depending on yarn and hook.
Gauge
Not critical due to amigurumi style; however, consistent tension is important for uniform stitches.
Stitch Abbreviations
| Abbreviation | Stitch Name |
|---|---|
| ch | Chain |
| sc | Single Crochet |
| hdc | Half Double Crochet |
| dc | Double Crochet |
| inc | Increase (2 sc in each stitch) |
| dec | Decrease (single crochet two stitches together) |
| sl st or SS | Slip Stitch |
| MR | Magic Ring |
| BLO | Back Loops Only |
Special Stitches
- Increase (inc): 2 single crochet in one stitch.
- Decrease (dec): Single crochet two stitches together.
- Working in back loops only (BLO): Insert hook only in the back loop of the stitch.
- Working in both loops: Insert hook under both loops of the stitch.
Pattern Details
Section 1: Body
- Row 1: Create a magic ring. Work 6 single crochets (SC) into the magic ring. Slip stitch (SS) to join.
- Row 2: Chain 1. Increase in every stitch by making 2 SC in each stitch around (total 12 SC). SS to join.
- Row 3: Chain 1. 1 SC in first stitch, 1 inc – repeat 6 times. (total 18 SC) SS to join.
- Row 4: Chain 1. 2 SC, 1 inc – repeat 6 times. (total 24 SC) SS to join.
- Row 5: Chain 1. 3 SC, 1 inc – repeat 6 times. (total 30 SC) SS to join.
- Row 6: Chain 1. Work 30 SC evenly in each row. SS to join every round.
- Row 7: Chain 1. Work 30 SC evenly in each row. SS to join every round.
- Row 8: Chain 1. Work 30 SC evenly in each row. SS to join every round.
- Row 9: Chain 1. Work 30 SC evenly in each row. SS to join every round.
- Row 10: Chain 1. Work 30 SC evenly in each row. SS to join every round.
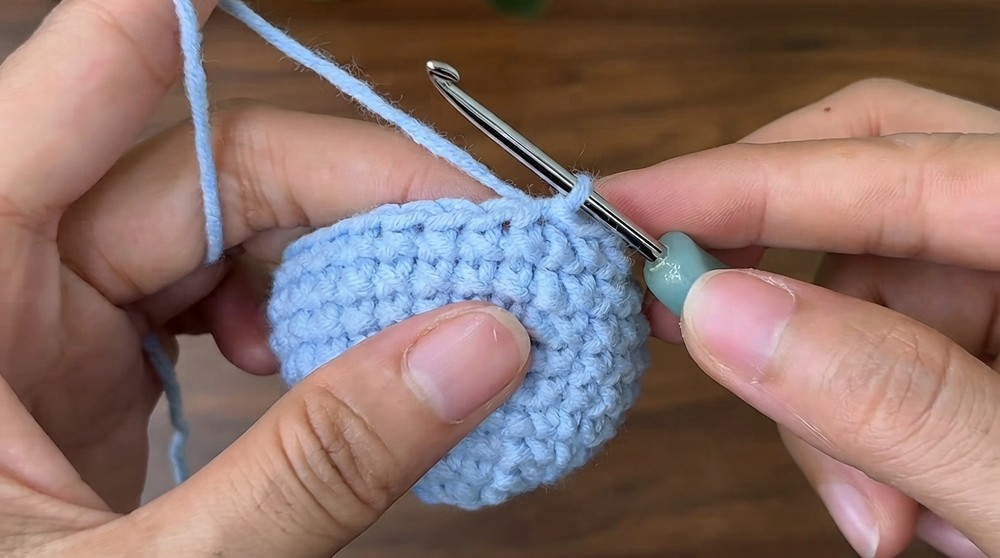
- Row 11: Chain 1. 3 SC, decrease (SC 2 stitches together) – repeat 6 times. (total 24 SC) SS to join.
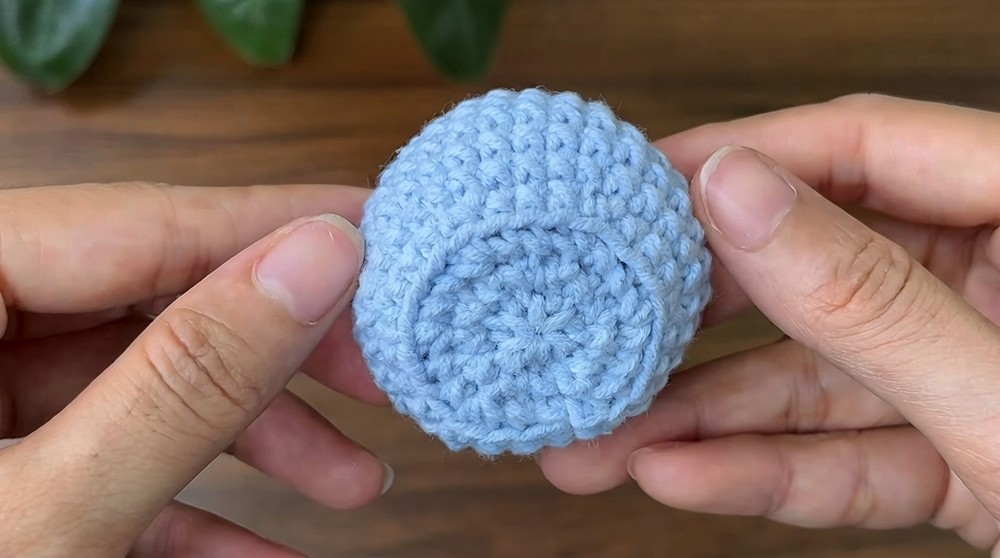
- Row 12: Chain 1. 2 SC in back loops only, decrease in back loops only – repeat 6 times. (total 18 SC) SS to join.
- Stuffing: Add fiberfill stuffing firmly but gently to fill the body. Stuff before continuing to close the piece.
- Row 13: Chain 1. 1 SC, decrease in both loops – repeat 6 times. (total 12 SC) SS to join.
- Closing: Fasten off, leaving a long tail. Using a needle, weave the yarn through the front loops of remaining stitches and pull tight to close the opening neatly. Secure and hide the yarn tail inside.
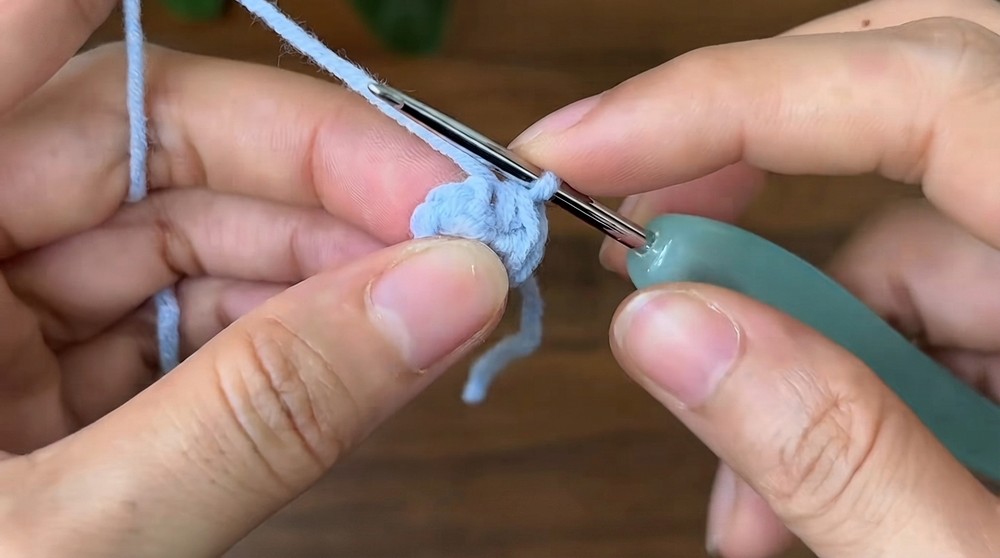
Section 2: Tentacles
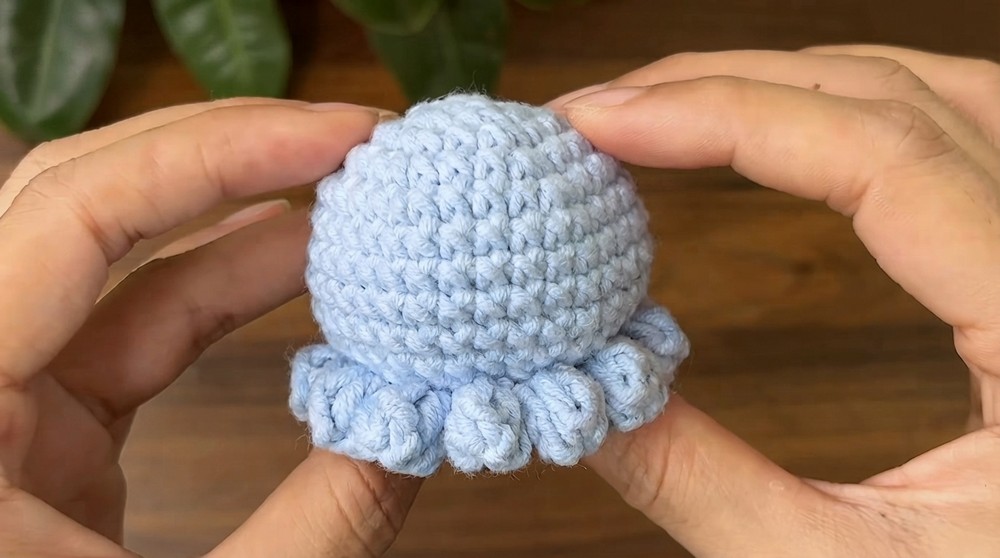
- Work into the front loops left from Row 12 only. Insert your hook into the front loop of stitches around the body.
- Chain 3, make 3 double crochets (dc) into the same stitch – this creates the volume at the base of the tentacle.
- Insert hook into the next stitch, pull up a loop, chain 3, then slip stitch (SS) into the next stitch.
- Repeat this tentacle pattern around the body to create a total of 12 tentacles evenly spaced.
Section 3: Face
- Attach safety eyes (4mm size) by gluing them onto the body at Row 7, spaced approximately 5 stitches apart for symmetry.
- Using embroidery thread, embroider a simple mouth shape on Row 8 to give your octopus character and expression.
Section 4: Headphones
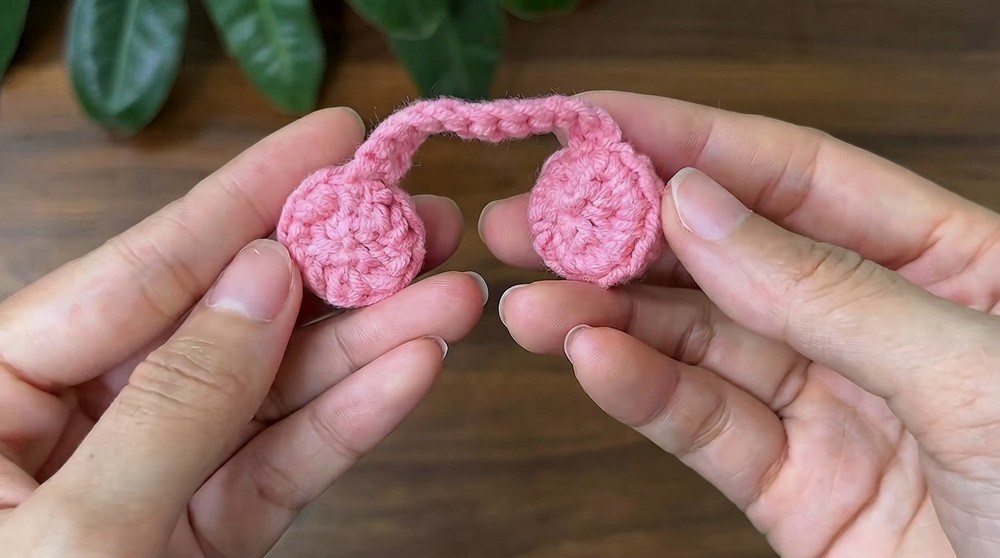
Make 2 Ear Cups:
- Row 1: Create a magic ring. Chain 2, work 12 half double crochets (hdc) into the ring. SS to join forming a small round ear piece.
- Row 2: Chain 1, work 12 single crochets into back loops only (BLO). SS to join.
- Row 3: Chain 1, work 12 SC in BLO again. SS to join.
- Fasten off and leave a tail for sewing.
Make Headband:
- Create a slip knot. Chain 12. Starting in second chain from hook, work 11 SC across forming a headband.
- Fasten off and leave a tail for assembly.
Assembly:
- Sew or glue the two ear cups onto either end of the headband.
- Attach the assembled headphones onto the top of the octopus’ head securely with sewing or fabric glue.
Assembly & Finished Size
- Check the tightness of all sewn parts and ensure a neat finish.
- Add extra stuffing if necessary.
- Trim any loose yarns and tidy up the embroidery.
- The finished octopus should measure approximately 4-5 inches tall, cute and sturdy with headphones perfectly fitted.
Conclusion
Congratulations on completing your no-sew octopus with headphones! This project blends the charm of amigurumi with creative stitch work and accessory making. Whether for gifting or decorating, this lovable octopus brings joy and showcases your crochet skills beautifully. Remember to share your finished work and keep experimenting with new colors and yarns for endless fun variations.