
Free Crochet Kenya Doll Pattern – Easy Amigurumi
Bring joy to life with this Free Crochet Kenya Doll Pattern, offering easy-to-follow instructions to help you design a beautiful and unique handmade doll.
If you’ve ever wanted to create a meaningful and charming handmade doll, this project is definitely worth exploring. The free crochet Kenya Doll pattern offers a wonderful way to bring a bit of culture and warmth into your collection. This doll blends traditional and modern styles, featuring a smooth texture and soft feel that make it perfect for giving as a gift or displaying as a keepsake.
Free Crochet Kenya Doll Pattern – Perfect for Gift Giving
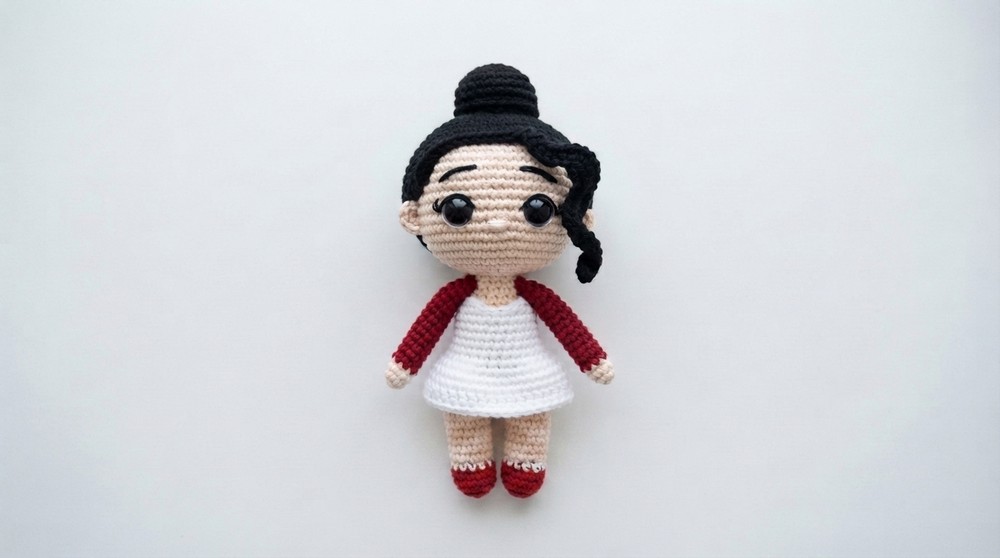
The Kenya Doll is designed with a balanced shape, rounded features and delicate details that give it plenty of personality. Its most striking elements are the clothing and accessories inspired by Kenyan heritage, adding an authentic touch to the overall look. You can make the doll in various sizes depending on what you prefer, with plenty of options to personalize the colors or outfit details to suit your own style.
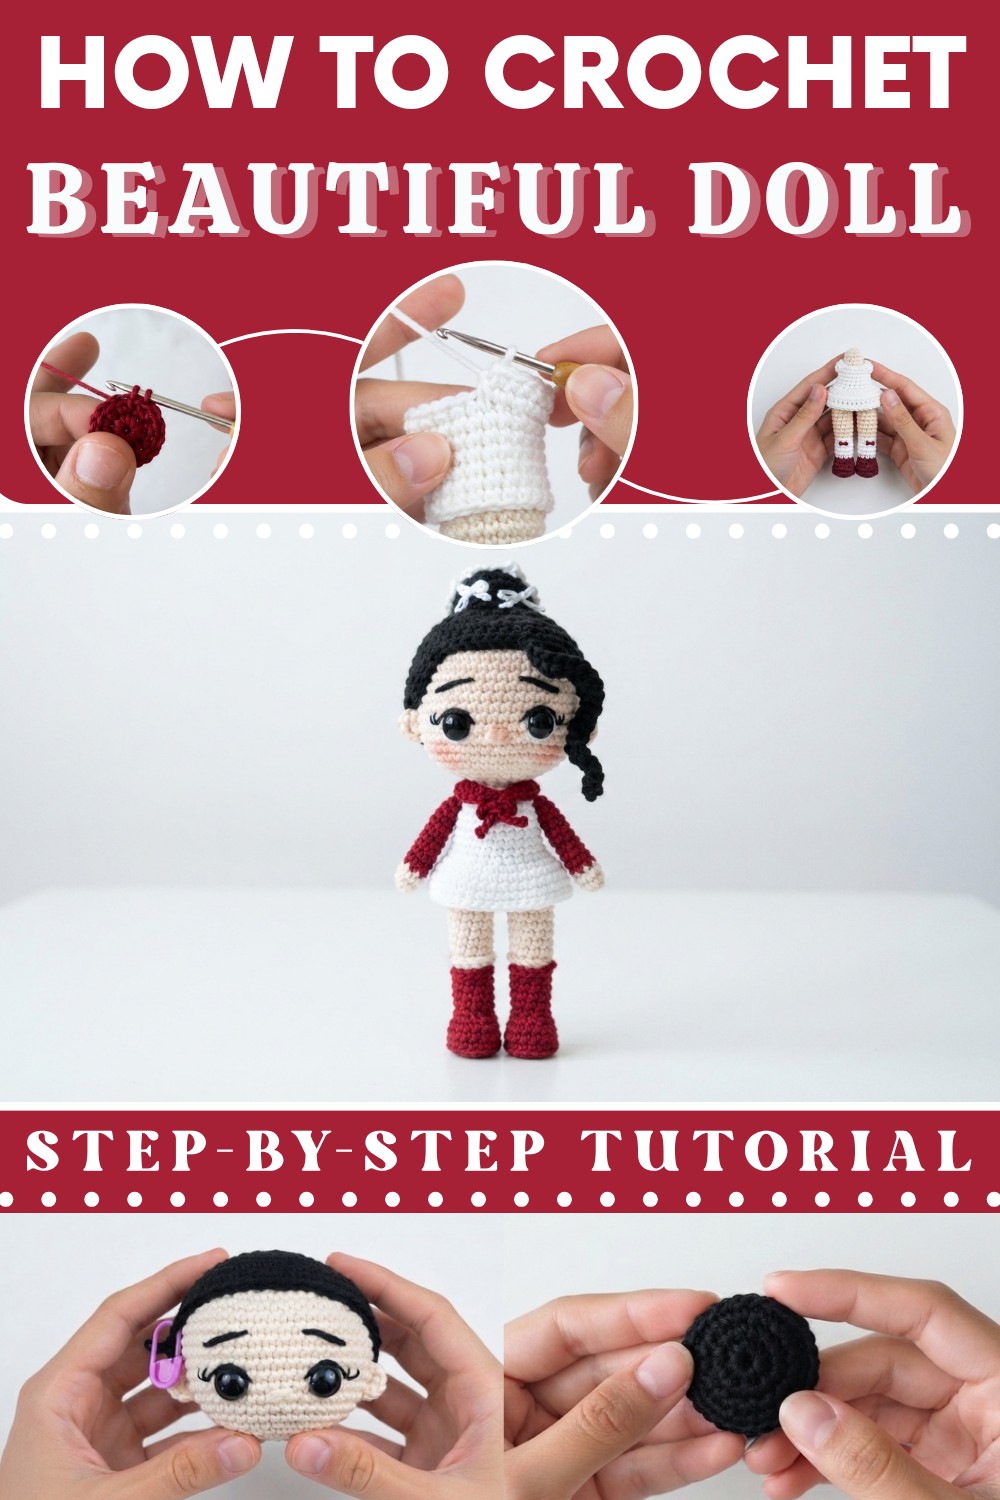
To put the doll together, simple techniques like tight stitches and shaping help ensure it holds its form well. One handy tip is to keep the stitches snug to prevent any stuffing from showing through, which also helps achieve that smooth surface that makes the doll so appealing. The instructions encourage you to be creative and make each doll truly one of a kind.
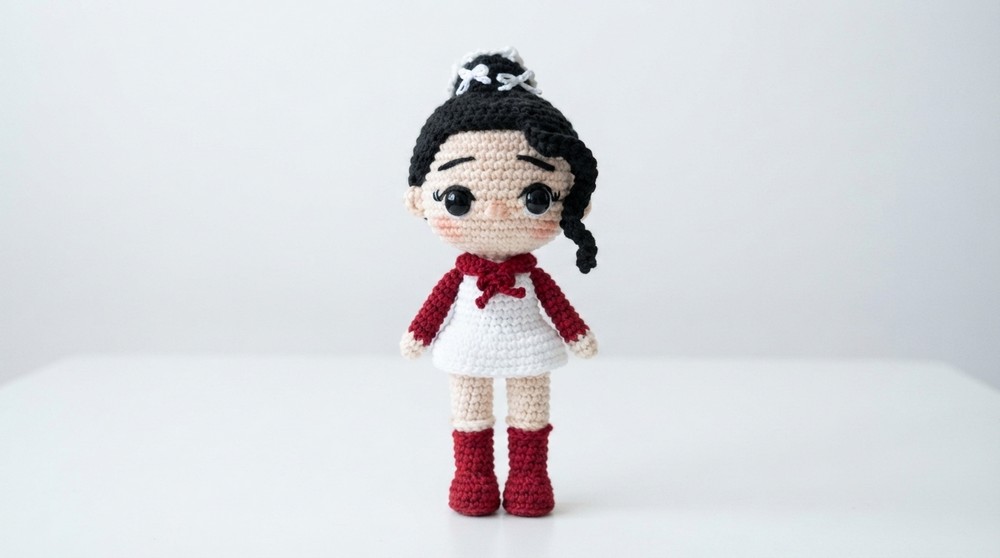
The design draws inspiration from a deep appreciation of cultural expression, and selecting yarn that feels soft yet sturdy complements the texture beautifully. This project makes for a thoughtful present on birthdays, cultural events, or as a special collectible. Ultimately, the free crochet Kenya Doll pattern invites you to create something heartfelt and unique a delightful experience for those who enjoy making meaningful keepsakes.

Amigurumi Kenya Doll – Step-by-Step Crochet Pattern
I’m sharing a step-by-step pattern so you can crochet this beautiful little Kenya doll. Measuring around 17 cm, the doll is made with cotton yarn, making it a delicate and charming gift or collectible. This detailed guide walks you through each part of the process, providing a complete foundation for your crochet journey.
Quick Overview of Pattern
- Head, body, arms, and legs are crocheted separately in the round and joined together.
- Simple amigurumi construction with clear color changes and shaping for realistic features.
- Decorative details: embroidered facial features, bows, socks, collar, and a two-tone dress and shoes.
- Hair and hair accessories are crocheted and sewn to the head.
- All assembly is done with sewing (yarn needle) or hot glue for details.
Notes
- Pattern assumes knowledge of working in the round and basic color changes.
- Always use a stitch marker to keep track of rounds—especially for limbs and dress details.
- Adjust hook size and yarn thickness for desired size (pattern given for fine cotton).
- The shoes and dress can be made in coordinating colors for a personalized look.
- Take care when assembling small parts and using glue.
Skill Level
Advanced Beginner / Intermediate:
Requires comfortable use of single crochet (sc) in the round, color changes, invisible decreases, and basic sewing/embroidery for face and details.
Materials
- Yarn: Cotton yarn in dark red (shoes/dress), white (body/dress), flesh/skin color, black (eyes/eyelashes,hair).
- Crochet Hook: 2.0–2.5 mm (or size to make tight stitches)
- Polyester stuffing
- Stitch marker
- Tapestry/yarn needle
- Scissors
- Hot glue gun or fabric glue (for attaching small parts and bows)
- Blush/makeup (for cheeks/nose, optional)
Measurements / Sizing
- Height: Approx. 17 cm (using recommended yarn and hook)
- Proportion: Designed as a “little girl” doll with a slightly oversized head and sweet details.
Gauge
No strict gauge; stitches should be firm enough to prevent stuffing from showing.
Stitch Abbreviations
- sc – single crochet
- inc – increase (2 sc in one stitch)
- dec – decrease (sc two together)
- sl st – slip stitch
- ch – chain
- blo – back loop only
- flo – front loop only
- rnd – round/stitch
Special Stitches
- Magic Ring: Adjustable starting loop for working in the round.
- Invisible Decrease: Insert hook through front loops of next two stitches, yarn over, pull through, finish sc.
- Color Change: Complete last sc in old color until final yarn over, then pick up new color.
- Dwarf Stitch: “Punto enano” or “sl st” for decorative details.
The Crochet Pattern!
1. Arms (Make 2)
- With skin tone yarn, make a magic ring.
- Work 4 sc into ring. Tighten ring.
- Rnd 2: 4 inc (work 2 sc in each st) – 8 sc
- Change to dark red yarn.
- Rnd 3–13: 1 sc in each st – 8 sc per round
- Fasten off, leaving a long tail for sewing.
Make 2 arms.
2. Legs (Make 2)
Shoe & Sock
- With dark red yarn, make a magic ring.
- Rnd 1: Work 6 sc.
- Rnd 2: 6 inc – 12 sc
- Rnd 3: (sc, inc) repeat 6 times – 18 sc
- Rnd 4 (blo): 1 sc in each st – 18 sc
- Rnd 5: 6 sc, 3 dec, 6 sc – 15 sc
- Rnd 6: 4 sc, 4 dec, 3 sc – 11 sc
- Rnd 7 (blo): 1 sc in each st – 11 sc
- Rnd 8–12: 1 sc in each st – 11 sc

Leg
10. Rnd 13: Change to skin color, 1 sc in each st – 11 sc
- Rnd 14–18: 1 sc in each st – 11 sc.
- Fasten off; don’t leave a long tail.
Sock Details (optional)
- In FLO of shoe (Rnd 4): Join white and work 18 sc around for sock edge.
- Using leftover pink yarn, embroider two lines down the front to finish sock detail.
Tip: Finish both legs before joining body.
3. Body
Joining Legs
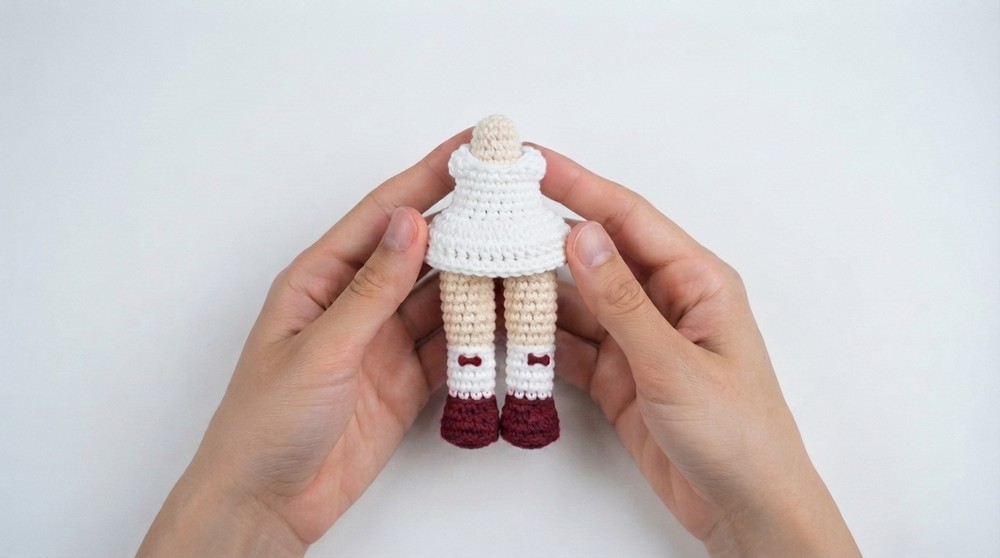
- Join legs with white yarn.
- Flatten top of each leg and connect at midpoint with sl st chain (1 ch).
- Rnd 1 (after join):
- 11 sc along first leg, 1 sc in joining ch, 11 sc on second leg, 1 sc in joining ch (back to start) – 24 sc
- Rnd 2–4: 1 sc in each st – 24 sc per round
- Rnd 5: 4 sc, 2 dec, 9 sc, 2 dec, 3 sc – 20 sc
- Rnd 6–8: 1 sc in each st – 20 sc per round
Waist/Body Shaping
7. Rnd 9: (Waist decrease) – 3 sc, dec x1, repeat around to end up with 16 sc
- Rnd 10: 2 sc, dec x1, repeat around. Do 1 extra dec at end to reach 11 sc
4. Head
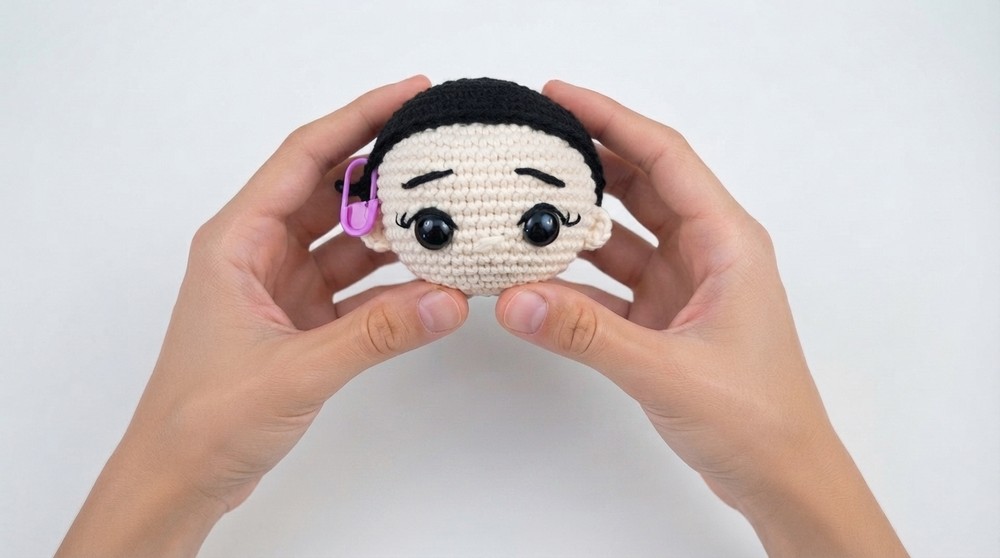
- With skin color, make a magic ring.
- Rnd 1: 7 sc in ring.
- Increase each round (general formula: even increases each round up to 49 sc)
- (e.g., Rnd 2: 14 sc, Rnd 3: 21 sc, ... up to 49 sc)
- Rnd 5–14: 1 sc in each st – 49 sc per round
(Add eyes between Rnds 11 & 12, 5 sc apart from center) - Stuff head, sew to body, decrease to close.
5. Arms (Attach to Body)
- Sew each arm securely to either side of body.
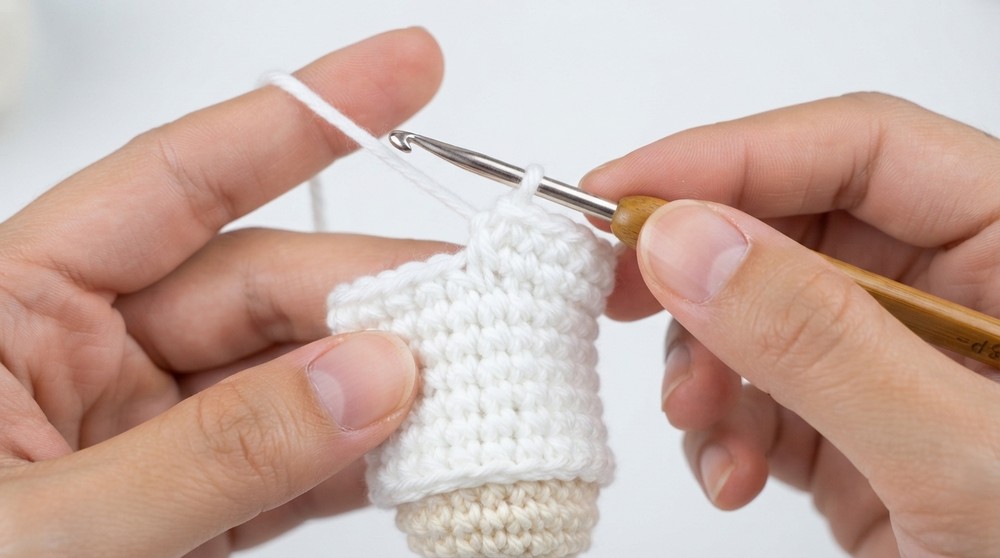
6. Dress
Skirt (worked onto Body, at Rnd 23)
- Join white at st marker in FLO of body round.
- Work 24 sc around for base.
- Round 2: (inc in every 3rd st) – 2 sc, inc, repeat – 30 sc
- Round 3: 30 hdc (half double crochets) around (work in spiral, no join/ch).
- Round 4: 30 sc to finish edge. Fasten off, weave in.
Bodice
- Resume at body after skirt:
- Rnd 1 (at body): Flesh color, 1 sc in each st around.
- Rnd 2: 1 sc in each st.
- Rnd 3: Continue decreasing for shaping if required.
Straps
- With leftover lilac, chain the number needed to reach over shoulder—sew ends to front and back of dress.
7. Hair & Chonco (Bun)
Base:
- With black, form a magic ring, 7 sc.
- Increase to 49 sc, work 9 rounds of 49 sc.
Sideburns/Fringe:
- Sew 3 sl st, then ch 6, work back 5 sc, and sl st to base (repeat for other side).
Bun:
- Magic ring, 6 sc.
- Increase to 24 sc, work 3 rounds at 24 sc.
- Sew or glue bun just behind fringe area.

8. Face Embroidery
- Nose: With skin tone, embroider simple horizontal line between eyes, a few stitches wide.
- Eyelashes: Black thread, form V shapes under each eye.
- Eyebrows: Black, placed 5 stitches out from each eye, above, and lowered by 1 round.
- Blush: Use makeup on cheeks & nose for color.
9. Accessories
- Bows: Make small bows (about 9); attach to dress and hair with glue.
- Collar/Bib: Crochet a chain, sew, and fix with a dot of glue.
Assembly & Finished Size
- Attach all limbs to body, sew head securely.
- Place hair cap, then add bun and sideburns (fringe).
- Attach dress, bows, and bib.
- If desired, glue shoes and socks as final touch.
- Final height: ~17 cm.
Conclusion and Ending Words
Your adorable amigurumi Kenya doll is now complete! Customizable with color and accessory choices, this doll makes a beautiful handmade gift or treasured keepsake.