
Free Crochet Christmas Star Hat Pattern for Festive Winter Vibes
Spark holiday cheer with the Free Crochet Christmas Star Hat Pattern, creating a cozy, festive, and charming winter accessory for all ages.
Winter evenings feel cozier with a handmade touch that combines warmth and festive charm. The Free Crochet Christmas Star Hat Pattern turns simple yarn into a standout seasonal accessory that delights in both style and comfort. Its most unique feature is the charming star-inspired accents, which add subtle sparkle and personality without overpowering the overall look. This hat offers a comfortable fit, soft texture, and adaptable sizing, making it perfect for children, adults, or as a thoughtful gift that brings cheer to any holiday celebration.
How to Crochet Christmas Star Hat Pattern That Stays Cozy

Whether worn to brighten chilly days or given as a heartfelt handmade gift, this hat combines comfort, elegance, and seasonal spirit in one charming accessory. Each stitch contributes to a piece that is both functional and eye-catching, offering a joyful sense of accomplishment with every finished hat. The Free Crochet Christmas Star Hat Pattern is more than a winter essential, it’s a small celebration of holiday cheer and handmade warmth.
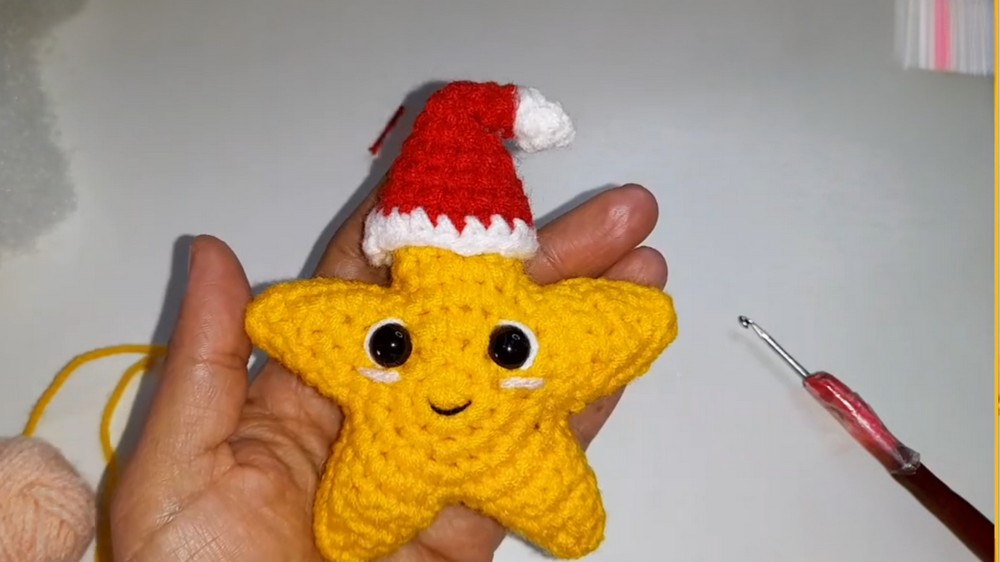
Free Crochet Christmas Star Amigurumi Pattern
Materials
- Yarn:
- Yellow (star)
- Red (hat)
- White (hat and face details)
- Pink (optional - cheeks)
- Hook: 2.0 mm (if your set is numbered differently, use a 2 mm or size suitable for amigurumi, producing a tight fabric)
- Safety Eyes: Size 8mm or 9mm recommended (2 pieces)
- Stuffing: Polyester fiberfill
- Hot Glue Gun: For attaching the hat pompom (optional)
- Yarn Needle: For sewing and embroidering details
- Scissors
- Stitch Marker (optional, for spiral rounds)
- (Optional): White embroidery thread for eye highlights
Key Abbreviations (US Terms)
- mr: magic ring
- sc: single crochet
- inc: increase (2 sc in same st)
- dec: decrease (sc 2 together)
- sl st: slip stitch
- ch: chain
- st(s): stitch(es)
- rep: repeat
Special Notes
- Work in continuous rounds unless otherwise specified.
- Use a stitch marker to keep track of the start of each round.
- Make two identical star pieces and join them to assemble.
- The increases for hat rounds (for the “droopy” effect) are worked in the same place each time.
Pattern Instructions
Star (Make 2)
Center
With yellow yarn:
- Rnd 1: 5 sc in a magic ring. (5 sts)
- Rnd 2: 5 inc. (10 sts)
- Rnd 3: 10 inc. (20 sts)
- Rnd 4: [1 sc, 1 inc] around. (30 sts)
- If you’re making a flat motif: End with a sl st and ch 1.
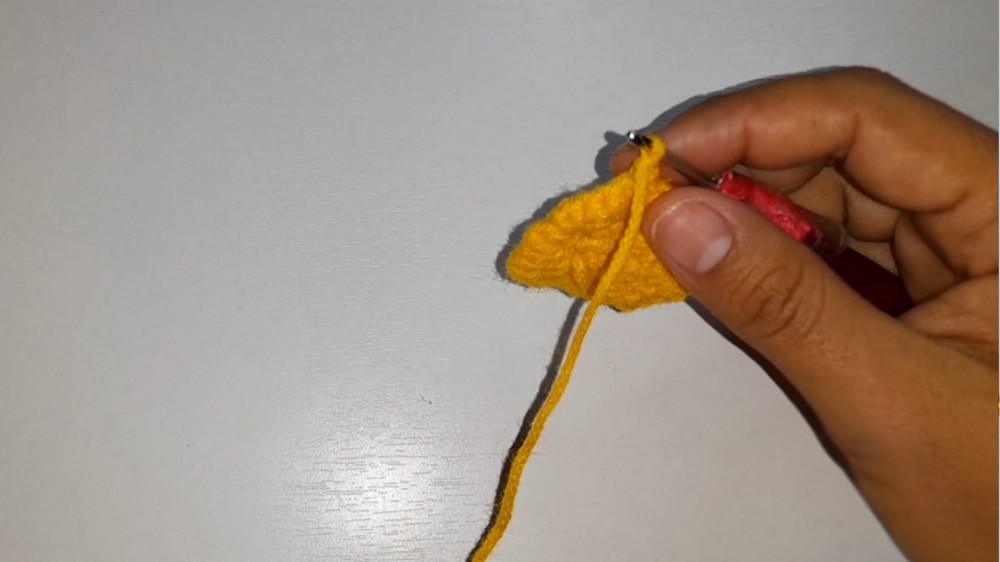
Star Points (Make 5 on each motif)
For each star point:
- Sk 1 st for separation, join at next st.
- Row 1: Sc in next 5 sts, ch 1, turn. (5 sts)
- Row 2: Sc in next 3 sts, dec over last 2 sts (sc2tog), ch 1, turn. (4 sts)
- Row 3: Sc in next 2 sts, dec, ch 1, turn. (3 sts)
- Row 4: Sc in next st, dec, ch 1, turn. (2 sts)
- Row 5: Dec (sc2tog) across both sts. (1 st)
- Fasten off or move directly to next point by sl st and moving to the next space for the next point.
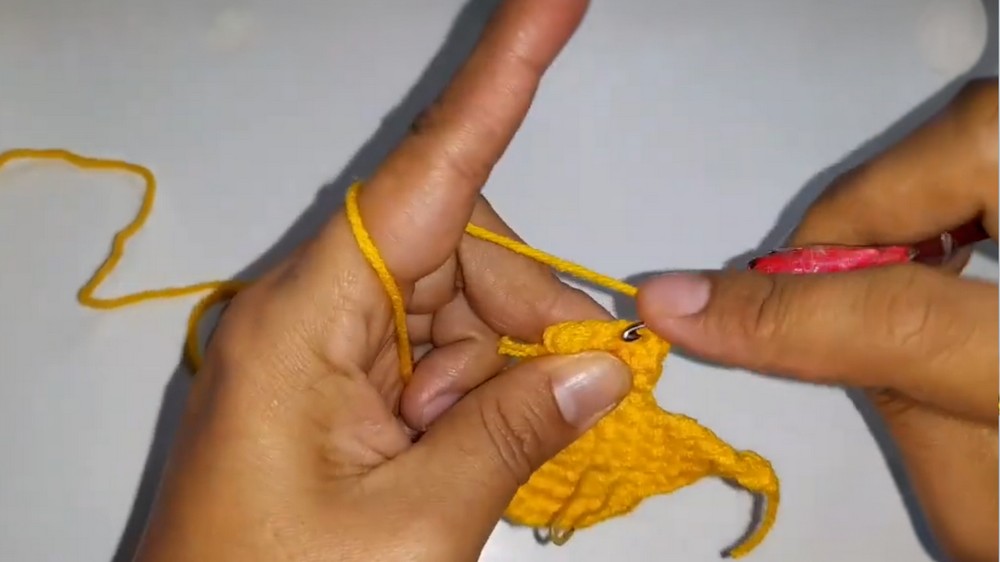
- After completing all five points, you should have a star with 5 points and gaps between.
Edge (Optional, for definition):
- Work a round of sc evenly around each star, including up and down the points, for a smooth finish.
- Repeat this entire process to create a second identical star.
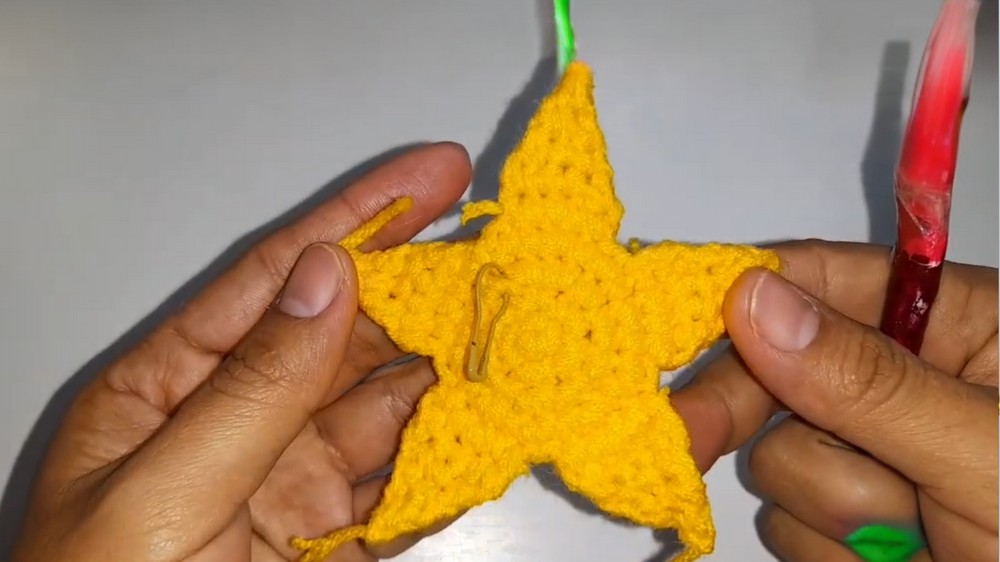
Embellishments (Face)
- Place safety eyes: Insert between rows 3 and 4 up from the center magic ring, spacing as desired.
- Optional: Embroider a small mouth and add cheeks with pink yarn or embroidery thread.
- Add eye sparkle: Use white thread to create a “shine” in the corner of each eye.
Assembly
- Align both stars with wrong sides facing.
- Join with sc: Using yellow yarn, join through both sides and sc around.
- As you close, stuff firmly, including the star points.
- Leave an opening for each point as you stuff, then fully close.
- Finish off and weave in ends.
Santa Hat
Red yarn:
- Rnd 1: 4 sc in a magic ring. (4 sts)
- Rnd 2: [1 sc, 1 inc] twice. (6 sts)
- Rnd 3: [2 sc, 1 inc] twice. (8 sts)
- Rnd 4: [3 sc, 1 inc] twice. (10 sts)
- Rnd 5: [4 sc, 1 inc] twice. (12 sts)
- Rnd 6: [5 sc, 1 inc] twice. (14 sts)
- Rnd 7: [6 sc, 1 inc] twice. (16 sts)
- Rnd 8: [7 sc, 1 inc] twice. (18 sts)
- Rnd 9: [8 sc, 1 inc] twice. (20 sts)
- Do not join. Switch to white yarn.
White border (Brim):
10. Rnd 10: In white, 1 sc in each st around. (20 sts)
- Sl st, fasten off, weave in ends.
Pom-pom (White Ball)
White yarn:
- Rnd 1: 4 sc in a magic ring. (4 sts)
- Rnd 2: Sc in each st around. (4 sts)
- Fasten off, leaving a tail. Do NOT close; leave as a small ball.
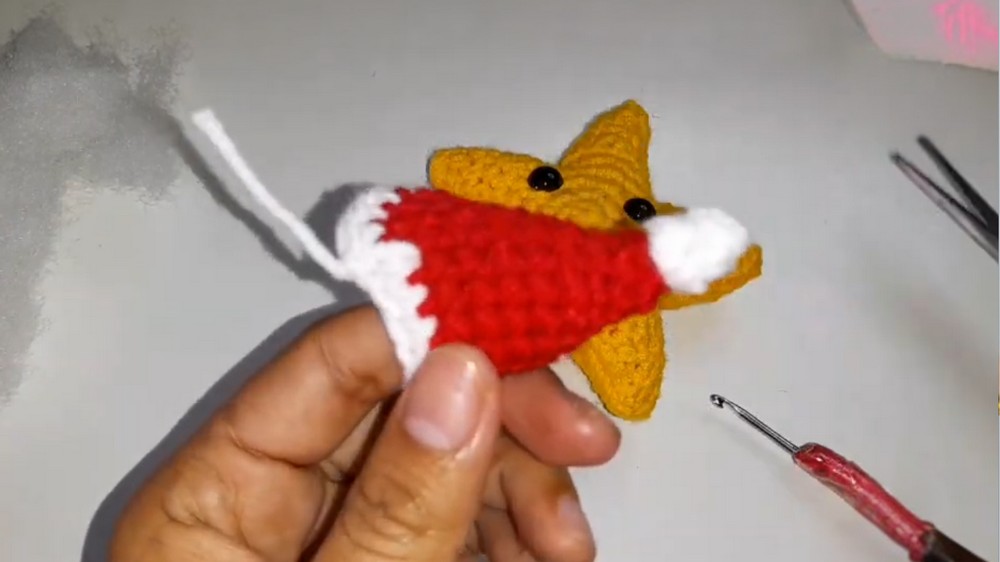
Finishing the Hat
- Sew or glue the pom-pom to the tip of the hat.
- Position and sew (or glue) the hat to one point of the star, folding the tip as desired for a droopy effect. A dab of glue helps set the fold.
Conclusion
You now have a delightful and plump Christmas star, complete with a Santa hat. This pattern is great for ornaments, gifts, or decor. Customize with different colors, embroidered faces, or extra sparkle!
Pattern Correction
- Keep increases aligned for neat hat shaping.
- Adjust star point lengths for desired proportions if using different yarn weights.
- Do not overstuff star points; gentle stuffing gives a smooth finish.
Tips
- Insert safety eyes before joining the stars and stuffing.
- Use hot glue for quick assembly but stitching provides a more child-safe, durable finish.
- Reinforce the hat fold and placement with a few embroidery stitches if desired.
- Use strong, matte yarn for best star shape definition.
- Experiment with brushed or sparkly yarns for a frosty look.