
Free Crochet Bunny Keychain Pattern to Brighten Your Keys
Hop into creativity with this Free Crochet Bunny Keychain Pattern and make adorable, tiny bunnies that brighten keys, bags, or gifts instantly!
Small, charming accessories can add a touch of personality to everyday items, and handmade keychains are no exception. This pattern offers a delightful way to craft a tiny bunny that doubles as a practical accessory. Using basic crochet techniques, even beginners can achieve a soft, textured result that captures the whimsical charm of a miniature bunny. The project balances creativity with simplicity, allowing makers to focus on details like the ears, eyes, and tail to give the keychain its signature character.
Tiny Treasures Crochet Bunny Keychain Pattern You’ll Want
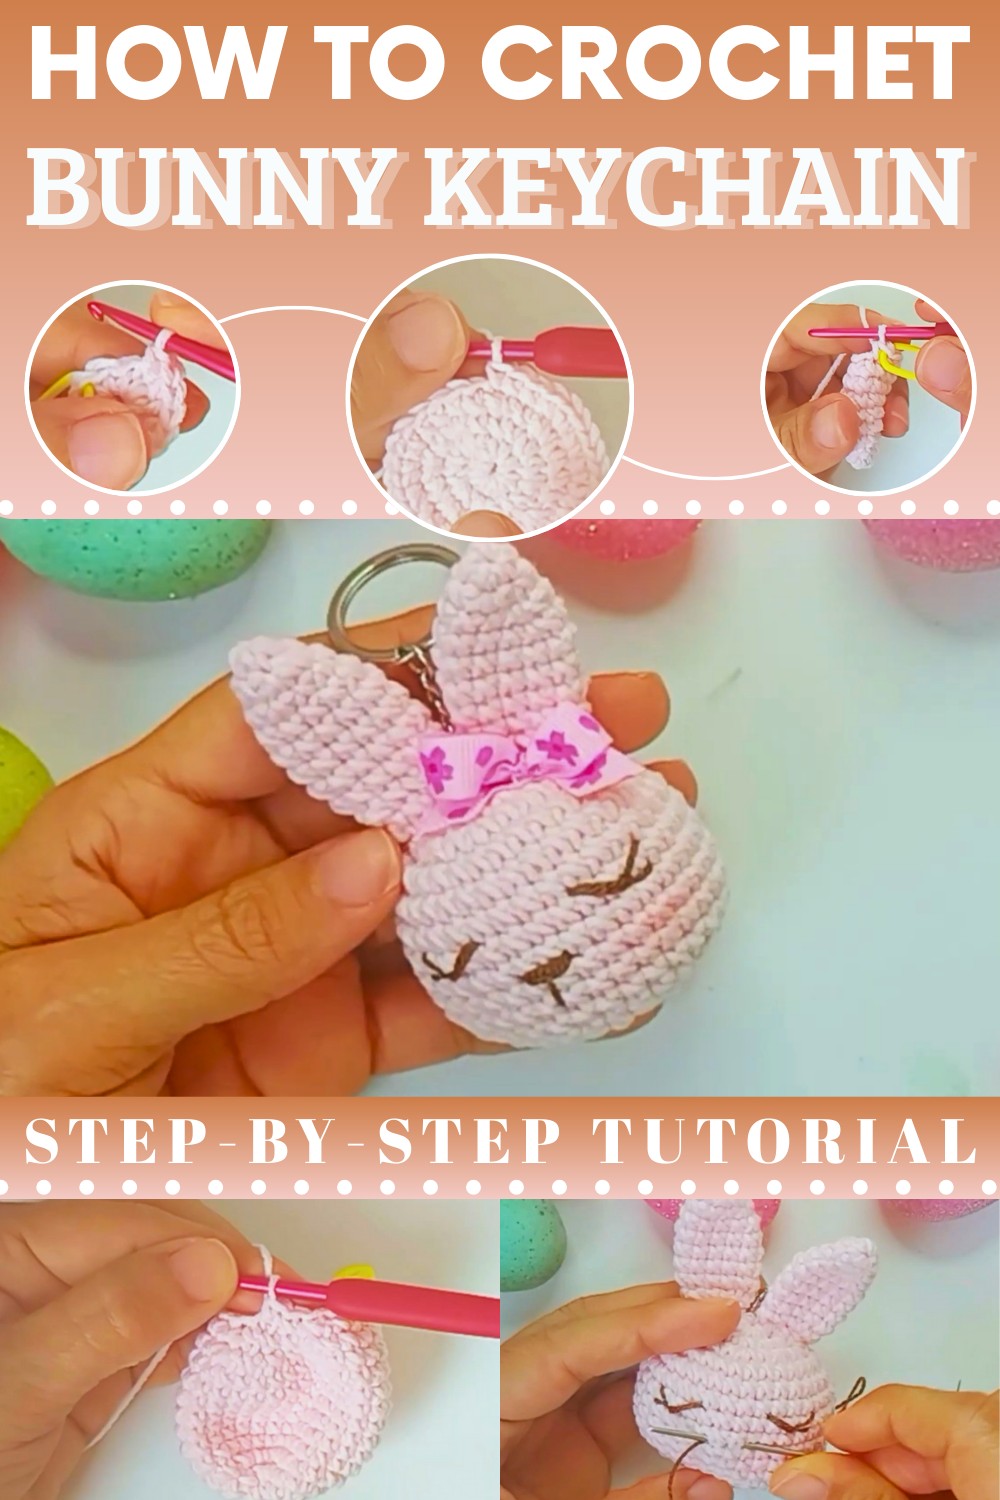
Beyond its decorative appeal, the keychain serves as a functional accessory while also highlighting the joy of handmade creations. Each completed bunny reflects the care and attention put into its making, making it more than just an ornament. Whether crafted for personal use or gifted to someone special, this pattern celebrates creativity and the charm of crochet artistry.

Amigurumi Bunny Keychain Crochet Pattern
Skill Level
Intermediate
This project involves basic crochet skills, such as working in spirals, increasing/decreasing stitches, and embroidery techniques for the face.
Finished Size
Approximately 10 cm tall, depending on yarn thickness and hook size.
Gauge
Gauge is not critical for this project. Tight stitches are recommended to ensure the texture is neat and the stuffing doesn’t show.
Materials
Yarn
- Cotton and Acrylic Blend Yarn (recommended):
- Select a color you prefer for the bunny (e.g., white, cream, gray, or pastel shades).
- 100% acrylic yarn is also suitable.
- Pink Yarn or Embroidery Thread: For nose and cheeks.
- Embroidery Thread for the eyes or black thread for detail.
Tools
- Hook Size: 3.0–3.5 mm crochet hook.
- Safety Eyes: Black, 6 mm (optional; you can also embroider them entirely).
- Stuffing: Synthetic fiberfill.
- Accessories:
- Yarn Needle for sewing.
- Scissors.
- Pins for marking facial placement.
- Optional: Blush and cotton swab for cheeks.
- Ribbon (any color): For optional bow decoration.
Other Supplies
- Metal Keyring or chain for attaching the bunny as a keychain.
- Glue: Use cold silicone glue (optional for securing features or embellishments).
Key Abbreviations (US Terminology)
- MR: Magic Ring
- sc: Single Crochet
- inc: Increase (2 sc in the same stitch).
- dec: Decrease (work 2 sc together into one stitch).
- sl.st: Slip Stitch
- ch: Chain
Special Techniques
- Magic Ring: Ensures no hole at the beginning of your rounds for tight finishes.
- Spiral Rounds: This pattern works continuously in spirals; use a stitch marker to keep track of rounds.
- Filling: Make sure to stuff firmly to retain shape while preventing overstuffing.
Step-by-Step Pattern
Head
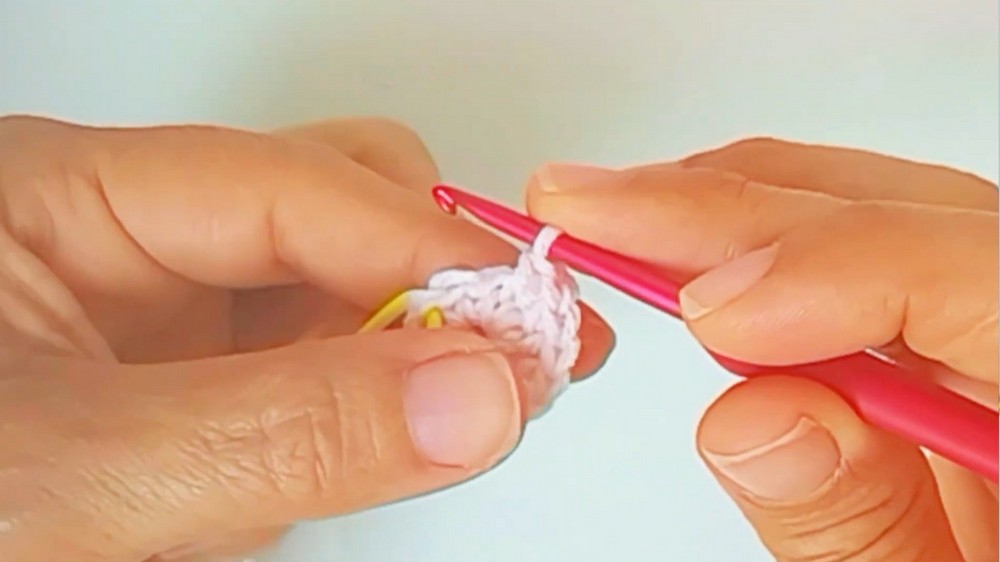
Round 1: Start with a Magic Ring
- Create a MR, and crochet 8 sc into the ring.
- Pull the thread to close the ring tightly. Place a stitch marker at the beginning to track spiral rounds. [8 sts]
Round 2: Increase in Each Stitch
- Work 2 sc into each stitch (increase). You’ll have 16 sts in total. [16 sts]
Round 3: Alternating sc and Increase
- Repeat (1 sc, 1 inc) 8 times*.
- At the end of the round, you’ll have 24 sts. [24 sts]
Round 4: Strategic Head Shaping
- Crochet 4 sc stitches, followed by 4 increases (work 2 sc into next 4 stitches).
- Work 8 sc stitches. Then repeat 4 increases.
- Complete the round by crocheting 4 sc stitches. [32 sts]
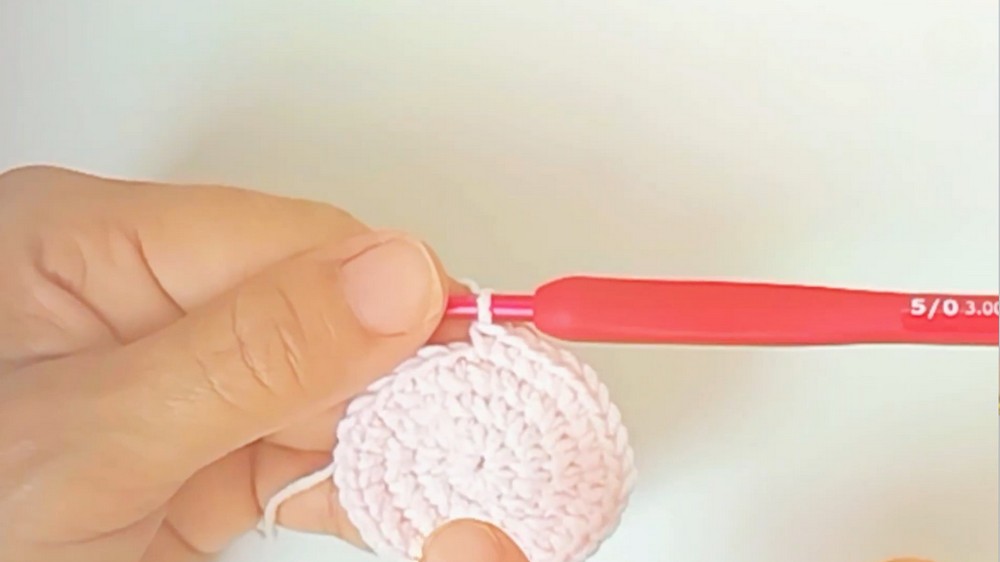
Note: The belly shaping begins here to create a more oval bunny head.
Rounds 5–11: Building Head Volume
- For the next 7 rounds, crochet 32 sc stitches in each round.
- Spiral crochet continuously without any increases or decreases. [32 sts]
Tip: At the end of these rounds, the head will have an elongated shape, perfect for bunny proportions.
Round 12: Start Decreasing
- Crochet 4 sc, followed by 4 decreases (work 2 sts together).
- Then 8 sc, followed by 4 decreases.
- End the round with 4 sc stitches. You’ll now have 24 sts. [24 sts]
Round 13: More Decreases
- Repeat (2 sc, 1 dec) 6 times* throughout the round.
- You’ll have 18 sts in total at the end. [18 sts]
Round 14: Final Decreases Before Filling
- Alternate (1 sc, 1 dec) 6 times* to spiral around.
- You’ll end with 12 sts. [12 sts]
Stop here to stuff the head. Work the fiberfill firmly inside, ensuring the structure remains soft but holds its shape.
Round 15: Closure
- Work 6 decreases around for the final round.
- At the end, you’ll have 6 sts and a very small hole remaining. [6 sts]
- Cut the yarn and use a tapestry needle to sew the closing. Take the front loops of each stitch and pull tightly to close. Secure with a knot and hide the thread within the head.

Ears
Round 1: Magic Ring Start
- Create a MR, and crochet 5 sc into the ring. [5 sts]
Round 2: Increasing the Ear Base
- Crochet (1 sc, 1 inc) throughout the round*. You’ll now have 7 sts. [7 sts]

Round 3: More Shaping
- Work 2 sc, followed by 1 inc.
- Continue with 3 sc, and finish with 1 inc. [9 sts]
Round 4: Final Increase for Length
- Work 3 sc, followed by 1 inc.
- Continue with 4 sc, and finish with 1 inc. [11 sts]
Rounds 5–8: Build Ear Length
- Crochet 11 sc in each round, for a total of 4 rounds. [11 sts per round]
Round 9: Decrease Round
- Crochet 3 sc, followed by 1 dec.
- Work 4 sc, and finish with 1 dec. [9 sts]
Final Round: Closure Before Sewing
- Alternate *(1 sc, 1 dec) to finish.
- You’ll have 5 sts. Leave a long strand for sewing onto the head.
Repeat for the second ear.
Assembly
- Attach the Ears: Flatten the ear slightly while positioning, and sew firmly onto the head using the long strand leftover.
- Alternate stitching between the head and the ear. Pinch slightly as you sew to create a dimensional ear shape.
Face Embroidery
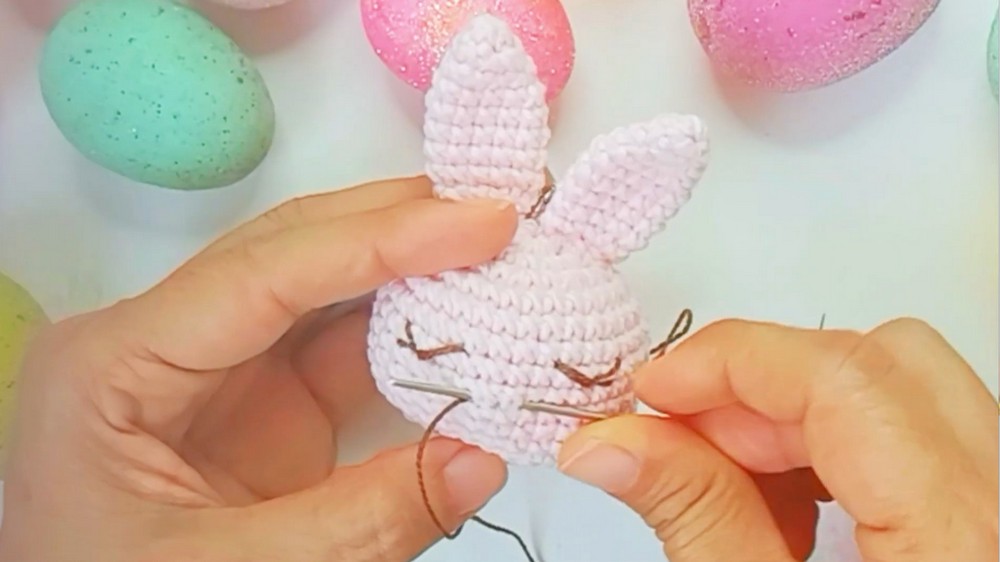
- Use pins to mark the positions of the eyes, nose, and mouth.
- Safety eyes: Place 6 mm eyes approximately 6 rounds below the center. Leave 3 sts between them.
- Nose: Embroider a triangular pink nose between the eyes, two rounds lower.
- Mouth: Draw two small lines downwards from the triangle’s point and curve slightly outward.
Optional Bow
- Cut a length of ribbon and fold into a bow. Secure the center with thread.
- Sew the bow to the bunny’s head or glue it neatly. Adjust its shape for styling.
Finishing
- Attach the keyring: Insert the needle through the center top of the head. Attach the metal ring using strong stitches.
- Apply blush to the cheeks using a small amount of powder or soft blush with cotton.
Final Thoughts
Congratulations! Your Amigurumi Bunny Keychain is complete. This adorable handmade creation is perfect for gifting, decorating, or personalizing with unique accents.
Suggestions
- Customization: Add accessories like hats, buttons, or flowers for festive or themed designs.
- Color Choices: Pastels for a soft look or bold colors for fun, playful designs.
- Storage Tip: Keep the bunny in a dry location to preserve its shape and details.