
FREE Crochet Bird Amigurumi Pattern Brings Fun to Spaces
Sing with charm using the Free Crochet Bird Amigurumi Pattern, a cute, soft, and playful handmade companion perfect for gifts, décor, or keychains.
In the quiet corners of creativity, tiny treasures like the crochet bird amigurumi emerge to capture hearts and spark joy. These delicate-looking birds hold the perfect balance between simplicity and charm, offering an inviting flair to any space. Whether perched atop a bookshelf or nestled in a child’s toy collection, they radiate warmth and personality. Their petite form and intricate details transform ordinary yarn into something meaningful, making them not just decorative items but heartfelt gifts. Ideal for brightening up your home or presenting as unique keepsakes, these crocheted birds symbolize care and thoughtfulness.
Tiny Free Crochet Bird Amigurumi Pattern That Charms Instantly
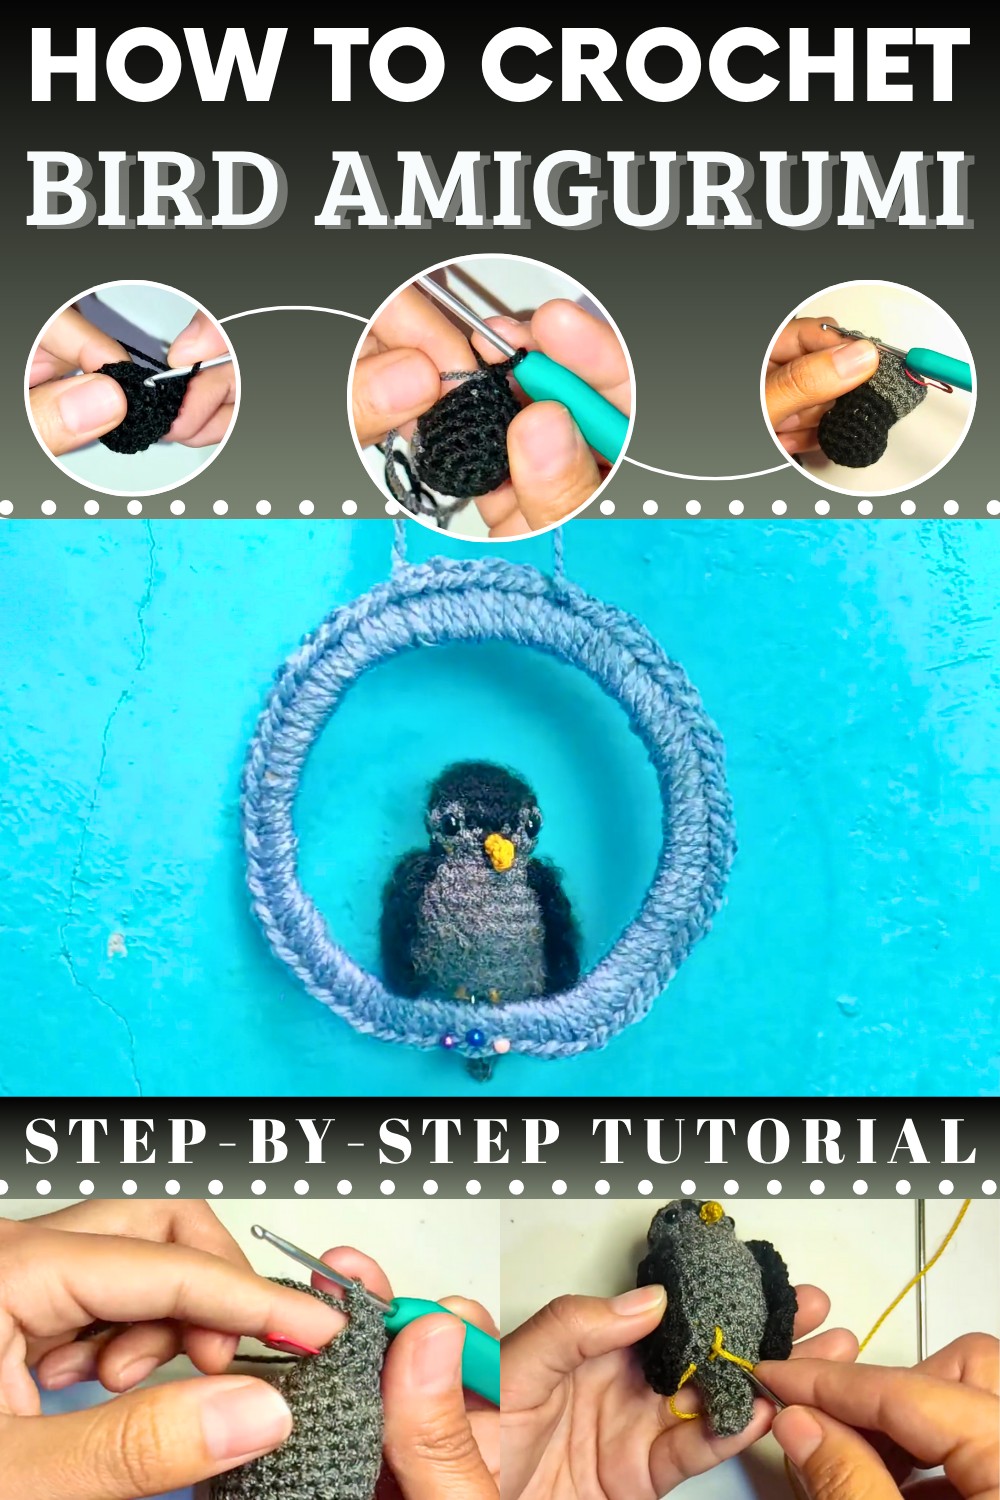
Beyond their beauty, they hold practical benefits for those who love mindfulness activities. The process of bringing them to life encourages focus and relaxation, making it a wonderful pastime to unwind and reduce stress. Plus, their vibrant colors and gentle textures provide an opportunity to experiment with different shades and styles, letting creativity flourish with every stitch.
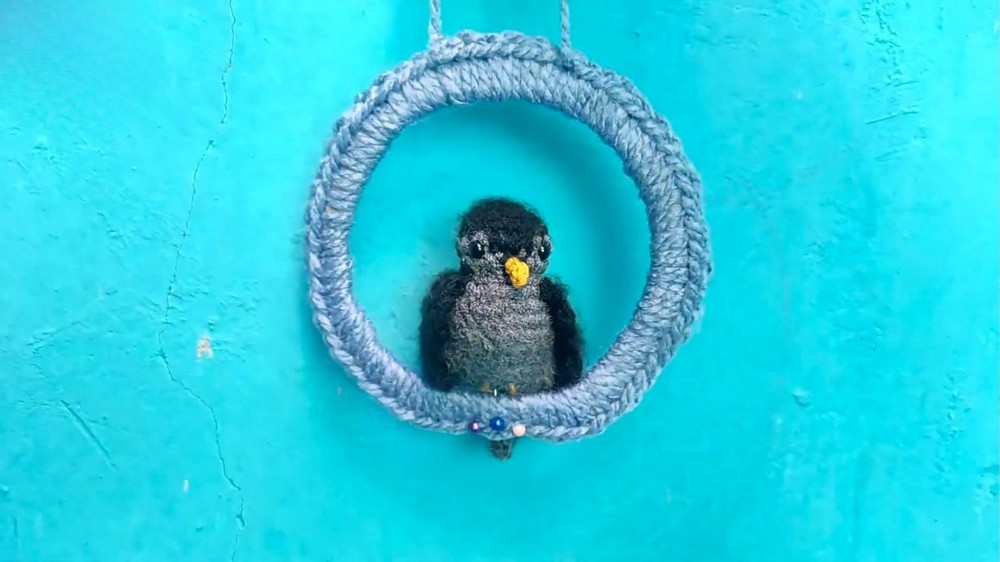
Whether used to adorn baby nurseries or given as whimsical presents, these charming birds spread smiles wherever they go. Small yet impactful, each crochet bird adds a touch of individuality to its surroundings while uplifting those who encounter its cheerful presence. Perfectly suited for spreading joy, one stitch at a time.
Free Crochet Fluffy Amigurumi Bird Pattern
Materials
- Yarn: Acrylic yarn in two contrasting or complementary colors (e.g., dark gray/black and gray/yellow/brown)
- Small amount of yellow or orange for beak and legs
- Hook: 2.5 mm crochet hook (for body); use a hook appropriate for your yarn if substituting
- Safety Eyes: 5 mm (2 pcs)
- Stuffing: Polyester fiberfill
- Yarn Needle: For sewing and embroidery
- Scissors
- Stitch Marker (optional, for keeping track of rounds)
- Small brush (optional, for fluffing the bird)
- Cardboard & bone-colored yarn (optional, for creating a base/branch)
Key Abbreviations (US Terms)
- mr: magic ring
- sc: single crochet
- inc: increase (2 sc in same stitch)
- dec: decrease (sc2tog, invisible or standard)
- hdc: half double crochet
- dc: double crochet
- ch: chain
- sl st: slip stitch
- BLO: back loop only
- st(s): stitch(es)
- rep: repeat
Special Notes
- This pattern uses continuous rounds; use a stitch marker or yarn tail to mark beginnings.
- Change colors as written for a patchwork/striped effect, or use a single color for a plain bird.
- Use acrylic yarn for easy fluffing/brushing at the end.
- Wings and tail are constructed using back loops left on the body; do not skip these steps!
- Feet and beak may be sewn or embroidered for best results.
Pattern Instructions
Body
With main (darker) color:
- Rnd 1: 6 sc in a magic ring (6 sts)
- Rnd 2: 2 sc in each st around (inc). (12 sts)
- Rnd 3: [1 sc, inc] rep around. (18 sts)
- Rnd 4: Sc in each st around (18 sts)
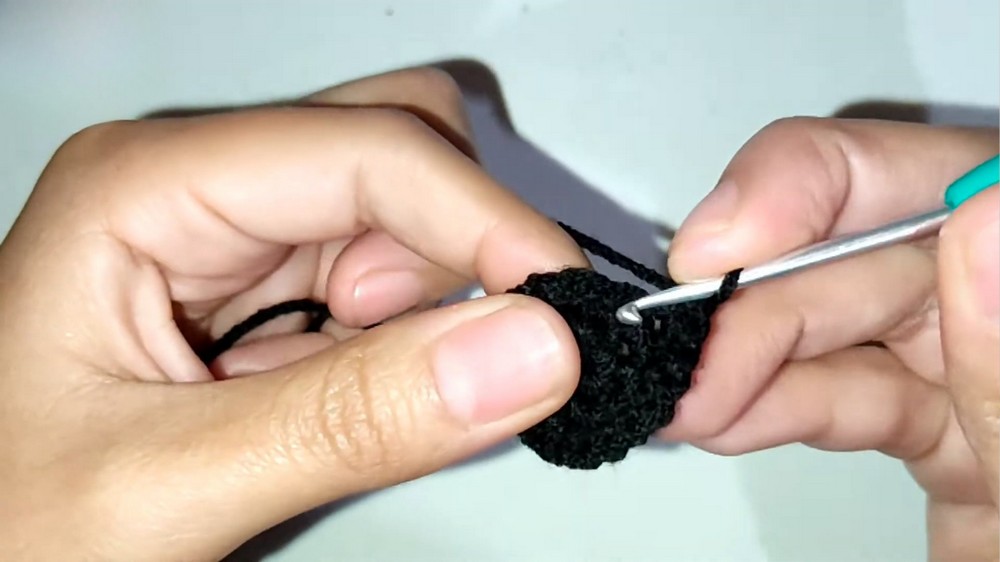
Begin Color Changes (Stripes)
Switch between colors every few stitches as described, carrying unused yarn inside.
- Rnd 5:
- With main color: sc in first 3 sts
- Change to contrast color: sc in next 3 sts
- Switch back to main color: sc in remaining 12 sts.
(Tip: Always close the last pull-through of preceding sc with the next round’s color for a smooth transition.)
- With main color: sc in first 3 sts
- Rnd 6:
- With main color: sc in first 3 sts
- Change to contrast color: sc in next 3 sts
- Switch back to main color: sc in remaining 12 sts.
- Rnd 7:
- With main color: sc in first 4 sts
- Change to contrast color: sc in next 3 sts
- Switch back to main color: sc in remaining 11 sts.
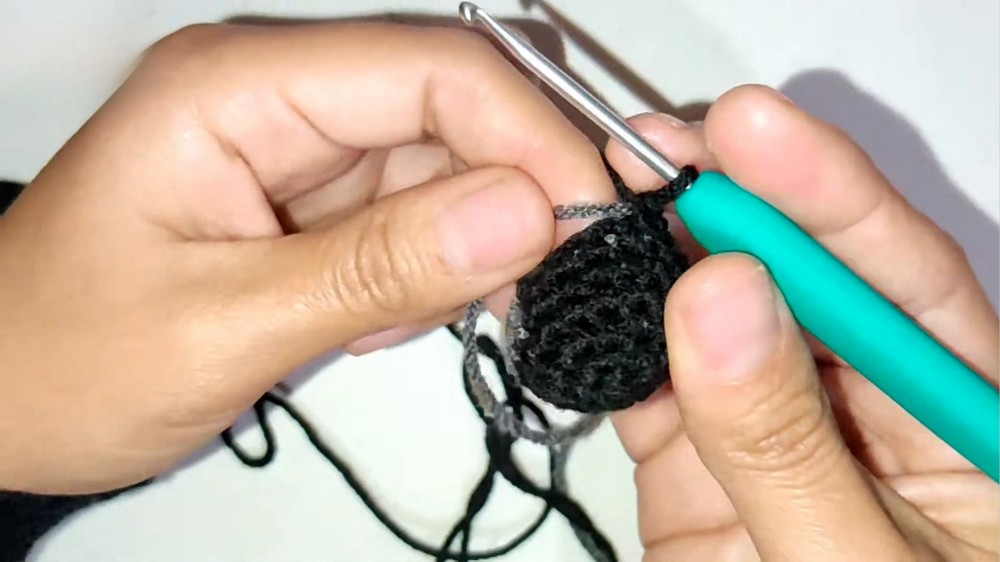
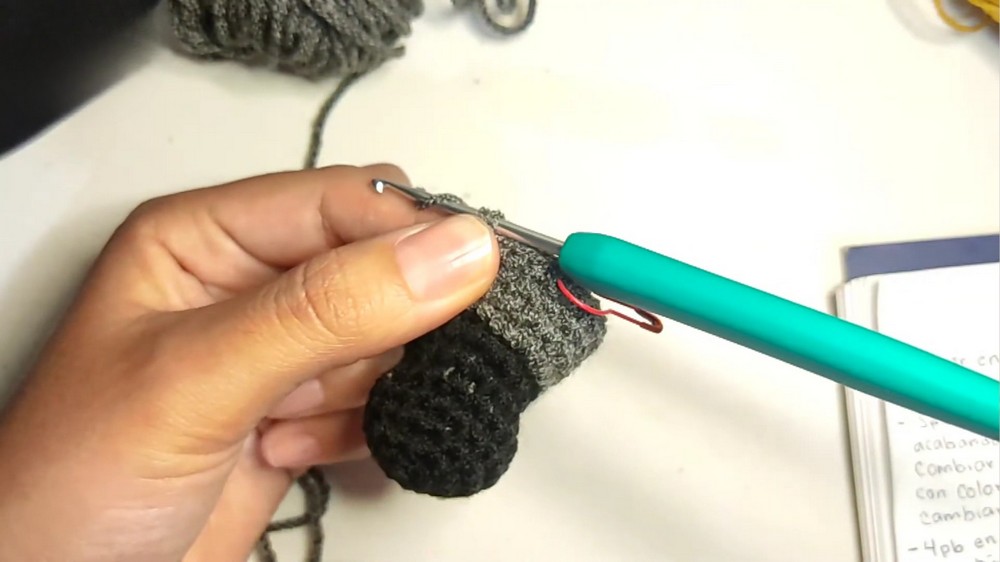
Continue similar striping for desired effect, always finishing a color block by closing the final sc with the color of the next block.
Eye Placement
- After finishing the first round (or two) of contrast color, insert safety eyes between the 1st and 2nd rounds of contrast color, spaced approx. 2–4 sts apart (see your bird for best placement).
Rounds for Body Shaping
- Rnd 8: With main color: inc in next 2 sts, sc in next 2 sts, switch color, sc in next 4, switch color, inc, sc, inc, sc in next 4, switch color, inc in last 2 sts. (Check that you have 25 sts.)
- Cut main color now (if only gray is needed for next rounds).
9–11. Rnd 9–11: Sc in each st around (25 sts each). Make sure to use both loops—that is, do NOT BLO here.
Increase/Decrease for Lower Body
- Rnd 12:
- Inc in next st, sc in next st, repeat once. (2 inc, 2 sc)
- Sc in next 4 sts, (dec, sc) x3, dec, sc in next 4, inc, sc. (Ends with 25 sts.)
- Rnd 13: Sc in each st around (25 sts).
- Rnd 14: [3 sc, dec] rep around; finish with 20 sts.
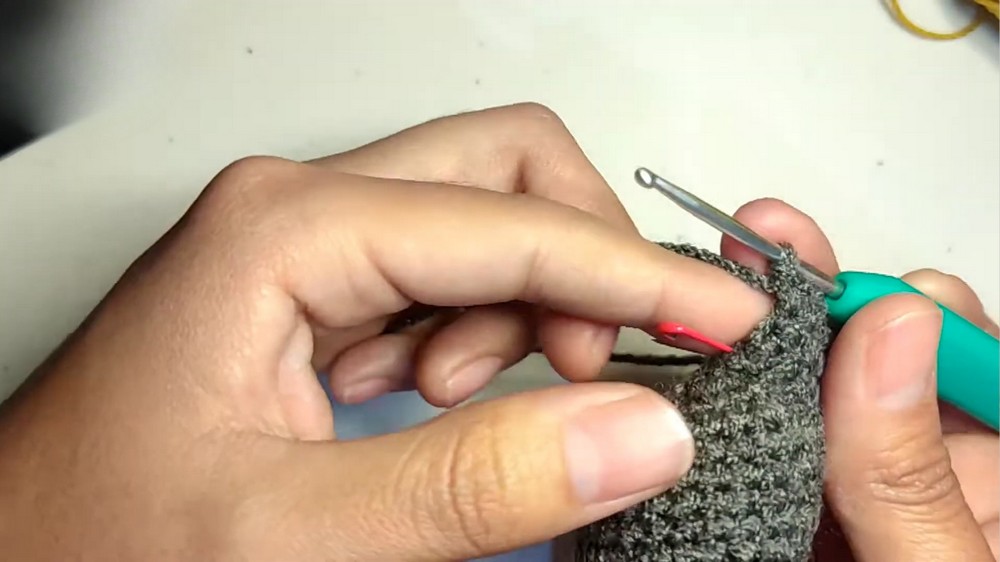
Shaping Base and Tail Start
- Rnd 15: 3 inc (one in each of next three sts), (dec, sc) x5, 2 inc at end. (20 sts)
- Rnd 16: 3 inc (one in each of next three sts), 8 dec, sc in last st. (15 sts)
- Rnd 17: Sc in next 6 sts, 4 dec, sc in last st (11 sts)
Tail
- Mark the last 7 sts, these will form the tail.
- Tail Foundation:
- Sc in each of those 7 sts (7 sc)
- Row 2: 3 sc, inc, 3 sc (8 sts)
- Row 3: sc in each st (8 sts)
- Next: Begin each row with a dec, {sc across to last two sts, dec at end}; rep until 2 sts remain.
- Fasten off, leaving a long strand, and sew tail sides together to close.
Wings (Make 2, on body directly from BLO)
- Attach yarn to one of the sets of 4 BLO left from body rounds.
- Rows:
- Ch 2, 2 hdc in each of the 4 BLO (8 hdc)
- Next row: ch 2, turn, dec hdc, hdc across (decrease at beginning only).
- Next row: ch 3, turn, dc in first st, hdc in rest; decrease only at beginning.
- Continue until 4 sts remain.
- Fasten off and weave in ends.
- Repeat for side 2.
Beak
- With thin yellow/orange yarn and small hook:
- Magic ring, sc, hdc, dc, sc in ring
- Ch 1, fasten off, leaving a long tail for sewing.
- Pull tight to close, fold the little circle to peek out, and sew to face between/under the eyes.
Legs
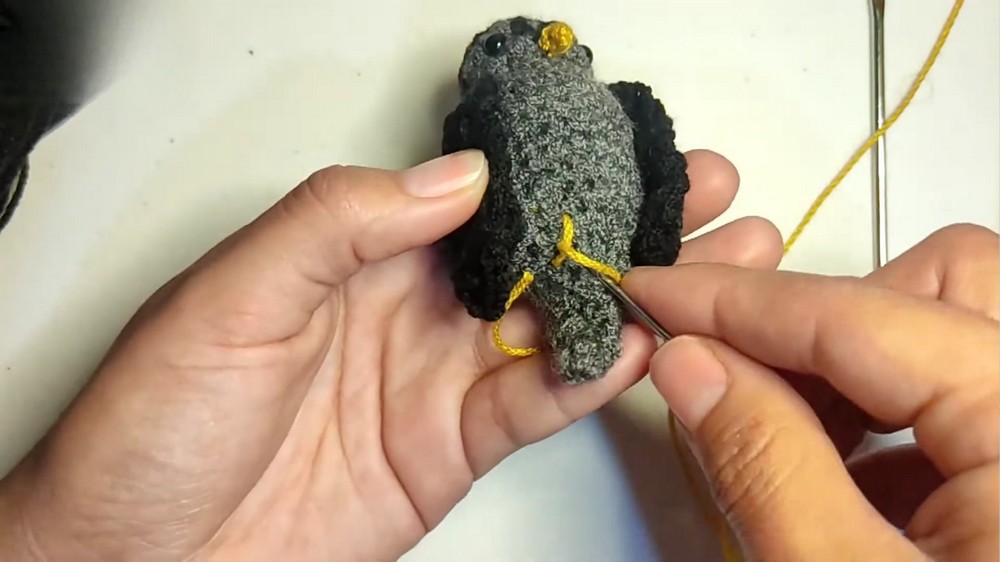
- Cut a piece of yellow/orange yarn; insert as legs beneath the bird, knot if desired, or stitch in a few places for toes.
Optional: Brushed Fluff
- Use a slicker brush or special yarn brush to gently brush out the body for a soft, fluffy look.
Optional: Cardboard Base or Branch
- Cut a small oval/branch shape from cardboard.
- Sc all around the edge with bone/tan colored yarn for a finished look.
- Attach bird to the branch securely.
Conclusion
You have created a charming, fluffy amigurumi bird, perfect for decor or gifting! Have fun tweaking the colors, shape, and “fluff level” to make each bird unique.
Pattern Correction
- Carry the unused color inside stitches for neat color changes.
- Double check stitch counts after each round—especially when increments or decrements occur.
- Use invisible decreases for a smooth body shape.
- For the wings: if you accidentally miss BLO stitches, simply attach with a yarn needle or create them as flat appliqués to sew on.
Tips
- For a longer tail, add extra rounds of single crochet after the foundation.
- Make the wings “flap” by sewing only at the top edge.
- Inserting the eyes between stripe color changes helps “hide” the backs.
- Be gentle when brushing; too much can cause pilling or shedding.