
Free Crochet Amigurumi Mini Cat Pattern With A Playful Look
Keep a tiny kitty in your collection with this Crochet Amigurumi Mini Cat Free Pattern and enjoy its playful and charming appearance.
A tiny, soft toy made from yarn can bring a lot of joy. A Crochet Amigurumi Mini Cat looks like a little cat you can easily hold in your hand. It is perfect as a small gift or a cheerful decoration for any room.
Colorful Crochet Amigurumi Mini Cat Free Pattern With Cute Details
You can make this mini cat in many colors, like orange, gray, white, or black. Mixing colors is also fun and can give your cat a unique look. The size can be changed too, from just a few inches tall to a bit bigger, depending on what you want.
The main stitch you need is the single crochet stitch, which is used to create the body and head by working in circles. Other basic stitches help shape smaller parts like the ears, paws, and tail. For the eyes and nose, you can use yarn, beads, or safety eyes to add expression.
This little cat is great because it is soft and safe, making it an ideal toy for kids or a cute keychain charm. It can also brighten up desks, shelves, or bags. Many people enjoy making these mini cats as beginner projects because they are simple and fun, offering a chance to practice basic crochet skills.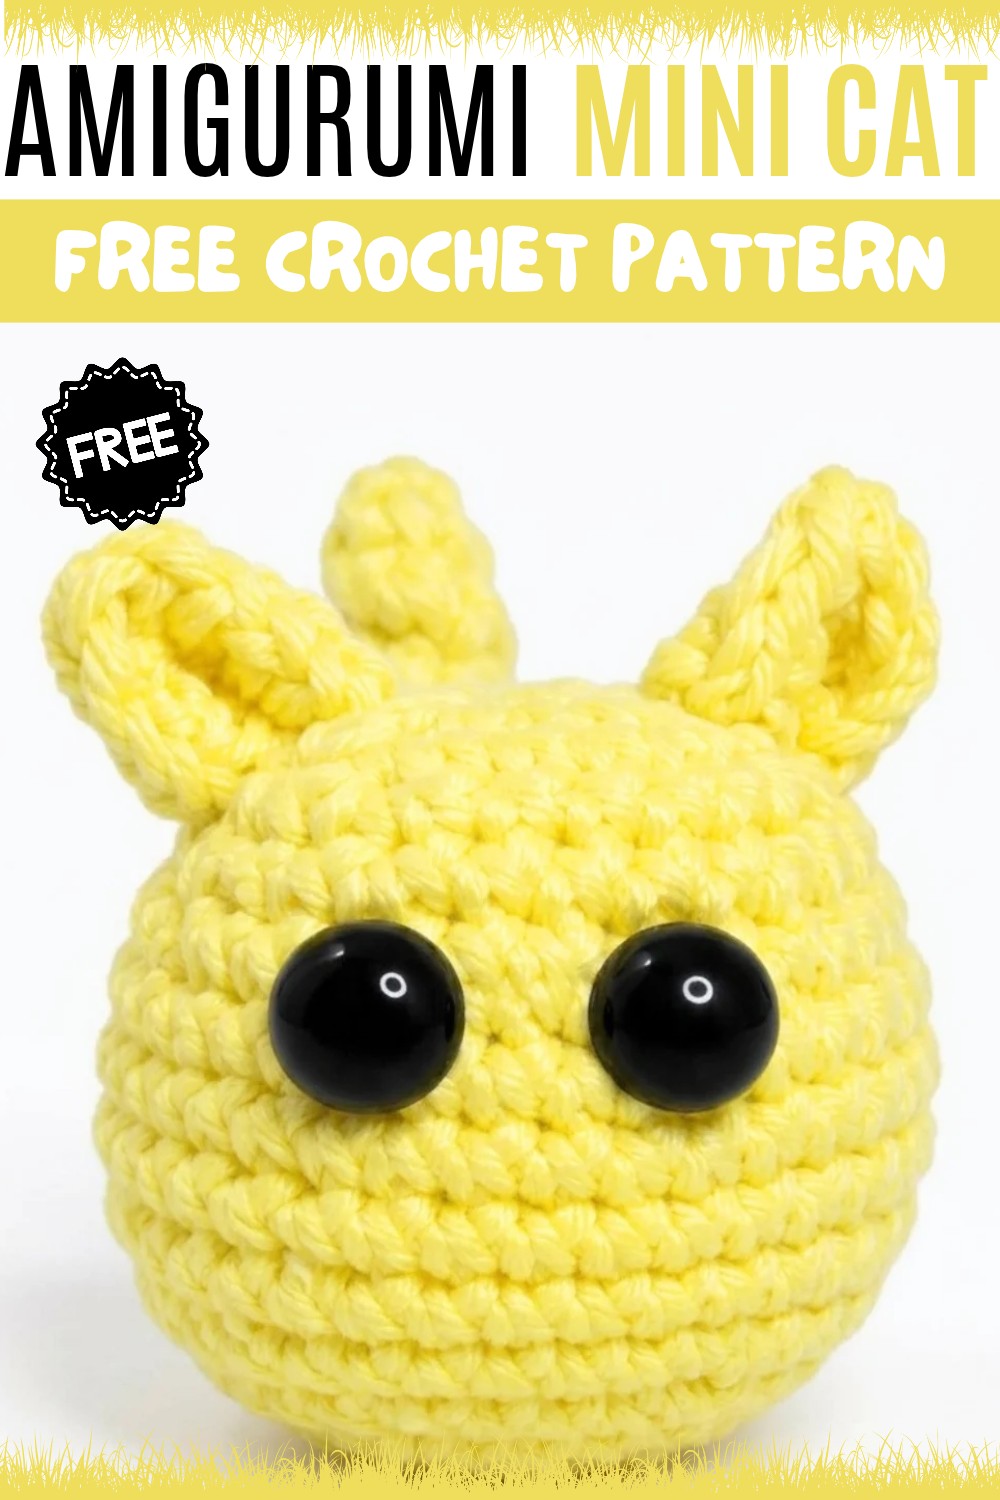
Overall, this small toy isn’t just a cat—it’s a charming little friend that brings warmth and happiness wherever it goes.
Featured By :
Crochet cat
The crochet cat in this pattern is a delightful mini amigurumi, constructed in spiraling rounds with simple increases and decreases for shaping. Its minimal, playful silhouette and efficient structure make it a highly accessible project while yielding a charming, compact cat figure. The pattern specifically details the head and body as one piece, with attached ears worked directly onto the head and a separate tail for a finished, three-dimensional look.
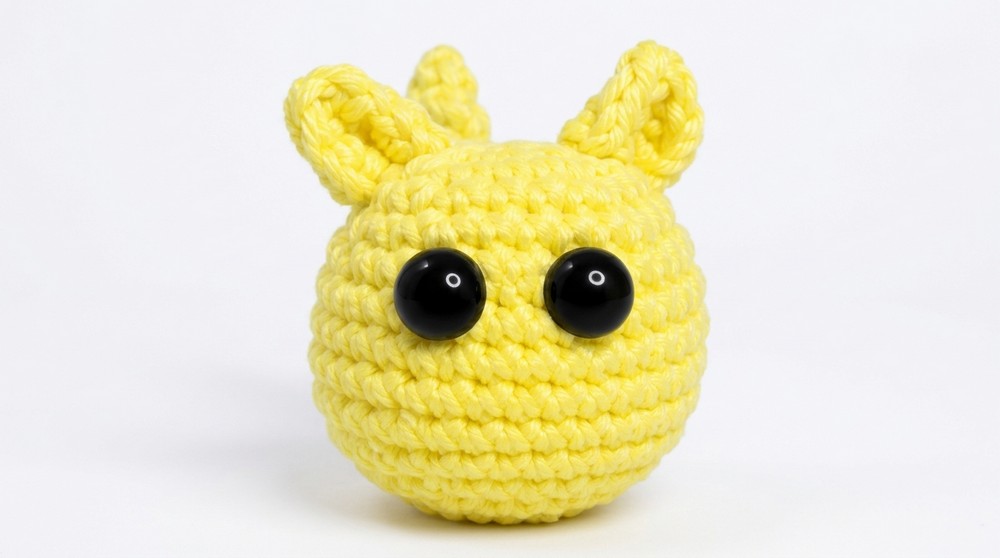
Pattern Basic Points
- Worked in continuous rounds: This pattern uses spiraling rounds for a seamless finish.
- Single-piece construction for head and body: Shaped by increasing and then decreasing stitch counts.
- Ears are worked directly on: Formed with basic stitch variations for a realistic shape.
- Tail is crocheted separately: Built up in rounds and attached securely.
- Face is customizable: Use safety eyes, embroidery, or felt for expressive features.
- Minimal sewing required: Only needed for the tail and closing openings.
Special Notes
- Always use a stitch marker to mark the first stitch of each round; this helps keep track since the rounds are continuous.
- Stuffing is required before closing the head to ensure the cat is well-shaped and keeps its form.
- Safety eyes should be placed before stuffing and closing for best positioning. For baby or pet-safe projects, consider embroidered eyes.
- The tail length can be adjusted easily to suit your preference.
- The small size makes this project ideal for using up yarn scraps.
Skill Level
Beginner-friendly. This pattern requires basic knowledge of working in the round, increasing, and decreasing single crochet stitches, as well as simple joining and embroidery. It is a perfect choice for practicing amigurumi techniques and experimenting with color and finishing.
Materials
- Worsted weight or DK yarn in your chosen cat color (30g or less)
- 3.5–4.0 mm crochet hook (or size for tight stitches)
- Polyester fiberfill stuffing
- Pair of safety eyes (6mm–8mm) or black yarn for embroidering eyes
- Embroidery needle
- Yarn needle for sewing and closing ends
- Stitch marker
- Scissors
- Optional: scrap pink yarn or felt for nose/blush accents
Measurements
Finished cat measures approximately 7–10 cm (3–4 inches) in height, depending on yarn weight and hook size.
Gauge (and Stitch Pattern if applicable)
Gauge is not critical for this small toy but ensure stitches are tight enough to prevent stuffing from showing.
Sample gauge: 6 single crochet = 2.5 cm; 6 rounds ≈ 2.5 cm in spiral rounds.
Stitch Abbreviations
- MR: magic ring
- sc: single crochet
- inc: increase (2 sc in one stitch)
- dec: decrease (single crochet two stitches together)
- ch: chain
- sl st: slip stitch
- hdc: half double crochet
- dc: double crochet
Special Stitches Used in This Pattern
Magic Ring (MR):
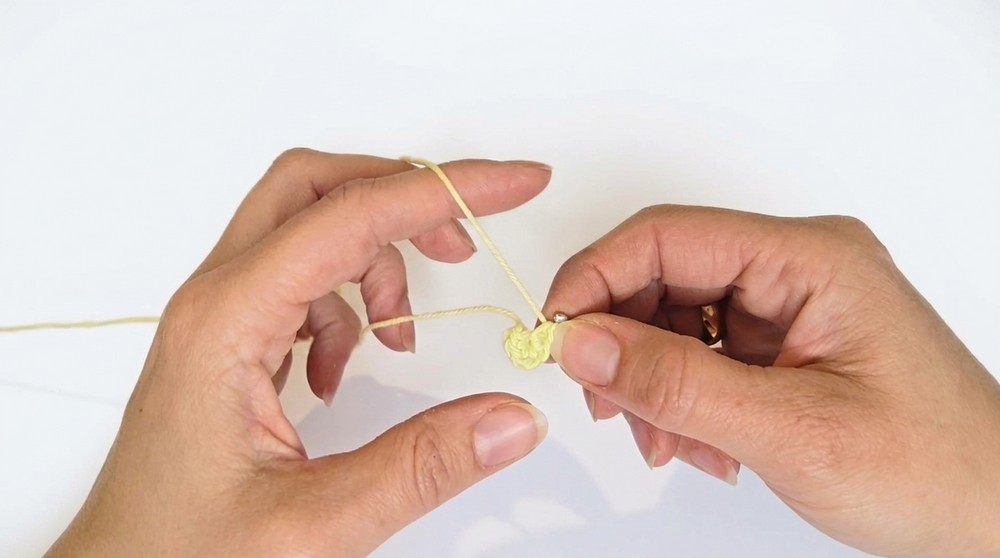
Make a loop, insert the hook, yarn over and pull through, then crochet the indicated number of stitches into the loop. Pull tight to close.
Increase (inc):
Work 2 single crochet stitches in the same stitch.
Decrease (dec):
Insert hook under the front loop of the first stitch and both loops of the next stitch, yarn over, pull up a loop, yarn over and pull through both loops to complete the decrease invisibly.
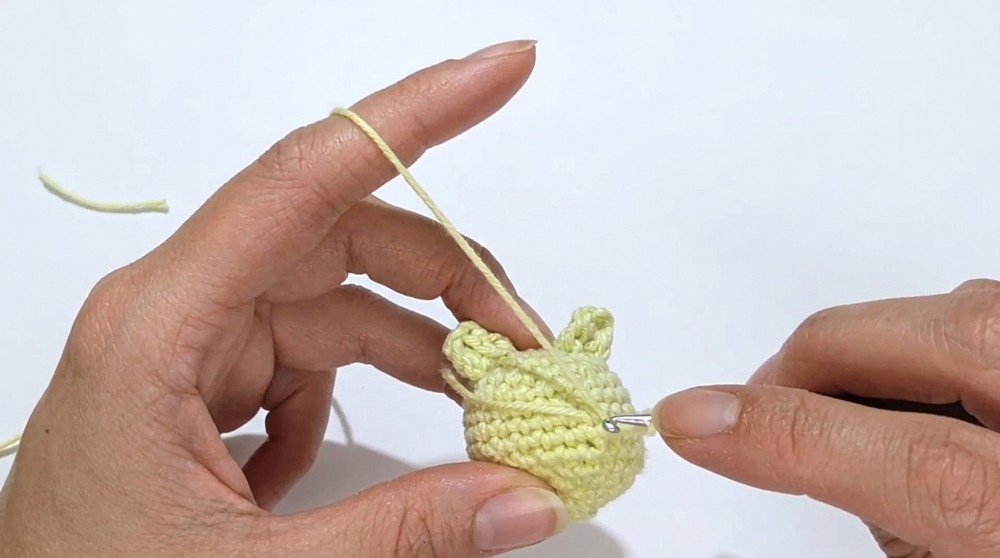
Ear Construction:
Worked onto the head in two stitches using a combination of hdc and dc for shaping.
The Crochet Pattern
Body and Head (worked as one piece)
- Round 1: Magic ring, 6 sc into ring. (6)
- Round 2: 2 sc in each stitch around. (12)
- Round 3: 1 sc, 2 sc in next repeat around. (18)
- Round 4: 1 sc in next 2 stitches, 2 sc in next repeat around. (24)
- Rounds 5–10: 1 sc in each stitch around. (24) — continue evenly for 6 rounds.
- Round 11: 1 sc in next 2 stitches, dec (insert hook under front loop of first st, then both loops of second st, finish decrease); repeat around. (18)
- Round 12: 1 sc, dec repeat around. (12)
- At this point: Insert safety eyes between rounds 3 and 4, spacing as desired. Begin stuffing the body and head firmly.
- Round 13: 5 decreases (work sc dec as before), then close the remaining hole by threading the yarn through each front loop, pull tight to close, knot, and hide end inside.
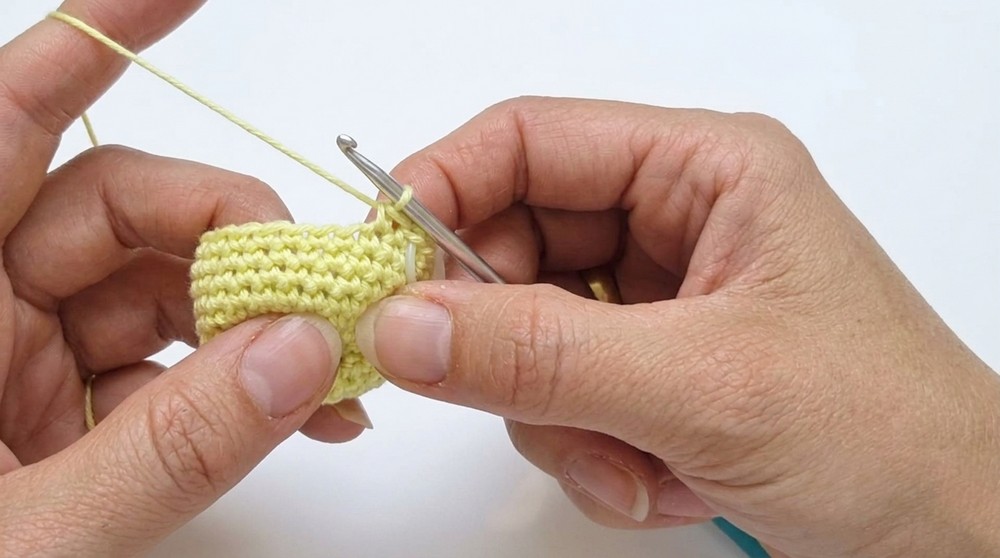
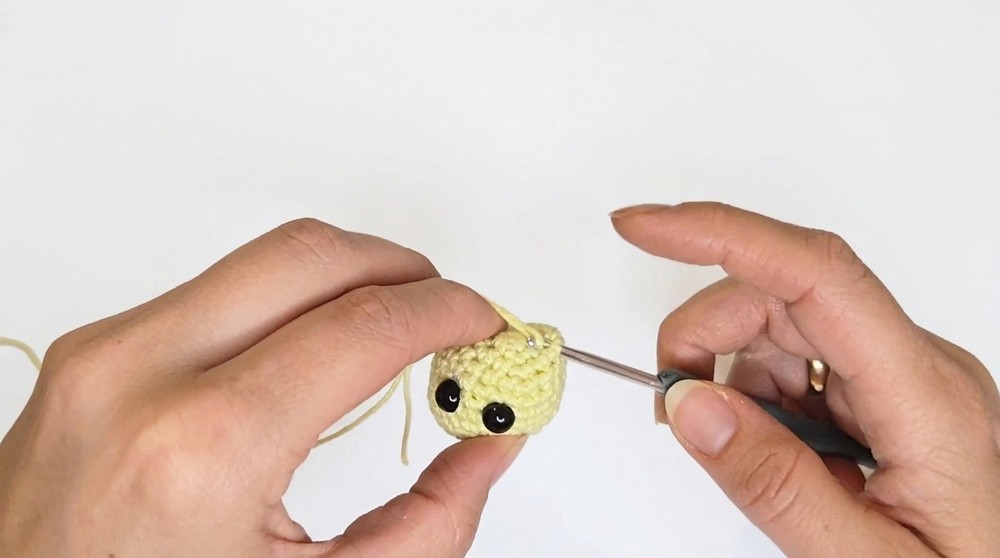
Ears (make 2, worked directly onto the head)
- Attach yarn between rounds 3 and 4 where you want the first ear.
- Chain 1, work 1 hdc and 1 dc in the same stitch.
- Chain 1.
- In the next stitch, work 1 dc and 1 hdc. Finish with a slip stitch in the next stitch to anchor.
- Fasten off and repeat symmetrically on the other side for the second ear.
Tail (worked separately)
- Attach yarn at chosen spot (or work as a separate piece and sew on).
- Chain 1, work 5 sc in a circle to form the base (MR, 5 sc for alternate start).
- Continue working 5 sc in spiraling rounds until the tail is your desired length (approximately 12–15 rounds for a short, curved tail).
- Finish by closing the end with a needle, weave through the front loops, pull tight, fasten off, and sew the tail onto the cat’s back.
Assembly & Finished Size
- Double-check stuffing for fullness before closing the head.
- Attach ears symmetrically, shaped upright for alertness.
- Sew the tail securely to the lower back, curving as you like for character.
- Embroider a small nose or mouth using pink or black thread just below the eyes if desired.
- Optional: Add blush with a dab of fabric paint or a tiny felt circle to enhance the expression.
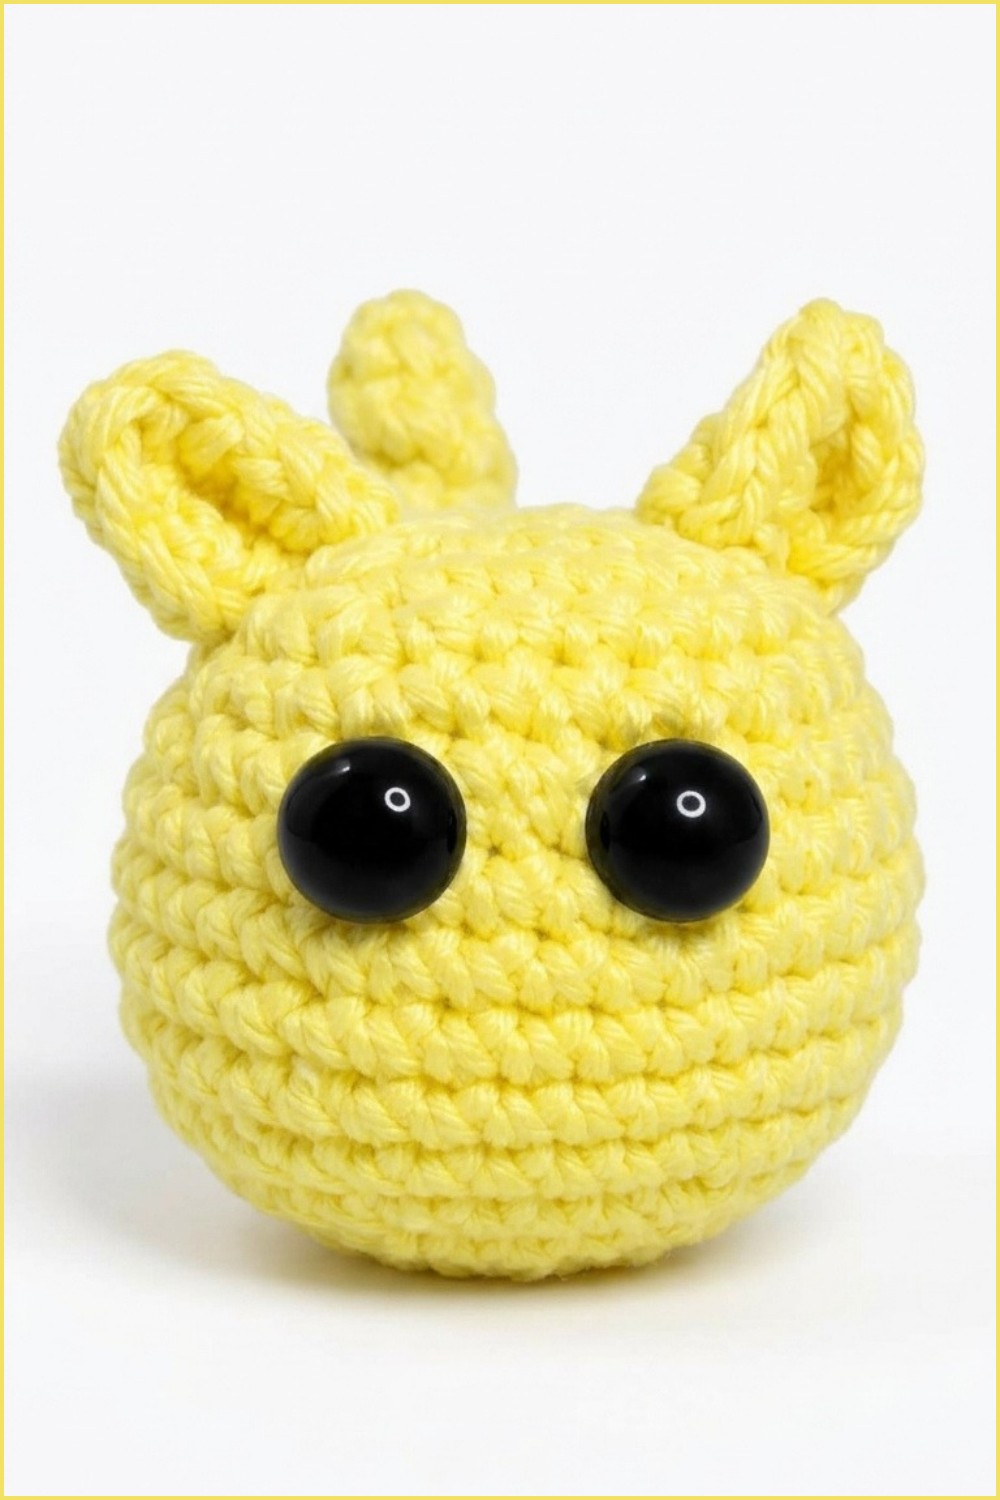
Finished size is approximately 7–10 cm (3–4 inches) tall.
Conclusion
This streamlined crochet cat pattern brings together foundational amigurumi techniques into a manageable, rewarding project for creative experimentation. The body’s simple shape lends itself to endless color choices while the sculpted ears and adjustable tail add unmistakable feline style. Custom eyes and embroidered features ensure each crocheted cat has its own personality. Whether made as a keepsake, gift, or cute desk companion, this pattern offers efficiency, clarity, and plenty of opportunities for personal touches.