
Free Crochet Amigurumi Caterpillar Pattern In Bright Yarn Colors
Add a playful touch to your toy shelf with the Crochet Amigurumi Caterpillar Free Pattern, a soft striped friend with a friendly little smile.
Here is a cute and simple project that anyone can try. The Crochet Amigurumi Caterpillar looks soft and friendly, with a body made of small rounded segments that curve gently. Each segment gives it a lively personality, almost like it has a little smile.
Soft Crochet Amigurumi Caterpillar Free Pattern That Looks Adorable
The colors are lively and bright. You can pick a single shade like green or mix several colors such as yellow, orange, and red for a fun rainbow effect. This variety helps caterpillars stand out and makes them suitable for children’s toys or room decorations.
The important stitch used here is the single crochet stitch, which gives the caterpillar a tight and neat texture. This stitch keeps the stuffing secure inside so the toy stays firm after many hugs or playtime. Because it is soft and lightweight, the caterpillar is easy to hold and carry around.
Besides the cheerful look, the crochet caterpillar offers calming benefits. Holding it can be soothing, especially for little ones, and the segmented shape adds tactile interest. Also, working on this project can improve focus and hand-eye coordination for anyone handling yarn and hook.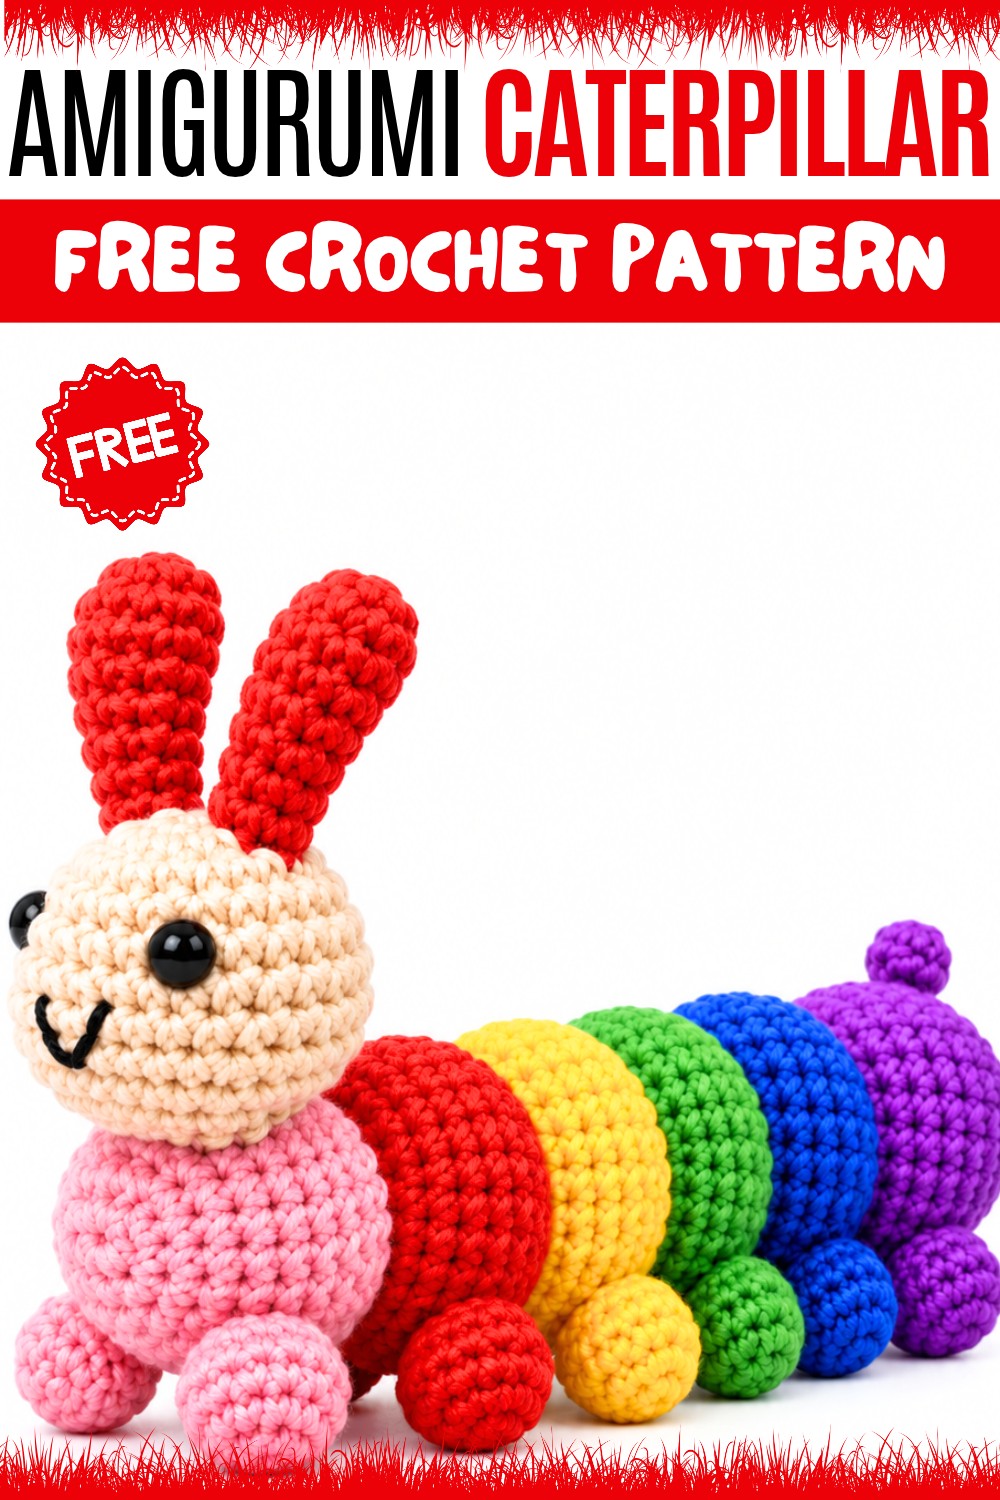
Overall, the Crochet Amigurumi Caterpillar Design by Ashu creations crochet nd knitting combines colorful charm with gentle comfort and simple stitches. It fits well as a cozy toy and a pretty decoration, suitable for many ages and skill levels.
About the Pattern
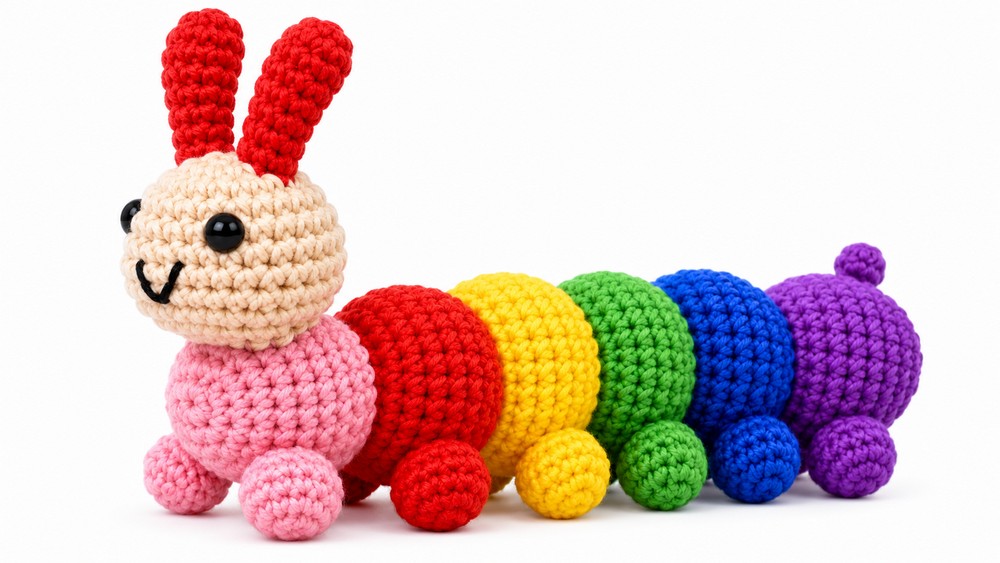
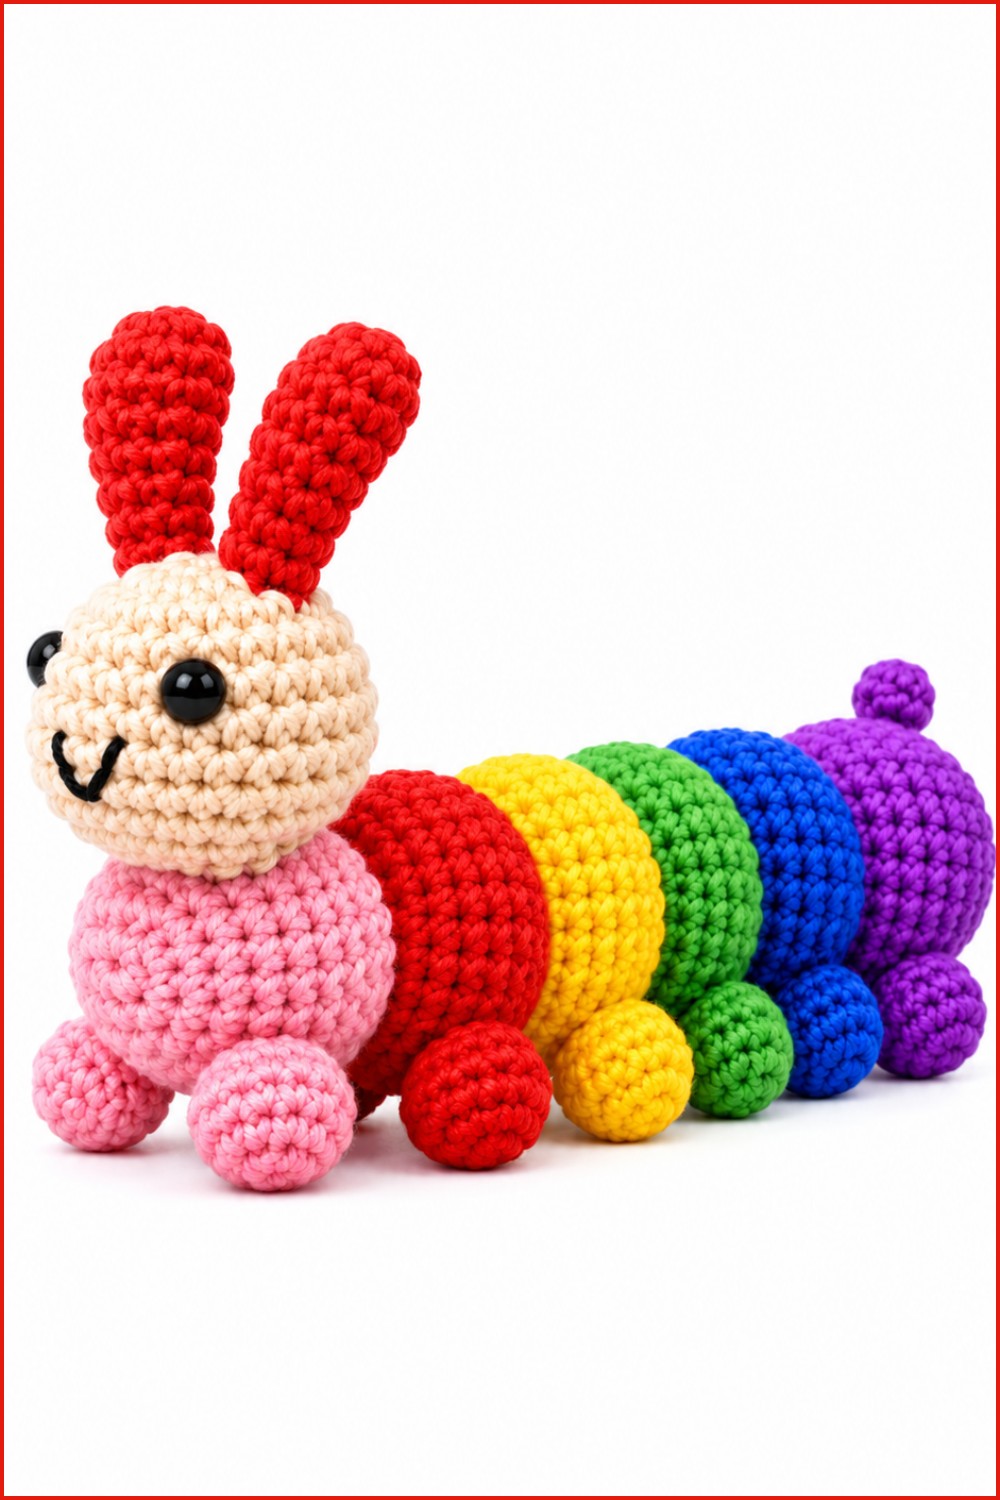
This crochet rainbow amigurumi is meticulously constructed to create a vivid, multi-segmented plush, featuring a whimsical design with distinct legs, tail, ears, and expressive facial embroidery. The build comprises seven segments, each representing a color of the rainbow, and each segment is adorned with a pair of color-coordinated legs. The assembly method emphasizes structural integrity and seamless color transitions, resulting in a captivating and interactive handmade piece.
Pattern at a Glance
- Segments: Seven individual rainbow pieces, made in different colors and sewn side-by-side.
- Legs: Fourteen legs in total, two for each segment, offering stability and adding character.
- Tail: A curved tail created in a single piece, attached to the rear for completeness.
- Ears: Two large, softly stuffed ears, sewn atop the rainbow for extra expressiveness.
- Embroidery: Facial features are added with black yarn for lively detail.
Important Notes
- Use the specified 1.75 mm crochet hook for a consistent and tight amigurumi fabric.
- Stuff segments as you finish them, just before closing, to achieve a plump shape.
- Leave long tails at the end of your work for secure sewing and assembly.
- Arrange segments in order by color preference before final sewing.
- Position legs, tail, and ears carefully to maintain symmetry and personality.
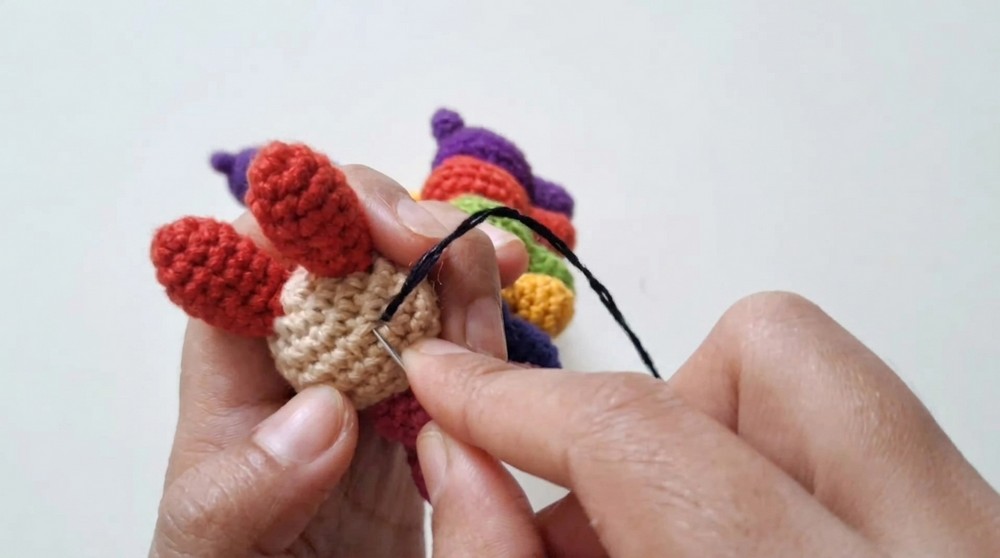
- Embroider eyes and mouth only after all parts are attached.
Difficulty Level
Beginner to Intermediate
The pattern is well suited for those familiar with magic rings, increases, decreases, working in the round, elementary sewing skills, and basic embroidery for facial features.
Supplies Needed
- Yarn: Seven rainbow colors in DK/light worsted weight; black for embroidery details
- Hook: 1.75 mm crochet hook
- Stuffing: Polyester fiberfill or cotton
- Notions: Yarn needle, scissors
Size & Measurements
- Finished Length: 10–12 cm (4–5 inches) across rainbow segments
- Height: 4–5 cm (1.5–2 inches)
- Leg Length: 1–1.5 cm each
Gauge & Stitch Details
- Amigurumi Gauge: 14 sc x 16 rows = 2 inches (5 cm); gauge is not critical, but tight stitches prevent stuffing leaks
- Stitch Types: Single Crochet (sc), Increase (inc), Decrease (dec), Magic Ring (mr), Slip Stitch (sl st)
Crochet Abbreviations
| Abbreviation | Stitch Name |
|---|---|
| mr | Magic ring |
| sc | Single crochet |
| inc | Increase (2 sc in one st) |
| dec | Decrease (sc two together) |
| sl st | Slip stitch |
Special Stitch Guide
- Magic Ring (mr): Form a ring, crochet into it, then pull tight for a closed start.
- Increase (inc): Work 2 single crochet into one stitch.
- Decrease (dec): Single crochet two stitches together.
- Slip Stitch (sl st): Insert hook, yarn over, pull through stitch and loop on hook.
Complete Crochet Pattern
Rainbow Segments (Make 7 in Different Colors)
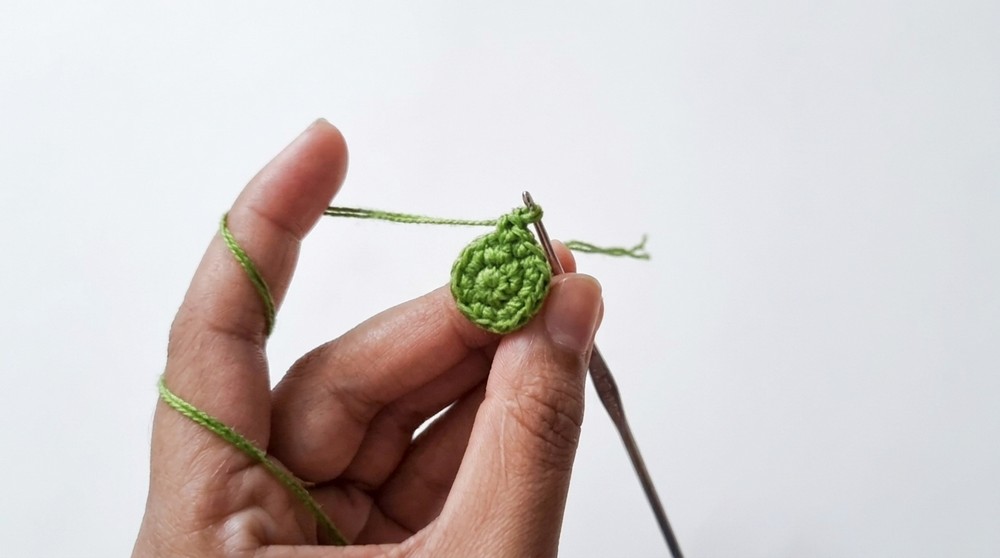
- Round 1: Start with a magic ring; work 6 sc inside the ring. (6)
- Round 2: inc in each stitch (2 sc in each) – 12 sc
- Round 3: 1 sc, inc repeat around – 18 sc
- Round 4: 1 sc, 1 sc, inc repeat around – 24 sc
- Rounds 5–6: 1 sc in each stitch (24 sc per round)
- Round 7: 1 sc, 1 sc, dec repeat around – 18 sc
- Round 8: 1 sc, dec repeat around – 12 sc
- Finishing: Stuff each segment firmly, continue decreasing until closed. Fasten off and leave a long tail for sewing.
Legs (Make 14, 2 for Each Segment)
- Start: Magic ring, work 5 sc into ring. (5)
- Round 2: inc in each stitch – 10 sc
- Rounds 3–5: 1 sc in each stitch for three rounds (10 sc per round)
- Finishing: Slip stitch to finish and leave a tail for sewing.
Tail (Make 1)
- Start: Magic ring; work 6 sc inside. (6)
- Rounds 2-3: 1 sc in each stitch for two rounds (6 sc per round)
- Finishing: Slip stitch and leave a tail; stuff lightly if desired.
Ears (Make 2)
- Round 1: Magic ring; work 6 sc into ring. (6)
- Round 2: 1 sc, inc repeat around – 9 sc
- Round 3: 1 sc, 1 sc, inc repeat around – 12 sc
- Round 4: 1 sc in each stitch – 12 sc
- Round 5: 1 sc, 1 sc, dec repeat around – 9 sc
- Rounds 6–7: 1 sc in each stitch for two rounds (9 sc per round)
- Finishing: Stuff ears lightly, fasten off and leave a tail for sewing.
Assembly & Finished Size
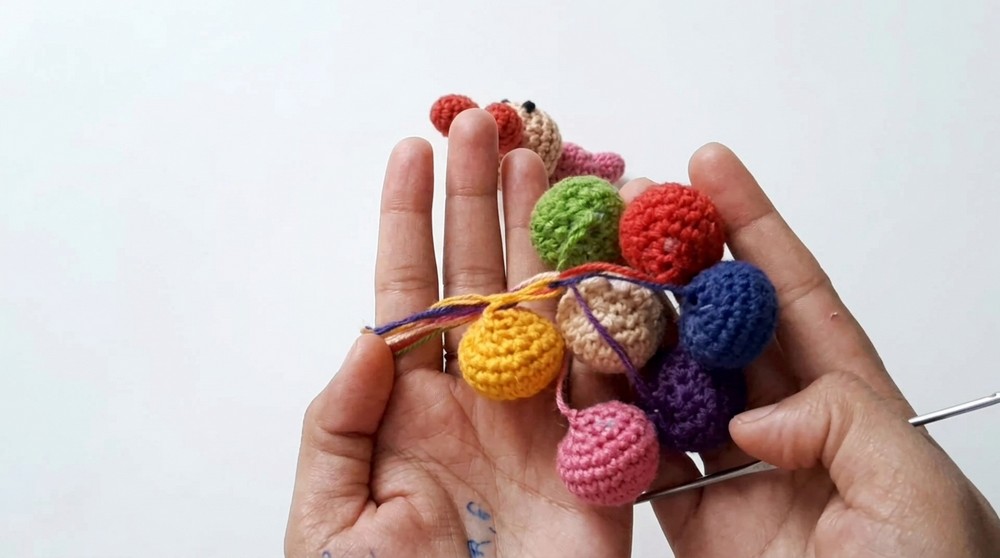
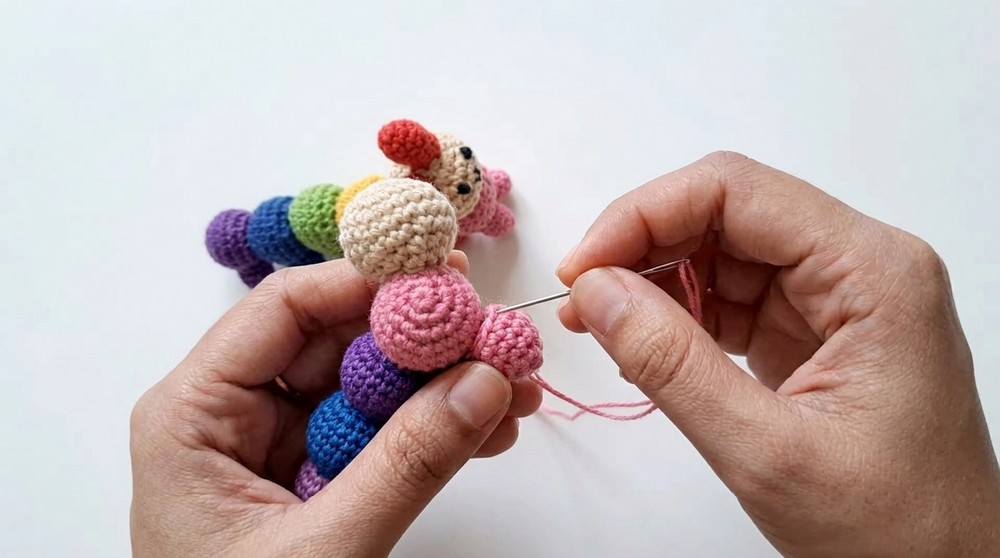
- Body: Arrange the seven rainbow segments in the desired color sequence. Using your yarn needle and the long tails, sew the segments together by picking up a stitch from each adjacent piece. Work in a circular motion to achieve a consistent, smooth body.
- Limbs: Sew pairs of legs under each segment. Position evenly and secure by sewing firmly into the base.
- Tail: Attach the tail to the rear-most segment so it curves outward.
- Ears: Sew ears to the top of the rainbow, slightly spaced apart. Stuff gently for 3D effect.
- Facial Features: Using black yarn, embroider eyes at the front of the segments (loop 4 times for each eye) and add a small, curved mouth below.
Conclusion
This rainbow amigurumi pattern is crafted through individual segments seamlessly joined for a playful and colorful appearance. The legs provide stability and whimsy, while the tail and ears deliver personality. Careful assembly and strategic embroidery ensure lasting structure and expressive features. The result is a vibrant, tactile toy suitable for decor, gifts, or creative inspiration. Each step is guided by accessible stitches and straightforward assembly, making this pattern rewarding and visually striking.