
Free Crochet Amigurumi Cat Pattern for Neat Seamless Finish
Build cozy feline friends quickly using this free crochet amigurumi cat pattern that's created to combine simplicity and delightful details in every stitch.
About The Channel:
The channel Mundo Crochet 🌸 shares delightful yarn tutorials, guiding makers step by step through easy techniques to form cute figures and quick gifts.
Simple Amigurumi Cat Free Crochet Pattern for Beginners
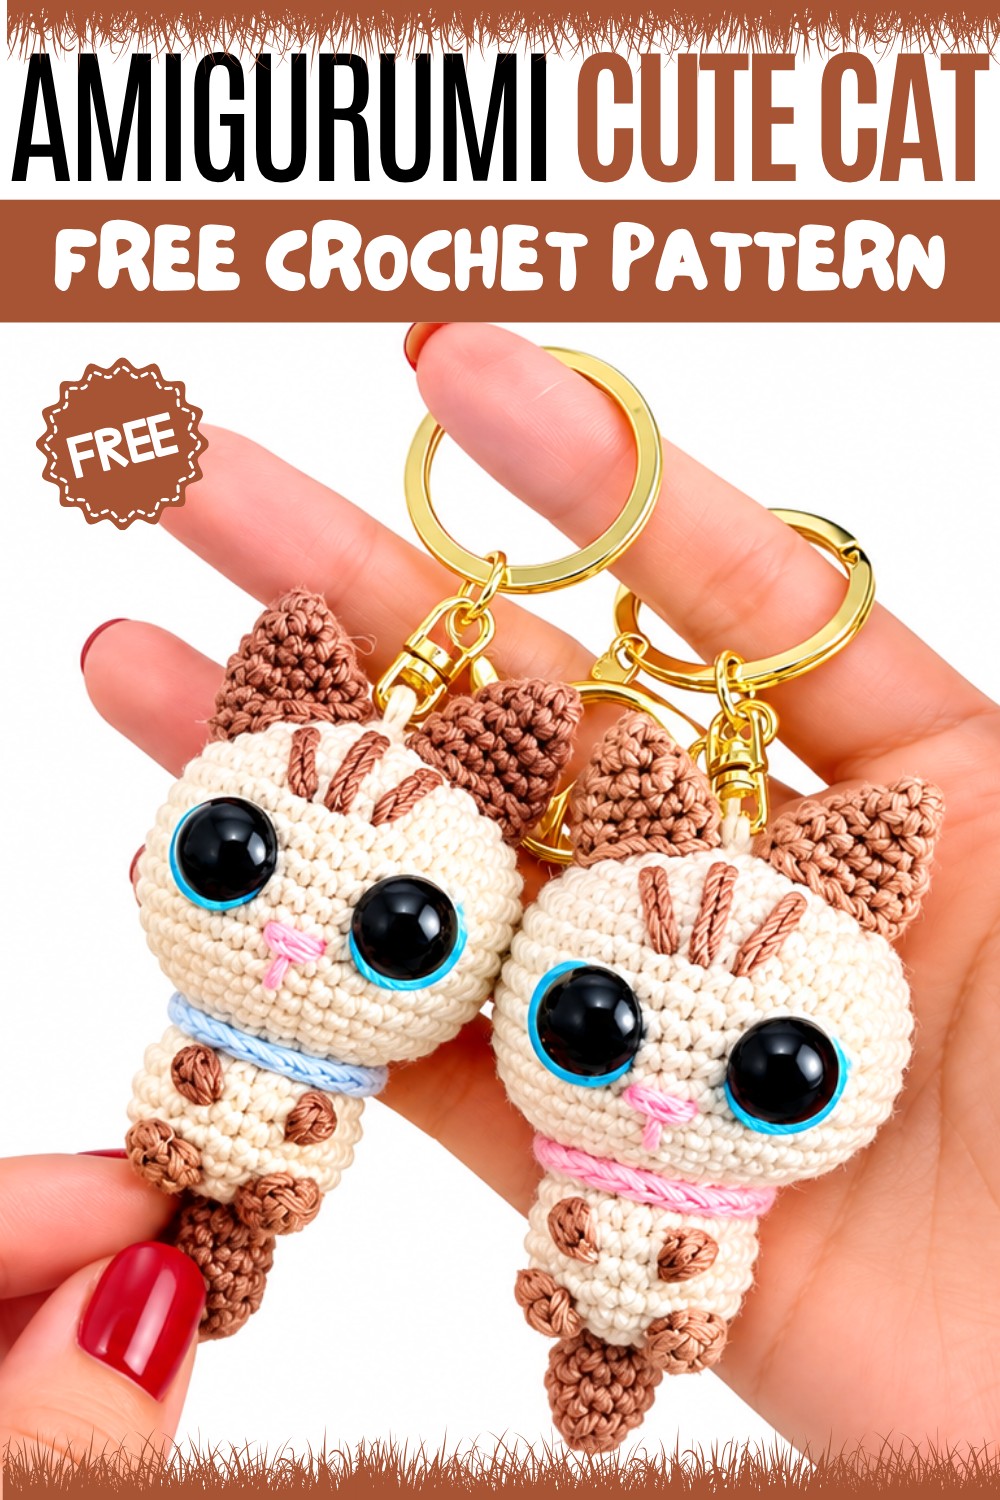
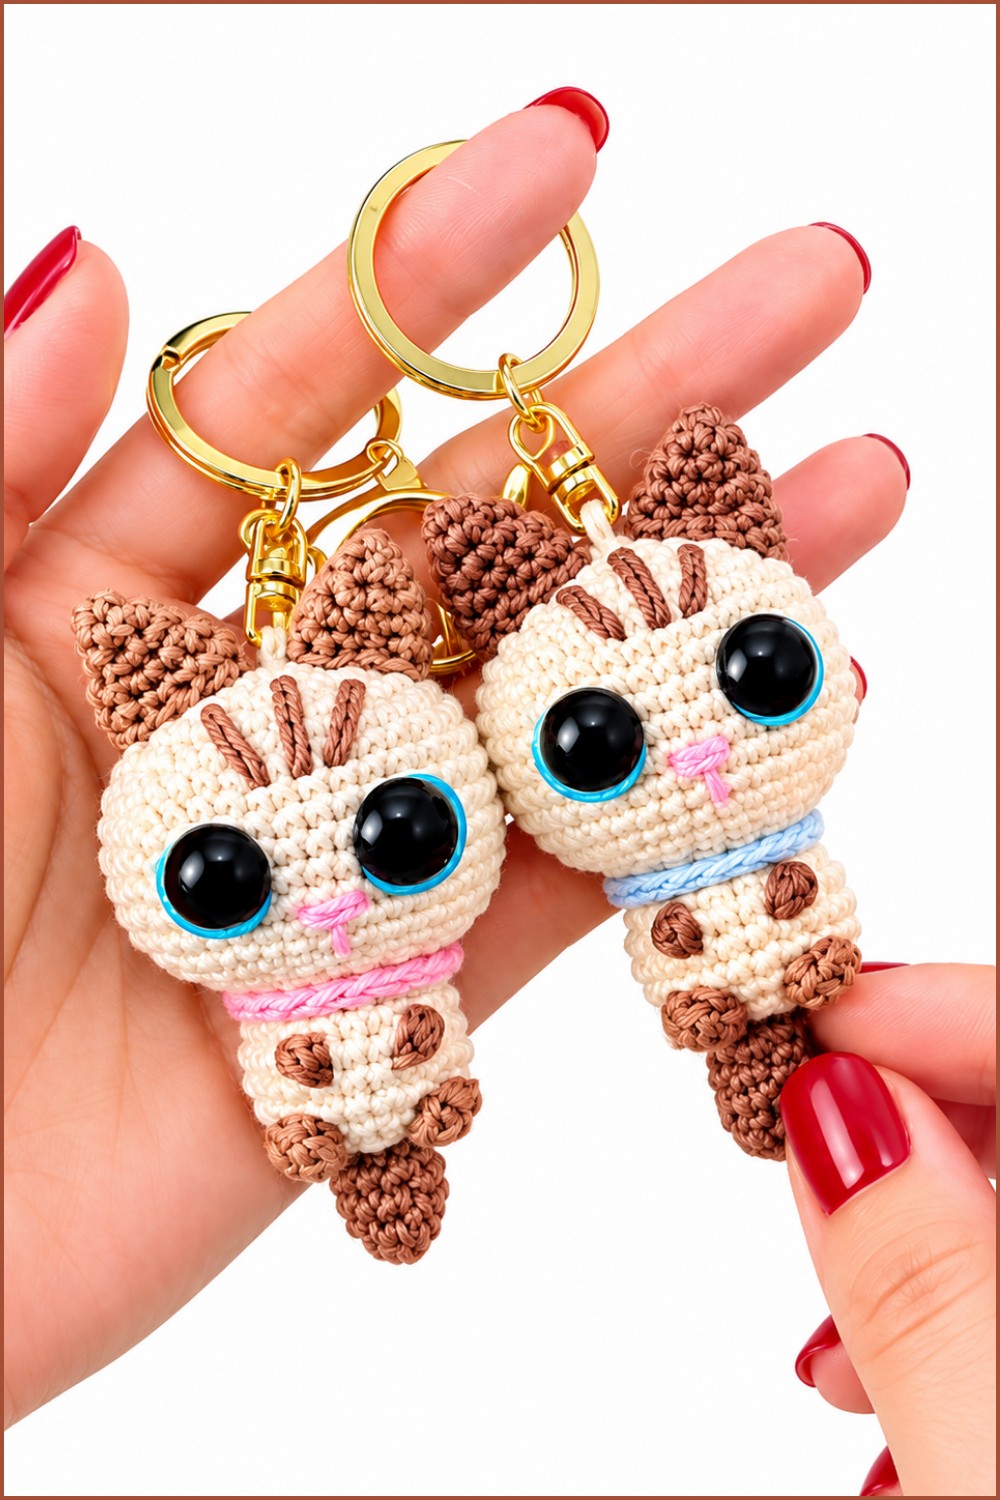
The appeal lies in its rounded head, plump body, and smooth, plush texture made entirely from basic single stitches. Dark safety eyes highlighted with light thread accents, contrasting pointy ears, and a cute stitched pink nose give the face an expressive quality. A tiny blue chained collar around the neck, simple embroidered front paws, tiny round back paws, and a cute curved tail add extra personality to the detailed finish.
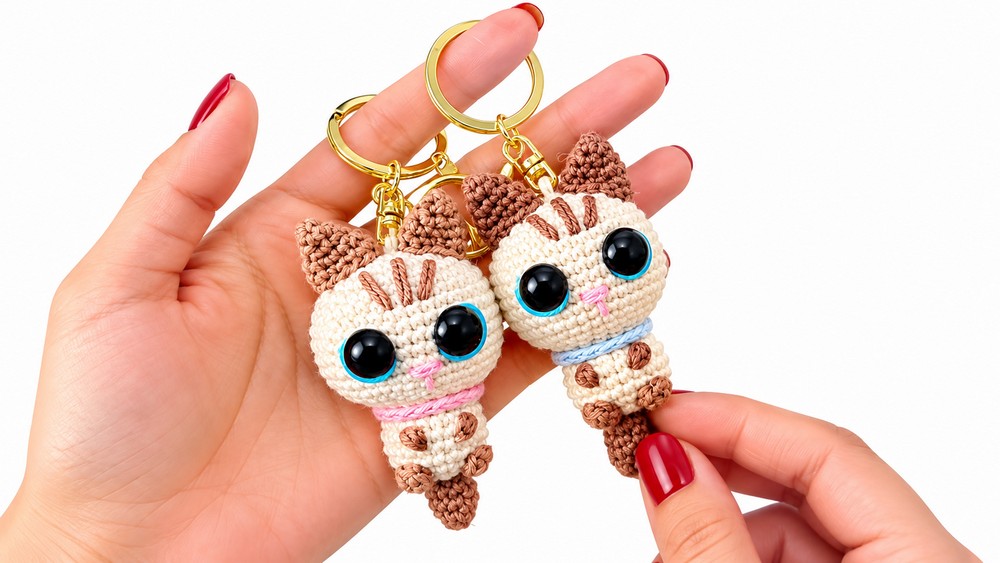
Crochet Cat Keychain Pattern
This lovely crochet cat keychain measures approximately 8 cm tall and is crafted using cotton yarn and a 2mm crochet hook. Composed of a single piece for the body and head, detailed ears, a tail, and embroidered facial features, this project makes a charming accessory or gift. Follow the step-by-step pattern below for precise shaping and finishing.
Pattern Highlights
- Worked primarily in single crochet (sc) with magic rings to start each piece.
- Body and head are crocheted continuously for smooth shaping.
- Features detailed shaping through increases (inc) and decreases (dec).
- Includes sewing or gluing of ears and tail for secure attachment.
- Safety eyes (12 mm) are inserted for realism.
- Embroidered nose, whiskers, and paws add character.
- Finished with a crocheted collar and keychain ring attachment.
Notes
- This pattern uses rounds worked in the round with stitch markers recommended to mark round beginnings.
- Increases and decreases are carefully distributed across rounds to maintain symmetry.
- Embroidery is done after assembly for facial features and paws.
- The tail and ears are crocheted separately and sewn or glued onto the main body.
- Stuff firmly with silicone or other fiberfill to maintain the shape.
- Safety eyes should be attached before closing the head.
Skill Level
Intermediate crochet skills are recommended for this pattern, including familiarity with:
- Magic ring
- Single crochet (sc)
- Increases and decreases (inc, dec)
- Working in rounds continuously
- Basic embroidery
Materials
- Cotton yarn (color of choice)
- 2 mm crochet hook
- 12 mm safety eyes
- Silicone stuffing or fiberfill
- Stitch markers
- Wool yarn needle
- Scissors
- Fabric glue (optional, for ears and tail secure attachment)
- Keychain ring
Measurements / Sizing
- Approximate finished size: 8 cm tall (3.1 inches)
- Size may vary slightly depending on yarn tension and stuffing.
Gauge
- Gauge is not critical but keep stitches consistent and tight for a firm fabric.
- Typical tension for worsted or DK cotton yarn with 2mm hook.
Stitch Abbreviations
- sc = single crochet
- inc = increase (2 sc in the same stitch)
- dec = decrease (single crochet 2 stitches together)
- ch = chain
- sl st = slip stitch
- magic ring = adjustable loop for starting rounds
Special Stitches
- Magic ring: creates a closed circle to start rounds with no hole.
- Front loops only (FLO): crochet stitches into the front loop only to create textured effect or shaping.
Crochet Pattern
Body & Head Construction
Begin by crocheting the main body and head as one continuous piece:
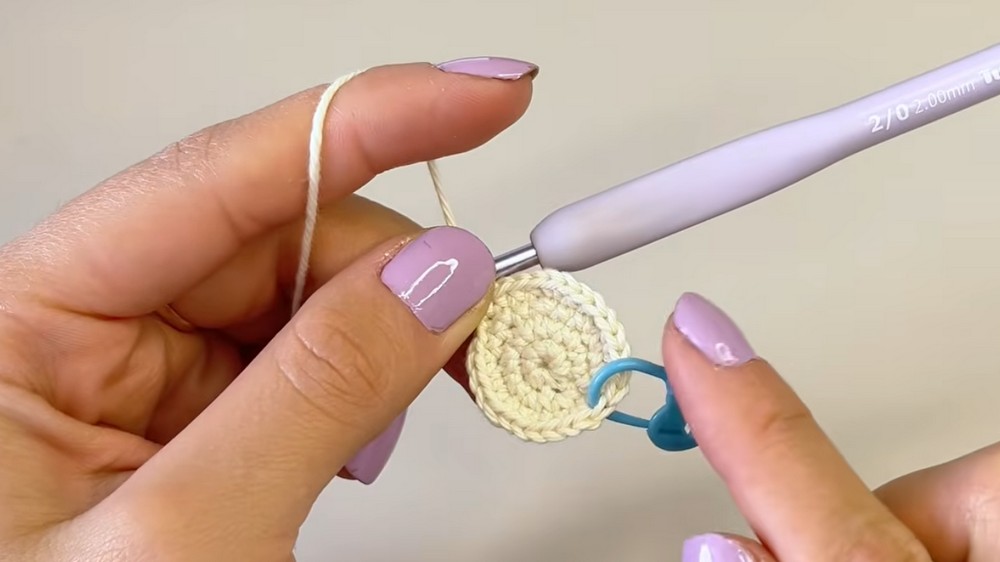
- Round 1:
- Create a magic ring, work 8 sc into the ring. (8 stitches)
- Round 2:
- 8 increases (2 sc in each stitch) around for 16 stitches total.
- Round 3:
- Repeat [1 sc, 1 inc] 8 times around, resulting in 24 stitches.
- Round 4:
- Repeat [3 sc, 1 inc] 6 times around, resulting in 30 stitches.
- Round 5:
- Work 6 sc, then 3 increases (3 inc), 12 sc, 3 increases, and finish with 6 sc. (36 stitches)
- Round 6:
- Work 36 sc evenly around.
- Round 7:
- Repeat the following sequence: 3 sc, 1 inc, 9 sc, 1 inc, 3 sc, 1 inc, 3 sc, 1 inc, 9 sc, 1 inc, 3 sc, 1 inc (42 stitches).
- Rounds 8 to 13:
- Work 42 sc evenly for 6 rounds.
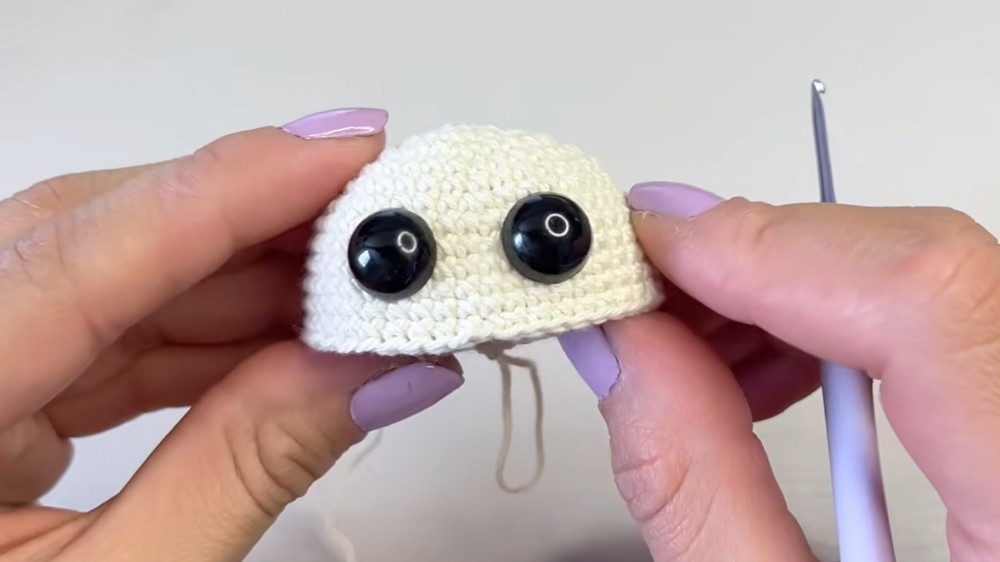
- Between rounds 9 and 10, insert 12 mm safety eyes securely in place.
- Round 14:
- Repeat: 3 sc, 1 dec, 9 sc, 1 dec, 3 sc, 1 dec, 3 sc, 1 dec, 9 sc, 1 dec, 3 sc, 1 dec (36 stitches).
- Round 15:
- Repeat [2 sc, 1 dec] 9 times (27 stitches).
- Round 16:
- Repeat [1 sc, 1 dec] 9 times (18 stitches).
- Stuff the head firmly at this round.
- Round 17:
- Work 18 sc in front loops only (FLO) to create texture.
- Round 18:
- Work 18 sc in normal stitches.
- Round 19:
- Repeat [2 sc, 1 inc] 6 times (24 stitches).
- Rounds 20 to 22:
- Work 24 sc evenly for 3 rounds.
- Round 23:
- Repeat [2 sc, 1 dec] 6 times (18 stitches).
- Stuff the body firmly at this round.
- Round 24:
- Repeat [1 sc, 1 dec] 6 times (12 stitches).
- Close opening by sewing through front loops only to achieve a neat finish.

Features & Details
Ears (Make 2)
- Round 1:
- Magic ring with 4 sc.
- Round 2:
- Repeat [1 sc, 1 inc] 2 times (6 stitches).
- Round 3:
- Repeat [2 sc, 1 inc] 2 times (8 stitches).
- Round 4:
- Repeat [1 sc, 1 inc] 4 times (12 stitches).
- Round 5:
- Work 12 sc evenly.
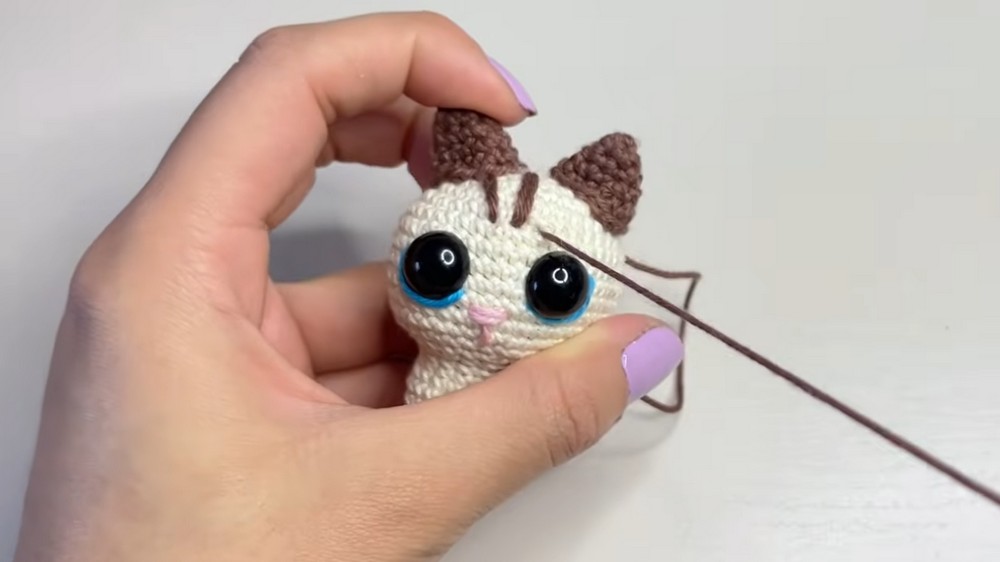
- Sew or glue ears to the body between rounds 1-2 and rounds 5-6 of the body to secure in place nicely.
Tail
- Round 1:
- Magic ring with 6 sc.
- Round 2:
- Repeat [2 sc, 1 inc] 2 times (8 stitches).
- Round 3:
- Work 8 sc evenly.
- Round 4:
- Repeat [2 sc, 1 dec] 2 times (6 stitches).
- Rounds 5 & 6:
- Work 6 sc evenly for 2 rounds.
- Sew the tail to the body between rounds 21 and 22.
Embroidery Details
- Eyes:
- Embroider around safety eyes for detailing.
- Nose:
- Embroider the nose positioned between rounds 11 and 12 on the head.
- Facial Features and Whiskers:
- Embroider carefully between nose and eyes to add character.
Paws
- Front paws:
- Embroider directly onto the front legs.
- Back paws:
- Make a magic ring, work 5 sc, slip stitch to close small paw shape, fasten off.
- Glue or sew onto the back of the body as paws.
Finishing Touches
- Crochet a collar using a simple chain of 20 stitches.
- Attach the keychain ring by threading it through the top of the head for an easy carry or attachable accessory.
Assembly & Finished Size
- Carefully sew or glue ears and tail in their designated positions on the body, ensuring secure attachment.
- Insert safety eyes before closing the head.
- Complete embroidery on facial features and paws to bring your cat keychain to life.
- Attach collar and keychain ring for functionality and charm.
- The finished keychain measures about 8 cm tall, compact and portable for daily use or gifting.
Conclusion
You have successfully created a delicate and adorable crochet cat keychain with detailed shaping and character. This pattern guides you through precise rounds and stitches to sculpt a lifelike miniature cat, enhanced further by embroidery and assembly touches that give it personality. Enjoy gifting your work or adding a handcrafted charm to your own key collection.