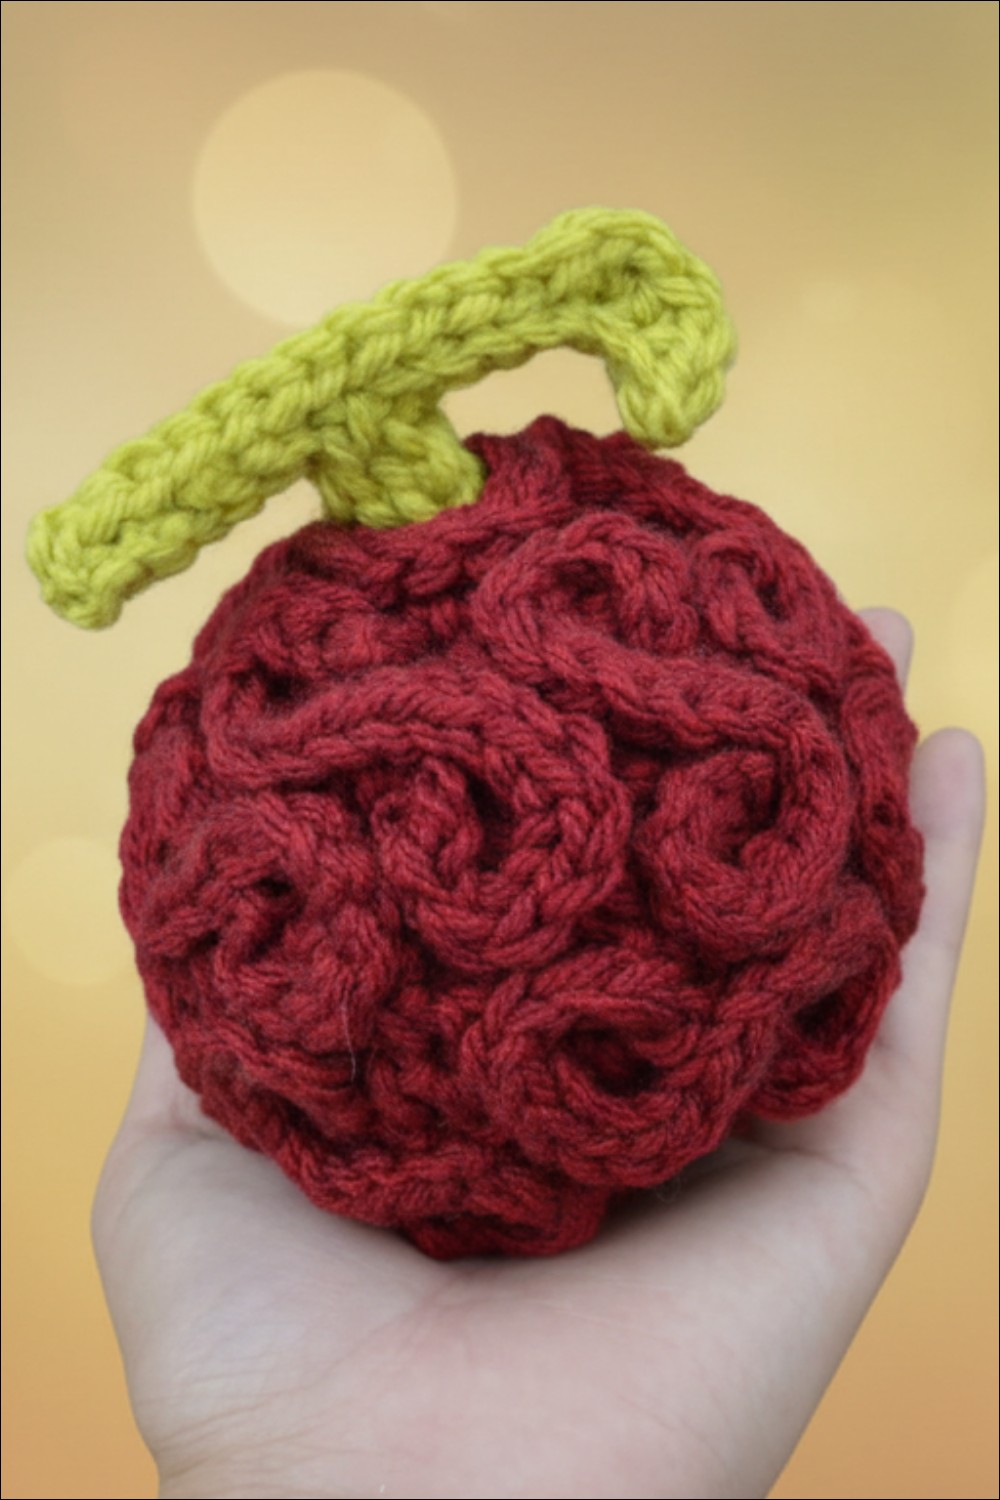
Epic Crochet Devil Fruit Pattern for Anime Lovers
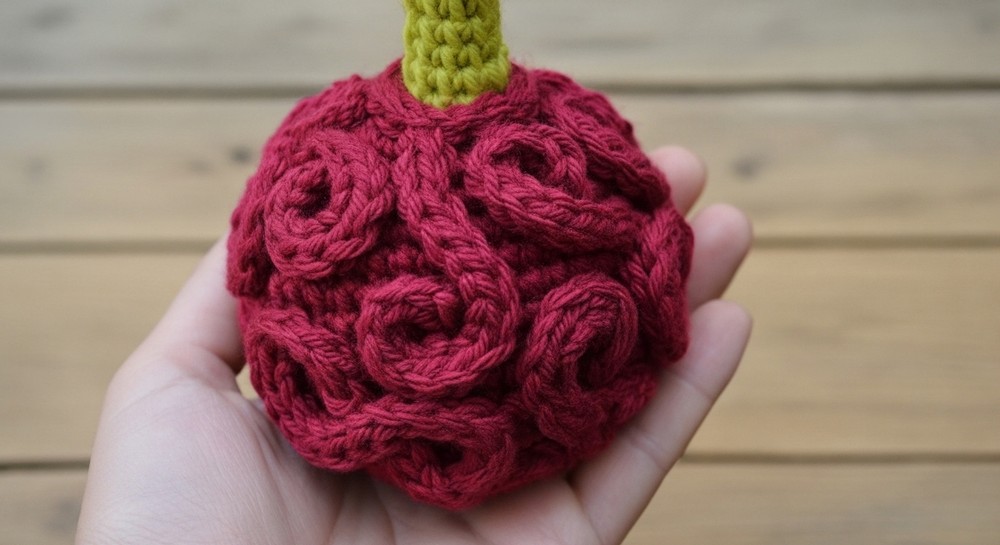
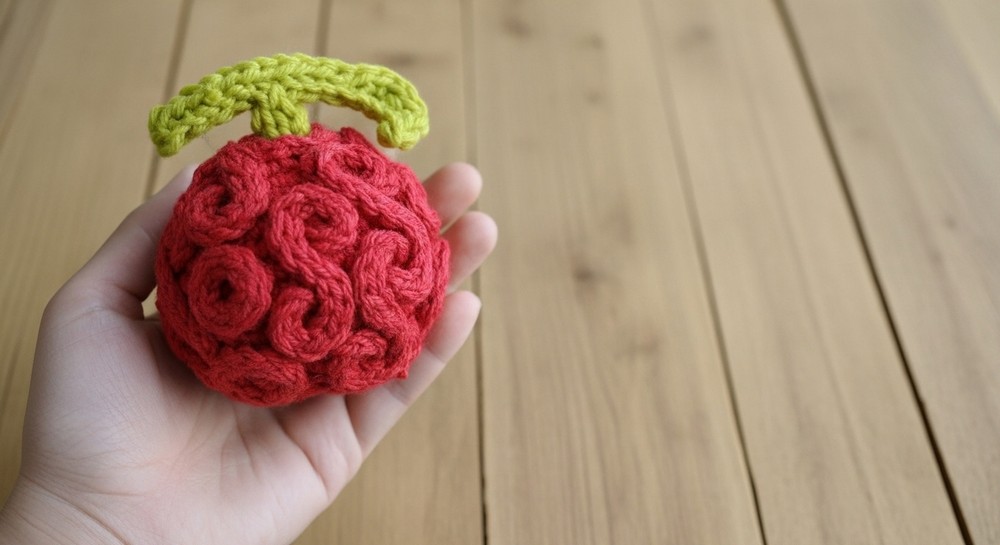
Adding a touch of magic from your favorite anime to your space has never been easier! This beautiful Crochet Devil Fruit pattern is inspired by the iconic fruits with swirling “S” curves and a charming stem perched on top, making it a striking and unique decoration. With its vibrant colors and intricate details, it looks just like it leapt out of the anime world. Perfect for decorating your living room, office desk, or bookshelf, it instantly grabs attention and sparks conversations.
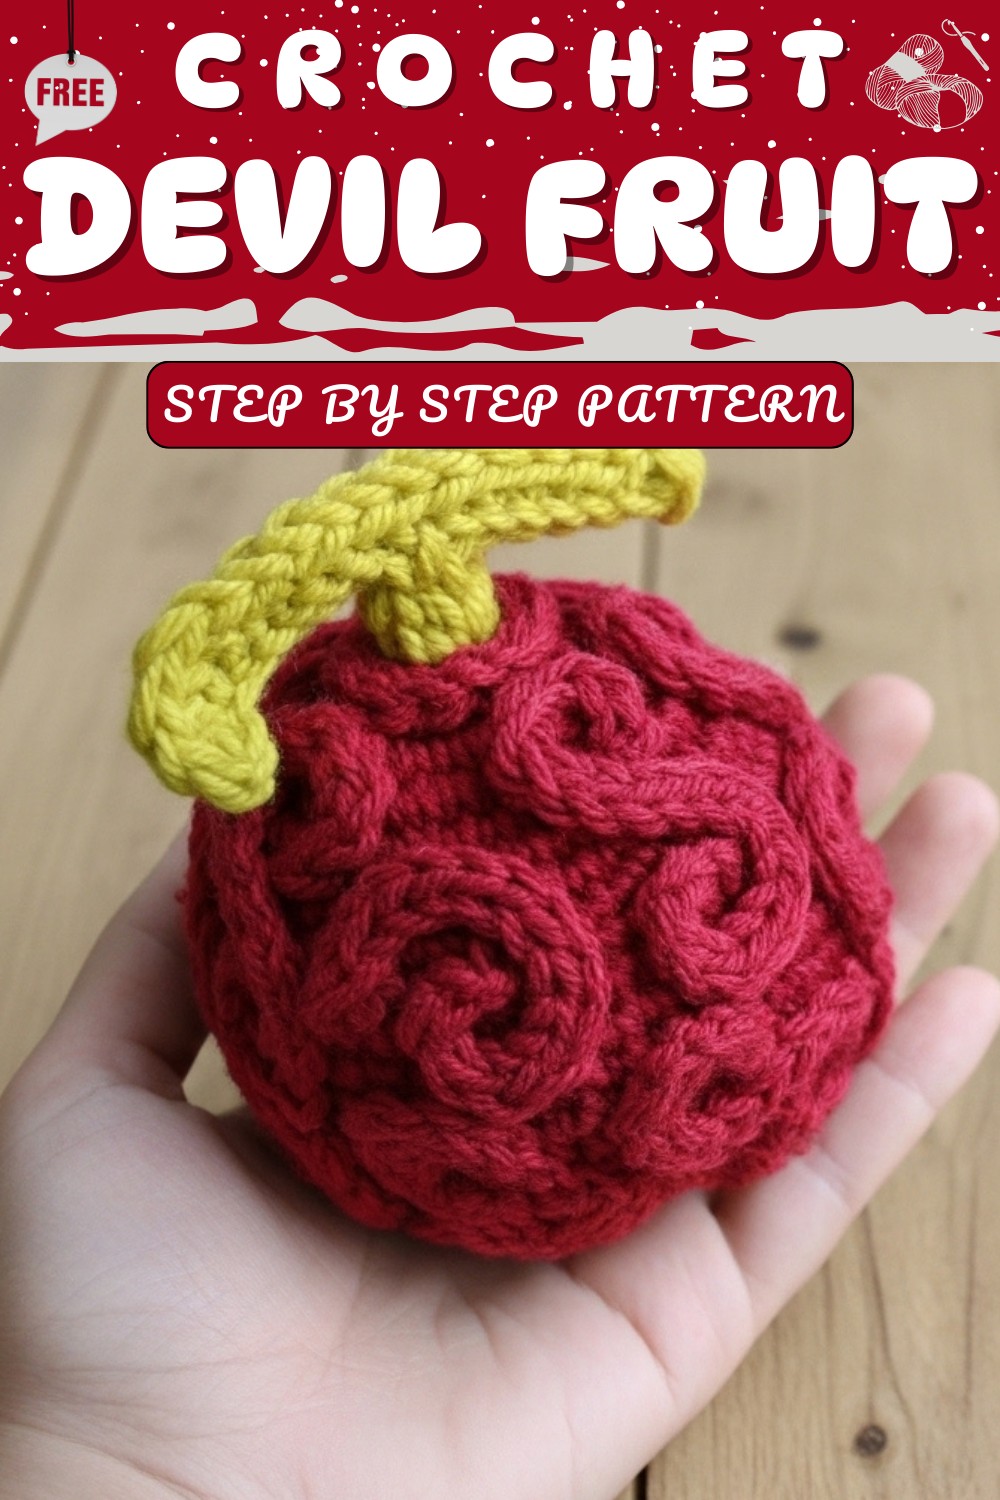
Not only is this a wonderful collectible for fans, but it’s also a thoughtful handmade gift for anime lovers of all ages. Whether you want it as a display piece, a themed party decoration, or just a fun project to show off your crochet skills, this pattern stands out with its unique, bold design. Its handmade appearance brings warmth, creativity, and a personal touch to any space you choose.
Celebrate adventure and fun with this Free Crochet Devil Fruit Pattern that's perfect for a colorful and exciting piece that delights fans.
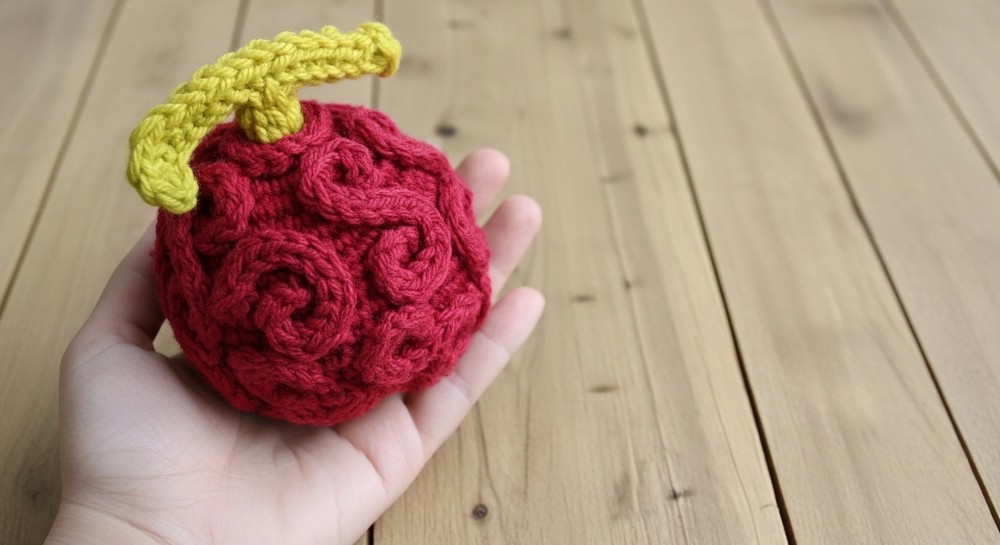
Mysterious Crochet Devil Fruit Pattern That Captures Attention
Materials List
Yarn
- Worsted Weight Acrylic Yarn:
- Yarn by Loops & Threads: Eggplant (Dark Red) – for the fruit base and S curves.
- Yarn by Loops & Threads: Grass (Light Green) – for the stem detailing.
Notions
- Crochet Hook: 4.0mm size.
- Yarn Needle: For weaving in ends and assembly.
- Polyfil Stuffing: For the fruit base.
- Stitch Marker: To keep track of rounds.
- Pins: To assist with “S” curve placement.
- Scissors: For cutting yarn ends.
Key Abbreviations
All abbreviations are in American English crochet terminology:
- ch – chain
- sc – single crochet
- sl st – slip stitch
- sc2tog – single crochet two together (decrease)
- st – stitch
Numbers within brackets [ ] denote the stitch count at the end of each round or row.
Notes and Special Tips
- “S Curve Placement”: Use pins to guide placement of “S” curves around the fruit base before sewing them down. This helps with symmetry and accuracy.
- Stem Assembly: Keep the stem tightly secured during placement using pins for alignment. Sew carefully so the lower stem sits flushed against the fruit.
- Customization Ideas:
- Experiment with different color combinations to mimic other Devil Fruits from One Piece.
- Adjust the number of “S” curves for alternative designs.
- Sizing Note: You can experiment with a smaller hook size for tighter stitches or a larger hook for a bigger fruit.
Pattern Instructions
Follow these step-by-step instructions to crochet the Devil Fruit amigurumi. The pattern is divided into sections for ease.
Fruit Base
With Purple Yarn:
- Round 1: Work 6 sc into a magic ring. [6]
- Round 2: Work 2 sc into each stitch around. [12]
- Round 3: [2 sc into next st, sc in next st], repeat around. [18]
- Round 4: [2 sc in next st, sc in next 2 st], repeat around. [24]
- Round 5: [2 sc in next st, sc in next 3 st], repeat around. [30]
- Round 6-10: Work sc in each st around. [30]
- Round 11: [Sc2tog, sc in next 3 st], repeat around. [24]
- Round 12: [Sc2tog, sc in next 2 st], repeat around. [18]
- Round 13: [Sc2tog, sc in next st], repeat around. [12]
Stuff the fruit base firmly with polyfil stuffing.
10. Round 14: Work Sc2tog around. [6]
- Fasten off, leaving a long tail. Finish stuffing and sew the top closed.
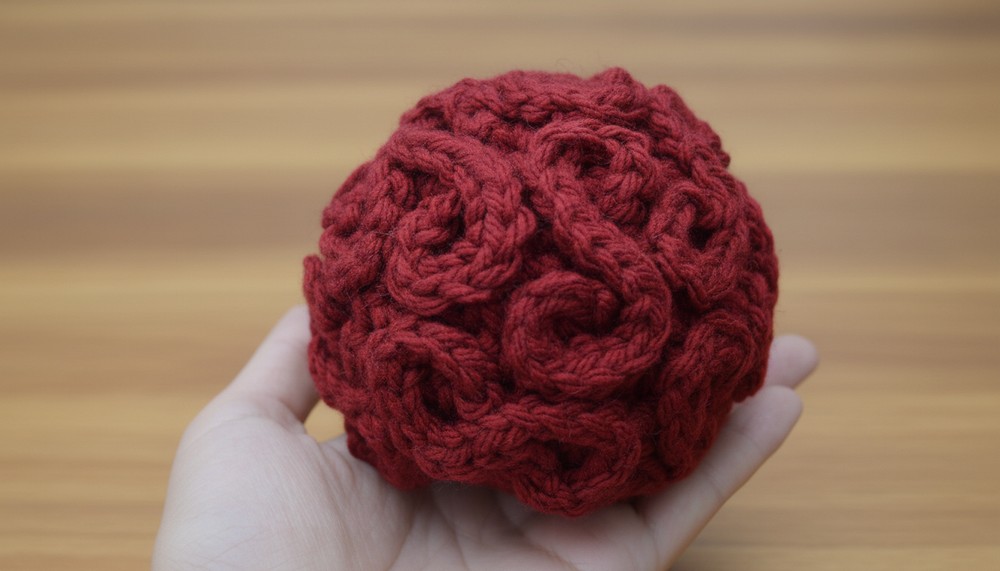
S Curve (Make 16 or As Needed)
With Purple Yarn:
- Ch 21, sl st in 2nd ch from hook.
- Row 1: Work sl st into each ch across. [20 sl st]
- Fasten off.
Repeat steps to make 16 S Curves, or customize the number desired based on coverage of the fruit base.
Lower Stem
With Light Green Yarn:
- Row 1: Ch 7, sl st back across the next 6 ch. [6 sl st]
- Row 2: Ch 1, turn, sl st across the 6 ch. [6 sl st]
- Fold the stem in half and sew into place.
Upper Stem Handle
With Light Green Yarn:
- Ch 16, sl st in 2nd ch from hook.
- Row 1: Work 2 sc in next 2 ch, and sl st in the remaining 12 ch.
- Repeat steps 1-2 to create a second piece.
- Layer the two pieces on top of each other and sew them together to create a thicker handle.
Devil Fruit Assembly
Step 1: Sew the Lower Stem to the center top of the fruit base.
Step 2: Wrap the first S Curve around the lower stem securely and sew it into place. Use pins to ensure proper placement before sewing.
Step 3: Attach the Upper Stem Handle to the top of the lower stem.
Step 4: Place and sew the remaining S Curves onto the fruit base, ensuring even coverage around the surface. Use pins to guide placement for symmetry if needed.
Step 5: Hide and trim all visible yarn tails.
Conclusion
This Devil Fruit amigurumi is a perfect showcase for anime-inspired decor or gifts. The detailed steps ensure accuracy while allowing room for creativity. Whether you’re a beginner to amigurumi or intermediate crocheter, this pattern balances fun and challenge in perfect harmony.
Pattern Correction
Ensure stitch counts in rounds 11-14 of the fruit base are accurate when working decreases to avoid uneven shaping.
Final Tip
For seamless “S Curve” placement, sew from the bottom of each curve upward to reduce gaps or misalignment.
Pin this post for later