
Easy & Free Crochet TATA Pattern For Hugging Into A Bag
Add handmade charm to your collection with this Lovely Crochet TATA Free Amigurumi Pattern to enjoy making a cute character full of joy.
I remember sitting in my room, scrolling through my favorite shows and feeling inspired by the vibrant, heart-shaped alien character Crochet TATA that always brought a smile to my face. I wanted to capture that joy in a tangible way, so I picked up my yarn and hook, and that was when the idea for this project was born. Now, you can easily bring this same sense of wonder into your home by making your very own TATA-inspired companion.
Free Crochet TATA Amigurumi Pattern to Brighten Your Collection
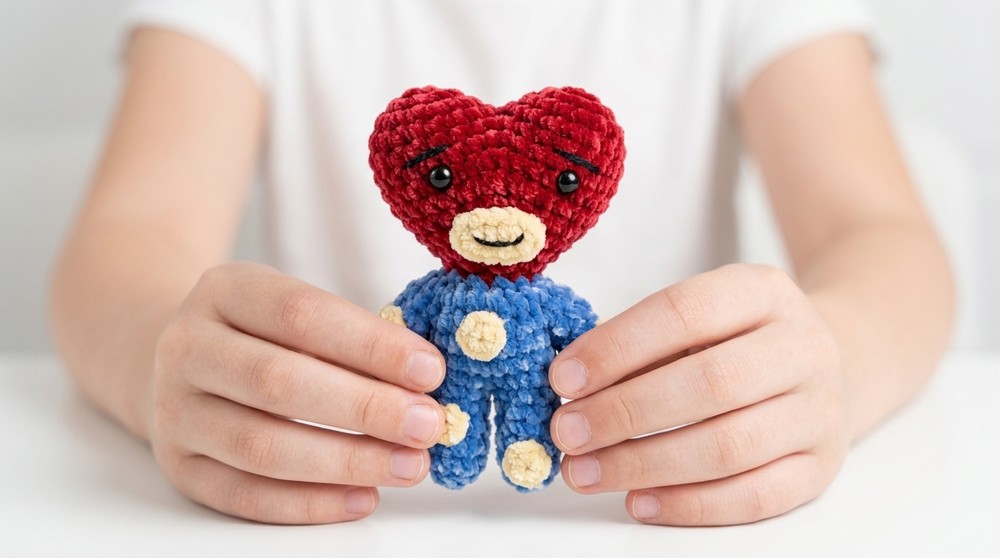
This little doll looks absolutely charming. It features a bold, iconic heart-shaped head that instantly stands out, giving it a playful and unique personality. Its face is expressive, often wearing a curious smile that makes it feel like a real friend watching over your space. The body is round and soft, making it the perfect size for hugging or tucking into a bag to take along on your daily adventures.
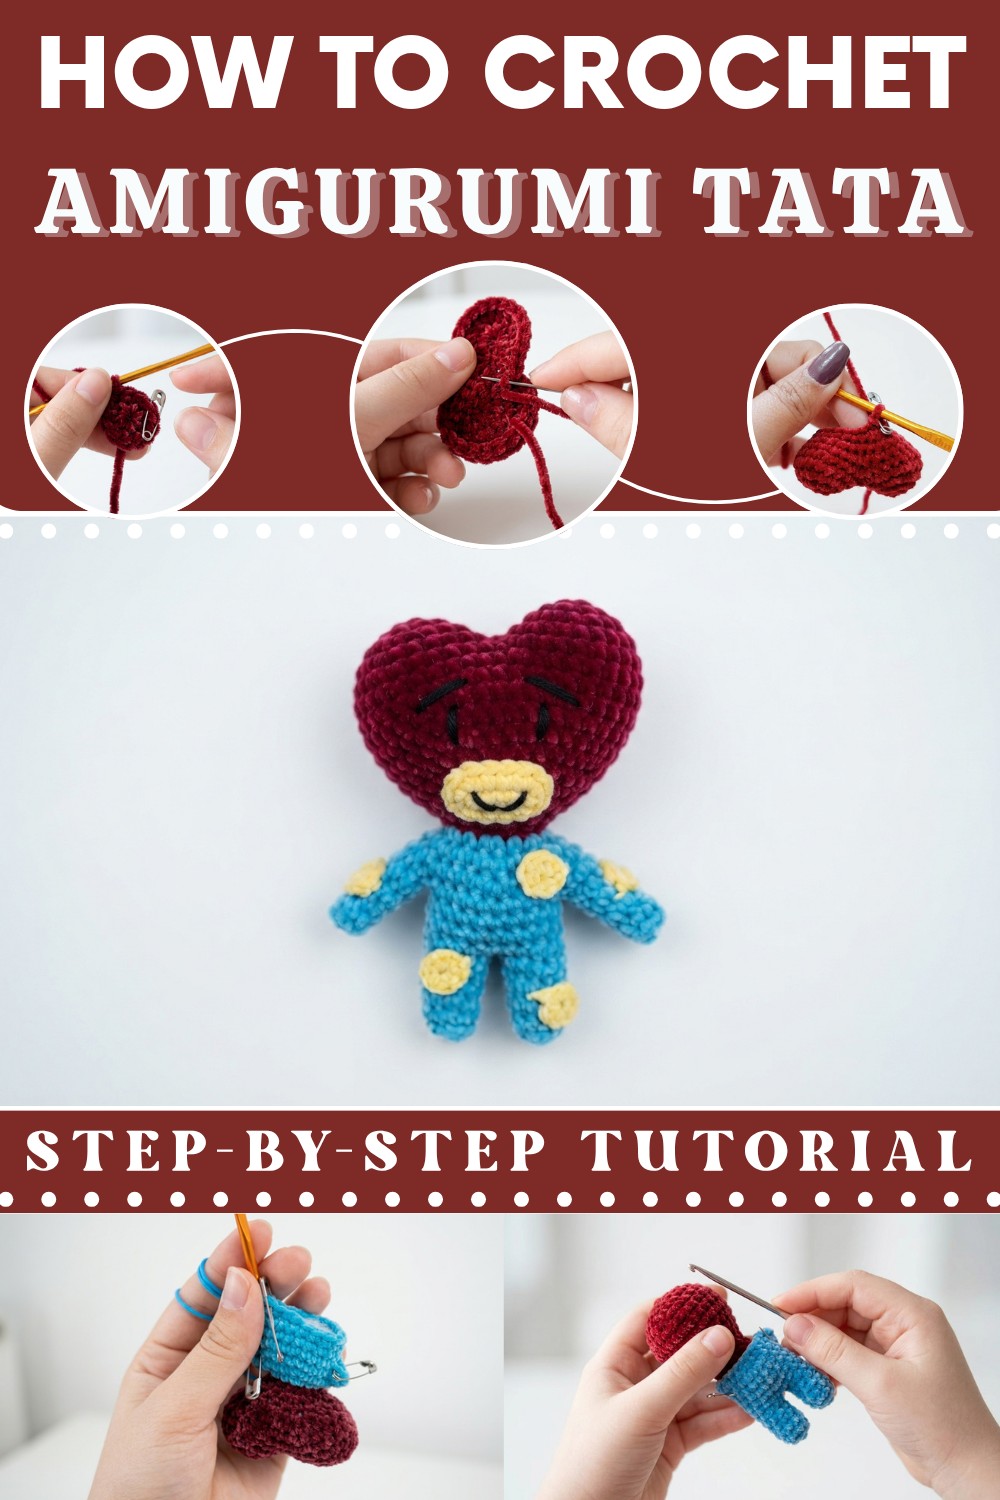
Using the right materials is the secret to a great result. I recommend choosing a soft, high-quality cotton or acrylic yarn to give your doll a smooth and huggable texture. Bright red for the head and cheerful yellow for the facial details really help the character pop. Also, using a slightly smaller hook size than the label suggests keeps your stitches tight, ensuring the stuffing stays hidden inside for a neat, finished appearance.
Beyond the fun of assembly, this project offers many benefits. It is a fantastic way to relax and focus your mind, as the simple, rhythmic stitches help you let go of daily stress. Furthermore, this pattern is very friendly for both new and experienced makers. Since it uses basic techniques, you can finish it over a peaceful weekend. Ultimately, this doll makes a lovely gift for a friend or a cute addition to your own collection of handmade treasures.

Amigurumi Tata of BT21 Crochet Pattern
This pattern provides a complete guide to crocheting an amigurumi Tata, the iconic heart-shaped character from the BT21 collection. This project involves creating a distinct heart-shaped head using two joined circles, followed by shaping the body, limbs, and facial details. This pattern is designed for those who enjoy character-based amigurumi and want to create a fun, recognizable piece for their collection.
Notes
-
Continuous Rounds: Most of this pattern is worked in continuous rounds. Use a stitch marker to track the start of each round.
-
Joining: Pay close attention to the joining round for the two head circles.
-
Stability: Use pipe cleaners or wire inside the limbs and legs for stability, as mentioned in the tutorial.
-
Stuffing: Add toy stuffing as you progress to ensure the character remains plump and firm.
Skill Level
-
Intermediate: Requires proficiency in magic rings, increasing, decreasing, color changes, and sewing components.
Materials
-
Yarn: Cotton (or acrylic) yarn in Red (head), Yellow (mouth/dots), and Light Blue (torso/arms).
-
Hook: 3.0 mm crochet hook (primary), 2.5 mm hook (optional for small details).
-
Tools: Sewing needle, scissors, stitch marker, black yarn (for mouth/eyes).
-
Stuffing & Support: Toy stuffing, pipe cleaners, or wire.
Measurements / Sizing
-
Finished Size: The finished Tata doll is approximately 5–7 inches tall, depending on individual tension.
Gauge
-
Maintain tight, consistent stitches throughout to prevent stuffing from showing through the fabric.
Stitch Abbreviations
-
Ch: Chain
-
Sc: Single Crochet
-
Inc: Increase (2 sc in one stitch)
-
Dec: Invisible Decrease
-
Sl St: Slip Stitch
The Crochet Pattern
The Heart-Shaped Head
Make two identical circles using Red yarn.
-
Round 1: Magic ring, 6 sc. Pull tail to close.
-
Round 2: Inc in every st around. (12 sts)
-
Round 3: 1 sc, 1 inc repeat around. (18 sts)
-
Fasten off the first circle. Do NOT fasten off the second circle.

Joining the Head:
-
Round 4 (Second circle): Sc in every stitch around. (18 sts)
-
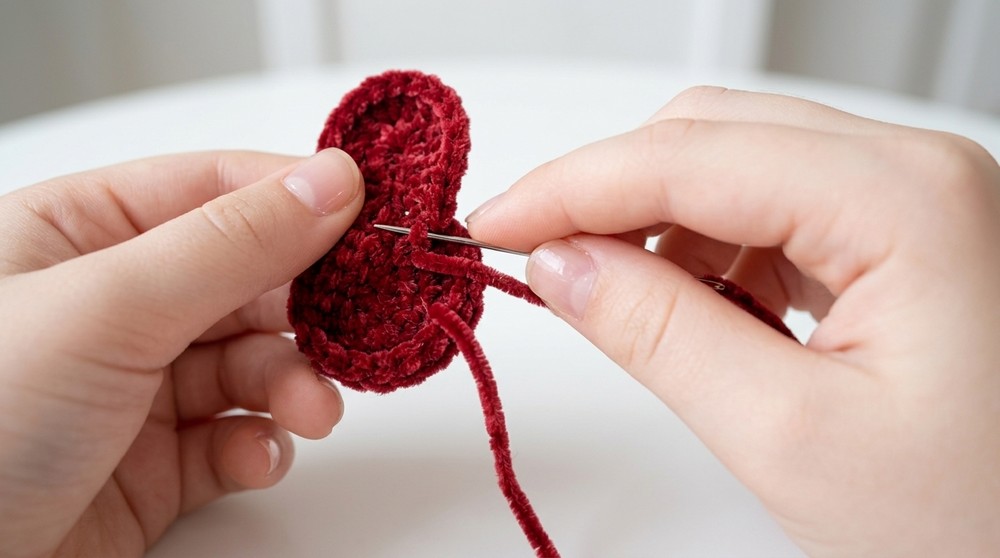
Round 5: Join the two circles together by working sc around both pieces. This will result in 36 total stitches around the combined shape.
-
Use a needle to sew the gap shut at the center of the heart.
Shaping the Heart:
-
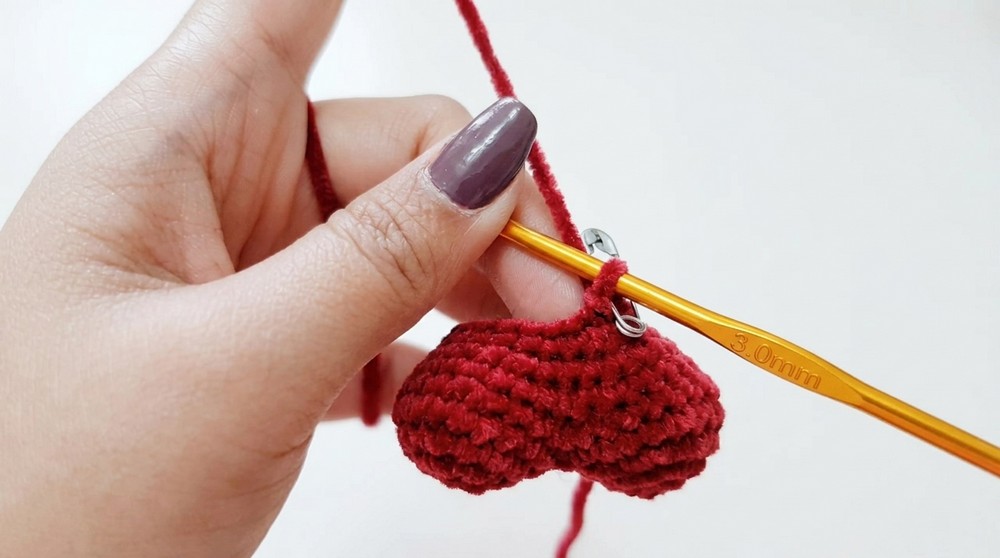
Round 6: 4 sc, 1 dec repeat around. (30 sts)
-
Round 7: Sc in every st around. (30 sts)
-
Round 8: 3 sc, 1 dec repeat around. (24 sts)
-
Round 9: Sc in every st around. (24 sts)
-
Round 10: 2 sc, 1 dec repeat around. (18 sts)
-
Round 11: Sc in every st around. (18 sts)
-
Round 12: 1 sc, 1 dec repeat around. (12 sts)
-
Round 13: Sc in every st around. (12 sts)
Neck and Torso
Change to Light Blue yarn.
-
Round 14: 1 sc, 1 inc repeat around. (18 sts)
-
Round 15: 2 sc, 1 inc repeat around. (24 sts)
-
Round 16: 3 sc, 1 inc repeat around. (30 sts)
-
Divide stitches for arm partitions (18 stitches for the body).
-
Body Rounds (Rounds 1–3): Sc around for 3 rounds. (18 sts)

The Legs
Split the 18 body stitches into two legs (9 stitches per leg).
-
-
Rounds 1–5: Sc in every stitch for 5 rounds per leg.
-
Insert pipe cleaners into legs before closing.
-
Finishing: Use a needle to sew the bottom of the legs closed.
-

The Arms
Attach Light Blue yarn at arm partition.
-
Rounds 1–5: Work 6 sc around for 5 rounds.
-
Insert pipe cleaners into arms.
Mouth Piece
Using Yellow yarn.
-
Foundation: Ch 6.
-
Row 1: Sc in 2nd ch from hook, sc in next 3 chs. In the last ch, work 3 sc in the same st. Continue down the other side of the ch, sc in next 3 sts, and work 2 sc in the last st.
-
Finishing: Sl st to first st and fasten off. Use black yarn to embroider the mouth details.
Polka Dots
Make 7 using Yellow yarn.
-
Round 1: Magic ring, 6 sc. Sl st to join and fasten off.
Assembly & Finished Size
-
Mouth: Sew the yellow mouth piece to the center of the Red head.
-
Dots: Sew the 7 yellow circles (polka dots) onto the Red head randomly.
-
Eyes: Use black yarn or thread to embroider the eye features onto the head.
-
Final Polish: Ensure all ends are secured inside the doll. Check that the limbs are posable and the stuffing is even.
Conclusion and Ending Words
By following this pattern, you have successfully crocheted an amigurumi Tata. From the unique heart-shaped head construction to the assembly of the limbs and facial features, you have utilized essential amigurumi skills to bring this BT21 character to life. This project is a fantastic example of how simple shapes can be combined to create complex, recognizable characters. Whether you display it on your desk or gift it to a fellow fan, your handmade Tata is sure to be a treasured item. Thank you for following this tutorial, and we hope you enjoyed this creative journey. Happy crocheting.
Quick Overview Of Pattern
-
Structure: The head is constructed by crocheting two identical circular pieces and joining them together.
-
Body Construction: The neck and torso are worked in rounds, tapering down to the legs.
-
Limbs: Arms and legs are worked in continuous rounds, with optional pipe cleaner support for posing.
-
Facial Details: A yellow mouth piece is crocheted separately and embroidered, followed by the addition of seven small yellow polka dots to the red head.
