
Cute Free Crochet Ghost Amigurumi Pattern To Brighten Any Space
Spook up your space with the Free Crochet Ghost Amigurumi Pattern and create a cute, playful ghost perfect for Halloween décor or charming gifts
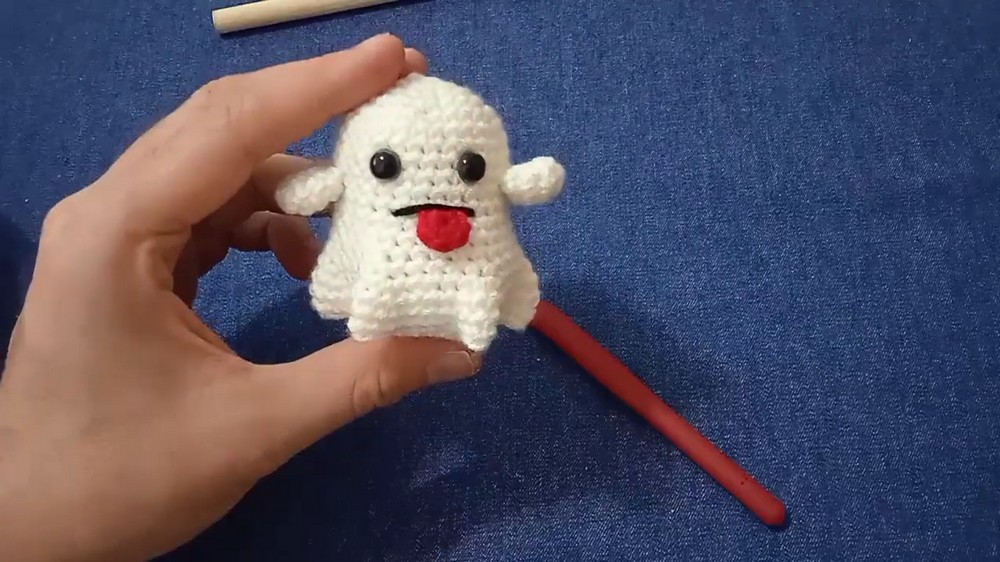
The gentle curve of the ghost’s little body paired with its delicate, floating skirt instantly captures attention. This Free Crochet Ghost Amigurumi Pattern invites you to create a whimsical plush that’s perfect for gifting, decorating during Halloween, or adding a playful touch to a cozy corner.
Tiny Free Crochet Ghost Amigurumi Pattern Ideal For Keychains
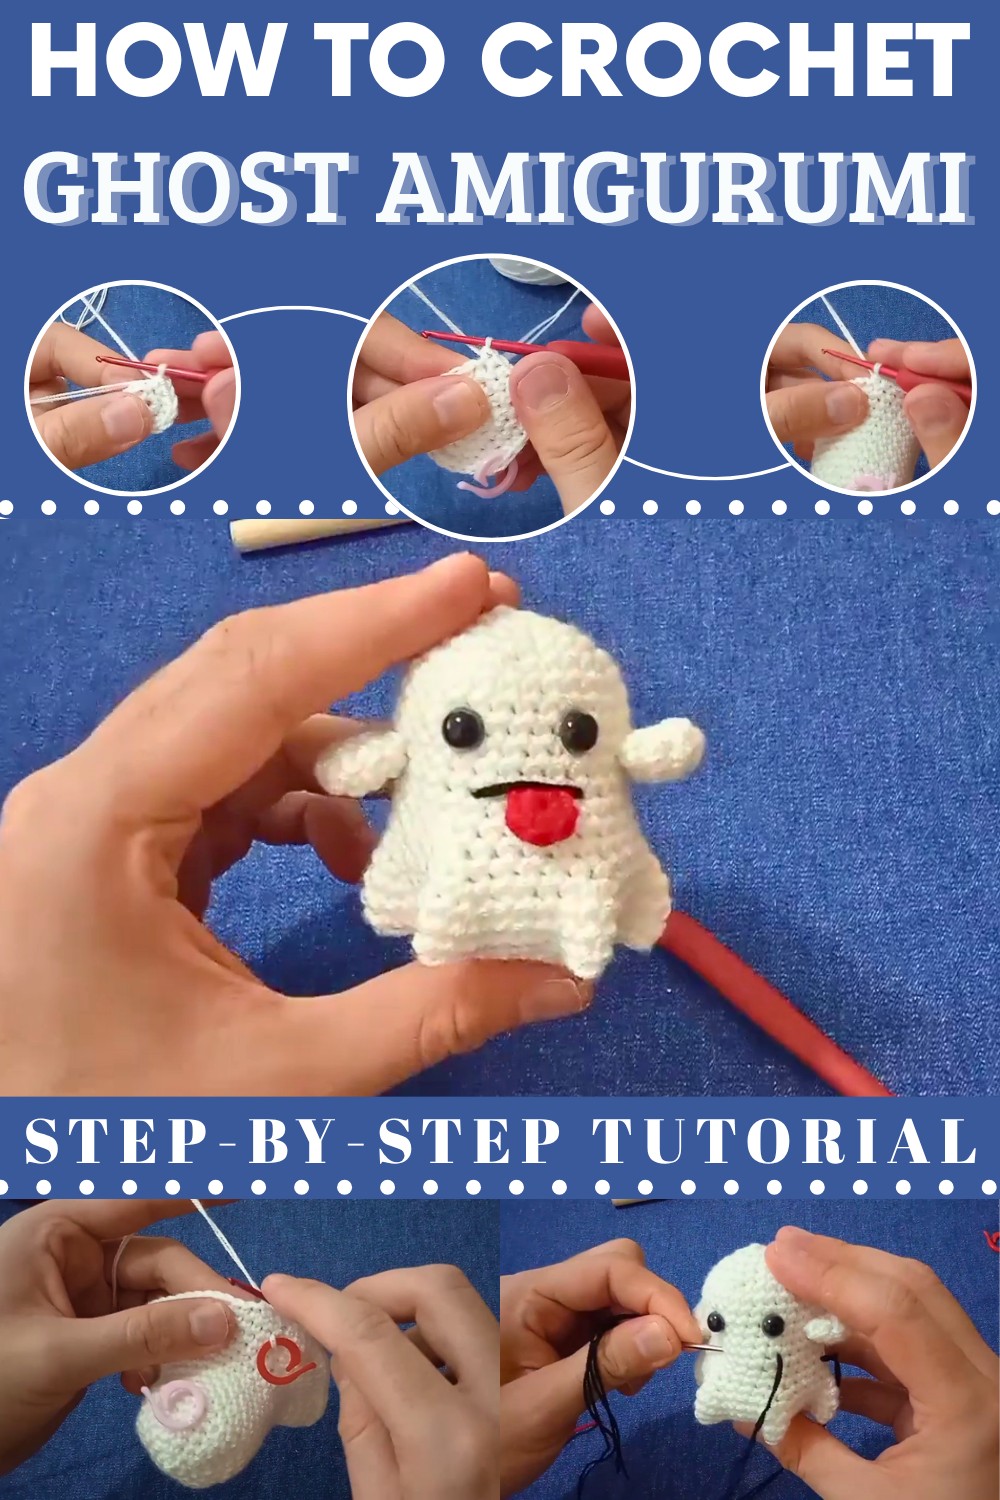
The design features a softly rounded head, a flowing base that mimics a ghostly sheet, and charming facial details made with simple stitches or safety eyes. It uses lightweight yarn and a medium‑sized hook to keep the figure compact yet expressive, and relies mainly on single crochet rounds, increases, and a ruffled skirt for movement.
Uses
- Holiday Decor: Use the ghost as a decoration for Halloween.
- Gift Item: Create a memorable and quick handmade gift.
- Collectible: Treat the finished piece as a cute amigurumi collectible.
Materials
You need the following items to create the ghost:
- Yarn: Use three colors: Crudo (natural white/cream), Red, and Black. The tutor uses double-strand crochet thread, but you can choose a thicker yarn like macrame or wool, adjusting your hook size accordingly.
- Hook: A 2.20 mm crochet hook (adjust based on yarn thickness).
- Eyes: Safety eyes (place them between rows 8 and 9, with 3 stitches of separation).
- Stuffing: Synthetic fiberfill.
- Tools: Scissors, a lighter (to secure the safety eyes), a tapestry/darning needle (for assembly), and a stitch marker (or a piece of contrasting yarn).
Special Features
This pattern incorporates several techniques that give the ghost its distinctive look:
- Faux X-Stitch: The tutor uses the false X-stitch instead of the traditional V-stitch. This creates a tight, firm, and compact fabric, which is essential in amigurumi to prevent the stuffing from showing through.
- Continuous Spiral: You work the entire body in a continuous spiral, avoiding the slip stitches and chains that create a visible seam line.
- Safety Eye Security: To ensure the safety eyes are permanent, you must carefully melt the plastic posts on the backing with a lighter and then flatten them, securing the eyes completely.
- Folded Base: You create the characteristic, draped bottom of the ghost in Row 20 by using a unique joining technique. You fold the fabric and crochet through two points across the body simultaneously, forming six distinct folds.
Level of Difficulty
This is an Intermediate level project. You should have a solid understanding of the following:
- Working in a Spiral: You must proficiently work in continuous rounds and use a stitch marker correctly.
- Increases and Decreases: You must know how to execute single crochet increases and decreases effectively.
- Assembly and Detail: The project requires moderate skill in assembling small parts (arms, tongue) and embroidering facial details (mouth).
- Complex Shaping: You must execute the specialized folding technique used in Row 20 to create the ghost’s wavy skirt.
Tutor's Suggestions
The tutor offers crucial advice for achieving the best result:
- Mark the Start: Always mark the first stitch of every round when working in a spiral. This is vital for keeping track of your count and finding the end of the round.
- Yarn and Hook Match: Always choose a hook size appropriate for your yarn thickness. If you use a thin thread, choose a thinner hook (like the 2.20 mm shown); if you use thick macrame, choose a thicker hook (like 2.5 mm or 3.0 mm).
- Do Not Overstuff: Fill the body firmly but do not over-stuff the figure. Excessive filling stretches the stitches, causing the fabric to loosen and the stuffing to become visible.
- Secure the Eyes: Use the lighter carefully to melt and secure the safety eye backings. This step ensures the ghost is child-safe and durable.
- Keep Track: You must count your stitches at the end of every increase round to verify that you maintain the correct count and prevent the piece from becoming distorted.
Step by Step Details
I. The Ghost Head and Body (Rows 1-19)
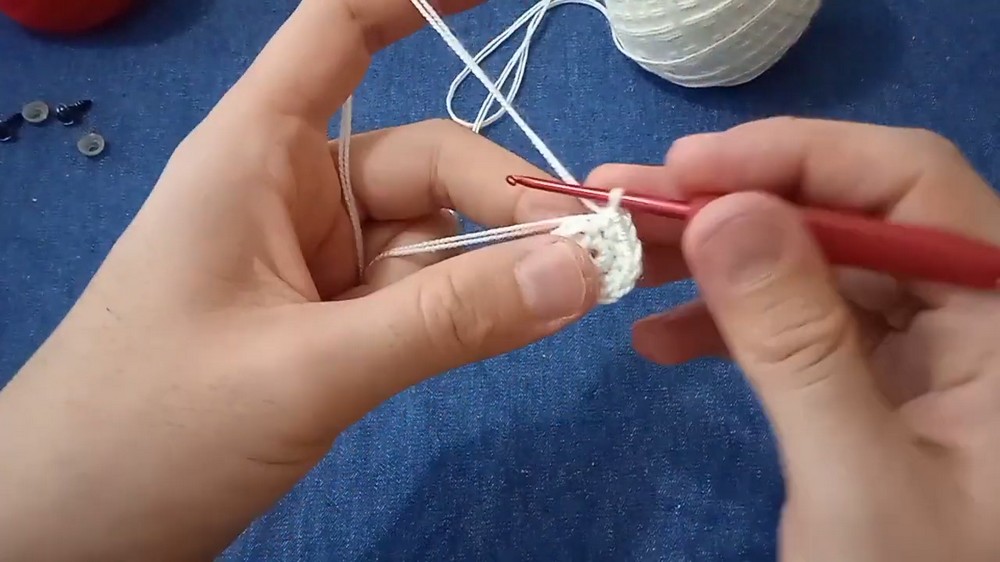
- Start: Make a Magic Ring containing 6 single crochet (SC) stitches.
- Row 2: Work 6 increases (Inc) for a total of 12 SC.
- Row 3: Work [1 SC, Inc] six times for a total of 18 SC.
- Row 4: Work [2 SC, Inc] six times for a total of 24 SC.
- Row 5: Work [3 SC, Inc] six times for a total of 30 SC.
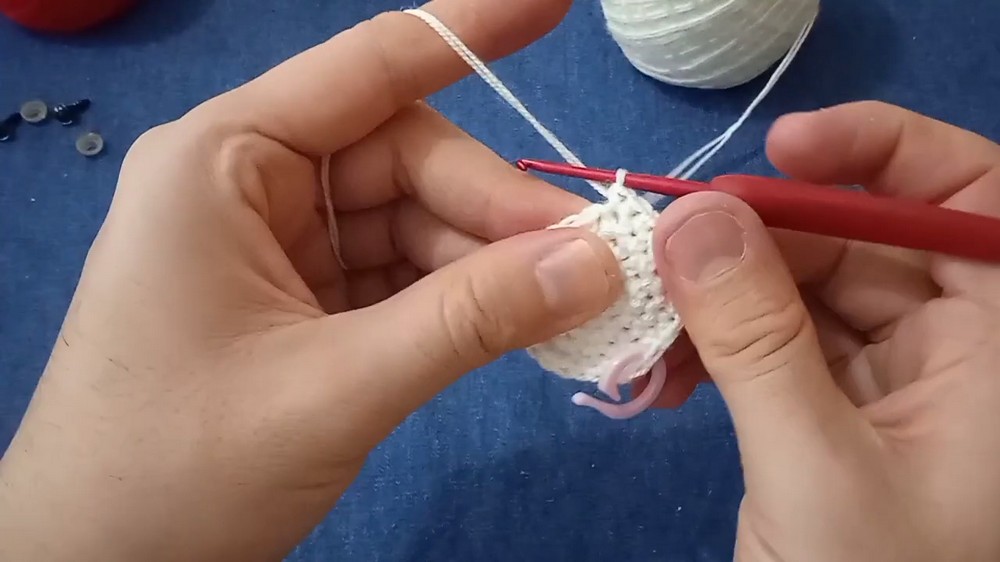
- Straight Section: Work 9 rows (Rows 6-14) straight, maintaining 30 SC in each row.
II. Shaping the Base
- Row 15: Work [4 SC, Inc] six times for a total of 36 SC.
- Row 16: Work [4 SC, Inc, Inc] six times for a total of 48 SC (Four SC followed by two consecutive increases).
- Row 17: Work [4 SC, Inc, 2 SC, Inc] six times for a total of 60 SC.
- Flaring: Work 2 rows (Rows 18-19) straight, maintaining 60 SC in each row.

III. Eye Placement and Ghost Folds
- Place Eyes: Insert the safety eyes between Row 8 and Row 9, leaving three stitches of separation. Secure the backings by melting the posts.
- Row 20 (Creating Folds): You will use this round to create the six ruffled folds at the base.
- Work 4 SC.
- Fold the fabric and join two distant points: Take the next stitch (the 5th point) and a point five stitches away from it (the 10th point). Crochet one SC through both points simultaneously to create a fold.
- Repeat this pattern around the entire row: [4 SC, Crochet-Through-Fold] six times. You will finish with 30 SC and six distinct folds.

IV. Closing and Stuffing
- Row 21 (Decrease): Work the sequence [3 SC, Decrease] six times for a total of 24 SC.
- Row 22 (Decrease): Work 12 consecutive Decreases for a total of 12 SC.
- Stuff: Firmly fill the ghost head and body with fiberfill. Use a pin or palillo to push the stuffing into all the corners, ensuring a compact shape.
- Row 23 (Final Closure): Work 6 consecutive Decreases for a total of 6 SC.
- Finish: Cut the yarn, leaving a tail. Use the tapestry needle to weave the tail through the six remaining outer loops, pull to cinch the hole shut, and hide the tail inside the body.
V. Arms and Tongue
- Arms (Make 2):
- Make a Magic Ring with 8 SC.
- Work 3 rounds straight (Rows 2-4), maintaining 8 SC in each round.
- Cut the yarn, leaving a long tail for sewing. Do not stuff the arms.
- Tongue:
- Using red yarn, make a Magic Ring with 5 SC.
- Cut the yarn, leaving a tail for sewing.
- Assembly:
- Attach Arms: Using the long tail and tapestry needle, sew the arms to the sides of the ghost body, positioning them along the same line (between Rows 9 and 10) on the lateral sides. Pass the yarn through the body and knot the two tails together inside the piece for a secure connection before hiding them.
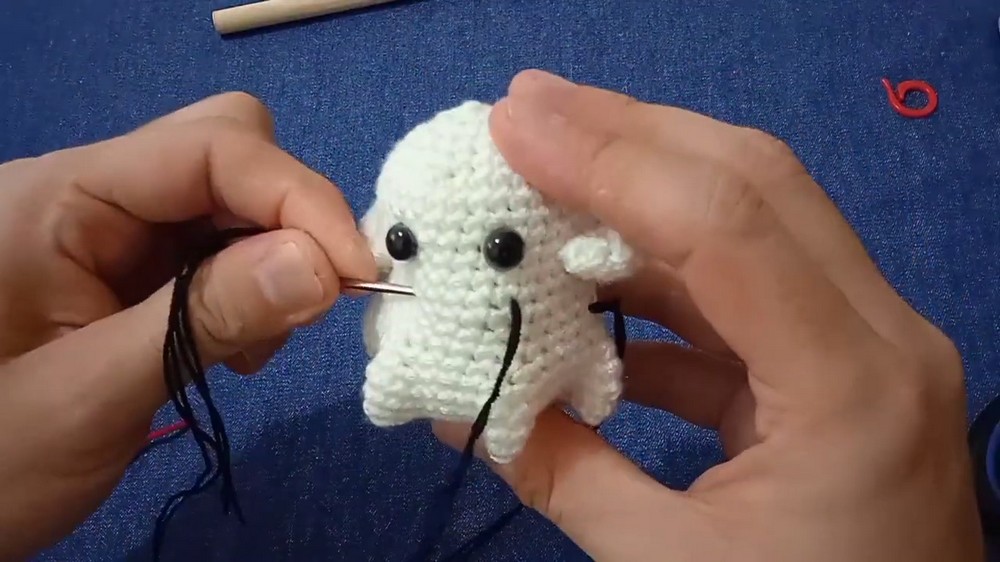
- Embroider Mouth: Use black yarn to embroider a mouth two rows below the eyes, spanning five stitches in width. Knot the ends inside and hide the tails.
- Attach Tongue: Sew the red tongue piece directly under the center of the embroidered mouth. Hide the tail inside the body.
Conclusion
You have successfully completed a unique amigurumi ghost! The combination of the compact body, the secured eyes, and the ruffled base creates a charming piece of handmade holiday decor.
Tip
When you sew on the arms, take the time to knot the sewing tails together inside the body before you cut and hide them. Making a double knot with the two opposing tails guarantees a much stronger attachment than simply weaving the tails in, preventing the arms from ever pulling off.