
Cute Crochet Doll Cap Amigurumi Pattern To Dress Up Your Dolls
Top off your dolls in style with the Free Crochet Doll Cap Amigurumi Pattern and create a cute, snug hat perfect for accessories or gift-ready dolls
The delicate stitches of the little cap instantly attract attention with its snug fit and playful brim. With the Free Crochet Doll Cap Amigurumi Pattern, you’ll craft an adorable accessory that snugly tops your amigurumi doll, giving it a cute, finished look and making it perfect for gift sets, display figures, or even charm keychains.
Tiny Crochet Doll Cap Amigurumi Pattern Ideal For Accessories
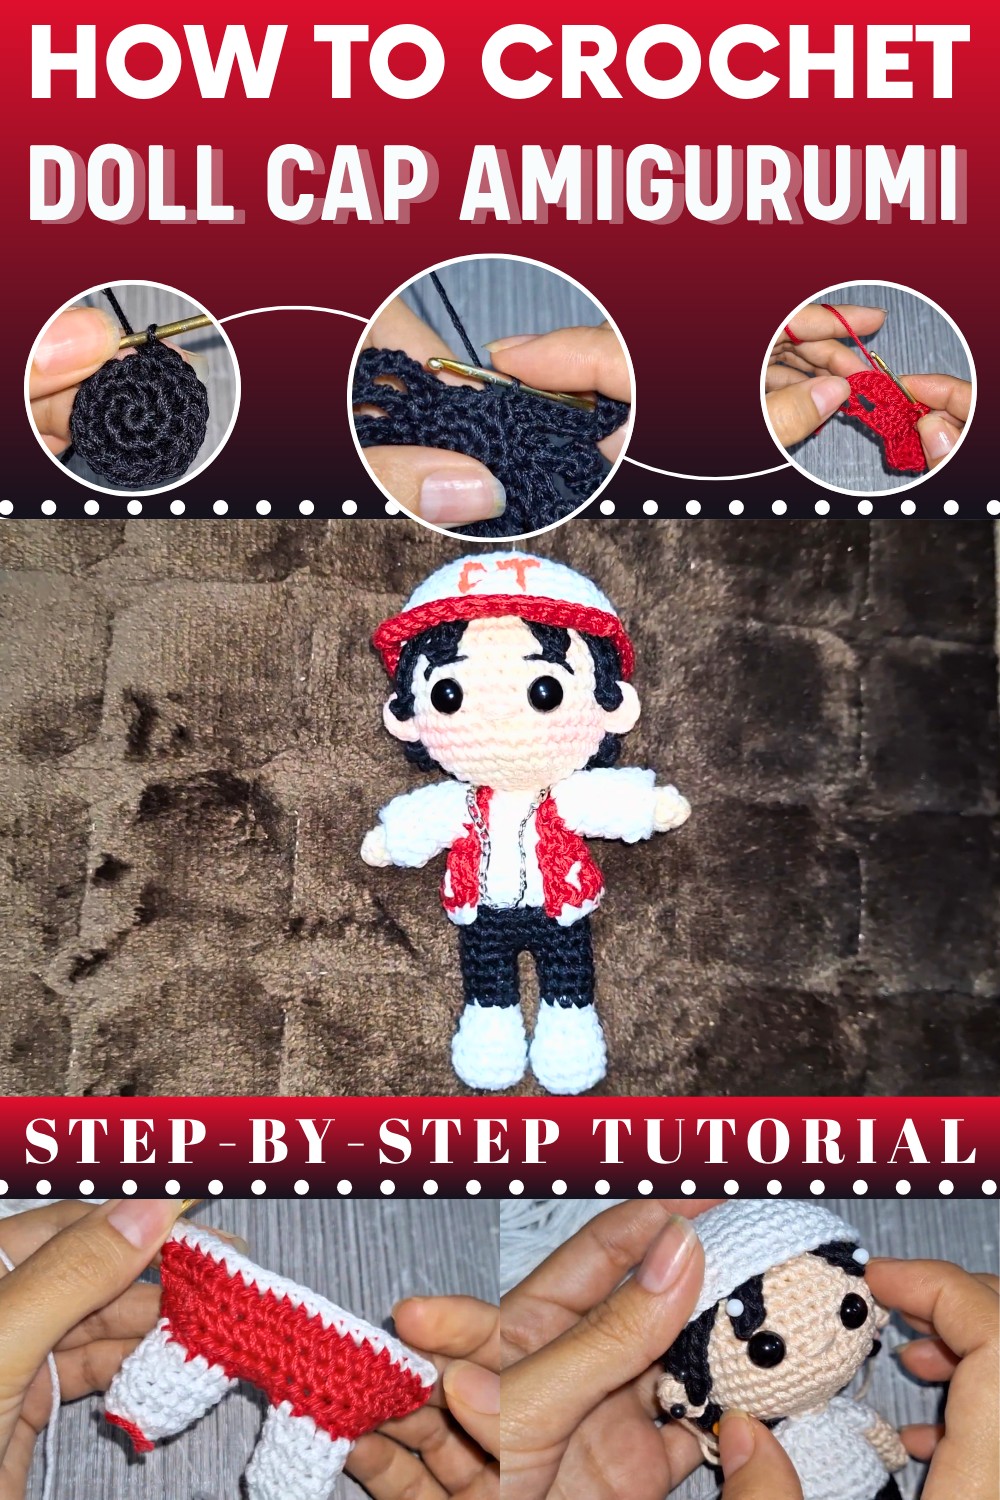
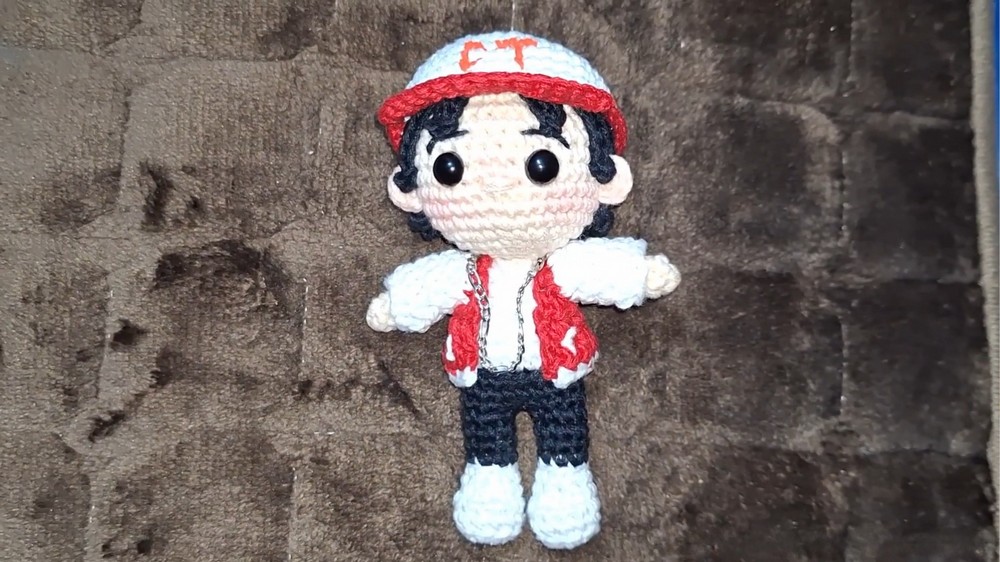
This Free Crochet Doll Cap Amigurumi Pattern features a small round crown that fits the doll’s head, a flared brim for style, and clean shaping to keep it neatly perched in place. It uses a lightweight yarn and small hook size to maintain proportions and relies mostly on single‑crochet rounds, increases for the crown, and a short brim added afterward.
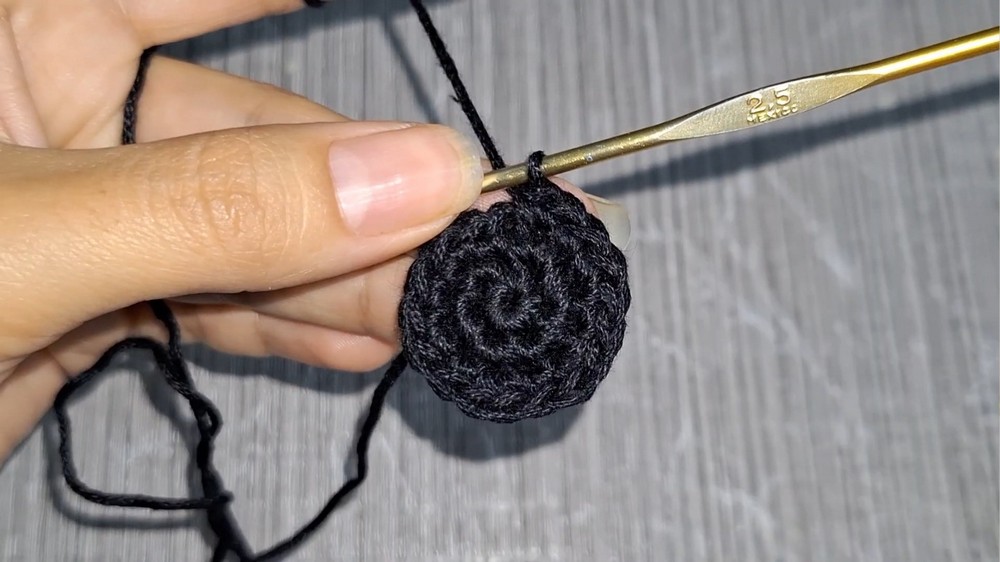
Start with a magic ring or chain loop to build the crown, work rounds with regular increases until the size matches the doll’s head, then switch to rounds without increases to set the height.
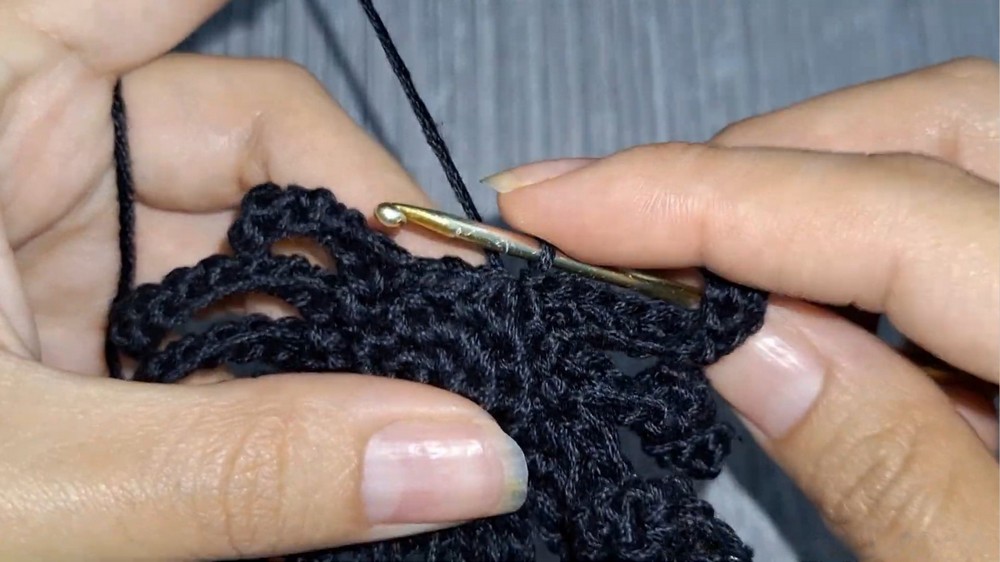
After that, work the brim by either increasing again or switching to chains/turns depending on your brim style, then fasten off, weave in ends, and place the cap on your doll’s head.
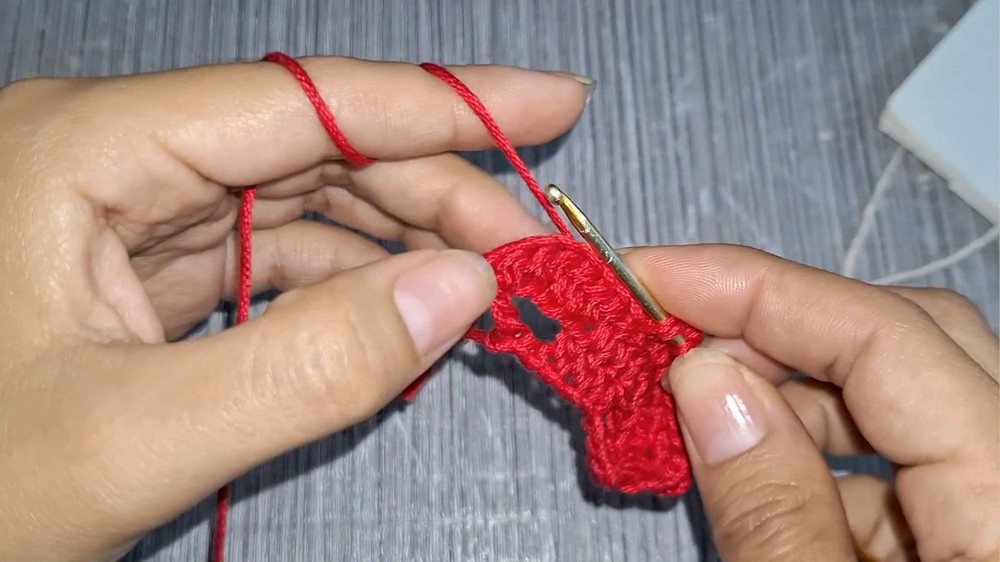
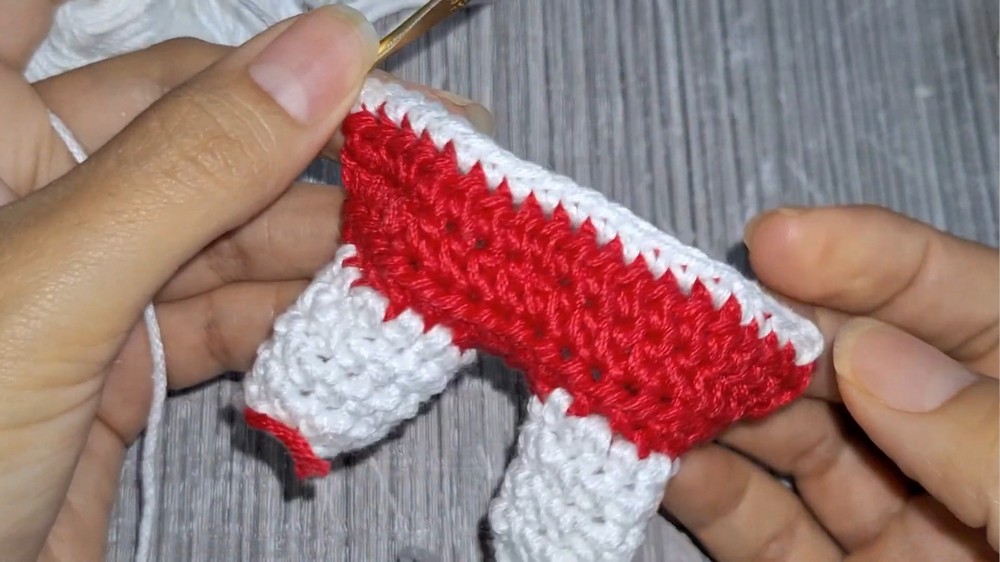
With the Free Crochet Doll Cap Amigurumi Pattern, you’ll finish with a charming miniature hat that adds personality and style to your handmade figures or accessories.
Some Important Points
Uses
- Collector's Item: This finished piece serves as a detailed amigurumi figure of the artist.
- Display/Gift: Use the doll as a decorative piece or a unique gift for a fan.
Materials
You need the following materials to complete the figure (assuming the head and body base are finished):
- Yarn: Black (for hair), Skin Tone (for ears), Red (for jacket and cap brim), and White (for jacket sleeves and cap dome).
- Hook: A 2.5 mm crochet hook (or the size used for the rest of the doll).
- Tools: Scissors, tapestry/darning needle, a stitch marker, and straight pins/alfileres (for positioning the hair and ears).
- Detailing: Red fabric paint (for cap initials), Blush (for cheeks), and a decorative chain (stainless steel or plastic is recommended to prevent staining the yarn).
Special Features
This pattern uses several unique construction methods to capture the likeness of the musician:
- Variable Length Hair Strands: You create the long, flowing hair by chaining different lengths (6, 9, and 11 chains) and then returning with single crochet stitches. You vary the length to create a natural-looking fringe and long body of hair.
- Jacket Construction: You construct the jacket flat, using chains to create the armhole gaps directly in the first row. This results in a mini-vest shape ready for the separate sleeves. You use increases on the sides and center to shape the jacket outward around the doll's torso.
- Cap Brim Shaping: You use a combination of stitches—single crochet (SC), half double crochet (HDC), and double crochet (DC) —to force the brim of the cap to curve naturally and stand outward.
- Front Loop Only (FLO) Brim: You work the first row of the cap brim exclusively into the Front Loop Only (FLO) to ensure the brim projects outward and does not pull the cap down.
Level of Difficulty
This is an Intermediate to Advanced level project. The complexity arises from:
- Intricate Piecework: The project involves creating and assembling many small, distinct pieces (ears, arms, sleeves, cap) that must fit precisely.
- Hair Complexity: You must execute a large number of repetitive chain-and-return stitches accurately (12 strands of 11 chains) and then carefully position and sew the wig to frame the face.
- Shaping Techniques: You must be proficient in working with Half Double Crochet (HDC) and Double Crochet (DC), which are used to shape the cap brim and jacket.
- Detailing: Final touches like sewing the chain, adding blush, and painting initials require steady hands and precision.
Tutor's Suggestions
The tutor provides key advice for a successful project:
- Check the Sizing: If you make the doll body larger, adjust the starting chain for the jacket collar and the cap size accordingly, as amigurumi tension can vary and affect the final size.
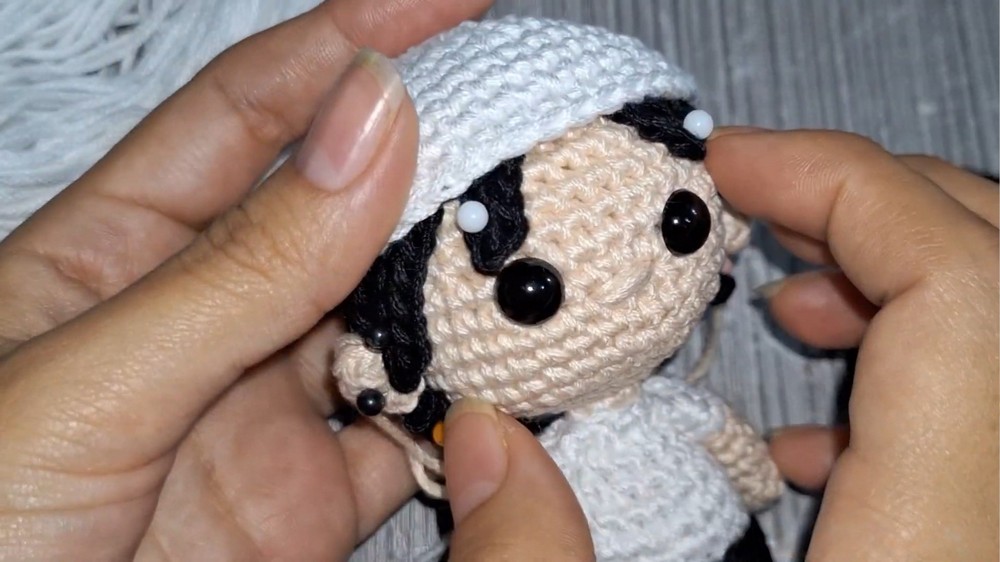
- Secure the Hair: Use straight pins (alfileres) to meticulously pin the hair wig to the head before sewing. This allows you to adjust the fit, ensuring the shorter front pieces frame the face correctly and the wig covers the crown without obstructing the eyes.
- Watch for Subtitles: If automatic subtitles appear and block the view of the stitches, remember you can deactivate them in your player settings.
- Chain Material: When adding decorative jewelry like the necklace, use stainless steel or plastic chain. Avoid materials that can corrode or stain the white yarn over time.
Step by Step Details
This tutorial is Part 2 of 2 for creating the Natanael Cano amigurumi doll. In this segment, you will crochet and assemble the crucial components that define the character's look: the black, flowing hair, the detailed red and white jacket, and the signature white and red cap. You will also learn how to add small details like the ears and a decorative chain.
Conclusion
You have successfully completed the detailed amigurumi figure of Natanael Cano, including his iconic hair, jacket, and cap. The figure should measure approximately 12 to 13 cm tall.
Tip
When you work on pieces that need to maintain a specific size, such as the sleeves or the cap dome, always measure the piece against the doll as you go. Amigurumi tension can vary, and measuring ensures your work fits perfectly, preventing you from having to undo and restart later.