
Whimsical Crochet Doll Base Body Pattern That Supports Creativity
Build charming creations with the Free Crochet Doll Base Body Pattern, a sturdy and versatile foundation perfect for dolls, gifts, and creative projects.
Every beloved doll begins with a solid foundation, and the Crochet Doll Base Body serves as the heart of its charm and structure. A well-crocheted base provides not only stability but also versatility, allowing for endless customization in clothing, accessories, and expressions. This project offers an opportunity to create a uniform, balanced foundation that supports every intricate detail that follows, from delicate limbs to expressive features. Working on the base develops precision and patience, as each stitch contributes to a smooth, even surface that ensures the finished doll maintains its shape and proportions.
Charming Crochet Doll Base Body Pattern Perfect for Custom Dolls
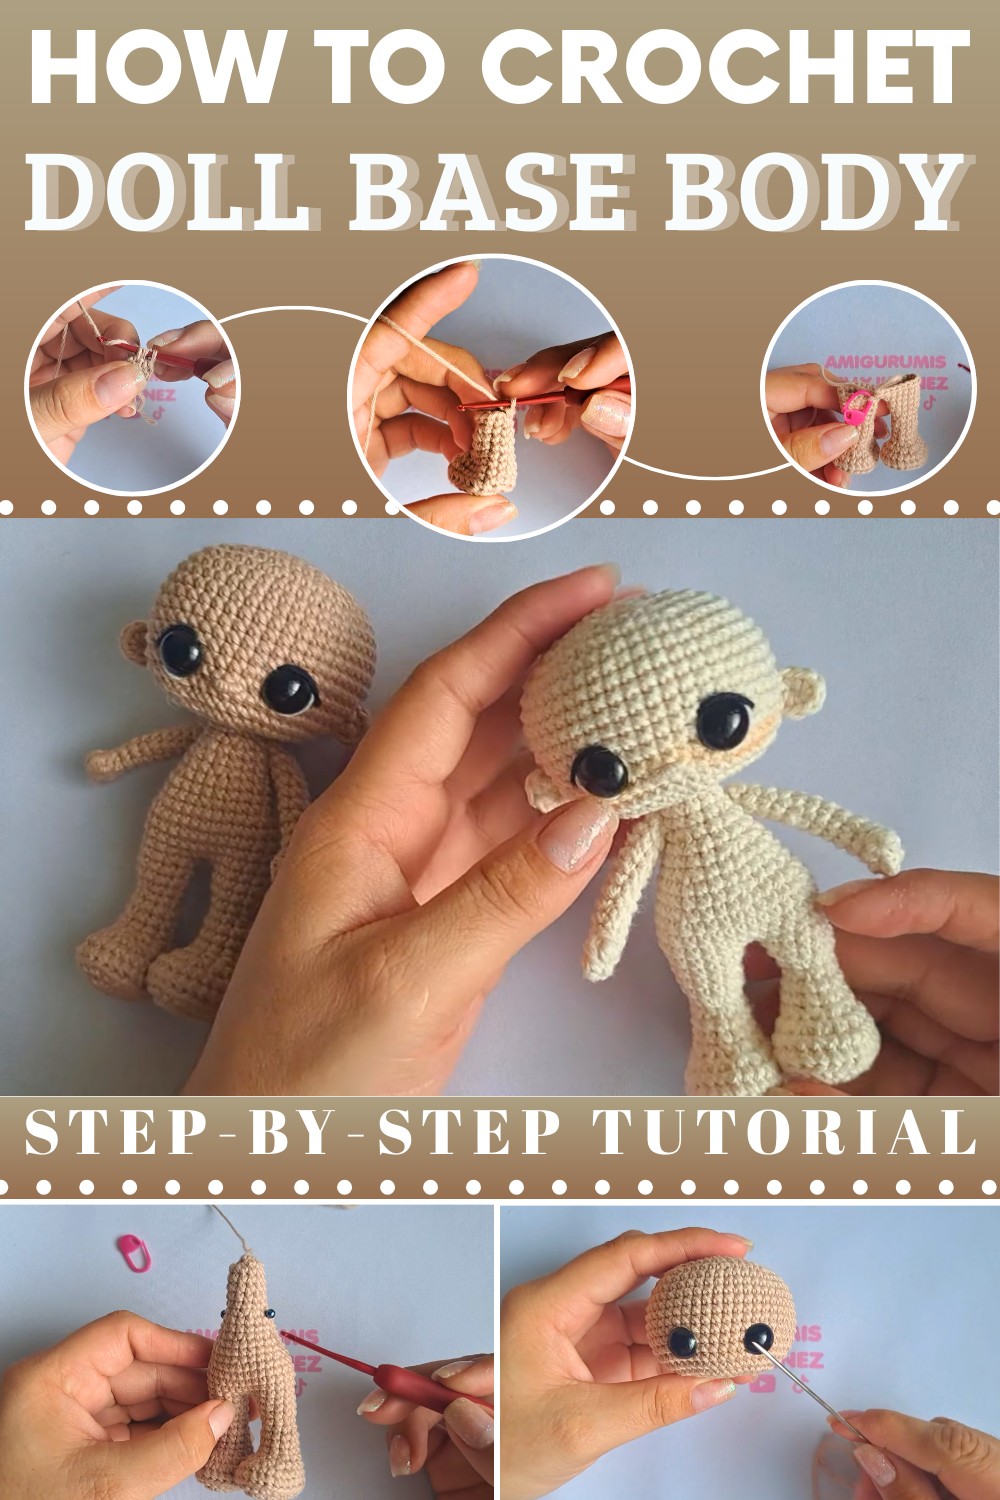
The process starts with forming a firm, rounded torso using simple crochet stitches, gradually increasing and decreasing to achieve natural curves. Arms and legs are attached carefully, maintaining symmetry, while the neck and head are shaped to allow seamless attachment for future embellishments. This base can be adjusted in size or proportion depending on the intended final doll, offering both beginners and advanced crocheters flexibility and control.
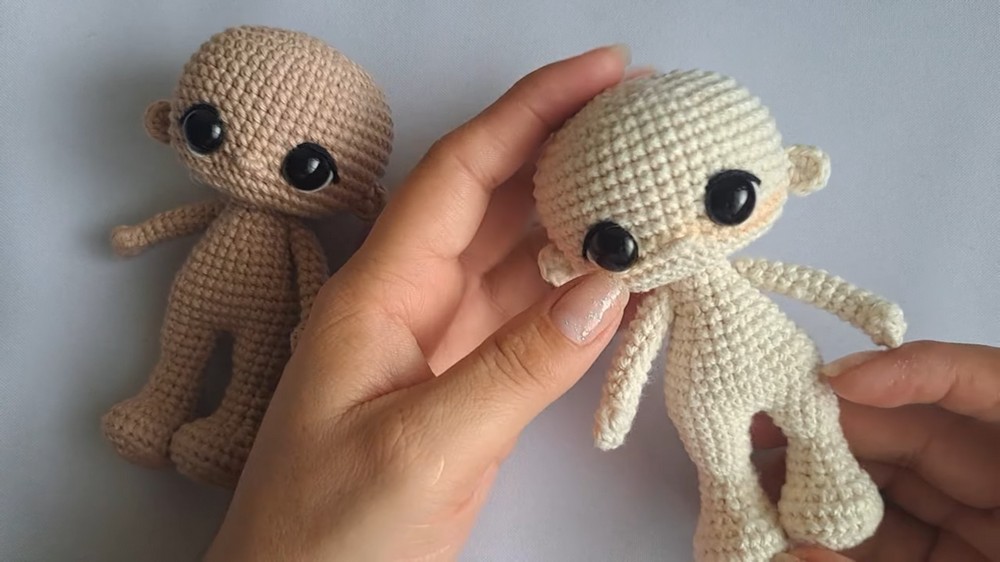
By completing this foundational body, crocheters gain a reliable canvas for personal touches, from clothing to facial expressions. The final result is a sturdy, adaptable, and visually appealing doll foundation that can serve as a cherished keepsake, a thoughtful gift, or the starting point for a beloved collection. The process enhances skills while producing a functional and attractive core for countless creative possibilities.
Level of Difficulty
This project is suited for beginners with some basic crochet experience, such as working magic rings, single crochet stitches, and increases/decreases. While there are no overly complex stitches, attention to detail and stitch counting are essential to achieve the symmetrical and proportional structure of the final product.
Special Features
- Customizable Appearance: You can use cotton yarn in any shade to personalize the creation.
- Safety Eyes: 12mm safety eyes enhance the character’s lifelike design.
- Compact Size: Measuring approximately 13cm, the amigurumi is perfect as a decorative piece or gift.
- Attention to Details: Features such as embroidered eyelashes, a delicate nose, and defined ears showcase refined detail.
Materials Needed
- Cotton thread in desired colors (skin tone)
- Crochet hook
- Sewing needle
- Stuffing material
- 12mm safety eyes
- Stitch markers
Step-by-Step Guide
1. Crafting the Ears
- Begin with a magic ring containing 8 single crochet stitches.
- Slip stitch to close the round, leave a long strand, cut the yarn, and tighten the magic ring.
- Repeat this process for a second ear, then set both aside.
2. Making the Hands
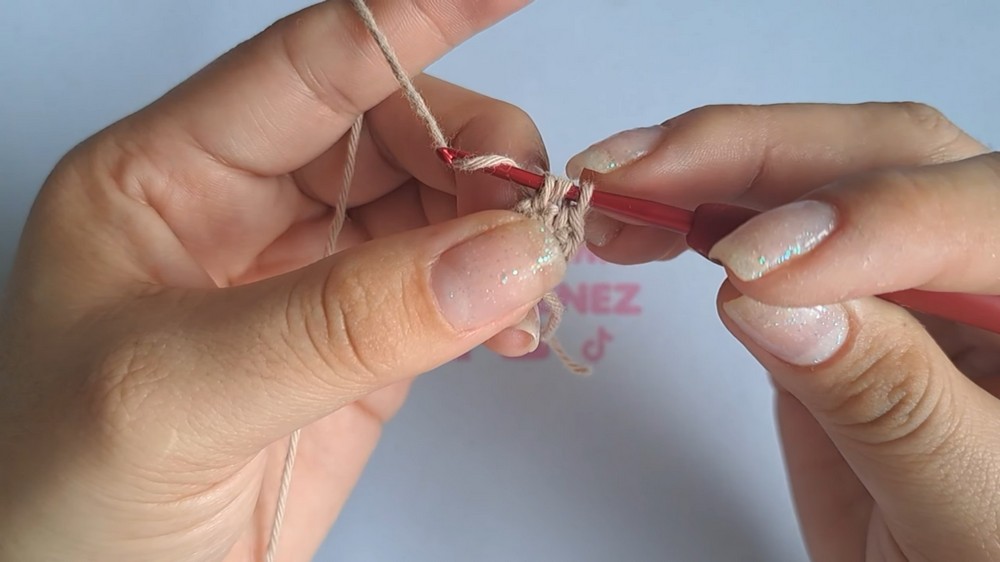
- Create a magic ring with 6 single crochets.
- In the second round, make five single crochets and add a pineapple stitch (3 half double crochets in one stitch) to form the thumb.
- Work uniform single crochets from round 3 to round 12 (10 rounds total).
- Finish with a slip stitch, leave a long strand, and repeat the process for the second hand.
3. Crafting the Feet
- Crochet 6 chains, then add increases and single crochets on both sides of the chain to form an oval base.
- Progress through guided increases in subsequent rounds to form the structure of the foot.
- Work uniform single crochet rounds, adjusting for decreases and stuffing as needed.
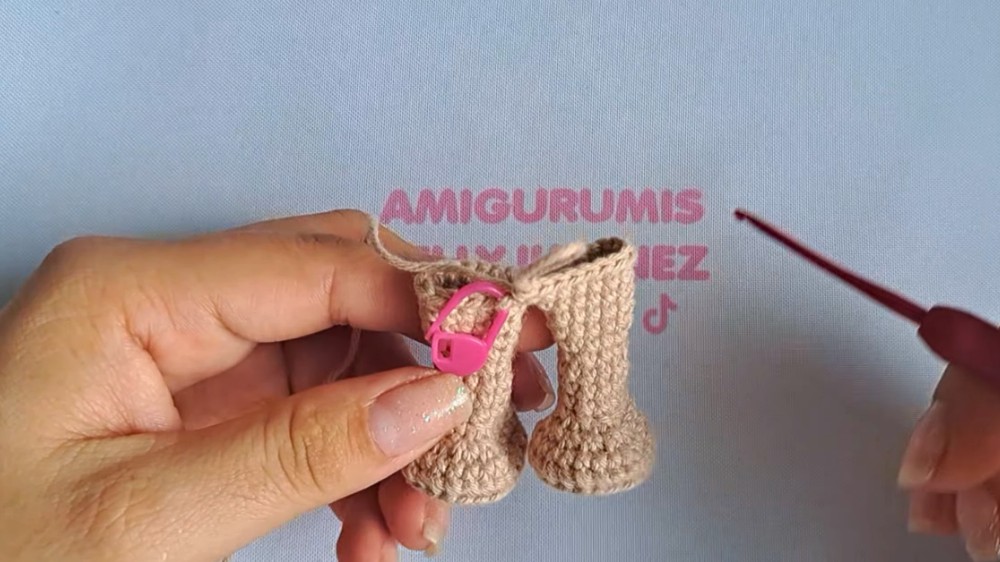
- Complete two feet and join them to start the body framework.

4. Forming the Body
- Using the joined feet, start crocheting around them to form the base of the body.
- Add regular rounds of uniform stitches, incorporating increases and decreases to shape the structure as instructed.
- Stuff the body progressively as you move toward the end.
- Finish the body section, leaving it ready to attach to the legs and hands.

5. Crafting the Head
- Start with a magic ring of 8 single crochet stitches.
- Progressively build up the structure using rounds with uniform increases, shaping the head.
- Incorporate 12 consistent rounds for symmetry, followed by decreases to close the top section.
- Add the safety eyes between rounds 14 and 15, with an 8-stitch separation.
- Finish by embroidering features (eyelashes, nose, etc.) and securely stuff the head.

6. Final Assembly
- Sew the head, body, hands, and legs together using a sewing needle.
- Attach ears symmetrically on rows 13 to 15, at about five stitches from the eyes.
- Adjust and finalize any loose threads or soft filling.
- Check proportions to ensure the structure is uniform and complete.
Tutor’s Suggestions
- Use a marker during rounds to keep track of stitch counts.
- Stuff progressively to maintain structure and avoid uneven lumps.
- Take your time when attaching pieces, as symmetry ensures the final product looks polished.
Uses
- Decorative: Ideal as a cute shelf accent or table piece.
- Gifting: A perfect personalized handmade gift for friends and family.
- Learning Tool: Great for practicing amigurumi skills and stitch consistency.
Tip
For added durability and a neater finish, hide leftover strands as you sew the body parts together, ensuring no loose ends disrupt the smooth texture.
Conclusion
This Crochet Doll Base Body is more than just a simple crochet task, it’s an opportunity to master fundamental techniques while creating a charming keepsake. With clear instructions and creative flexibility, this tutorial caters to all levels, encouraging crocheters to achieve an adorable and polished amigurumi creation. S