
Cute Crochet Amigurumi Gnome Pattern with a Free Tutorial
Have fun making a cute gnome with this Free Crochet Amigurumi Gnome Pattern and create a sweet little decoration that brings color and charm to any space.
A tiny crochet gnome can bring a sweet and cozy touch to any corner of the home. This little amigurumi figure is a fun project with a soft body, a big hat, and a cute face that makes it hard not to smile. The Free crochet Amigurumi Gnome Pattern is a lovely choice for anyone who enjoys crochet toys, small yarn projects, and handmade decorations. It is also a nice way to use leftover yarn in different colors.
Crochet Gnome Pattern for Handmade Holiday Decor
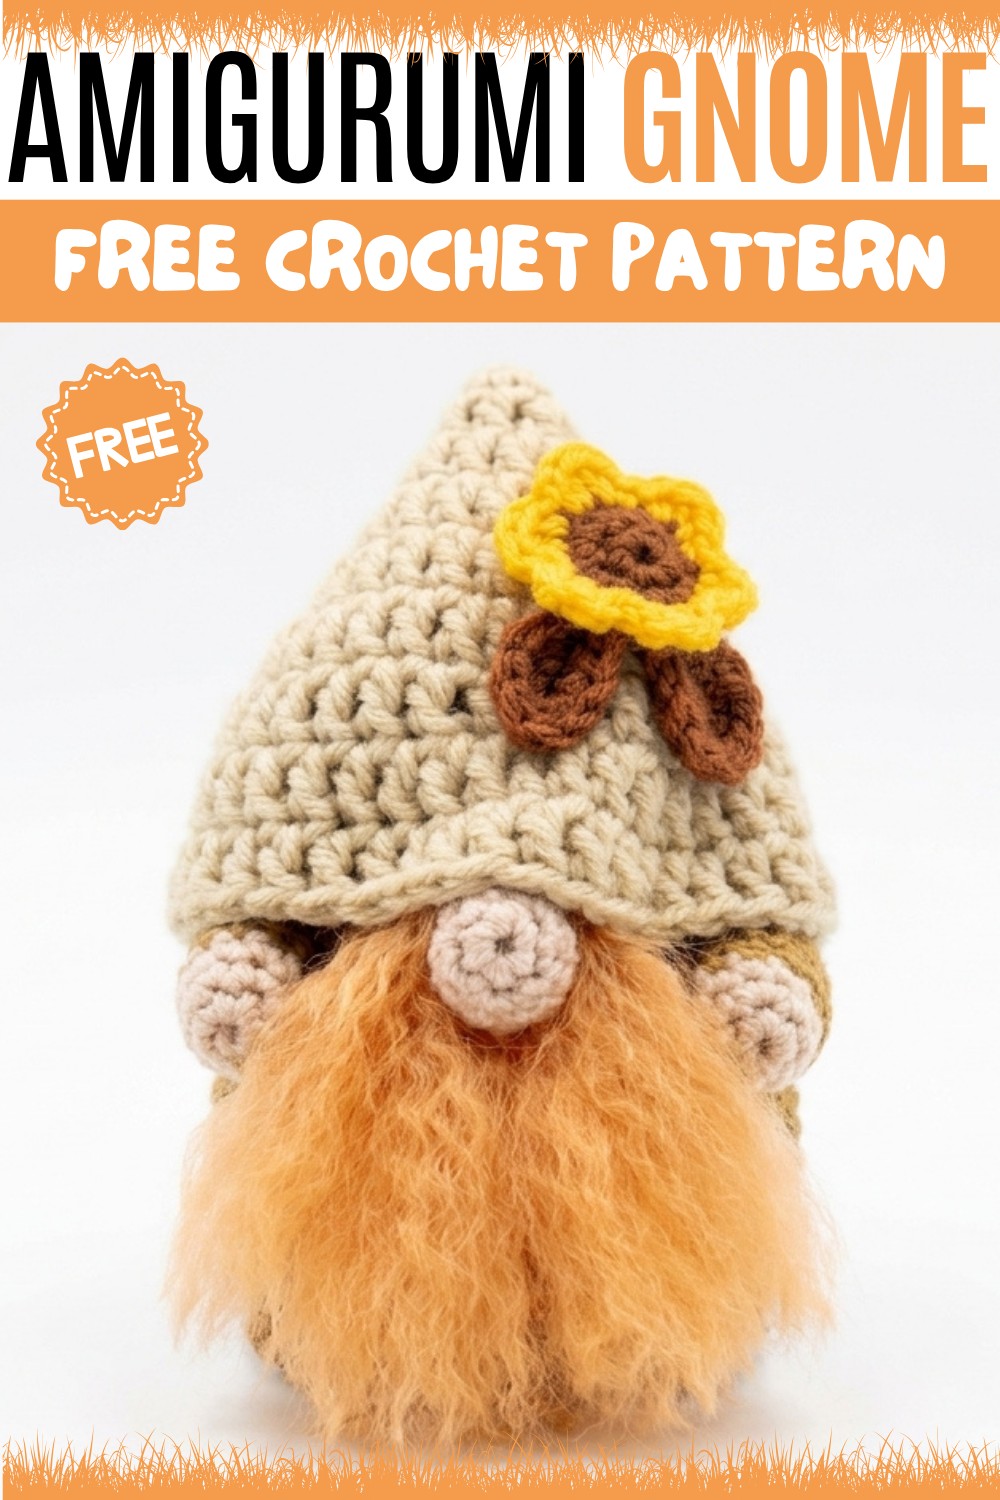
The gnome has a small, round body with a tall pointed hat that gives it the classic gnome look. Its soft yarn texture makes it pleasant to hold, while the simple shape keeps the design neat. A fluffy beard, a round nose, and a floppy hat can add extra character to the finished piece. The colors can easily be changed to suit different seasons or home styles. Place it on a shelf, table, mantel, or beside other handmade decorations for a warm little display.
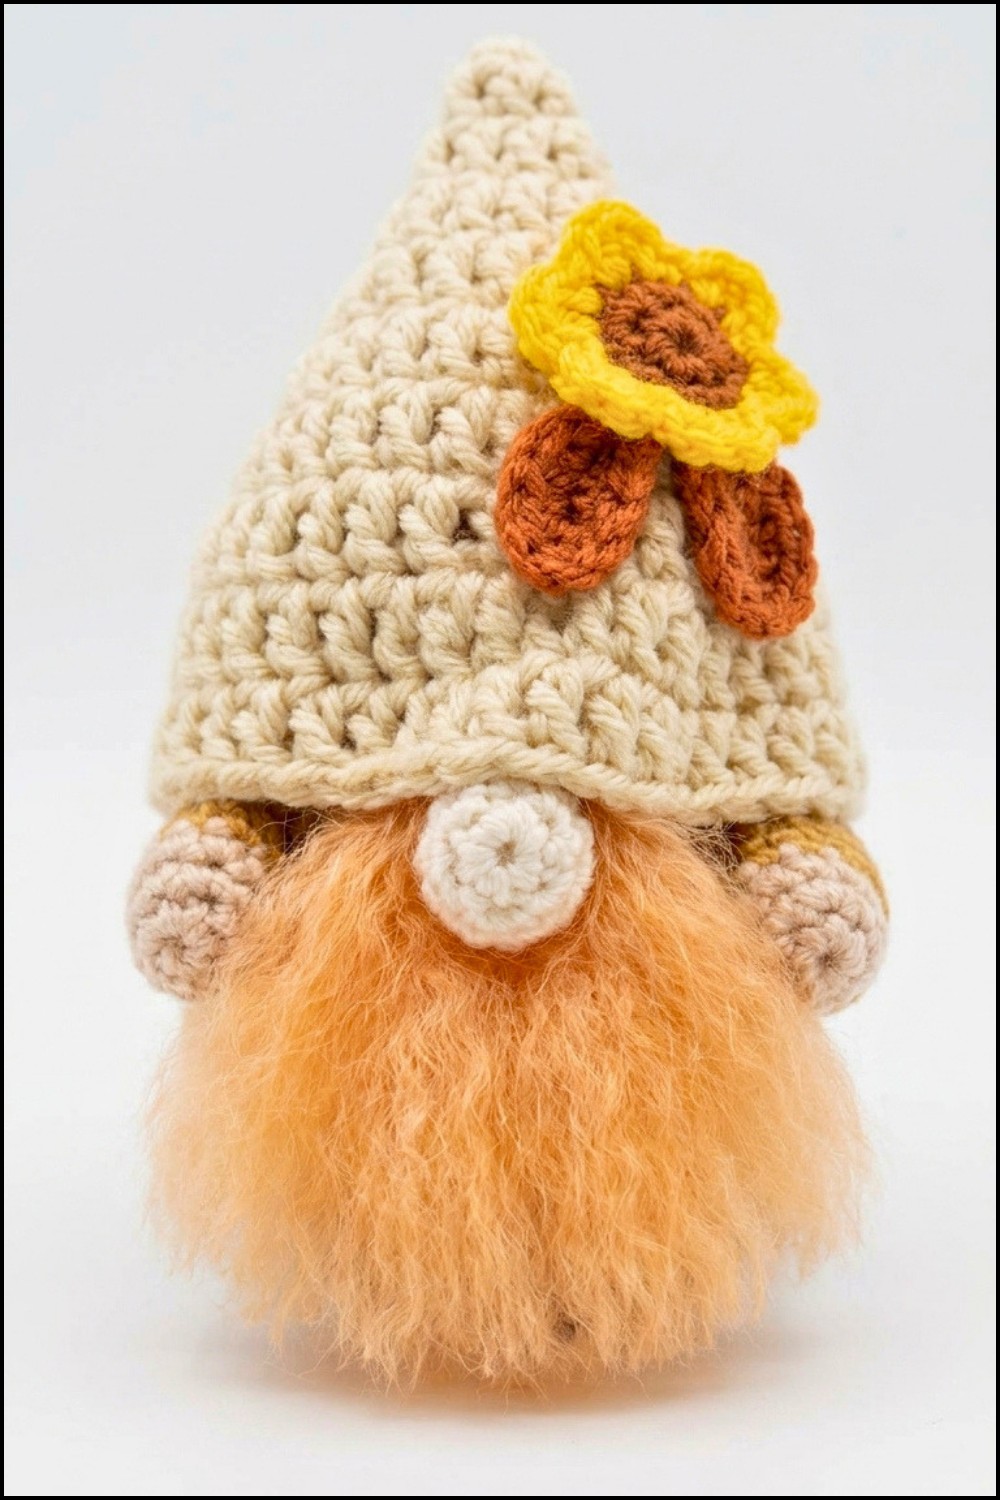
This pattern works well for beginners who know a few basic crochet stitches. Single crochet is the main stitch used for the body and other small parts. Simple increases and decreases help create the round shape and keep the pieces looking tidy.
Crochet gnome makes a sweet handmade gift for friends, family, or anyone who loves cute decorations. It is especially nice for Christmas, birthdays, housewarmings, or holiday collections. A few gnomes in different colors can also make a charming little display.
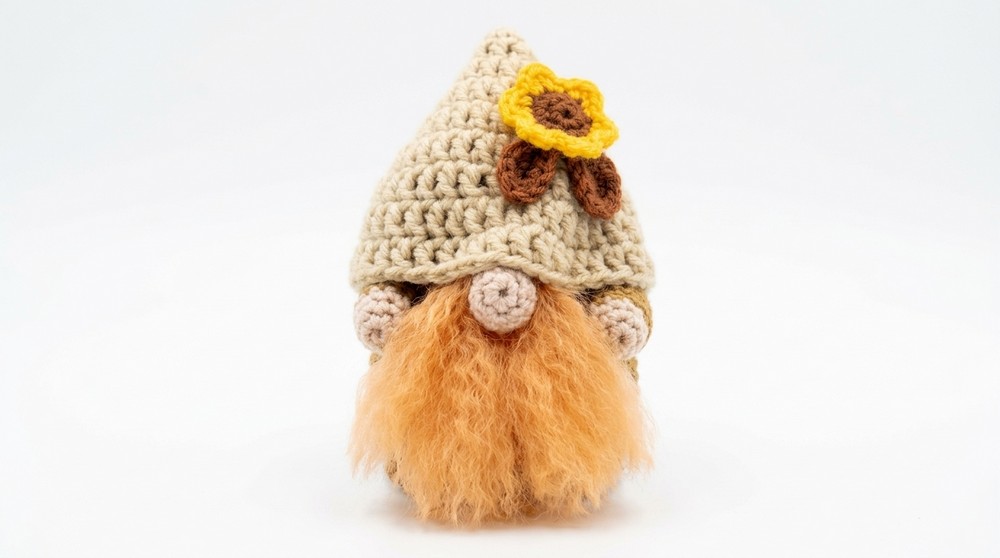
Fall/Autumn Gnome Crochet Pattern
This charming fall or autumn gnome can be customized with earthy and vibrant colors, making it a delightful seasonal decoration or gift. The pattern includes detailed instructions for the body, nose, arms, hat, flower, and leaf, with step-by-step rounds for accurate results and easy assembly.
Skill Level
Beginner to Intermediate
This pattern is accessible for those comfortable with basic stitches and working in the round. Color changes and the variety of components offer the opportunity to build skills in shaping and construction.
Materials
- Yarn in autumn/fall colors (multiple shades for body, nose, arms, hat, flower, and leaf)
- Crochet hooks: one to match your yarn and one a size bigger (e.g. 3mm and 4mm)
- Scissors
- Pins
- Toy stuffing
- Tapestry needle or midline thread for sewing
- Brush with stiff teeth (pet brush recommended, for beard)
- Cardboard (optional, for a flat base)
Special Stitches
- Magic Ring (MR): Used to start crocheting in the round.
- Single Crochet (sc): Basic crochet stitch.
- Double Crochet (dc): Used for hat and flower petals.
- Increase (inc): Two stitches in the same stitch.
- Decrease (dec): Single crochet two stitches together.
- Back Loop Only (BLO): Crocheting into only the back loop of a stitch.
- Chain (ch): Foundation or connecting stitch.
Stitch Abbreviations
- MR – Magic Ring
- sc – Single Crochet
- inc – Increase
- dec – Decrease
- dc – Double Crochet
- BLO – Back Loop Only
- ch – Chain
- sl st – Slip Stitch
Useful Tips
- Use a stitch marker to track the start/end of rounds, especially for increasing rounds.
- When working with color changes, finish the last yarn-over with the new color for seamless transitions.
- For a flat base, insert a cut piece of cardboard before closing the base, and secure with glue if desired.
- Stuff the body as you progress and ensure all pieces are stuffed before sewing.
- Leave yarn tails long enough for sewing.
- Use a pet brush for teasing the beard; protect other parts from catching in the bristles.
Detailed Pattern
Body
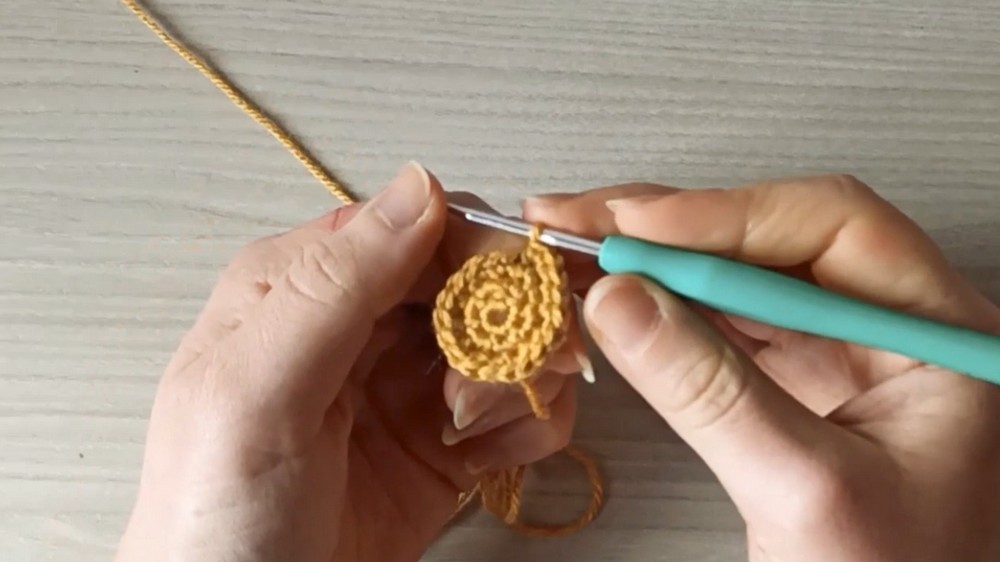
Round 1:
- MR, 6 sc (6 sts)
Round 2:
- 6 inc (12 sts)
Round 3:
- (1 sc, 1 inc) × 6 (18 sts)
Round 4:
- (2 sc, 1 inc) × 6 (24 sts)
Round 5:
- (3 sc, 1 inc) × 6 (30 sts)
Round 6:
- (4 sc, 1 inc) × 6 (36 sts)
Round 7:
- (5 sc, 1 inc) × 6 (42 sts)
Round 8:
- (6 sc, 1 inc) × 6 (48 sts)
Round 9:
- (7 sc, 1 inc) × 6 (54 sts)
Round 10:
- (8 sc, 1 inc) × 6 (60 sts)
Round 11:
- (9 sc, 1 inc) × 6 (66 sts)
Round 12:
- BLO, 1 sc in each stitch (66 sts)
Rounds 13-14:
- 1 sc in each stitch (66 sts per round)
Round 15:
- (9 sc, 1 dec) × 6 (54 sts)
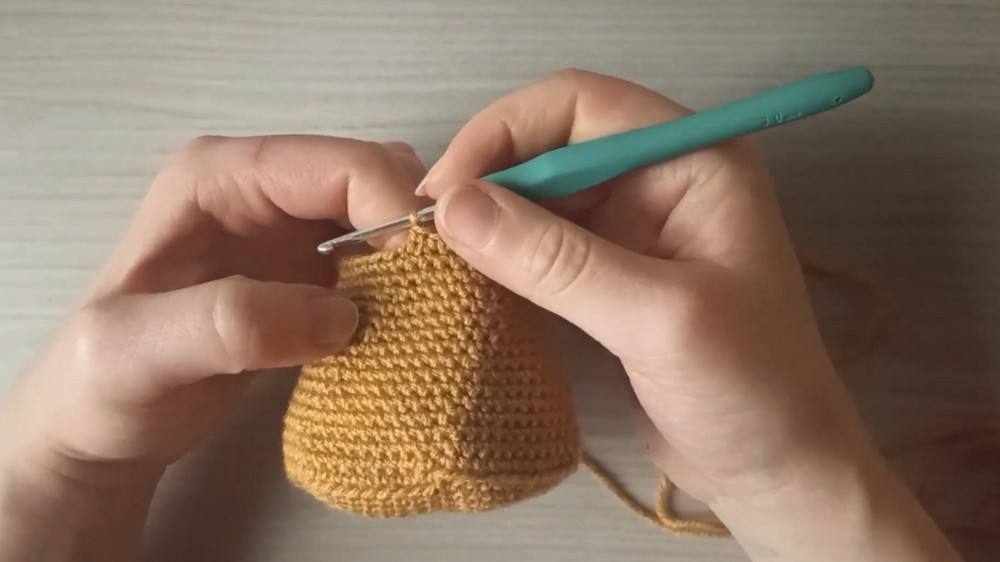
Rounds 16-18:
- 1 sc in each stitch (54 sts per round)
Round 19:
- (8 sc, 1 dec) × 6 (48 sts)
Rounds 20-21:
- 1 sc in each stitch (48 sts per round)
Round 22:
- (7 sc, 1 dec) × 6 (42 sts)
Rounds 23-24:
- 1 sc in each stitch (42 sts per round)
Round 25:
- (6 sc, 1 dec) × 6 (36 sts)
Rounds 26-27:
- 1 sc in each stitch (36 sts per round)
Round 28:
- (5 sc, 1 dec) × 6 (30 sts)
Rounds 29-30:
- 1 sc in each stitch (30 sts per round)
Round 31:
- (4 sc, 1 dec) × 6 (24 sts)
Round 32:
- 1 sc in each stitch (24 sts)
Round 33:
- (3 sc, 1 dec) × 6 (18 sts)
Round 34:
- 1 sc in each stitch (18 sts)
Round 35:
- (2 sc, 1 dec) × 6 (12 sts)
Round 36:
- 1 sc in each stitch (12 sts)
Round 37:
- (1 sc, 1 dec) × 6 (6 sts)
Round 38:
- 6 dec (Close the opening)
Finish:
- Sl st, cut yarn, leave a tail. Stuff firmly throughout.
Nose
Round 1:
- MR, 6 sc
Round 2:
- (1 sc, 1 inc) × 3 (9 sts)
Rounds 3-4:
- 1 sc in each stitch (9 sts per round)
Round 5:
- (1 sc, 1 dec) × 3 (6 sts)
Finish:
- Sl st, leave long tail for sewing. Lightly stuff.
Arms (make 2)
Round 1:
- MR, 6 sc
Round 2:
- (1 sc, 1 inc) × 3 (9 sts)
Round 3:
- 1 sc in each stitch (9 sts)
Round 4:
- Change color to match body. 4 inc in first 4 stitches, then 1 sc in each of remaining 5 stitches (13 sts)
Round 5:
- (1 sc, 1 inc) × 4 (first 8 sts), then 1 sc in each of remaining 9 stitches (17 sts)
Rounds 6-10:
- 1 sc in each stitch (17 sts per round)
Round 11:
- 8 dec (to close; doesn’t cover entire round)
Finish:
- Sl st, leave tail for sewing. Lightly stuff before closing.
Hat
Use a hook one size larger than for body.
Round 1:
- MR, chain 2, 8 dc into ring (8 sts)
Round 2:
- 8 inc (dc inc in each stitch) (16 sts)
Round 3:
- (1 dc, 1 dc inc) × 8 (24 sts)
Round 4:
- (2 dc, 1 dc inc) × 8 (32 sts)
Round 5:
- (3 dc, 1 dc inc) × 8 (40 sts)
Round 6:
- 1 dc in each stitch (40 sts)
Round 7:
- (4 dc, 1 dc inc) × 8 (48 sts)
Round 8:
- 1 dc in each stitch (48 sts)
Finish:
- Sl st, leave long tail for sewing.
Flower
Round 1:
- MR, 6 sc
Round 2:
- 6 inc (12 sts)
Finish:
- Sl st, cut yarn, short tail.
Petals:
- Attach new color in any stitch.
- In same stitch: 1 sc, 1 dc.
- Next stitch: 1 dc, 1 sl st.
- Repeat for 6 petals.
- Cut yarn, leave tail for sewing.
Leaf (make 1 or more)
Foundation:
- Ch 6
Side 1:
- From 2nd ch from hook:
- 1 sl st, 1 sc, 1 dc, 1 dc, 3 sc in last chain
Side 2 (working up other side):
- 1 dc, 1 dc, 1 sc, 1 sl st
- Add final sl st in turning chain if desired for neatness.
Finish:
- Cut yarn, leave tail for sewing.
Assembly and Sizing
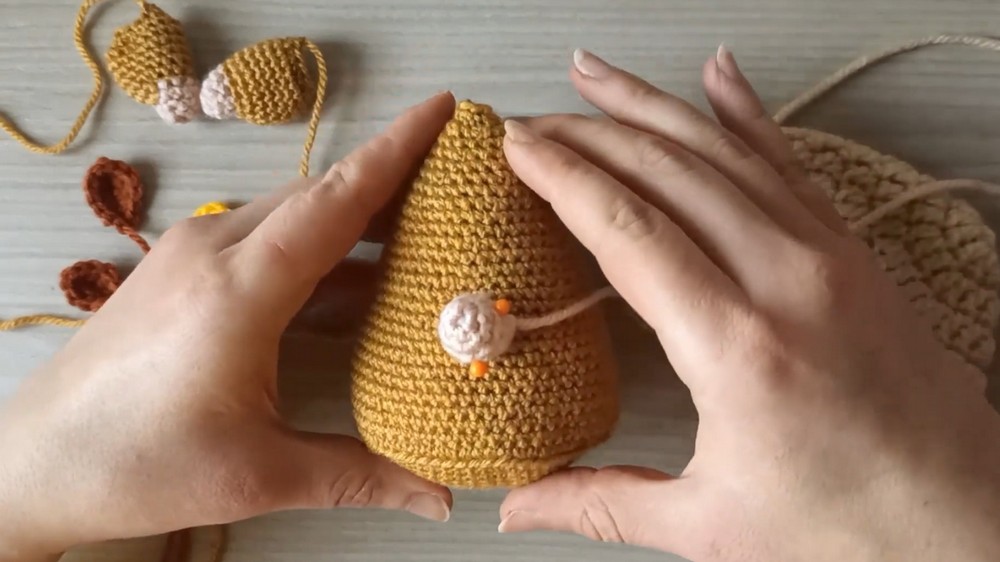
- Sew nose to the body, centered over rounds 20–23, stuffing lightly as you do.
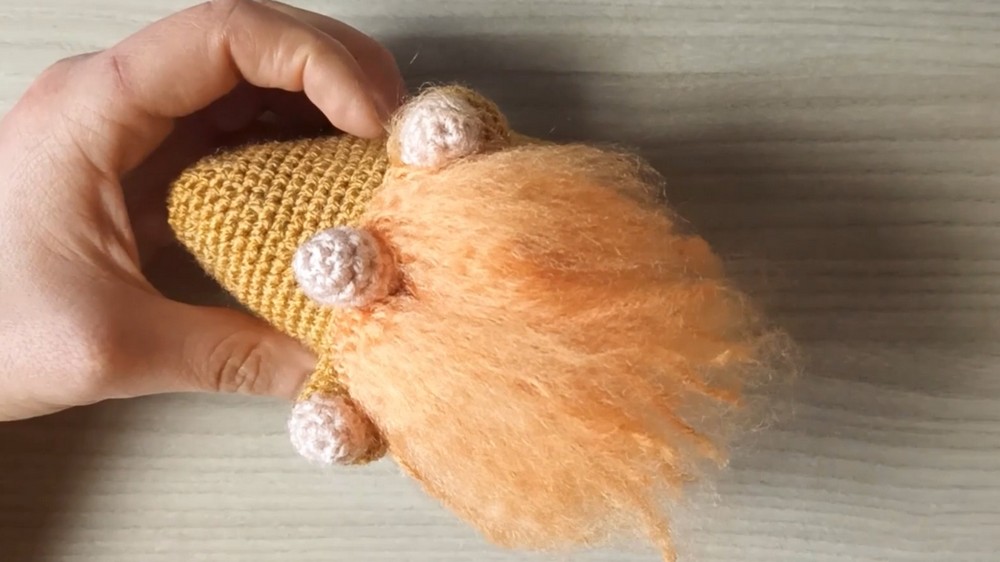
- Create the beard: Cut 28 strands of yarn (~16cm each). Fold strands, attach to rounds 20–23 around the nose, using crochet hook to pull through and form knots.
- Place arms at round 22, about 10 stitches from the nose. Sew as desired, including some of the sleeve close to the body.
- Brush beard thoroughly until fluffy, trim and shape as desired.
- Attach hat, positioned just above nose and beard, leaving gaps over nose and arms for a relaxed fit.
- Sew leaves and flower to hat, positioning for a layered autumnal effect.
- Finished gnome stands approximately 12–16cm tall, depending on yarn and hook used, and is about 8–10cm wide.
Conclusion
Creating a fall or autumn gnome offers the opportunity to experiment with colors, textures, and embellishments, producing a playful and festive handmade decoration. The step-by-step rounds provide reliable shaping for the body, arms, nose, and hat, with simple flower and leaf accents adding a touch of seasonal detail. The pattern combines the basics of color changes, increases, and decreases with more creative elements such as beard brushing and hat placement.