
Cute Crochet Amigurumi Chick With Frog Hat Free Pattern With Details
Create a cute Crochet Amigurumi Chick with Frog Hat using this free pattern that guides you step by step to make an adorable and fun handmade toy.
Who can resist a tiny chick wearing a funny frog hat? The Crochet Amigurumi Chick With Frog Hat is a sweet little toy that combines two lovable animals in one playful design. Its bright colors and unusual outfit give it a happy look that can easily put a smile on anyone's face.
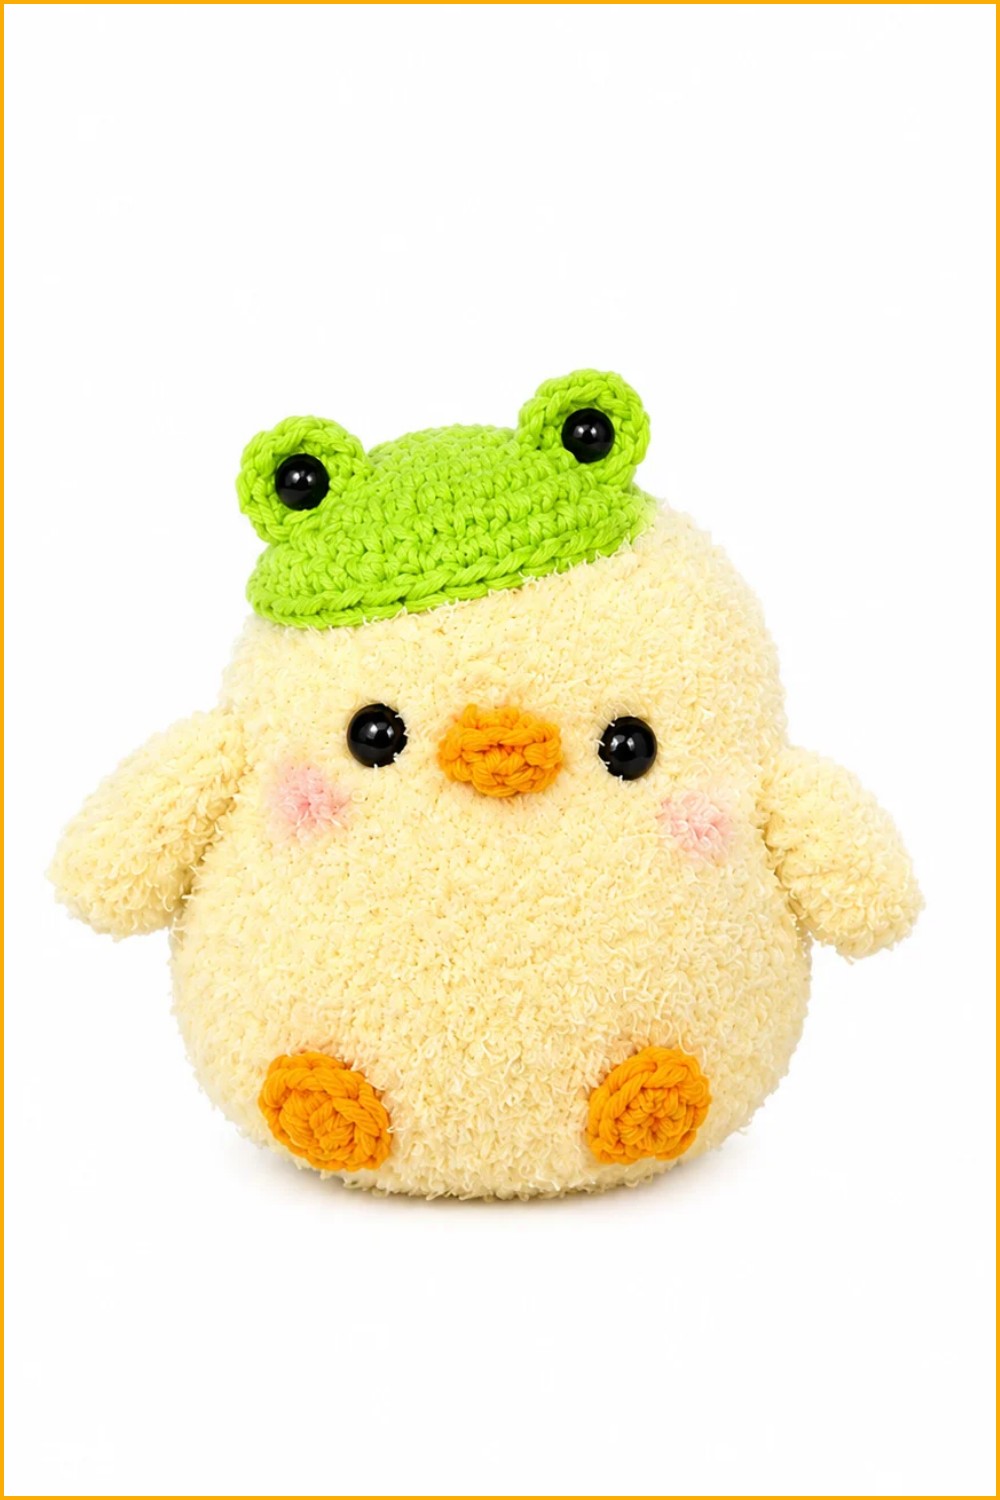
The chick has a small, rounded body covered in yellow yarn. Its tiny orange beak sits between two black eyes, giving it an innocent expression. The little wings on both sides add to its baby bird appearance. What makes this chick different is the green frog hat sitting on its head. The hat has two raised frog eyes at the top, making the chick look as though it is dressed up for a funny animal party.
This amigurumi can be crocheted using yellow, green, orange, and black yarn. The chick's body is formed with basic crochet stitches, while the frog hat can be worked separately. A little stuffing helps the body stay round, and the hat can be placed over the head to complete its playful appearance.
You can use this chick to decorate an Easter basket, brighten a nursery shelf, or add something funny to your study table. It is also a lovely birthday present for a friend who loves cute animals. You can even keep it with other tiny bird toys.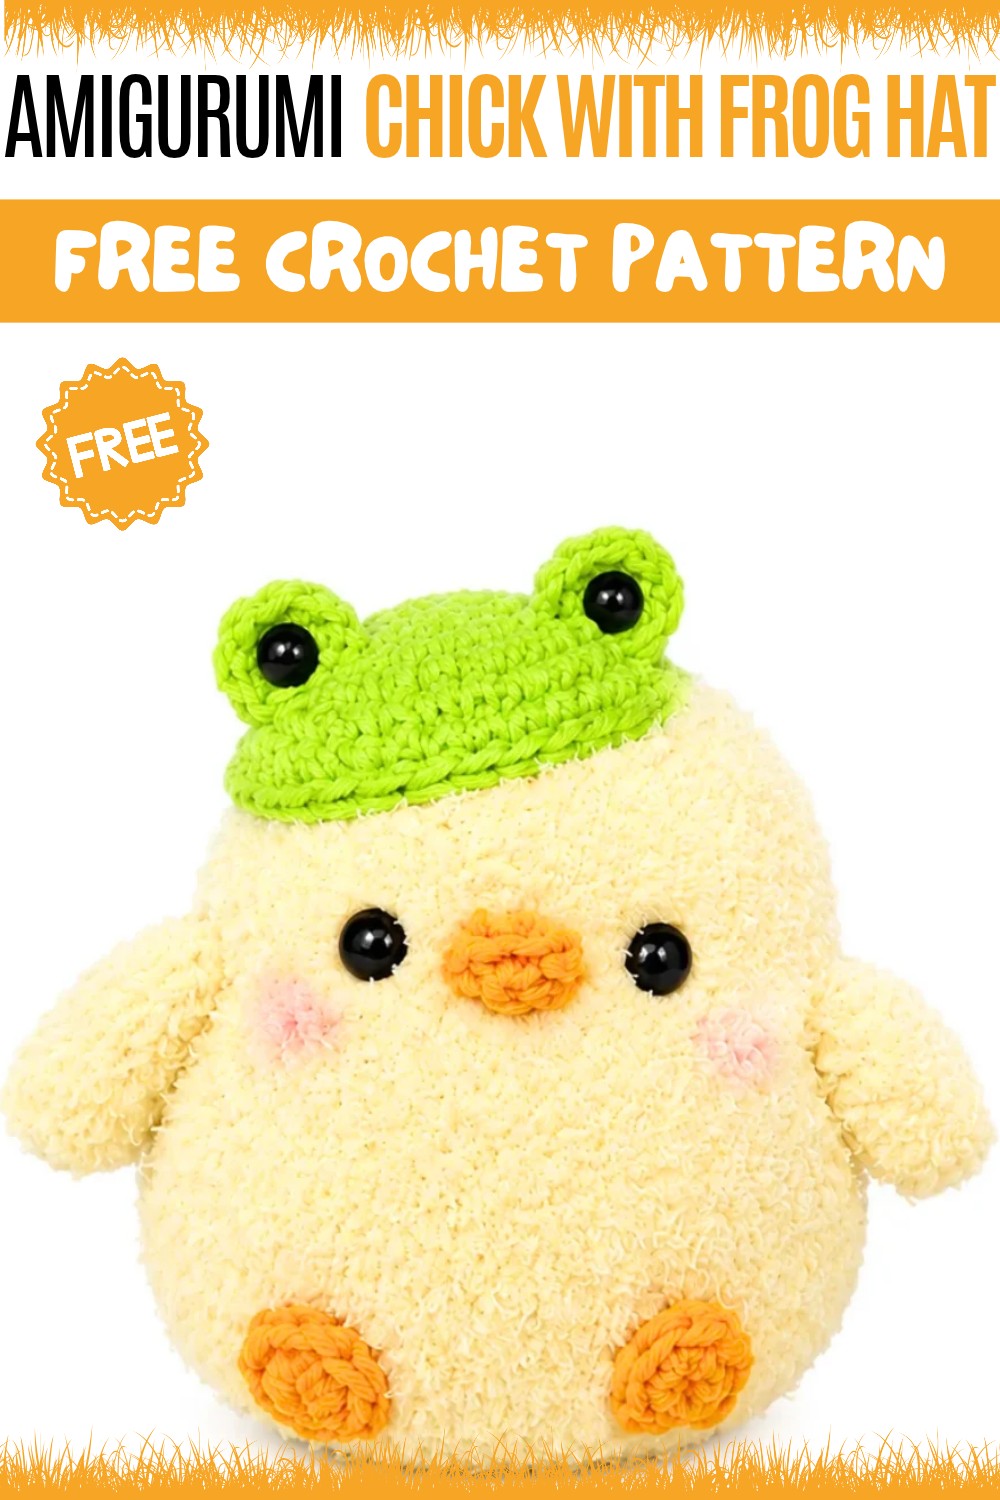
The frog hat gives this little chick its most memorable feature. Together, the cheerful yellow body and funny green hat turn a familiar baby bird into an adorable character with its own special personality.
About the Pattern
This chick with frog hat amigurumi pattern is a playful and rewarding project, combining the classic round chick form with a whimsical frog-themed hat. Each segment of the toy, from the beak and wings to the hat and expressive frog eyes, is worked separately before the final assembly, allowing flexibility and attention to proportion. The contrasting textures and colors of chick and frog motifs create delightful character and make this pattern appealing both as a display piece and as a handmade gift.
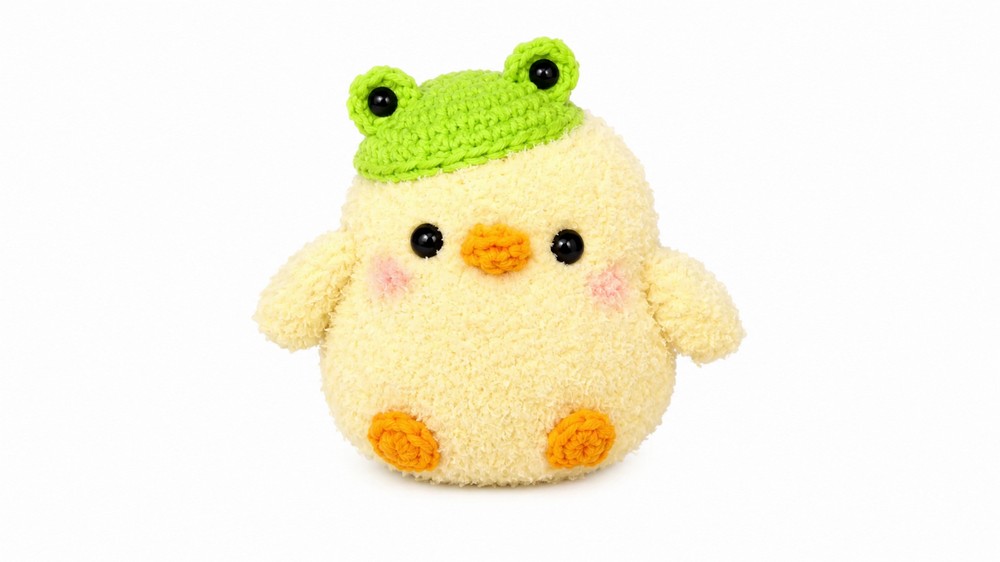
Pattern at a Glance
- Form: Rotund chick with small wings, prominent beak and feet, topped with a detachable frog hat.
- Structure: Worked in separate rounds for each part (body, wings, beak, feet, hat, frog eyes) then assembled by sewing.
- Stitches Used: Magic ring, single crochet, increase, decrease, joining single crochet.
Important Notes
- Use a tight gauge for a firm and seamless fabric, especially critical for amigurumi.
- Fasten off and weave ends neatly at each segment to prevent unraveling.
- Wing and hat placement are crucial for the characteristic look.
- Use safety eyes or embroider the eyes for added character and child safety.
- Consistency in color choice for the frog hat and chick body will enhance the finished appeal.
Difficulty Level
This pattern is best suited to advanced beginners to intermediate crocheters. Confidence with in-the-round crocheting, increases, decreases, and basic assembly is required. The steps are clear and repetitive, making it accessible for those ready to expand their amigurumi skills.
Supplies Needed
- Yarn: Worsted or DK weight in yellow (chick body), orange (beak and feet), green (frog hat), white/black for frog eyes
- Hook: 3.5 mm crochet hook
- Stuffing: Polyester fiberfill
- Tapestry needle: For sewing parts together and finishing
- Scissors
- Stitch marker: Useful for marking rounds
- Safety eyes or embroidery floss: For the chick’s face (optional but recommended)
Size & Measurements
With a 3.5 mm hook and DK or worsted yarn, the finished chick with frog hat stands approximately:
- Height: 3.5 to 4.5 inches (9–11 cm)
- Width: 3 inches (7–8 cm)
Size may slightly vary depending on personal tension and yarn choice.
Gauge & Stitch Details
Gauge is not critical but should be dense enough to prevent stuffing from showing through:
- Single crochet stitches should be firm; adjust hook size if needed to achieve this.
- Always stuff each part before fully closing.
Crochet Abbreviations
- MR: Magic Ring
- SC: Single crochet
- INC: Increase (2 SC in one stitch)
- DEC: Decrease (SC two together)
- ch: Chain
- st(s): Stitch(es)
- sl st: Slip stitch
Special Stitch Guide
- Magic Ring (MR): Make an adjustable ring, work stitches into ring, pull tight.
- Join with SC: When instructed to fold pieces and crochet through both edges, insert hook through two matching stitches, yarn over, pull through and complete SC.
Complete Crochet Pattern
Beak and Feet (Make 3 Total)
- MR, 6 SC into ring (do not join; work in spiral).
- Fasten off, leaving a long tail for sewing.
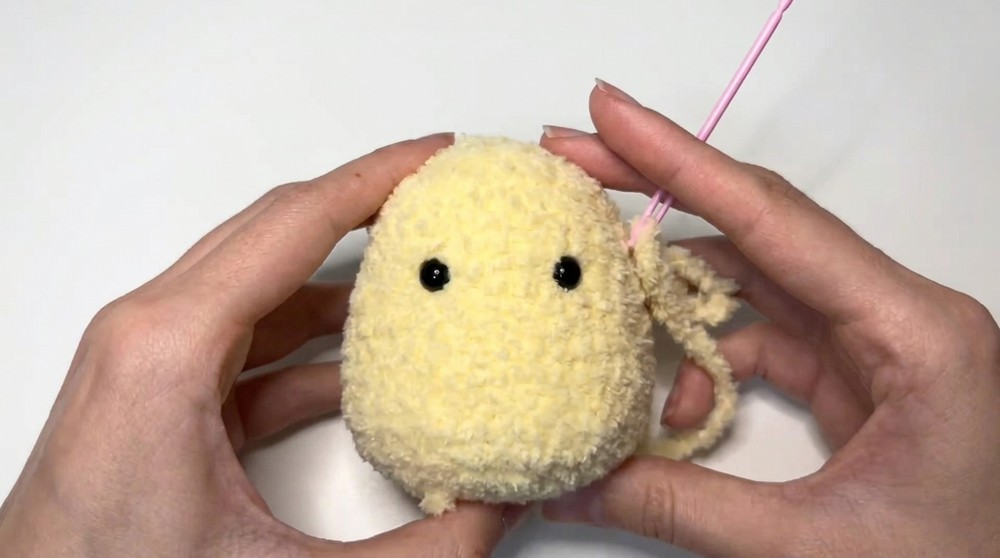
Chick Body
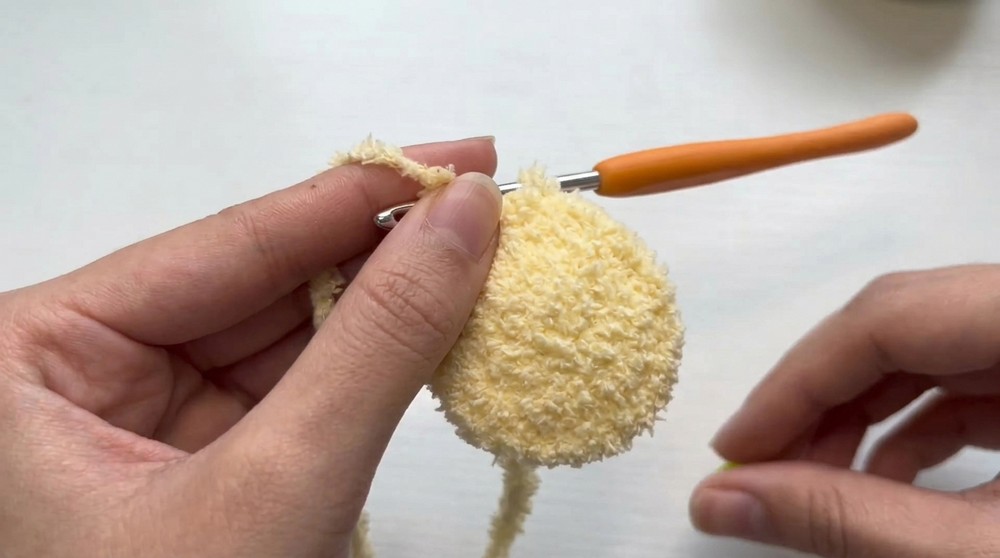
- R1: MR, 8 SC (8)
- R2: 8 INC (2 SC in each st) (16)
- R3: (1 SC, 1 INC) x 8 (24)
- R4: 24 SC
- R5: (2 SC, 1 INC) x 8 (32)
- R6–R10: 32 SC each round
- R11: (3 SC, 1 INC) x 8 (40)
- R12–R14: 40 SC each round
- R15: (4 SC, 1 INC) x 8 (48)
- R16: 48 SC
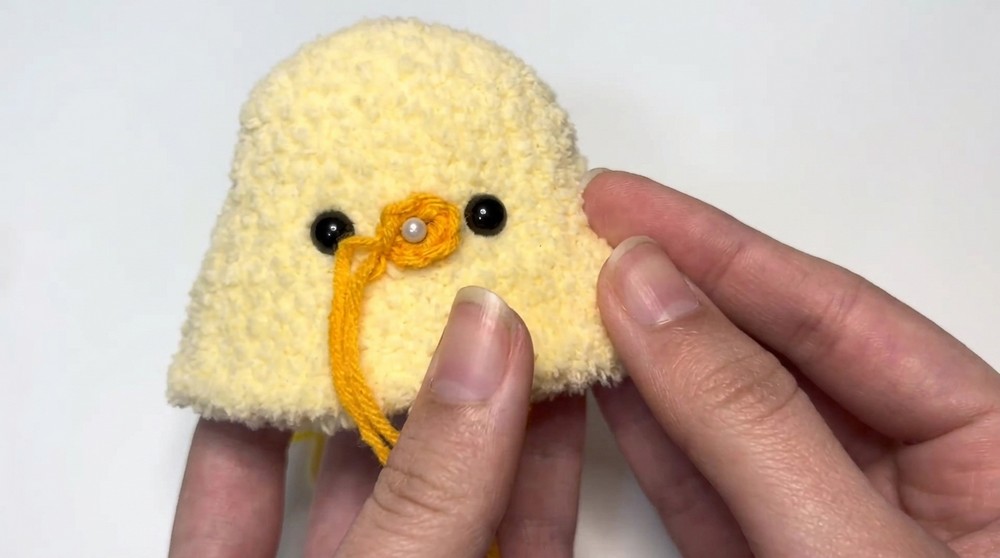
- At this stage, place beak between Rounds 9 and 10 and insert safety eyes beside the beak, 3 stitches apart.
- R17: (4 SC, 1 DEC) x 8 (40)
- R18: (3 SC, 1 DEC) x 8 (32)
- R19: (2 SC, 1 DEC) x 8 (24)
- R20: (1 SC, 1 DEC) x 8 (16)
- Stuff body firmly.
- R21: 8 DEC (SC two together) (8)
- Fasten off, weave through remaining stitches and pull tight to close.
Wings (Make 2)
- R1: MR, 5 SC (5)
- R2: 5 SC
- R3: 5 INC (10)
- R4: 10 SC
- Finishing: Fold wing flat and join edges by working SC through both layers. Fasten off with tail for sewing.
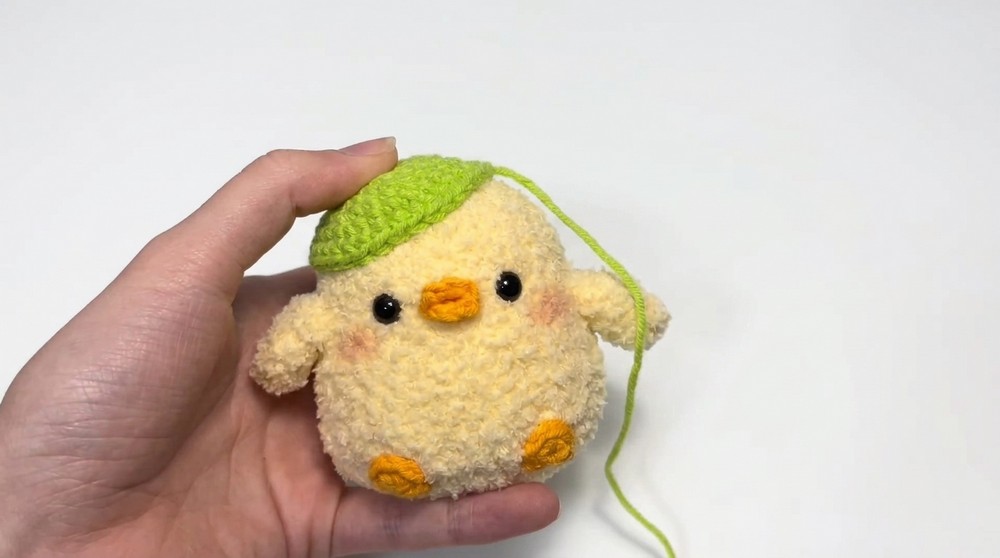
Frog Hat
- R1: MR, 6 SC
- R2: 6 INC (12)
- R3: (1 SC, 1 INC) x 6 (18)
- R4: (2 SC, 1 INC) x 6 (24)
- R5: (3 SC, 1 INC) x 6 (30)
- R6: 30 SC
- Fasten off and set aside for later assembly.
Frog Eyes (Make 2)
- R1: MR, 6 SC (6)
- Fasten off, leaving a tail for sewing. Optionally, embroider a black “pupil” or sew on black bead.
Assembly & Finished Size
- Attach Beak: Sew the beak below the midpoint, between rounds 9 and 10 of the body.
- Eyes: Secure safety eyes or embroider as described, placing them 3 stitches apart, closely flanking the beak.
- Sew Wings: Stitch wings to each side of the body, aligned at eye level for the most natural position.
- Feet: Attach the three small ovals to the bottom of the body, evenly spaced, with two at the front and one at the back or all frontward as preferred.
- Hat Placement: Place the completed frog hat snugly on top of the head.
- Frog Eyes: Attach frog eyes to hat diagonally, placing them between rounds 4 and 5 for a perky appearance.
- Secure All Parts: Weave in all yarn tails securely and trim excess.
The completed chick with frog hat is sturdy, vibrant, and full of personality, ready for display, play, or gifting.
Conclusion
This chick with frog hat amigurumi brings together joyful features and classic construction with quirky accessory flair. Each element is clearly segmented for ease of crocheting and assembly, encouraging both accuracy and creativity. The use of basic shapes, agreeable proportions, and simple sewing techniques makes this amigurumi a delightful project for crafters seeking an endearing, handmade toy. The pattern allows for customization through color, detail, and accessory embellishments, offering ample potential for stylistic interpretation or thoughtful, heartfelt gifts.