
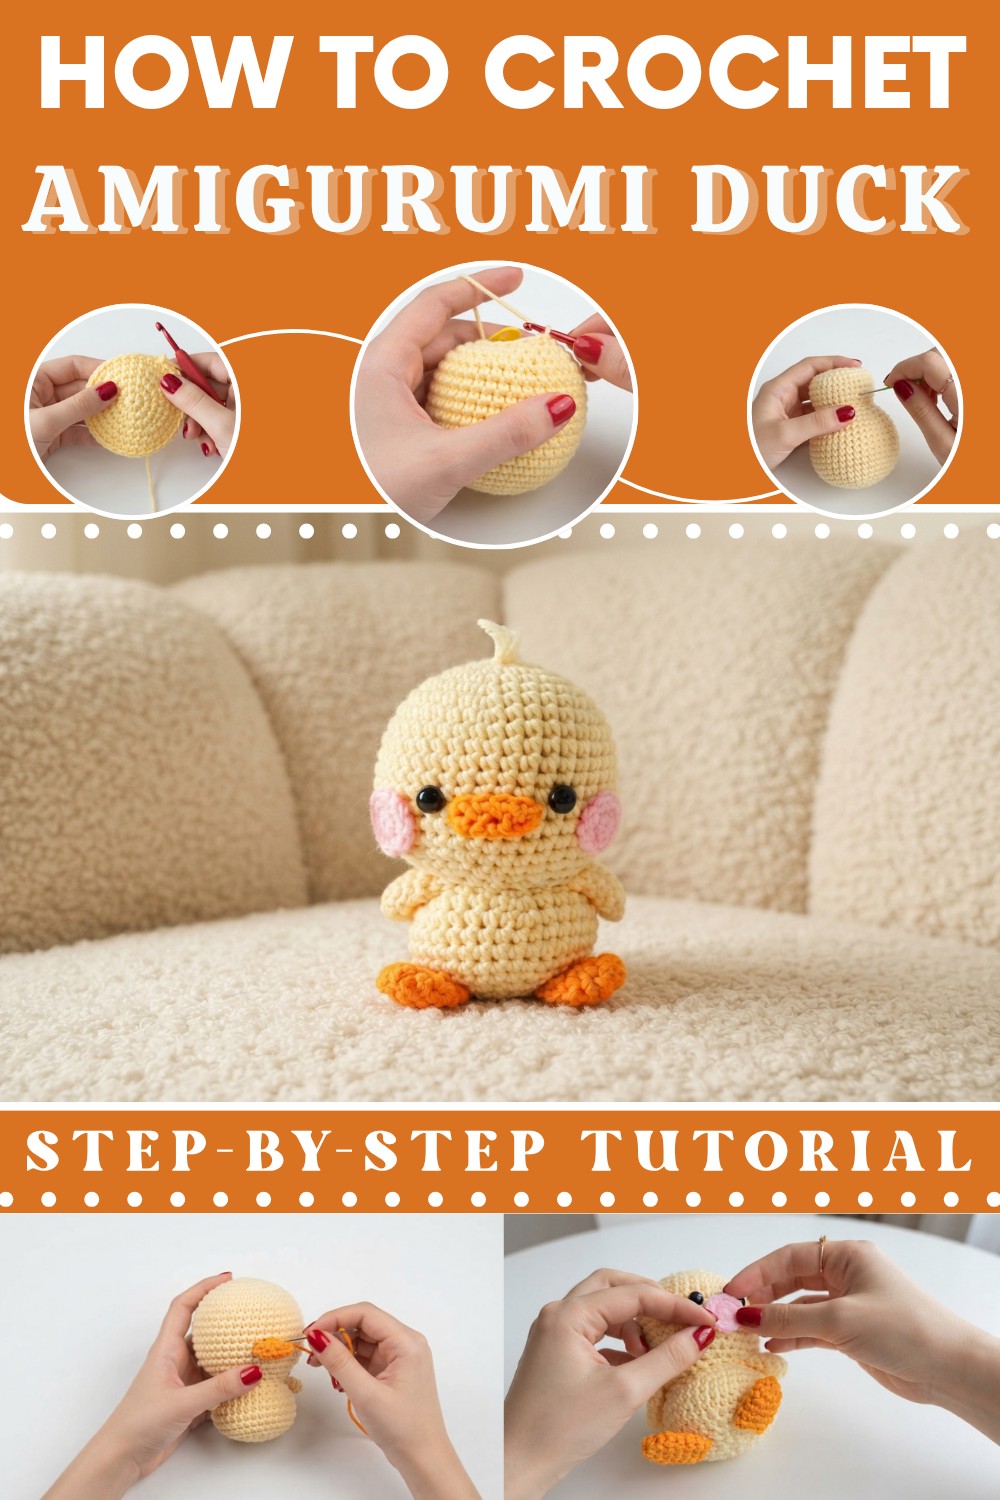
Free Crochet DUCK AMIGURUMI Pattern for Easter Basket Stuffers
Create your own adorable companion with this Free Crochet Duck Amigurumi Pattern, designed with simple instructions for perfect gifts or fun decorations.
Who doesn’t love a cute little ducky that’s soft, squeezable, and totally adorable? This free crochet duck amigurumi pattern is just what you need to bring a splash of fun into your crocheting world! Whether you’re making a sweet gift or adding a quirky friend to your shelf, this little duck has all the charm to brighten anyone’s day.
Free Crochet DUCK AMIGURUMI Pattern – Cute Animal Project
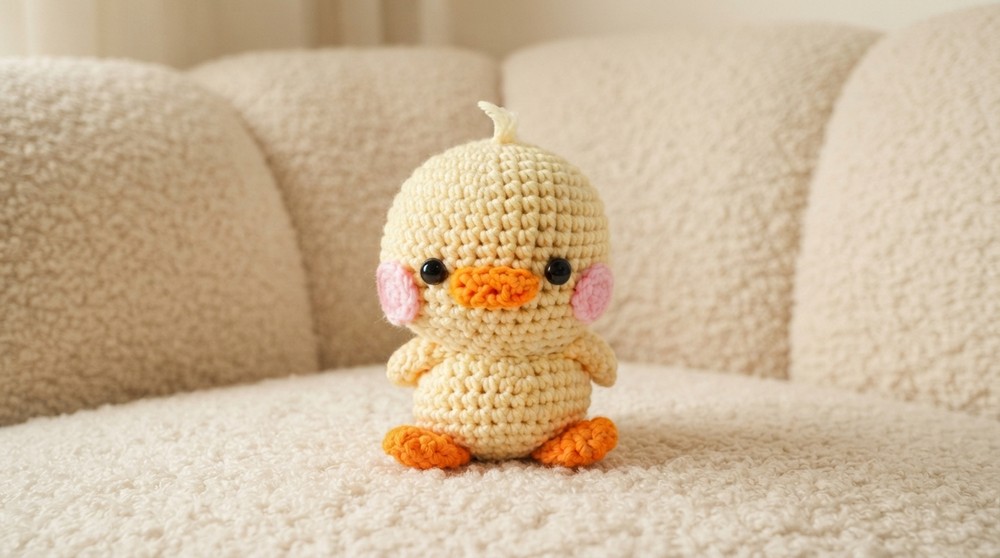
This project creates a small, round duck with a super soft texture that practically begs for hugs. It features a cheerful beak, tiny wings that stick out just right, and big, friendly eyes that give it lots of personality. Depending on your yarn and hook size, you can make your ducky tiny enough to fit in your palm or a bit bigger for maximum cuteness. Plus, you can play with colors, classic yellow, pastel blues, or wild rainbows, making your duck uniquely yours.
Crocheting this duck is a breeze with simple stitches worked mostly in circles and a few tricks to shape the wings and beak just right. One little tip: keep those stitches snug to hold in the stuffing and keep your duck looking neat and tidy. The idea behind this pattern came from watching real ducks waddling about and wanting to make a miniature, huggable version full of personality. Using soft but sturdy yarn helps bring out the smooth, cuddly feel and keeps your duck looking its best.
These crochet ducks make perfect gifts for baby showers, birthdays, or even as a quirky desk buddy at work. Don’t be afraid to get creative—add a tiny hat, a scarf, or even some googly eyes to make your duck truly one-of-a-kind. All in all, this free crochet duck amigurumi pattern is a fun, easy, and totally lovable project that’s sure to quack you up.
How To Crochet A Duck Amigurumi For Beginners
Quick Overview Of Pattern
-
Method: Worked in continuous rounds using a crochet hook.
-
Technique: Basic amigurumi construction, starting from the head down to the body, with separate pieces for wings, feet, beak, and cheeks.
-
Details: Features a cute tuft of hair on the head and sweet pink cheeks.
Notes
-
Work in continuous rounds unless otherwise stated.
-
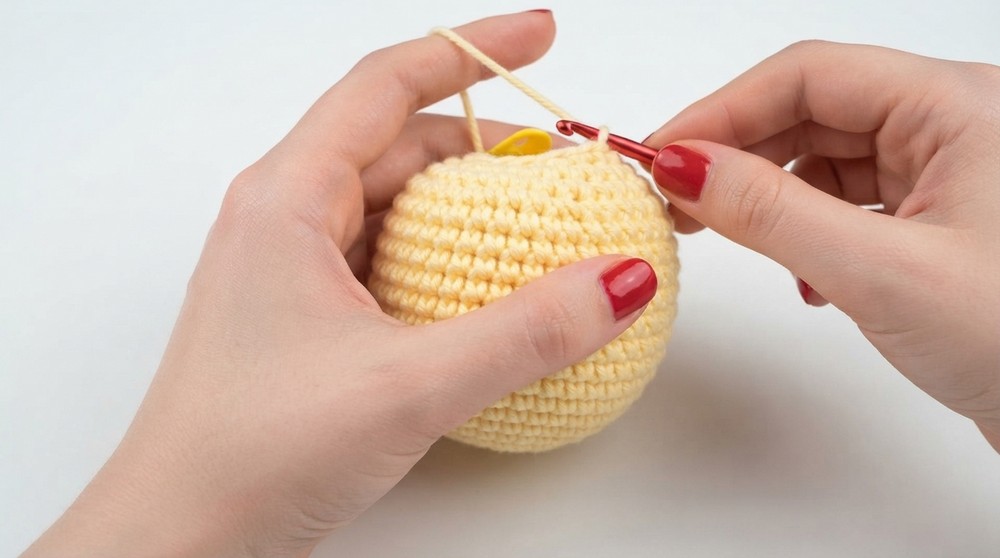
Use a stitch marker to track the beginning of each round.
-
Ensure the stitch count matches the requirement at the end of every round.
-
Stuff the body firmly with fiberfill as you progress.
-
The terms used follow standard crochet terminology.
Skill Level
-
Beginner-friendly.
Materials
-
Yarn (Yellow and Orange recommended)
-
Crochet hook (size 3.5 mm / 6)
-
Yarn needle
-
Stitch markers
-
Doll eyes
-
Fiberfill (stuffing)
-
Scissors
Stitch Abbreviations
-
SC: Single crochet
-
INC: Increase (two single crochet in the same stitch)
-
DEC: Decrease (two stitches together)
-
FLO: Front loop only
The Crochet Pattern!
Head
-
Round 1: Magic ring, 6 SC
-
Round 2: INC in every stitch (12 total)
-
Round 3: 1 SC, INC, repeat 6 times (18 total)
-
Round 4: 1 SC, 1 SC, INC, repeat 6 times (24 total)
-
Round 5: 1 SC, 1 SC, 1 SC, INC, repeat 6 times (30 total)
-
Round 6: 1 SC, 1 SC, 1 SC, 1 SC, INC, repeat 6 times (36 total) .
-
Round 7: 1 SC, 1 SC, 1 SC, 1 SC, 1 SC, INC, repeat 6 times (42 total)
-
Rounds 8–15: SC in each stitch around (42 total per round).
-
Round 16: 5 SC, DEC, repeat 6 times (36 total) .
-
Round 17: 4 SC, DEC, repeat 6 times (30 total)
-
Round 18: 3 SC, DEC, repeat 6 times (24 total)
-
Round 19: 2 SC, DEC, repeat 6 times (18 total)
-
Stuff the head firmly with fiberfill


Body
-
Round 20: 2 SC, INC, repeat 6 times, working in FLO only (24 total)
-
Round 21: 3 SC, INC, repeat 6 times (30 total)
-
Round 22: 4 SC, INC, repeat 6 times (36 total)
-
Rounds 23–25: SC in each stitch around (36 total) .
-
Round 26: 4 SC, DEC, repeat 6 times (30 total)
-
Round 27: 3 SC, DEC, repeat 6 times (24 total) .
-
Round 28: 2 SC, DEC, repeat 6 times (18 total)
-
Stuff the body .
-
Round 29: 1 SC, DEC, repeat 6 times (12 total)
-
Round 30: DEC 6 times (6 total)
-
Fasten off and sew the opening closed

Wings (Make 2)
-
Round 1: Magic ring, 6 SC .
-
Round 2: 1 SC, INC, repeat 3 times (9 total) .
-
Round 3: SC in each stitch (9 total)
-
Round 4: 2 SC, INC, repeat 3 times (12 total).
-
Round 5: SC in each stitch (12 total)
-
Fasten off and leave a long tail for sewing
Beak
-
Chain 5
-
Round 1: SC in second chain from hook, SC, SC, INC in the last chain Turn to the other side of the chain: SC, SC, INC (10 total) .
-
Round 2: SC in each stitch (10 total)
Feet (Make 2)
-
Round 1: Magic ring, 6 SC
-
Round 2: 1 SC, INC, repeat 3 times (9 total)
-
Rounds 3–6: SC in each stitch around (9 total)
Assembly & Finished Size
- Position the wings on the sides of the body the beak centrally on the face , and the feet at the bottom
- Use the yarn needle to secure these pieces firmly.
- Attach the Nose
- Attach the eyes above the beak area For the cheeks, work 6 SC in a magic ring
- ,then INC in every stitch , and sew or glue them on
- Finally, add the hair tuft by looping yarn strands through the top of the head and trimming them to a natural length


Conclusion and ending words
This charming creation is now complete! With careful assembly and finishing touches, your handmade duck brings joy and personality to any collection.
