
Crochet Tiny Octopus Amigurumi Pattern for Kids’ Toys
Crochet a mini masterpiece with this Tiny Octopus Amigurumi Pattern—simple, speedy, and your next favorite DIY project for the sea-inspired!
Designed with eight curls and whimsical expressions, these adorable creations can be used as thoughtful gifts, trendy keychains, or playful decorations for various spaces. With vibrant options in color and a fun design, they convey a sense of creativity and individuality while inspiring smiles wherever displayed. Plus, they provide a therapeutic activity and endless enjoyment for the maker.
Crochet Tiny Octopus Amigurumi Pattern
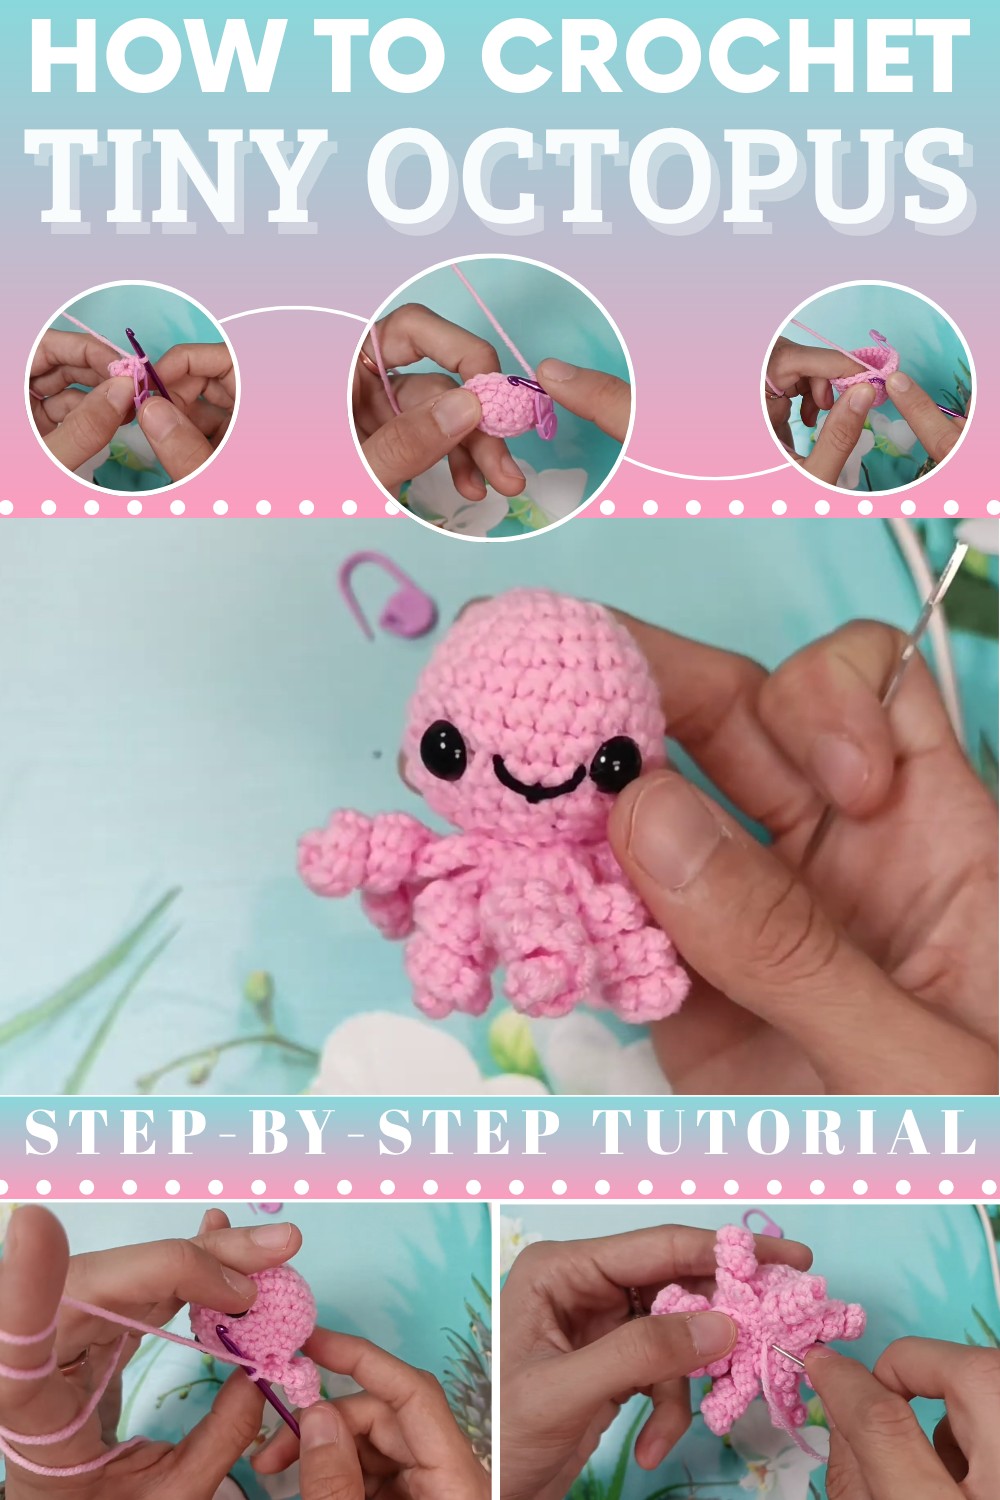
Crochet Octopus Keychain Pattern - Step-by-Step Guide
Welcome to this step-by-step crochet tutorial for creating adorable and crochet mini keychains! These octopus keychains are a fun and easy project that can be completed in less than an hour, making them ideal for beginner and experienced crafters alike. Using simple stitches, you will create an octopus with eight tentacles, safety eyes, and a cute little smile. Customize your keychain by using yarn colors of your choice to add a personal touch.
Materials Needed
To make this crochet octopus keychain, you will need the following supplies:
- Yarn: 5-ply milk cotton yarn (example used in tutorial: pink color). You can substitute other types of yarn, but keep in mind the size of the final product may vary.
- Thin black yarn (for embroidering the smile).
- Crochet Hook: 3mm crochet hook.
- Safety Eyes: 8mm size, with plastic washers.
- Needle: For sewing the piece together and final touches.
- Pair of Scissors.
- Fiber Filling: For stuffing the body of the octopus.
- Stitch Marker: To mark the end of each row.
Abbreviations of Crochet Stitches
- SC: Single Crochet
- Inc: Increase (two SCs in the same stitch)
- Ch: Chain
- Dec: Decrease (regular decrease or invisible decrease explained below)
- Sl St: Slip Stitch
Detailed Step-by-Step Pattern
Body
- Row 1:
- Begin with a magic circle.
- Make 6 SCs into the magic circle using the yarn under method (optional: yarn over can also be used).
- Pull the tail to close the circle lightly.
- Place a stitch marker into the last stitch for reference.
Result: 6 stitches in the round.
- Row 2:
- Make 6 increases (2 SCs in each stitch).
- You will have 12 stitches at the end of this row.
- Row 3:
- Repeat the following pattern: 1 SC, Inc (1 SC in one stitch, 2 SCs in the next stitch).
- Repeat this for a total of 6 times around the circle.
- You will have 18 stitches at the end of this row.
- Row 4:
- Make 1 SC in each stitch around the row.
- By the end of this row, you’ll still have 18 stitches.
- Row 5:
- Repeat the following pattern: 5 SCs, Inc (1 SC in 5 stitches, 2 SCs in the 6th stitch).
- Repeat for a total of 3 times around.
- You will have 21 stitches in this row.
- Row 6:
- Start the row with Inc (2 SCs in the first stitch), followed by 6 SCs.
- Repeat this pattern for a total of 3 times.
- You will now have 24 stitches.
- Rows 7 & 8:
- Work for two rounds making 1 SC in each stitch around.
- You will still have 24 stitches.
- Row 9 (Start of Decreases):
- Repeat the following pattern: 6 SCs, Dec (make a decrease after 6 single crochets).
- Repeat 3 times. Use the invisible decrease method if accessible.
- You will now have 21 stitches.
- Row 10:
- Repeat the following pattern: 5 SCs, Dec (make a decrease after 5 single crochets).
- Repeat 3 times.
- You will have 18 stitches.
- Insert Safety Eyes:
- Place your hook into the work and pull it out. Turn the piece around.
- Insert the safety eyes between Rows 8 and 9. Space them 5 stitches apart.
- Secure the eyes with plastic washers. Ensure proper alignment at the center of the face.
- Row 11:
- Repeat the following pattern: SC, Dec.
- Repeat 6 times around the row.
- You will now have 12 stitches.
- Stuffing:
- Remove your hook temporarily and insert stuffing into the head/body using your fingers. Fill the shape firmly, but avoid overstuffing to prevent visible holes in the stitches.
- Row 12:
- Repeat the following pattern: SC, Dec.
- Repeat 4 times around the row.
- You should now have 8 stitches.
- Close the Hole:
- Make a slip stitch in the next stitch.
- Cut the yarn, leaving a long tail. Thread the tail onto a needle.
- Sew the remaining 8 stitches by weaving the needle through the front loop only of each remaining stitch and gently pull tight to close the hole.
- Secure the yarn by tying a knot, and hide the tail with your needle through the body. Snip any excess.
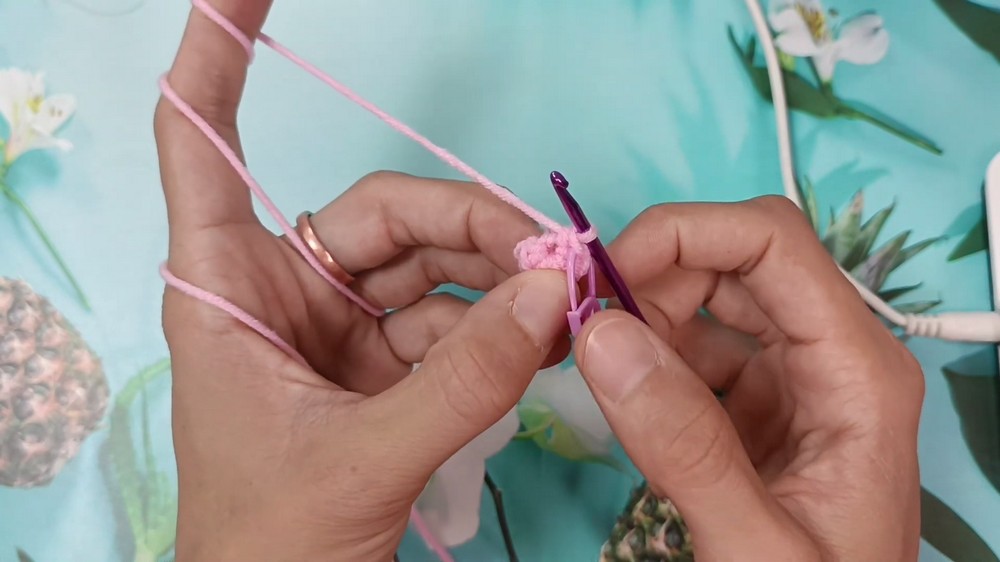

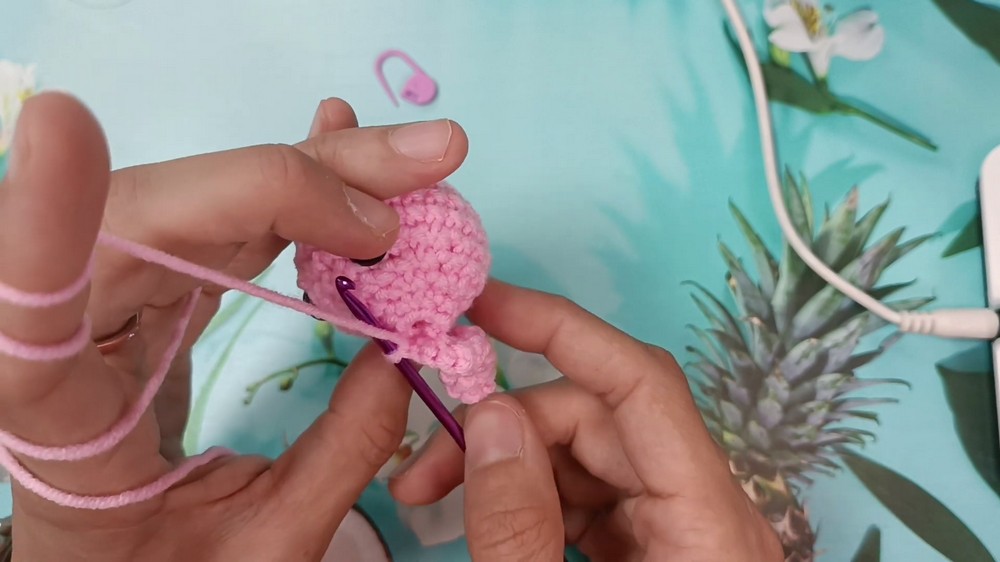

Tentacles
Repeat the following pattern to make 8 tentacles:
- Attach yarn to the base of the body (front loop only) where the stitches are located.
- Chain 12.
- Starting from the second chain from the hook, work 2 SCs into each of the next 11 chains (make an increase in each).
- Slip stitch into the front loop only of the next stitch on the base.
Repeat the process for all 8 tentacles around the base. Ensure placement is even.
Smile Embroidery
- Thread the thin black yarn onto a needle.
- Insert the needle near the base, then bring it up one stitch left from the first eye at the center bottom.
- Insert the needle one stitch right of the second eye.
- Bring the needle back down at the midpoint below the eyes to create a semicircular smile.
- Pass the needle through the underside to make knots and secure the yarn. Trim the excess and hide the remaining yarn inside the body using the needle.

Attaching the Keychain
- Take a keychain ring and open the loop.
- Insert the loop through the center top of the octopus's head.
- Secure the keychain loop.
Your octopus keychain is now ready to use or gift!
Conclusion
This crochet octopus keychain is an adorable creation and a quick, easy project that works up in under an hour. Perfect as a gift or an accessory for yourself, this project will brighten anyone’s day. With just a few materials and basic crochet stitches, you can create a unique masterpiece (or even more for friends and family). Be creative with colors and add your personal style to make truly unique keychains.