
Crochet Watermelon Amigurumi Keychain Pattern Free
Spruce up your belongings with this fresh watermelon-inspired crochet keychain that’s both easy to make and sweetly adorable for all occasions.
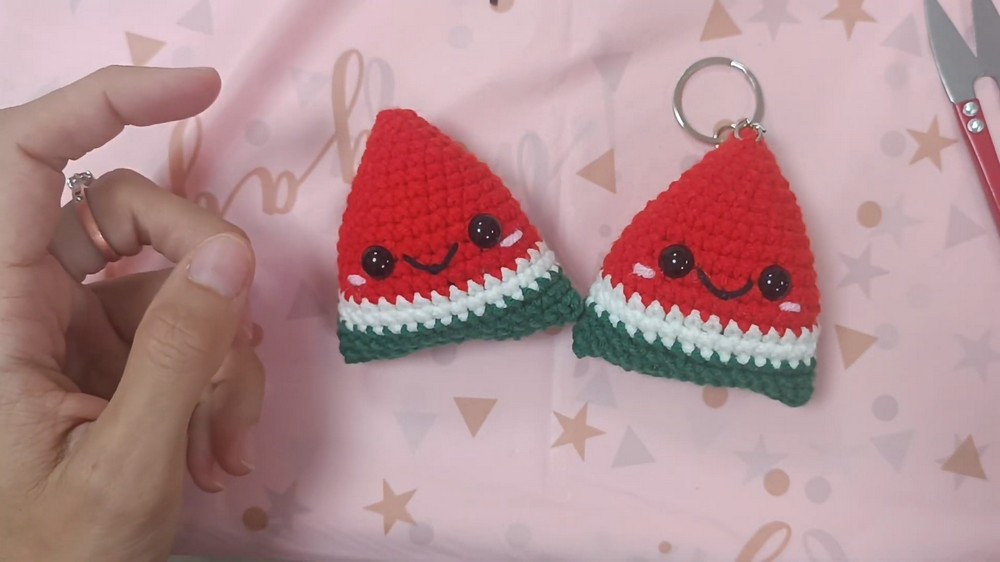
Perfect to brighten up your keys, bags, or even your car, this eye-catching design is ideal for gifting to loved ones or adding a fruity splash to everyday items. With a combination of red, green, and white, along with adorable details like safety eyes, a smile, and rosy blush, this fun creation brings a cheerful touch to your belongings. Its unique design sparks joy and adds personality, making it impossible not to smile every time you see it.
Crochet Watermelon Amigurumi
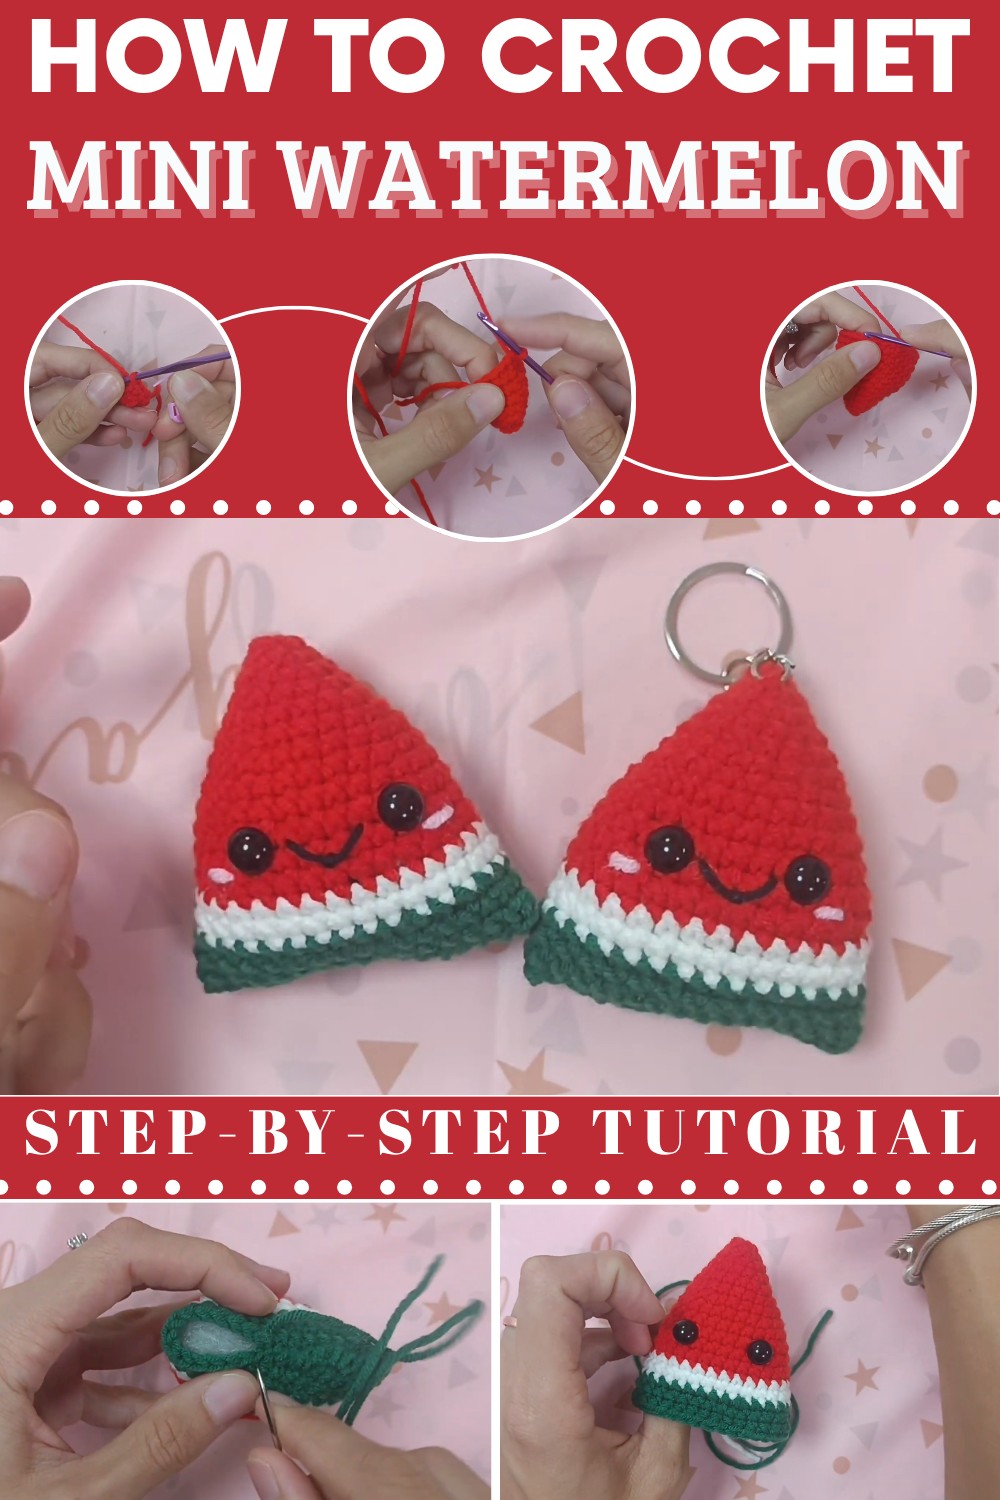
Crochet Small Watermelon Pattern
This guide walks you through creating a small crochet watermelon, perfect as a keychain or a decorative charm for bags and cars. The pattern is beginner-friendly, quick, and uses basic stitches like single crochet, increases, and slip stitches. It's a fun project to practice shaping and working with different colors of yarn. By the end of this tutorial, you'll have an adorable watermelon to gift or display.
Materials
You will need the following materials to crochet the small watermelon:
- Yarn colors: Red, green, and white yarn (milk cotton yarn recommended, but any yarn will work depending on your desired size).
- A small piece of pink yarn/thread: For adding blush details to the watermelon.
- 3mm crochet hook: Recommended for the project.
- 8mm safety eyes
- Fiber stuffing: To fill the watermelon.
- Scissors: For cutting yarn.
- Tapestry needle: For sewing, adding the smile, blush, and finishing the project.
- Stitch marker: To keep track of where each row ends.
- Keychain ring (optional): For turning the finished watermelon into a keychain.
Abbreviations of Stitches
Here are the necessary stitches and abbreviations:
| Abbreviation | Stitch/Technique |
|---|---|
| Ch | Chain stitch |
| SC | Single crochet |
| INC | Increase (2 SC into one stitch) |
| DEC | Decrease (crochet two stitches together) |
| Sl St | Slip stitch |
| Magic Circle/Ring | Foundation technique for creating circular crochet |
Step-by-Step Pattern
The watermelon is crocheted in rounds, starting with the red yarn. The main body is crocheted first, followed by assembling the details like safety eyes, blush, and smile. You will also change yarn colors to achieve the watermelon layers.
The Body of the Watermelon
Row 1: Magic Circle
- Begin with a magic circle:
- Wrap the yarn around your fingers to form a loop.
- Insert your hook through the loop, yarn over, and pull through.
- Yarn over again and pull through the loop on the hook to secure the circle.
- Work 6 SC into the magic circle.
- Pull the loose end of the yarn to tighten the circle.
Total stitches after Row 1: 6 SC
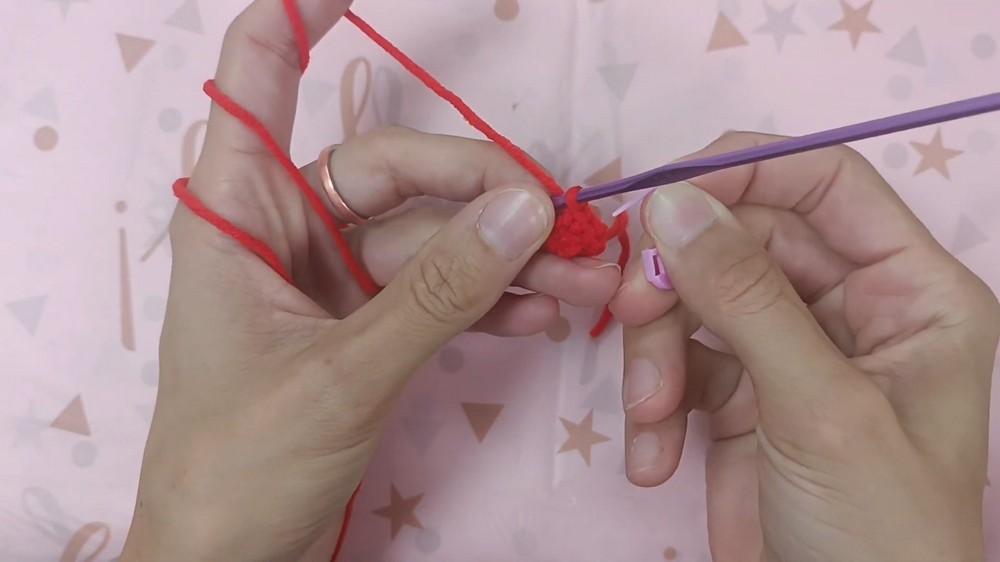
Row 2: Expanding the Circle
- Place a stitch marker on the last stitch to track rows.
- Work 1 SC into the first stitch and then INC into the next stitch:
- Pattern: SC, INC.
- Repeat a total of 3 times until you reach the stitch marker.
- Pull the loose yarn tight after finishing the row.
Total stitches after Row 2: 9 SC
Row 3: Increasing Further
- Alternate SC, SC, INC:
- Pattern: Work one SC into the first two stitches, then INC into the third stitch.
- Repeat 3 times until you reach the stitch marker.
- Replace the stitch marker in the last stitch of this row.
Total stitches after Row 3: 12 SC
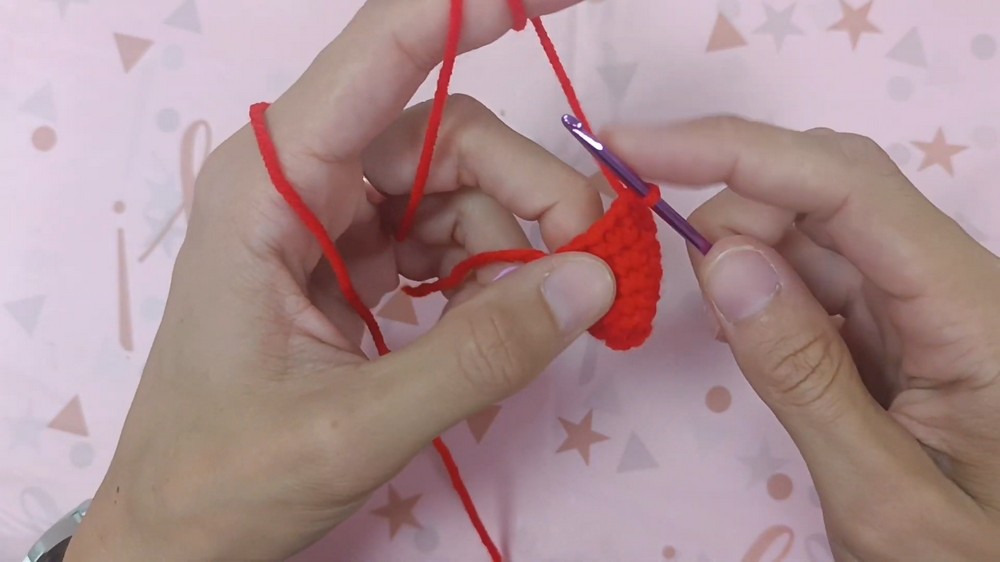
Row 4: Continuing the Growth
- Alternate SC in three stitches and INC in the fourth stitch:
- Pattern: SC, SC, SC, INC.
- Repeat 3 times.
- Replace the stitch marker in the last stitch of this row.
Total stitches after Row 4: 15 SC
Row 5: Expanding More
- Work SC into the first four stitches followed by INC into the fifth stitch:
- Pattern: SC, SC, SC, SC, INC.
- Repeat 3 times.
- Replace the stitch marker in the last stitch of this row.
Total stitches after Row 5: 18 SC
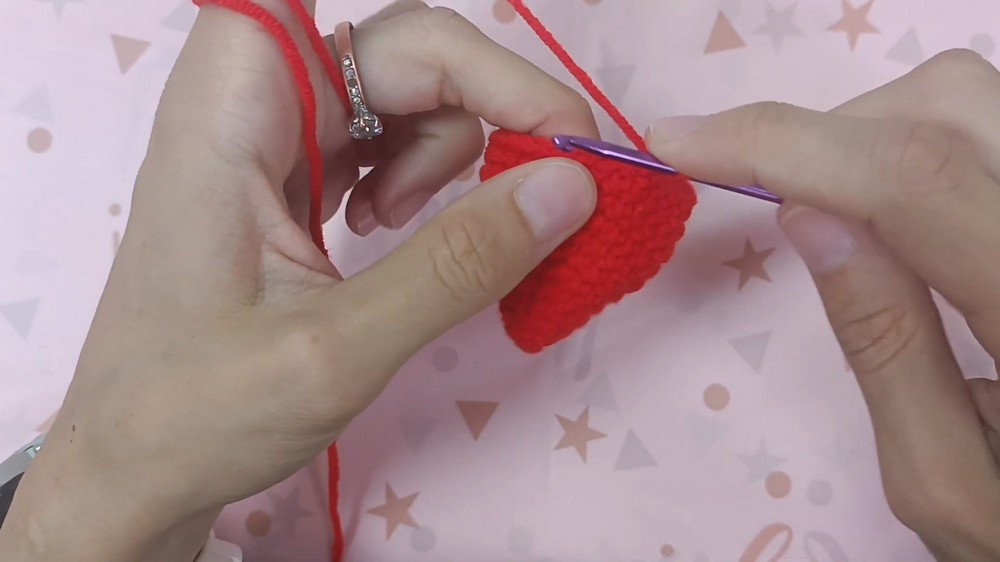
Row 6: Adding Width
- Start the row with INC in the first stitch, then work SC into the next five stitches:
- Pattern: INC, SC, SC, SC, SC, SC.
- Repeat 3 times.
- Replace the stitch marker in the last stitch of this row.
Total stitches after Row 6: 21 SC
Row 7: Shaping the Curve
- Alternate SC, SC, INC, then work SC into the next four stitches:
- Pattern: SC, SC, INC, SC, SC, SC, SC.
- Repeat 3 times.
- Replace the stitch marker in the last stitch of this row.
Total stitches after Row 7: 24 SC
Row 8: Preparing for Layers
- Work SC into the first seven stitches, followed by INC in the eighth stitch:
- Pattern: SC, SC, SC, SC, SC, SC, SC, INC.
- Repeat 3 times.
- Replace the stitch marker in the last stitch of this row.
Total stitches after Row 8: 27 SC
Rows 9 & 10: Maintaining Shape
- Work 1 SC into each stitch around for 2 rows (you'll complete Rows 9 and 10):
- Pattern for each row: SC all around (27 SC).
- Replace the stitch marker in the last stitch of each row.
Total stitches after Rows 9 & 10: 27 SC
Adding Watermelon Layers
Row 11: Start White Yarn Layer
- For this row, change the yarn to white on the last stitch of Row 10:
- Insert hook into the stitch, yarn over red yarn, and pull through. Then yarn over with white yarn and complete the stitch. Tie off the red yarn with a knot.
- Restart the row with white yarn.
- Work 1 SC into each stitch for the entire row (30 SC).
Total stitches after Row 11: 30 SC
Rows 12 & 13: Continuing White Layer
- Work 1 SC into each stitch around for both rows (30 SC on each row).
- Ensure to tie off loose yarn ends securely as you work.
Row 14: Start Green Yarn Layer
- Change to green yarn on the last stitch of Row 13 using the same color-switching method.
- Work 1 SC into each stitch for this layer (33 SC).
Total stitches after Row 14: 33 SC
Row 15: Final Shaping
- Work SC into the first nine stitches, then INC into the tenth stitch:
- Pattern: SC, SC, SC, SC, SC, SC, SC, SC, SC, INC.
- Repeat 3 times.
- Replace the stitch marker after completing the row.
Total stitches after Row 15: 33 SC
Rows 16 & 17: Final Rows
- Work SC into each stitch around for two rows (33 SC per row).
- End Row 17 with a slip stitch in the next stitch.
- Chain 1, cut the yarn, and pull through to secure.
Finishing Details
Safety Eyes
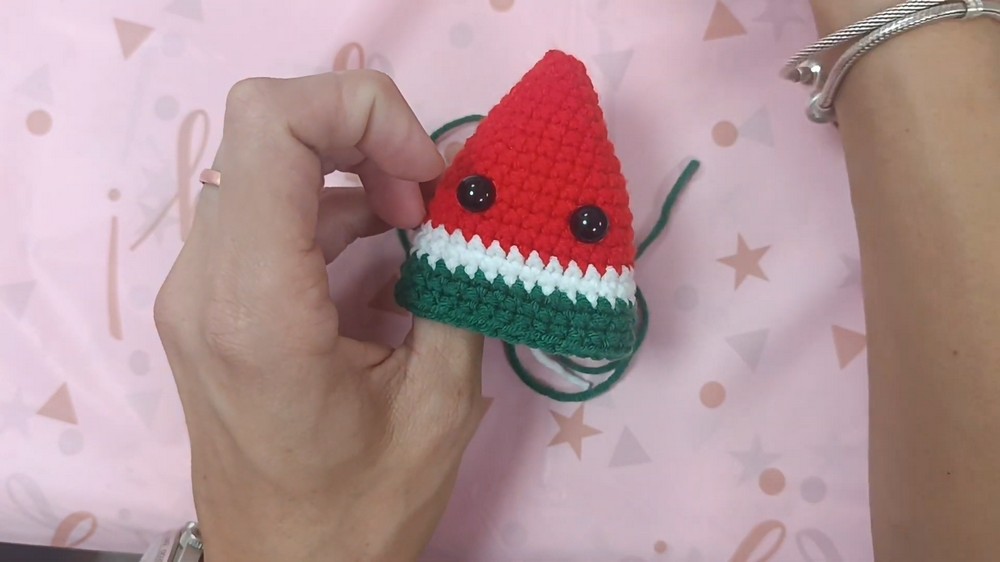
- Insert safety eyes between Rows 10 and 11, with five stitches spaced apart.
- Secure the eyes with their backs inside the watermelon.
Stuffing
- Use fiber stuffing to fill the watermelon. Be sure to evenly stuff all corners and edges.
Sewing and Closing
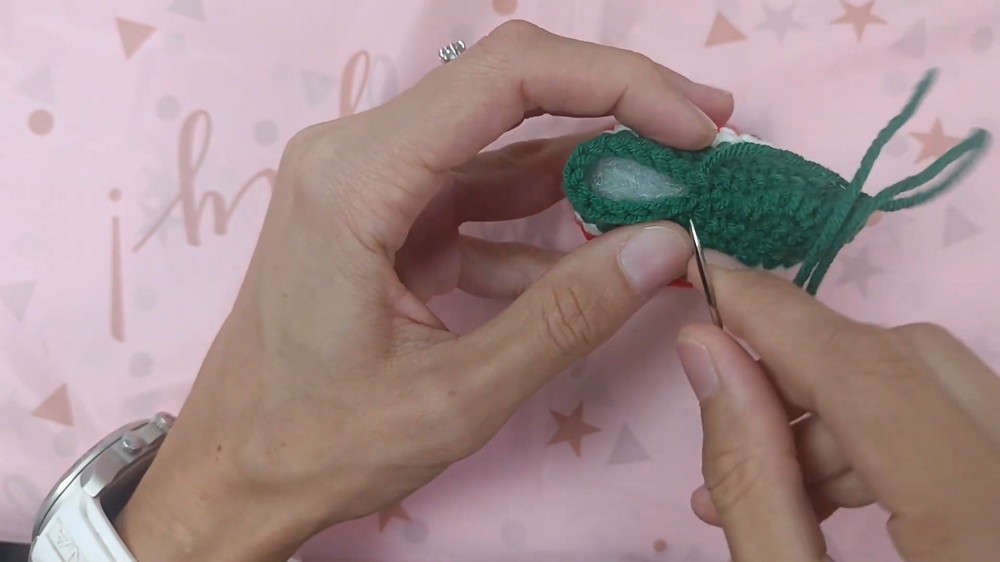
- Flatten the watermelon and sew the top edges together.
- Insert extra stuffing before closing completely.
- Once closed, pull the needle through the last loop, knot securely, and hide the tail inside the watermelon.
Adding Blush
- Use pink thread to embroider small "blush marks" underneath the eyes. Secure knots and hide threads.
Adding Smile
- Use black thread to embroider a simple smile below the eyes in the center. Secure knots and hide threads.
Conclusion
Congratulations! Your small crochet watermelon is now complete. This quick, colorful project is great for practice and makes an excellent handmade gift or accessory. Add a keychain to turn it into a functional charm for bags or car keys.