
Free Crochet Scented Sachet Pattern To Refresh Any Space
Delight your senses with this Crochet Scented Sachet Pattern that combines soft textures and gentle fragrance for a charming, practical accent.
Small treasures that gently infuse a space with subtle fragrance and quiet charm hold a timeless appeal. This Crochet Scented Sachet embodies refined simplicity, combining soothing texture with delicate scent to enhance everyday surroundings. Soft yet sturdy, it serves as both a decorative accent and a practical companion for freshening drawers, closets, or personal spaces with thoughtful care.
Free Crochet Scented Sachet That Make Perfect Gifts & Decor
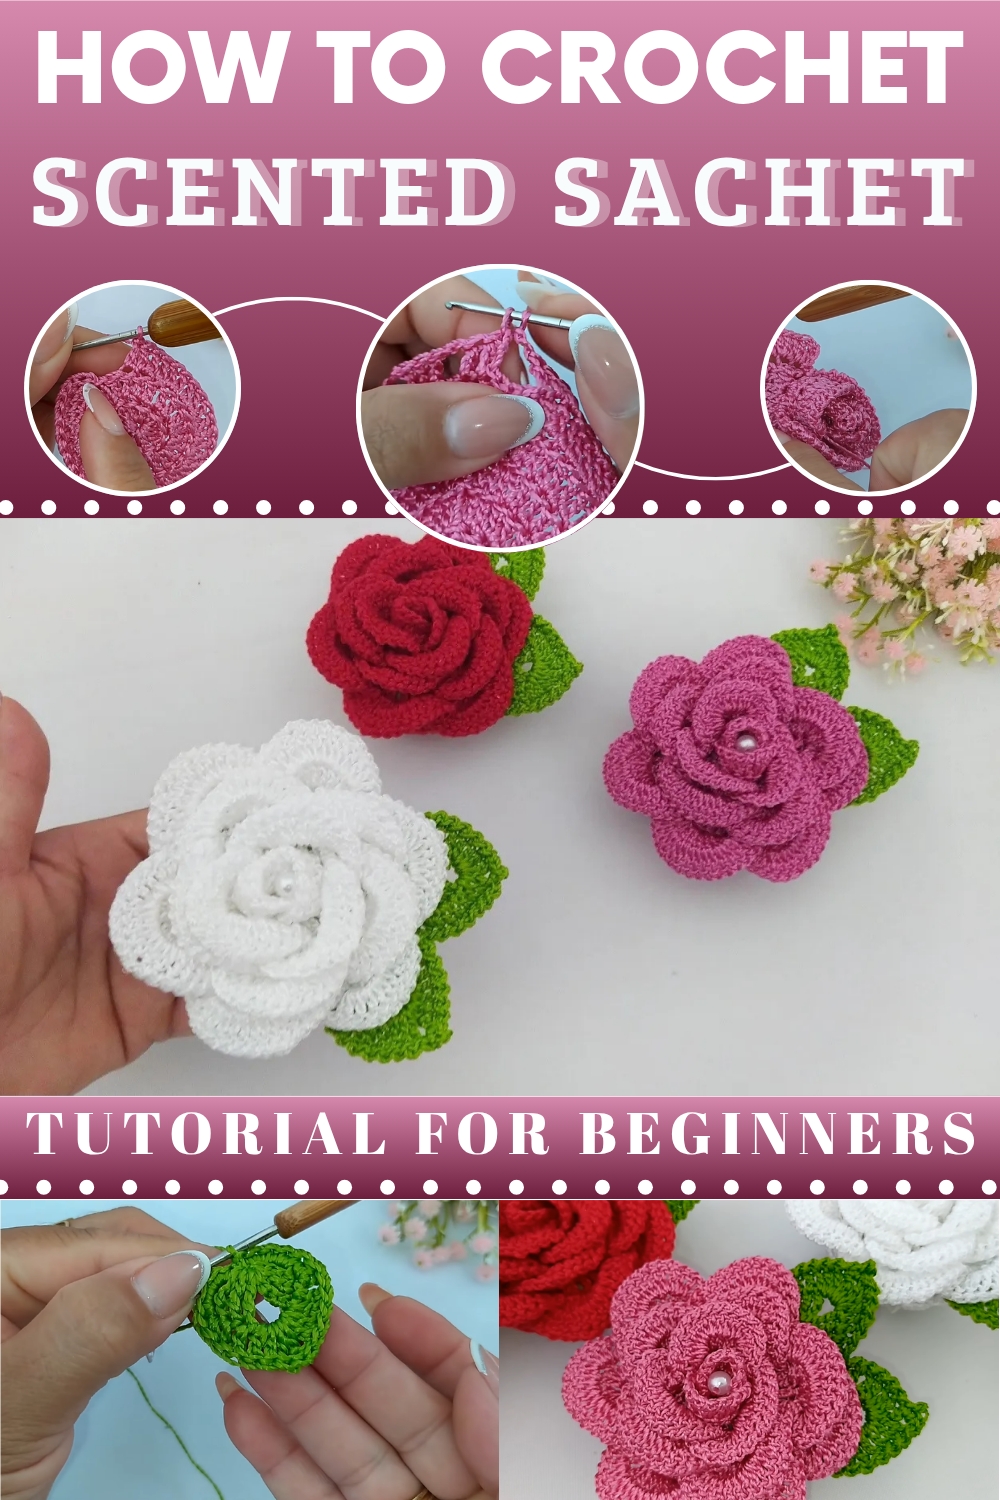
This scented sachet offers multiple benefits: gently freshening small spaces, adding charming accents to décor, and providing a calming, mindful activity for those working with yarn. The repetition of basic stitches creates a relaxing rhythm accessible to beginners, while allowing room for personalization through yarn color and scent choice.
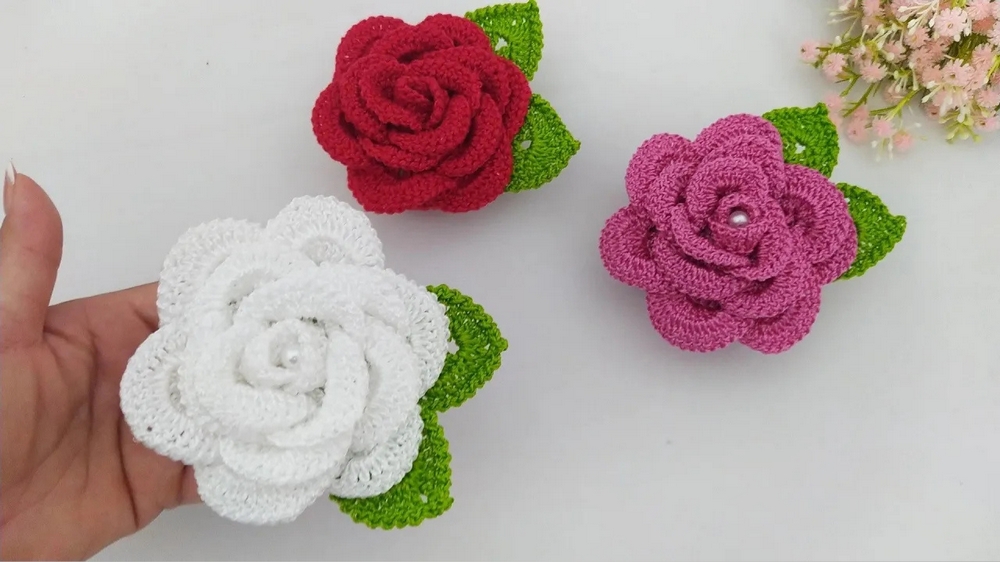
To bring this elegant sachet to life, cotton or acrylic yarn, a crochet hook around 3.5 mm, fiberfill or dried herbs for stuffing, and a yarn needle for finishing are needed. The main stitches include single crochet (sc), slip stitch (sl st), and chain stitch (ch), creating a firm but graceful fabric ideal for holding scented fillings securely.
Free Crochet Rose Scented Sachet Pattern
Materials
- Yarn: Thick silk thread, Tex 288, 100% polypropylene
- Color A: Pink (for rose)
- Color B: Lime Green (for leaves)
- Hook: 1.75 mm steel crochet hook
- Optional: Pearl bead (size #8) for flower center
- Scissors
- Hot glue (for attaching leaves and soap)
- Soap bar: About 90g, e.g., Natura brand
Key Abbreviations (US Terms)
| Abbreviation | Definition |
|---|---|
| ch | Chain |
| sl st | Slip stitch |
| sc | Single crochet |
| dc | Double crochet |
| tr | Treble crochet |
| dtr | Double treble crochet |
| st(s) | Stitch(es) |
| beg | Beginning |
| lp(s) | Loop(s) |
| inc | Increase (2 sts in one st) |
| Magic ring | Adjustable loop for starting in the round |
Special Notes
- The rose and leaves are crocheted separately and assembled.
- Work in the back loop only throughout for texture.
- Polypropylene yarn is sealed by heat. For cotton or similar, finish/woven ends as usual.
- All increases are made by working two stitches in the same space.
Pattern
A. Rose Base
Round 1: Center
- Begin with a magic ring.
- Ch 3 (counts as first dc).
- Work 11 dc into magic ring (total 12 dc).
- Tighten ring, join with a sl st to 3rd ch of beginning ch.
Round 2: Increase Round
- Ch 3 (counts as first dc).
- Dc in same st (increase).
- 2 dc in each st around (always working in back loop only).
- Join with sl st to 3rd ch. (24 dc)
Round 3: One and Increase
- Ch 3 (counts as first dc).
- Dc in next st (back loop only), 2 dc in following st (back loop only); repeat around.
- End with an increase. Join with sl st to 3rd ch.
Round 4: Two and Increase
- Ch 3, dc in next st, dc in next st (back loops only).
- 2 dc in following st (inc), dc in each of next 2 sts (back loops only); repeat around.
- Join with sl st.
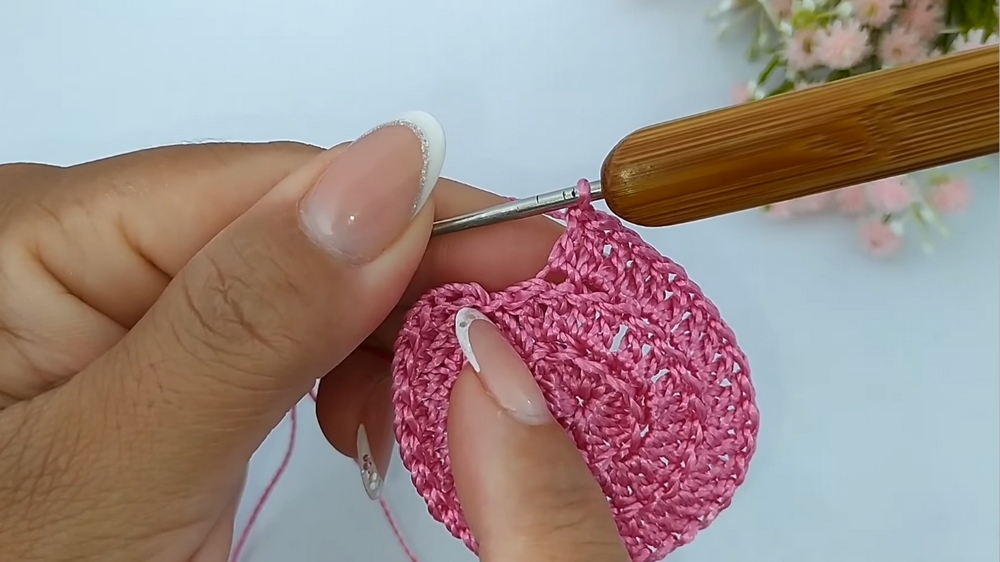
Round 5: Three and Increase
- Ch 3, dc in next st, dc in next st, dc in next st (back loops only).
- 2 dc in following st (inc), dc in each of next 3 sts (back loops only); repeat around.
- At end, may have 4 normal dc to finish round—this is acceptable.
- Join with sl st.
B. Sachet Cover
Rows for Cover (Forming mesh pouch for soap)
- Ch 3 (counts as dc), dc in next 2 sts (3 dc total).
- Ch 2, skip 2 sts, dc in next 3 sts; repeat around.
- Join with sl st. Move to center of ch-2 space with sl st.
- 3 dc in ch-2 space, ch 2, skip next block, repeat all around (for 3 rounds).
- Finish and seal ends. (For polypropylene, melt ends; otherwise, weave them in.)
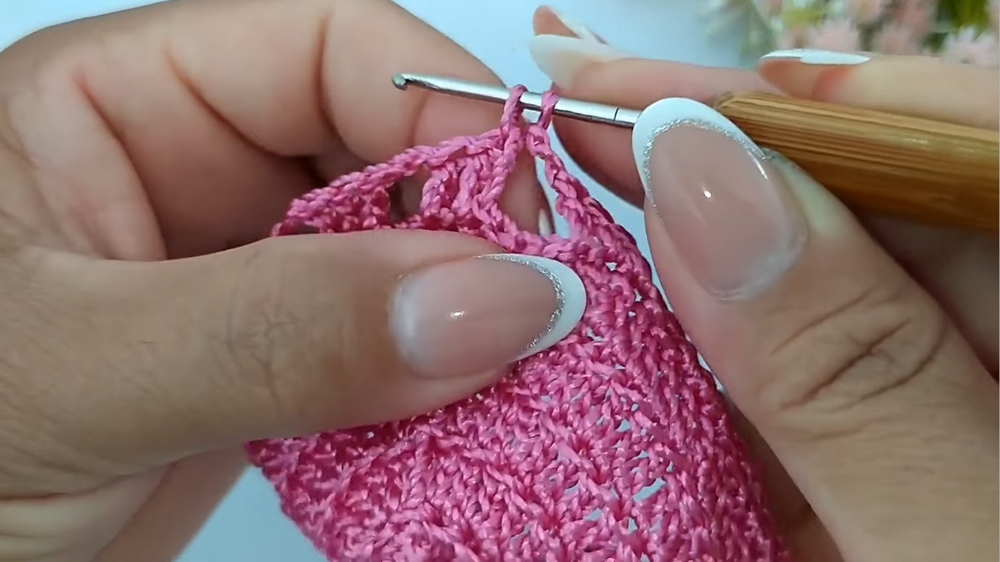
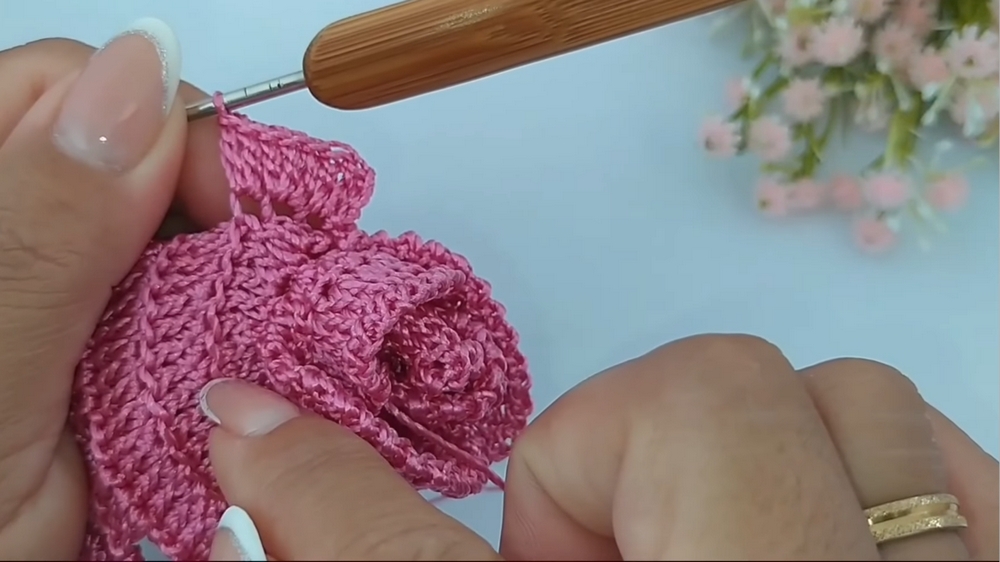
C. Rose Petals
Petals are made directly onto the base.
For Each Petal Layer:
- Join yarn in a loop or space.
- Ch 3, work 2 dc in same space (3 dc total).
- Move to next loop, 3 dc in same space; continue for petal count.
- Ch 3, turn, and increase in each dc across petal (work 2 dc in each st).
- Join to base with sl st.
- Work a row of lace stitches atop each petal:
- Sl st in next st, ch 1, sl st in next st, repeat across petal.
- For each new petal, start with ch 3, work 3 dc in next space, repeat.
Petal layers typically build as follows:
- 1st layer: 2 petals
- 2nd layer: 3 petals
- 3rd layer: 5 petals
- 4th (outermost): 6 petals
Assembly
- Secure Pearl: With hot glue, attach pearl to the center.
- Make Drawstring:
- Ch 60 for drawstring.
- Weave around mesh row openings and cinch closed with soap inside.
- Finish Petals: Final petal layer is attached in base loops as described.
D. Leaves
Leaf Pattern
- Magic ring, ch 4.
- Make 3 dtr in ring (double treble crochet).
- Ch 3, 3 dtr in ring.
- Ch 4, join with sl st to ring.
- Tighten ring.
- Work 4 sc along ch spaces, inc with hdc in first dc, 2 hdc in same space, dc in next space, dc in next, 2 dc in same, dtr in next, ch 1, dtr in same, dc in next, dc in next, 2 hdc in next, finish with 4 sc, sl st in ring.
- Work lace stitch row on edge: sl st in next, ch 1, sl st in next, repeat, add picot as desired.
Assembly & Finishing
- Secure Leaves: Use hot glue to affix leaves at desired spots beneath rose.
- Insert Soap: Place the fragrant soap inside the mesh, pull drawstring tight.
- Seal ends: Melt polypropylene yarn ends, or weave in if using cotton.
Conclusion
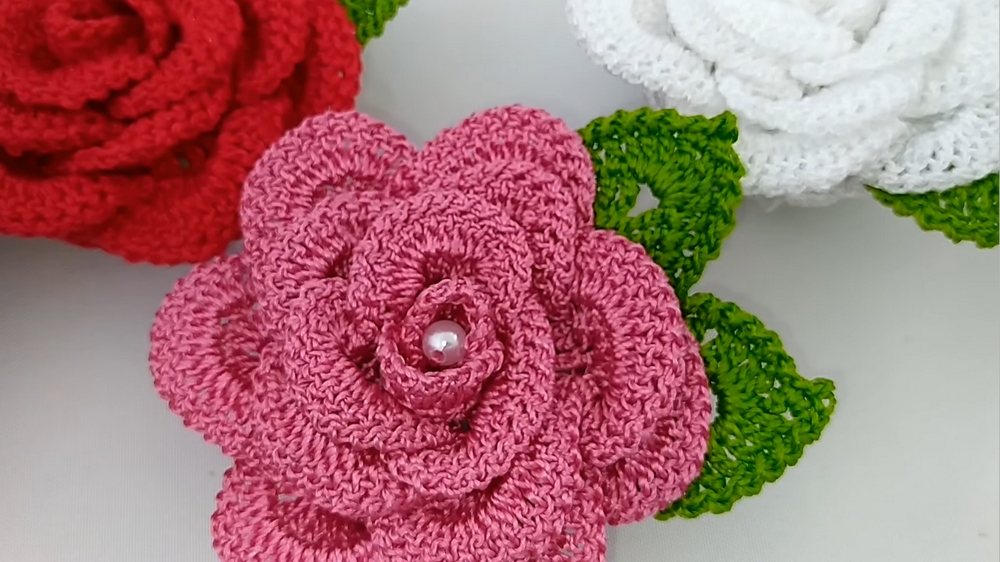
This Mega Rose Scented Sachet is ideal as a thoughtful handmade gift. It combines functional fragrance and decorative value, particularly suitable for holidays and Mother's Day. The sturdy polypropylene ensures longevity and crisp petals.
Pattern Corrections & Tips
Corrections:
- If using cotton or non-fusible yarn, do NOT melt ends. Weave them in as usual.
- Always work increases as instructed for round shape and petal fullness.
Tips:
- For neater petals, always work into back loops and use a tight gauge.
- Adjust number of chains for mesh if your soap is larger.
- To enhance fragrance, periodically replace the soap inside.
- For secure assembly, hot glue is recommended; fabric glue or hand-sewing for cotton yarns.