
Crochet Little Mermaid Amigurumi Pattern for Cute Gifts
Bring your favorite fairytale to life through crochet with this adorable Little Mermaid Amigurumi pattern—crafting magic awaits!
Adorned with a textured fin, subtle facial features, and elegant simplicity, it doubles as a delightful collectible or thoughtful DIY gift. Ideal for crafting enthusiasts seeking intricate yet rewarding projects, this design provides a sense of accomplishment while delivering an adorable end result. Its small size makes it suitable for kids, nursery decor, or imaginative play moments.
Crochet Little Mermaid Amigurumi Pattern

Detailed Step-by-Step Crochet Pattern for Mermaid Doll
This pattern will help you create a cute crocheted mermaid doll. The design is simple yet elegant and can be customized with various colors. The process involves making the mermaid’s fin, tail, body, head, arms, and hair in separate parts, then assembling them to complete the doll. This crochet amigurumi project is suitable for intermediate crocheters comfortable with basic stitches and techniques, including increases, decreases, and working in front and back loops.
Materials Needed
Here’s what you’ll need:
- Crochet hook: 4 mm
- Yarn: Use any yarn; the tutorial used three purple shades for the mermaid’s tail, fin, and body. You'll also need skin-colored yarn and yarn for hair.
- Safety eyes: One pair
- Stuffing: Fiberfill or any soft polyester material for padding the doll
- Tools: Scissors, stitch marker, yarn needle, pins
Abbreviations of Stitches
The following abbreviations are used in the pattern:
- SC: Single crochet
- HDC: Half double crochet
- DC: Double crochet
- INC: Increase (two stitches in one stitch)
- DEC: Decrease (combine two stitches into one)
- Magic Ring: A technique to start crocheting in a circle.
Step-By-Step Pattern
1. Making the Fin (Tail End)
- Begin with a Magic Ring: Using your fin color, make a magic ring and crochet 4 SC into it.
- Round 2: Single crochet all the way around (4 stitches).
- Round 3: Crochet 1 SC followed by an INC, repeating around the circle (6 stitches).
- Round 4: Single crochet all the way around (6 stitches).
- Round 5: Crochet 2 SC followed by an INC, repeat this sequence (8 stitches).
- Round 6: Single crochet all the way around (8 stitches).
- Round 7: Crochet 3 SC, then an INC, repeat around (10 stitches).
- Round 8: Crochet 4 SC, then an INC, repeating (12 stitches).
- Round 9: Crochet 5 SC, then an INC, repeat around (14 stitches).
- Round 10 (Front Loops Only): Crochet 6 SC, then an INC, repeat the pattern (16 stitches). Fasten off and weave in the ends.
2. Creating the Tail (Body)
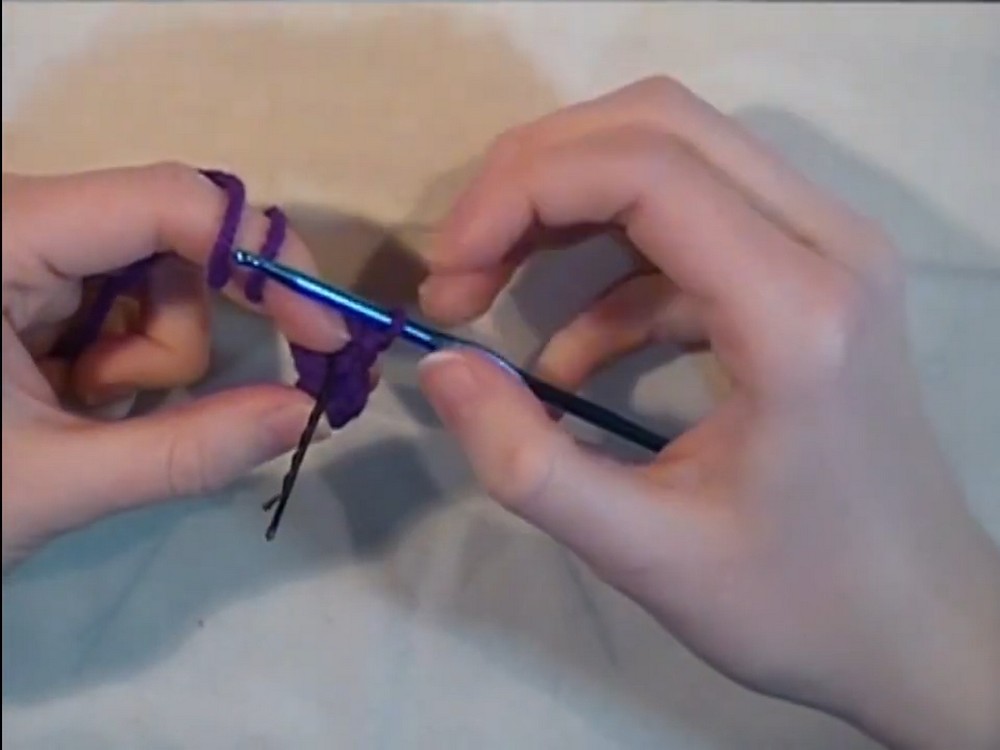
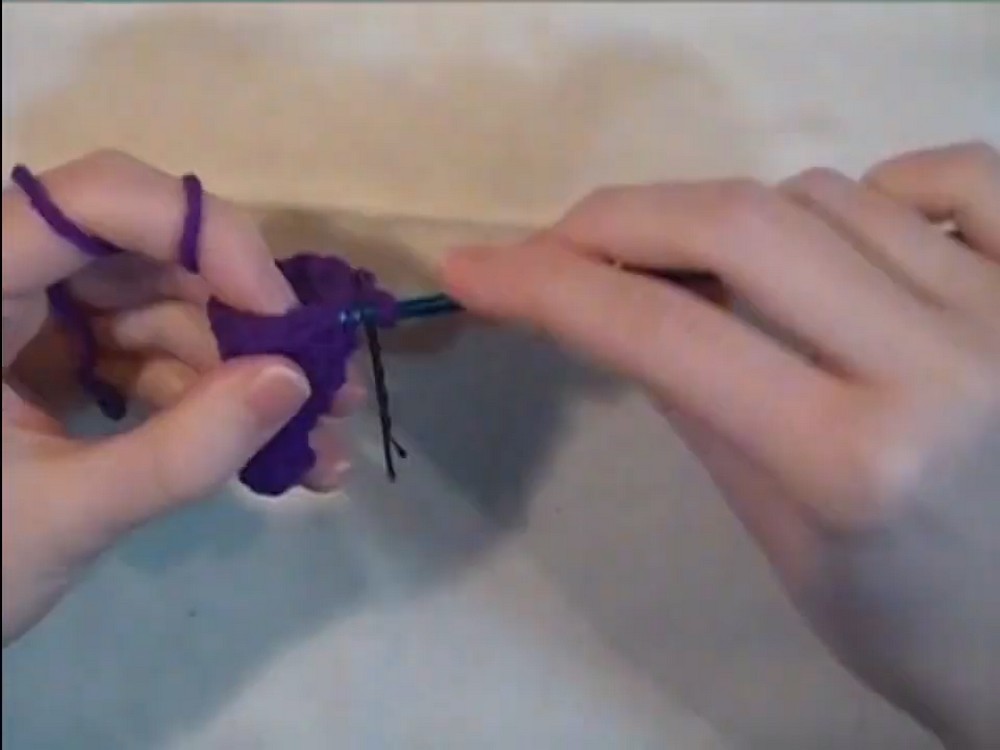
- Attach the skin color yarn to one of the back loops from the last round of the fin.
- Crochet 5 SC into the same loop, then DEC. Continue crocheting 5 SC and then DEC for the rest of the round (12 stitches).
- Next Round: Crochet 1 SC, then a DEC, continue with this pattern for the next stitches. For the last 2 stitches, crochet 1 SC in each (9 stitches).
- Next Round: Single crochet all the way around. Start stuffing at the end of this round and continue stuffing as you proceed.
- Round 14: Crochet 2 SC, then an INC, repeat the pattern (12 stitches).
Switch yarn to the mermaid’s top color:
6. Next Round: Crochet 4 SC, then make 4 HDC INC, followed by 4 SC. Change yarn back to the skin color on the last stitch.
- Next Round: Crochet 4 SC, then 4 DEC, followed by 4 SC.
- Next Round: DEC all the way around. Leave enough yarn to sew the head on later, or cut off and weave in the ends.\

3. Making the Head
- Make a Magic Ring using the skin yarn, and place 6 SC into it.
- Round 2: Increase in all stitches (12 stitches).
- Round 3: Crochet 1 SC, then an INC, repeating around to the end (18 stitches).
- Rounds 4 to 6: Crochet all the way around, keeping the stitch count (18 stitches). Place safety eyes after Round 5.
- Round 7: Do 1 SC, followed by a DEC until the end.
- Stuff the head and finish with DEC all the way around. Weave in the yarn to secure.
4. Making the Arms
- With skin yarn, make a Magic Ring and crochet 4 SC into it.
- Rounds 2 to 4: Single crochet all the way around.
- Stuff the arms and leave a long tail for sewing them onto the body.

5. Making the Mermaid Hair
- Cut yarn pieces for hair in your desired color.
- Attach each piece of yarn using a simple method:
- Insert your crochet hook through a head stitch.
- Fold the yarn piece in half, pull the loop through the stitch, and then feed the tails through the loop. Tighten the knot.
- Repeat over the head as desired. Style the hair into a ponytail or leave it loose.

6. Assembly
- Sew the fin to the bottom of the tail.
- Sew the arms onto the sides of the mermaid's body.
- Attach the head to the body.
- Finalize the design by styling the hair or accessorizing the doll.
Conclusion
Congratulations! You’ve completed your crocheted mermaid doll. This pattern allows for a fun and creative project, with the opportunity to personalize the doll's colors and hairstyle. Feel free to share and gift your finished mermaid creation to others. Have fun exploring different designs and outfits for your crocheted doll!