
Crochet Crab Amigurumi Pattern Perfect for Gifting
Meet the cutest seaside creation with this irresistible Crochet Crab Amigurumi—perfect for gifting or keeping as a treasured handmade friend!
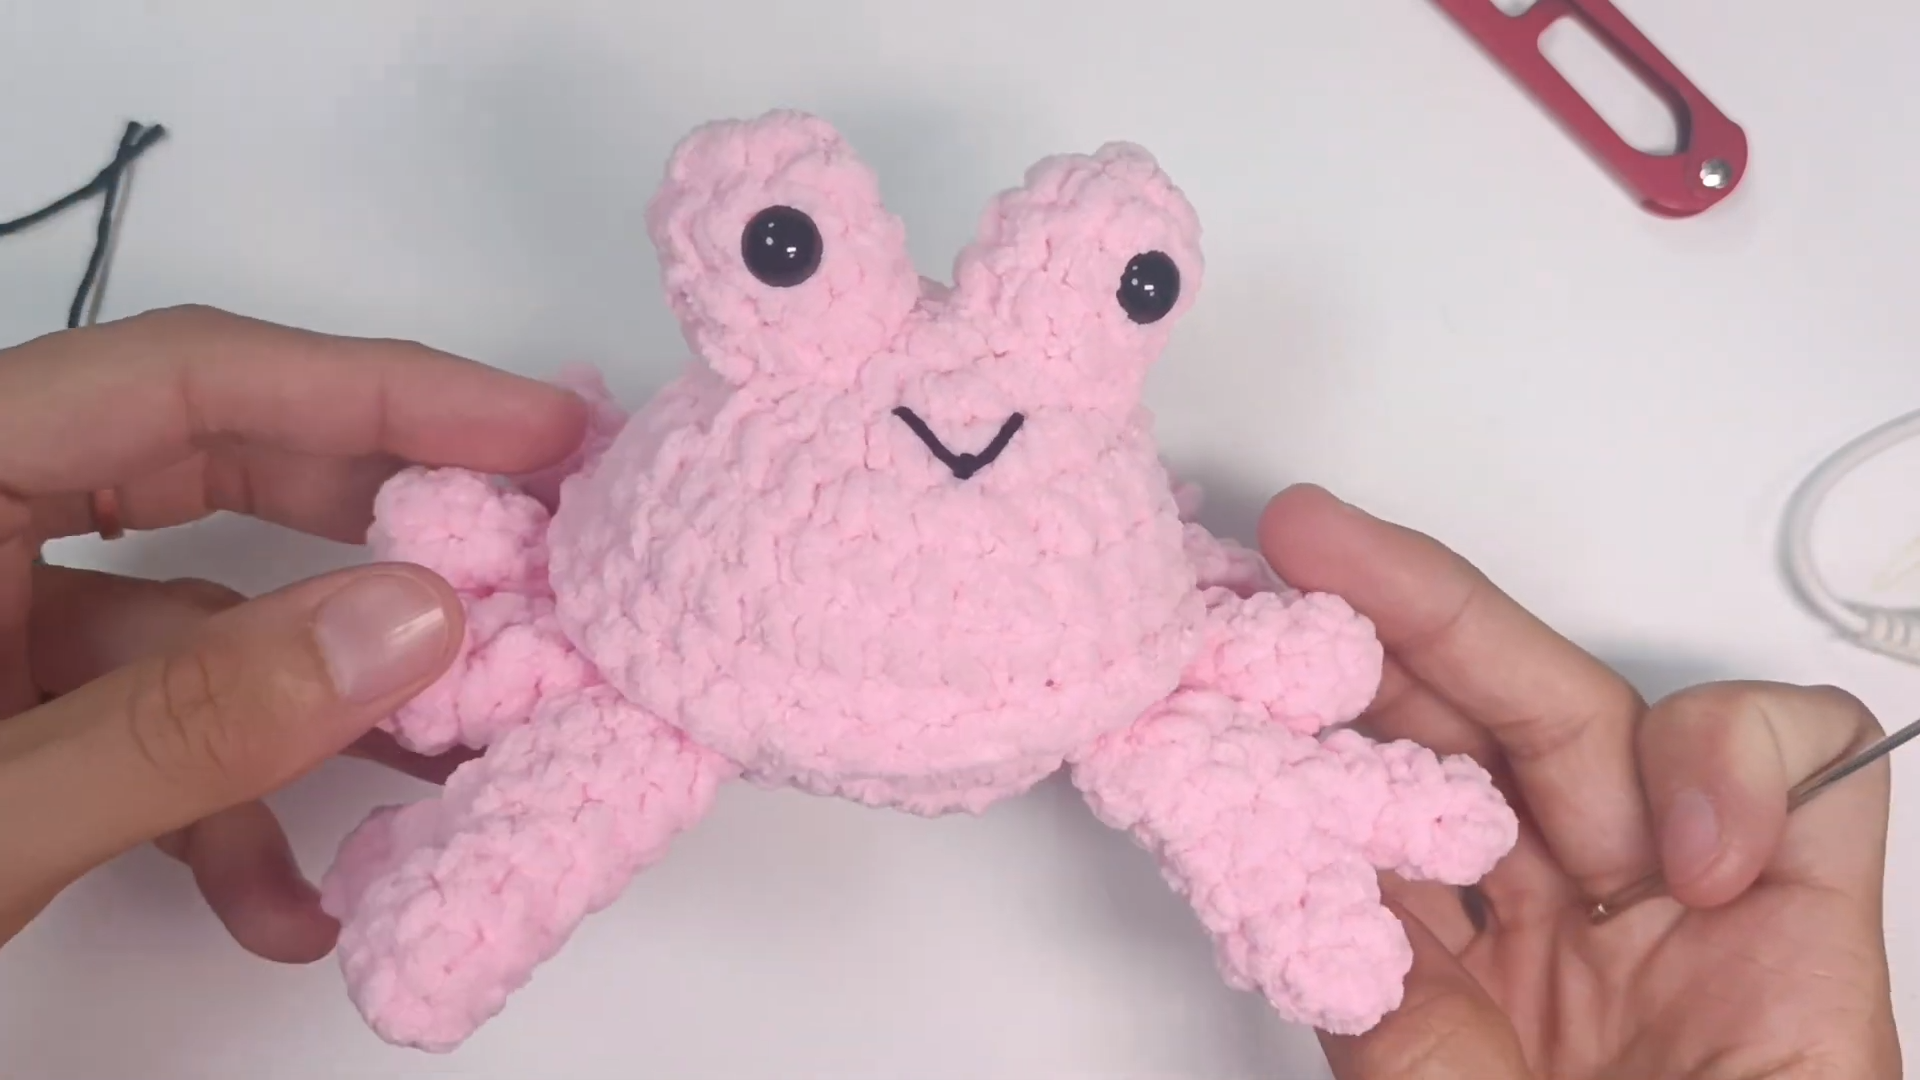
Brightly styled with a playful twist, this crab amigurumi offers a cuddly and charming design that can liven up any space or serve as a thoughtful gift. Its whimsical look, featuring six tiny legs, two claw-like pincers, and adorable safety eyes, captures the lively essence of a real crab while retaining a unique handmade touch. This little crab becomes a delightful companion for all ages.
Crochet Plush Crab Pattern
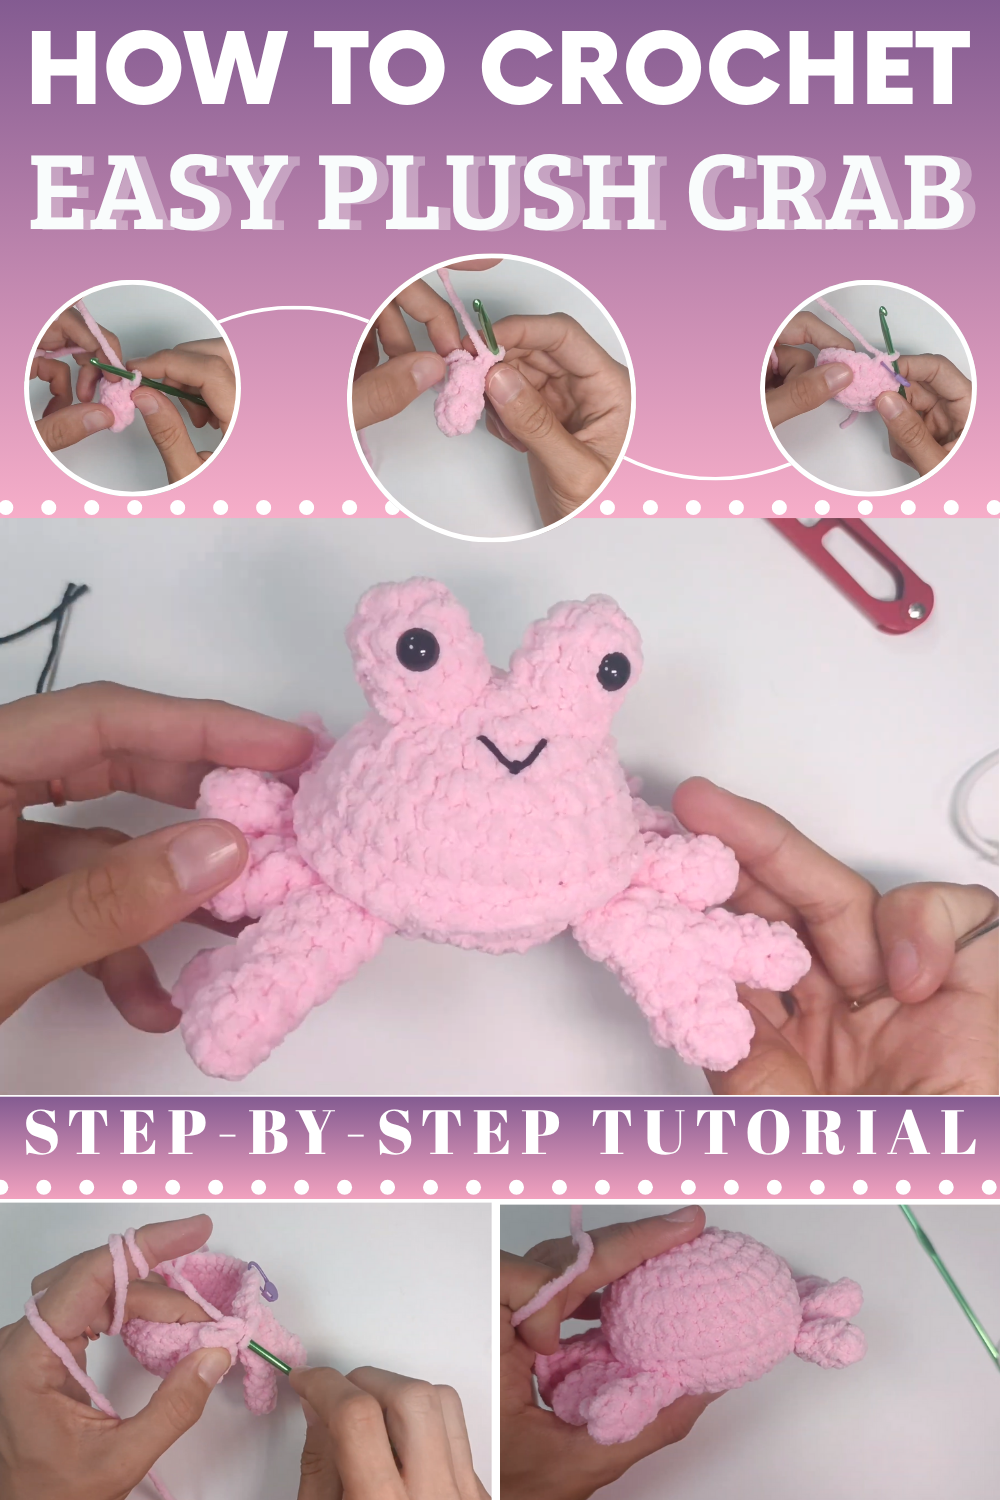
Learn how to crochet this adorable scrabble crab with a detailed, step-by-step guide based on the video tutorial provided. This crochet amigurumi pattern is easy to follow, perfect for beginners, and involves minimal sewing. The only parts to sew include the crab’s ears and smile. Enjoy making your cute crochet crab below!
Crochet Amigurumi Crab Tutorial
This pattern creates a cute amigurumi crab that is fairly simple and quick to make. The project is great for both beginners or intermediate crafters and serves as a fun way to create custom crochet toys. The crab is made with basic crochet stitches such as single crochet, increases, decreases, magic circle, back loop only, and front loop only (explained step by step). With few sewn parts and plenty of room for customization, this crab can be made using a variety of yarn and color combinations.
Materials Needed
To complete this project, you will need the following:
- Yarn: 50 grams of yarn (approximately 60 meters of yarn). A soft, plush yarn (such as Alize Puffy or similar) works best. In the video, pink yarn is used for demonstration.
- Crochet Hook: 4mm metal crochet hook.
- Scissors
- Needle: To sew parts like eyes and the smile.
- Stitch Marker: To secure the last stitch of each row.
- Black Thin Yarn: Used to embroider the smile.
- 8mm Safety Eyes: Two pieces needed to create the crab’s eyes.
- Stuffing (Fill): Polyester fiberfill to stuff the body parts and the crab’s eyes.
Abbreviations of Stitches
- MC: Magic Circle
- SC: Single Crochet
- INC: Increase (Two single crochets in one stitch)
- DEC: Decrease (Combining two stitches)
- BLO: Back Loop Only
- FLO: Front Loop Only
- Sl St: Slip Stitch
Step-by-Step Pattern
Legs (Make 6)
- Row 1: Start with a magic circle and make 5 SC into the circle. Pull tight to close the circle. Place a stitch marker on the last stitch of the row.
- Row 2-4: Work 1 SC in every stitch for the next three rows. (Total of 5 SC per row).
- Slip Stitch into the next stitch, chain 1, and cut the yarn. Leave no tail—secure and weave it into the leg or trim it.
- Repeat Steps 1-3 to make six legs.
Claws (Make 2)
Part 1 of Claw
- Row 1: Start with a magic circle and work 4 SC into the circle, then pull the yarn to close. Place a stitch marker in the last stitch.
- Row 2-3: Work 1 SC into each stitch of the row for two rows (4 SC per row).
End this part with a Sl St into the last stitch. No tails are needed—secure and weave.
Part 2 of Claw
- Row 1: Start with a magic circle and work 5 SC into the circle. Pull tight to close. Place a stitch marker in the last stitch.
- Row 2-3: Work 1 SC into each stitch of the row for two rows (5 SC per row).
- Leave this part unfastened—we will now attach Part 1 to Part 2.
Attaching the Two Claw Parts
- Take Part 1 (with 4 SC space) and align with Part 2. Attach to Part 2 using SC in each stitch, ensuring they align at the thin sections. You should have 4 SC on Part 1 and continue SC stitches on Part 2 to complete the claw.
- After joining both parts, proceed with two rows of SC into every stitch around.
- Sl St to the next stitch, leaving no tail, and trim any excess yarn.
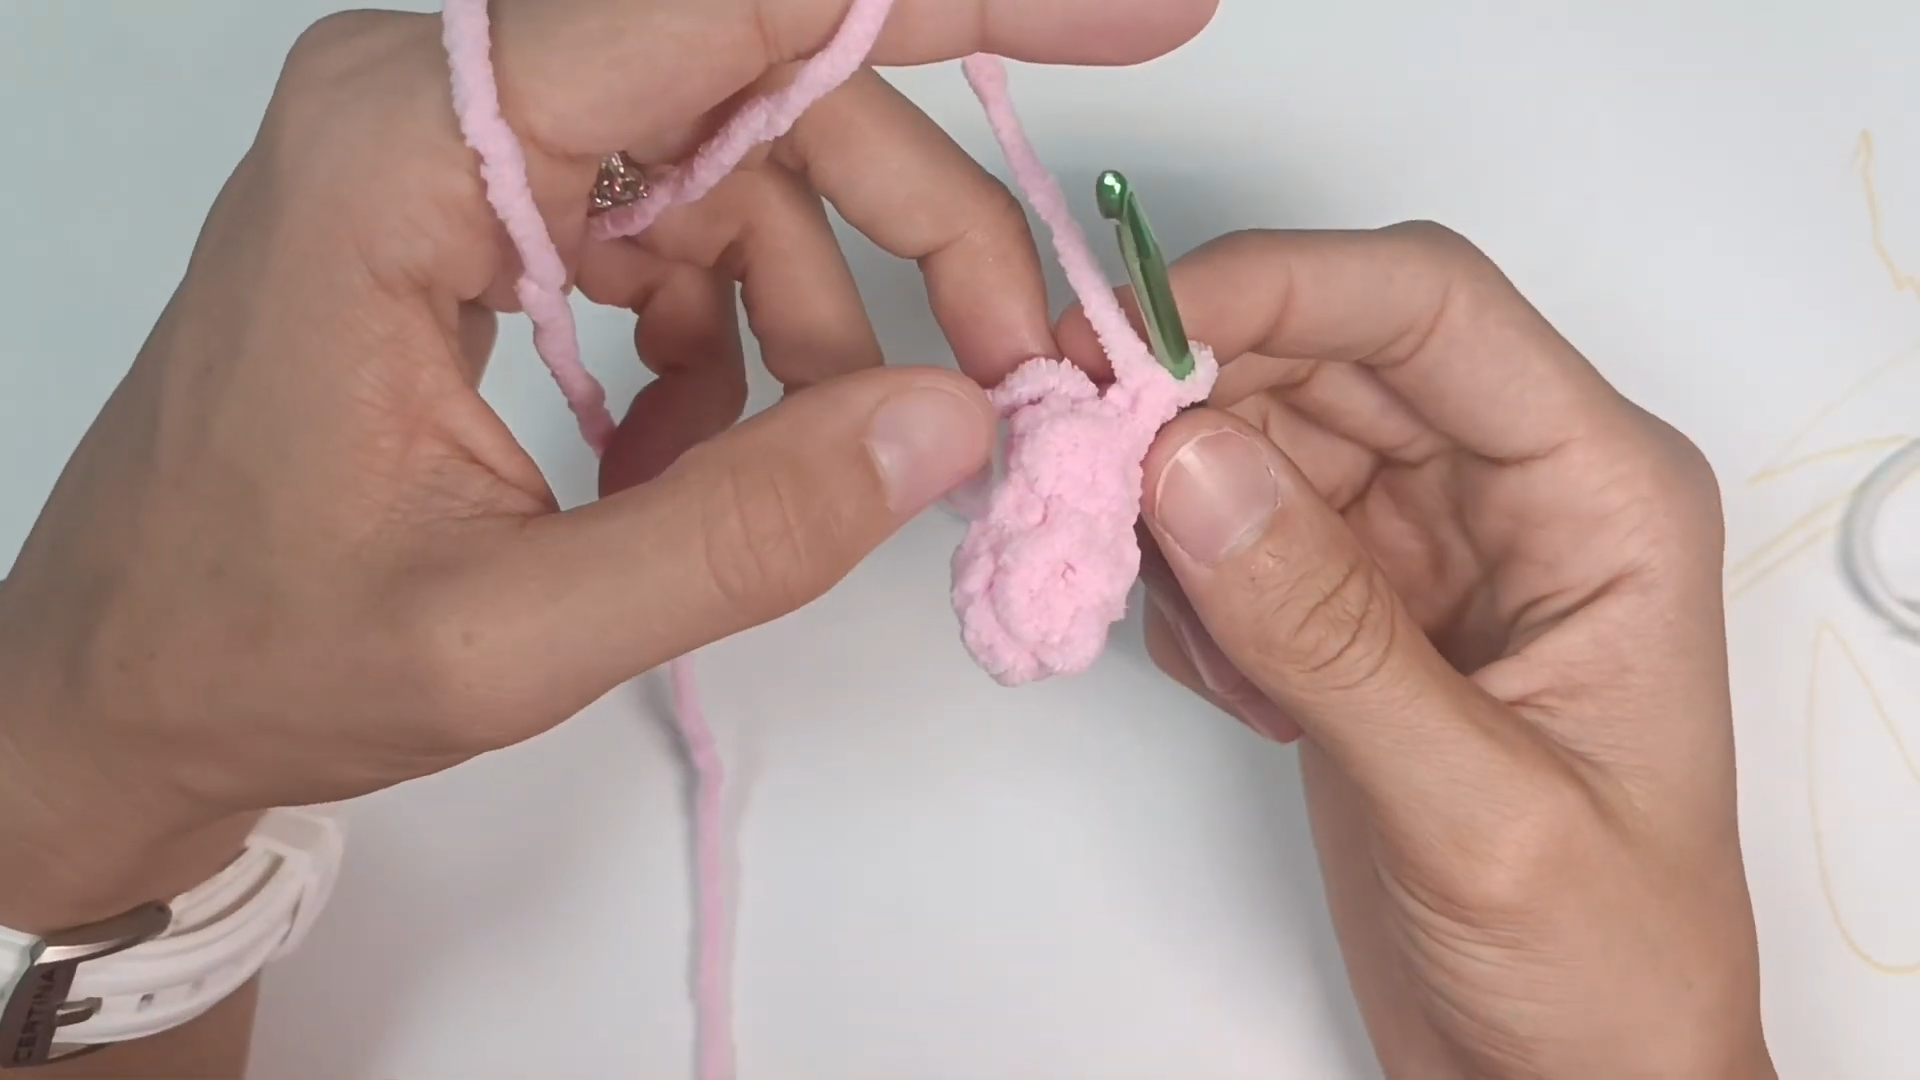
Repeat Steps 1-6 to create the second claw.
Eyes (Make 2)
- Row 1: Begin with a magic circle and crochet 8 SC into the circle. Pull tight to close the circle, place a stitch marker in the last stitch.
- Row 2-4: Crochet 1 SC into each stitch around for 3 rows (8 SC per row).
- Finish off with a Sl St, chain 1, and leave a long tail (to sew the eyes onto the body).
- Insert 8mm safety eyes in the center and secure the washer.
- Repeat Steps 1-4 to make two eyes.
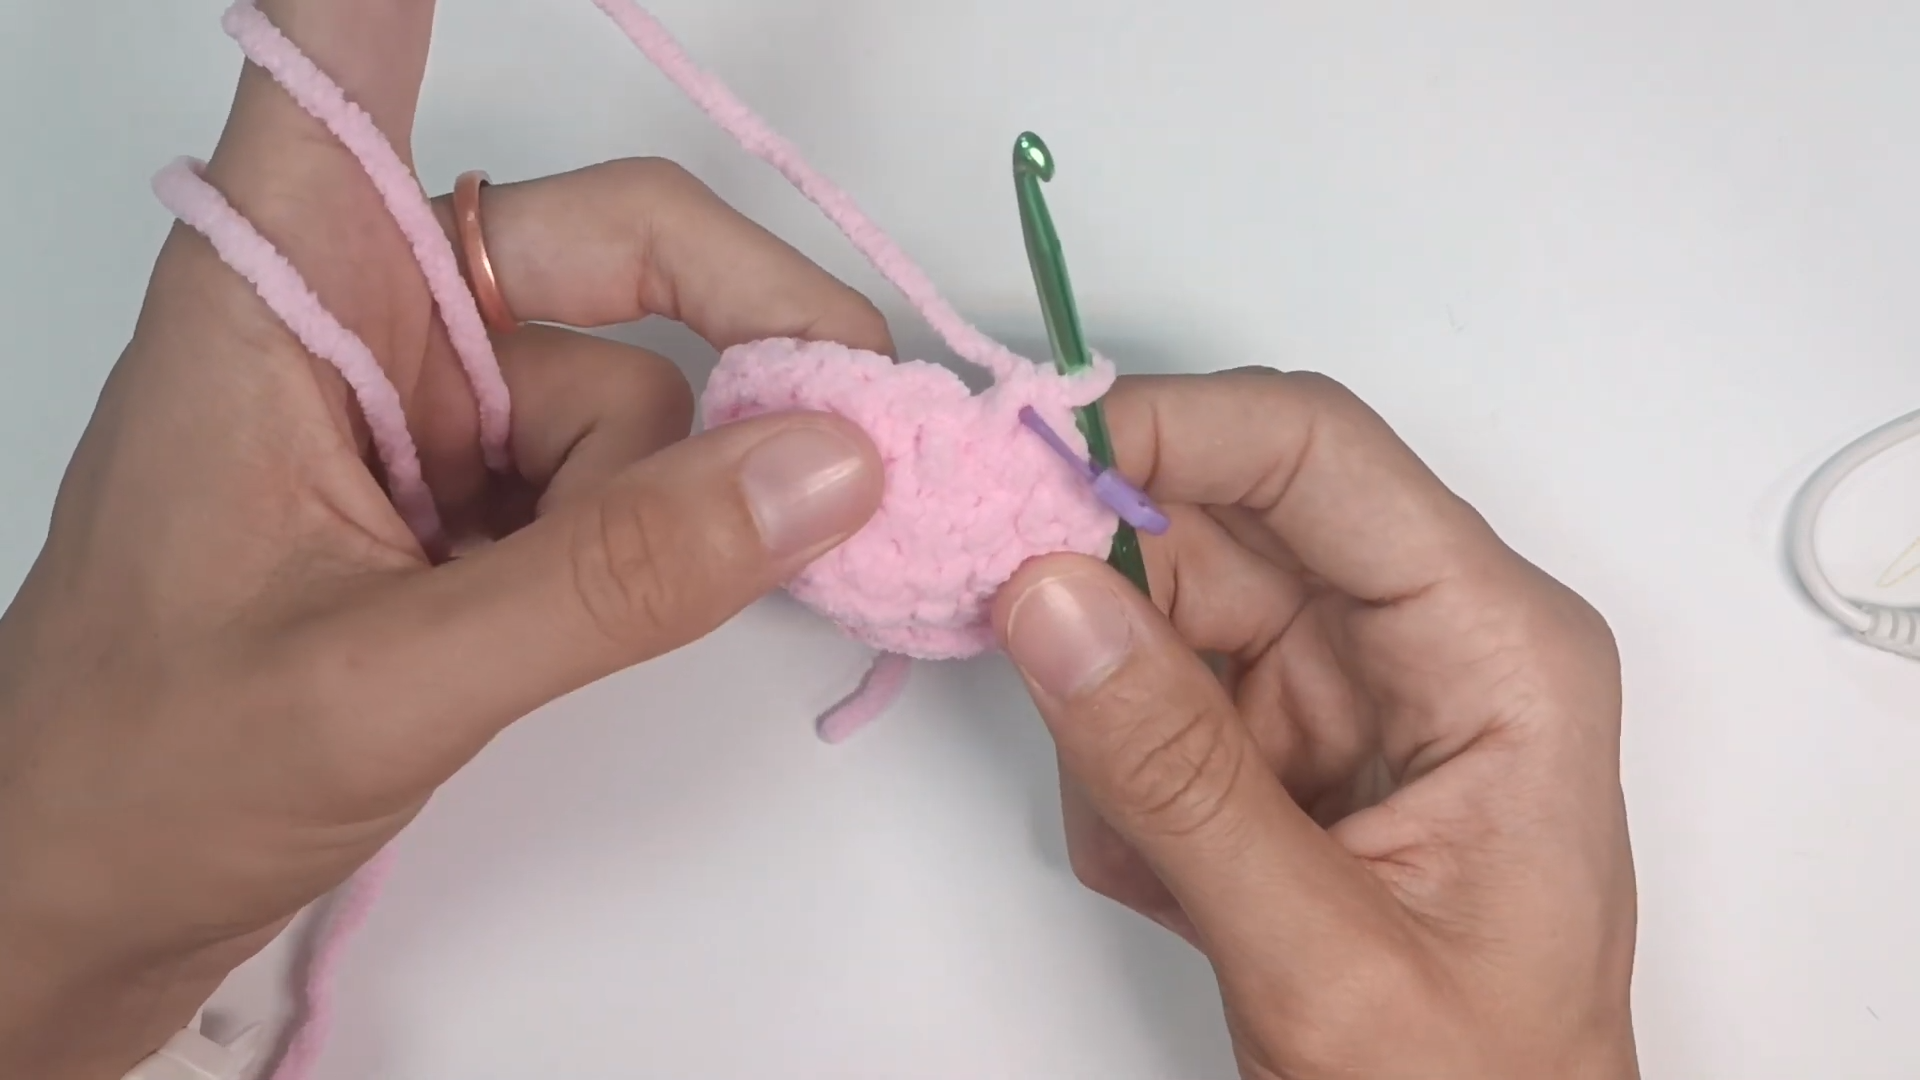
Body
- Row 1: Begin with a magic circle and crochet 6 SC into the circle. Pull tight. Place a stitch marker into the last stitch.
- Row 2: Work 6 INC around (12 stitches total).
- Row 3: Alternate SC in the first stitch, INC in the second stitch. Repeat this 6 times to reach 18 stitches total.
- Row 4: Alternate INC in the first stitch, SC in the next 2 stitches. Repeat this 6 times to reach 24 stitches total.
- Row 5: Work SC in the first 3 stitches, INC in the fourth stitch. Repeat this pattern six times to increase to 30 stitches total.
- Row 6-7: Work 1 SC in each stitch for 2 rows (total 30 stitches per row).
- Row 8: Work this row in BLO (Back Loop Only). Make 1 SC in every stitch for 30 stitches.
Attach Legs and Claws to the Body
In Row 9, attach claws and legs to the body. Pay careful attention to placement and align the parts correctly with the body:
- Hold each claw and the leg, making sure they are facing the correct direction and are aligned.
- Flatten each appendage and join their stitches to the body using single crochets. Insert the hook through the body stitch and the front and back loops of the claw/leg at the same time. Continue until all six legs and two claws are attached.
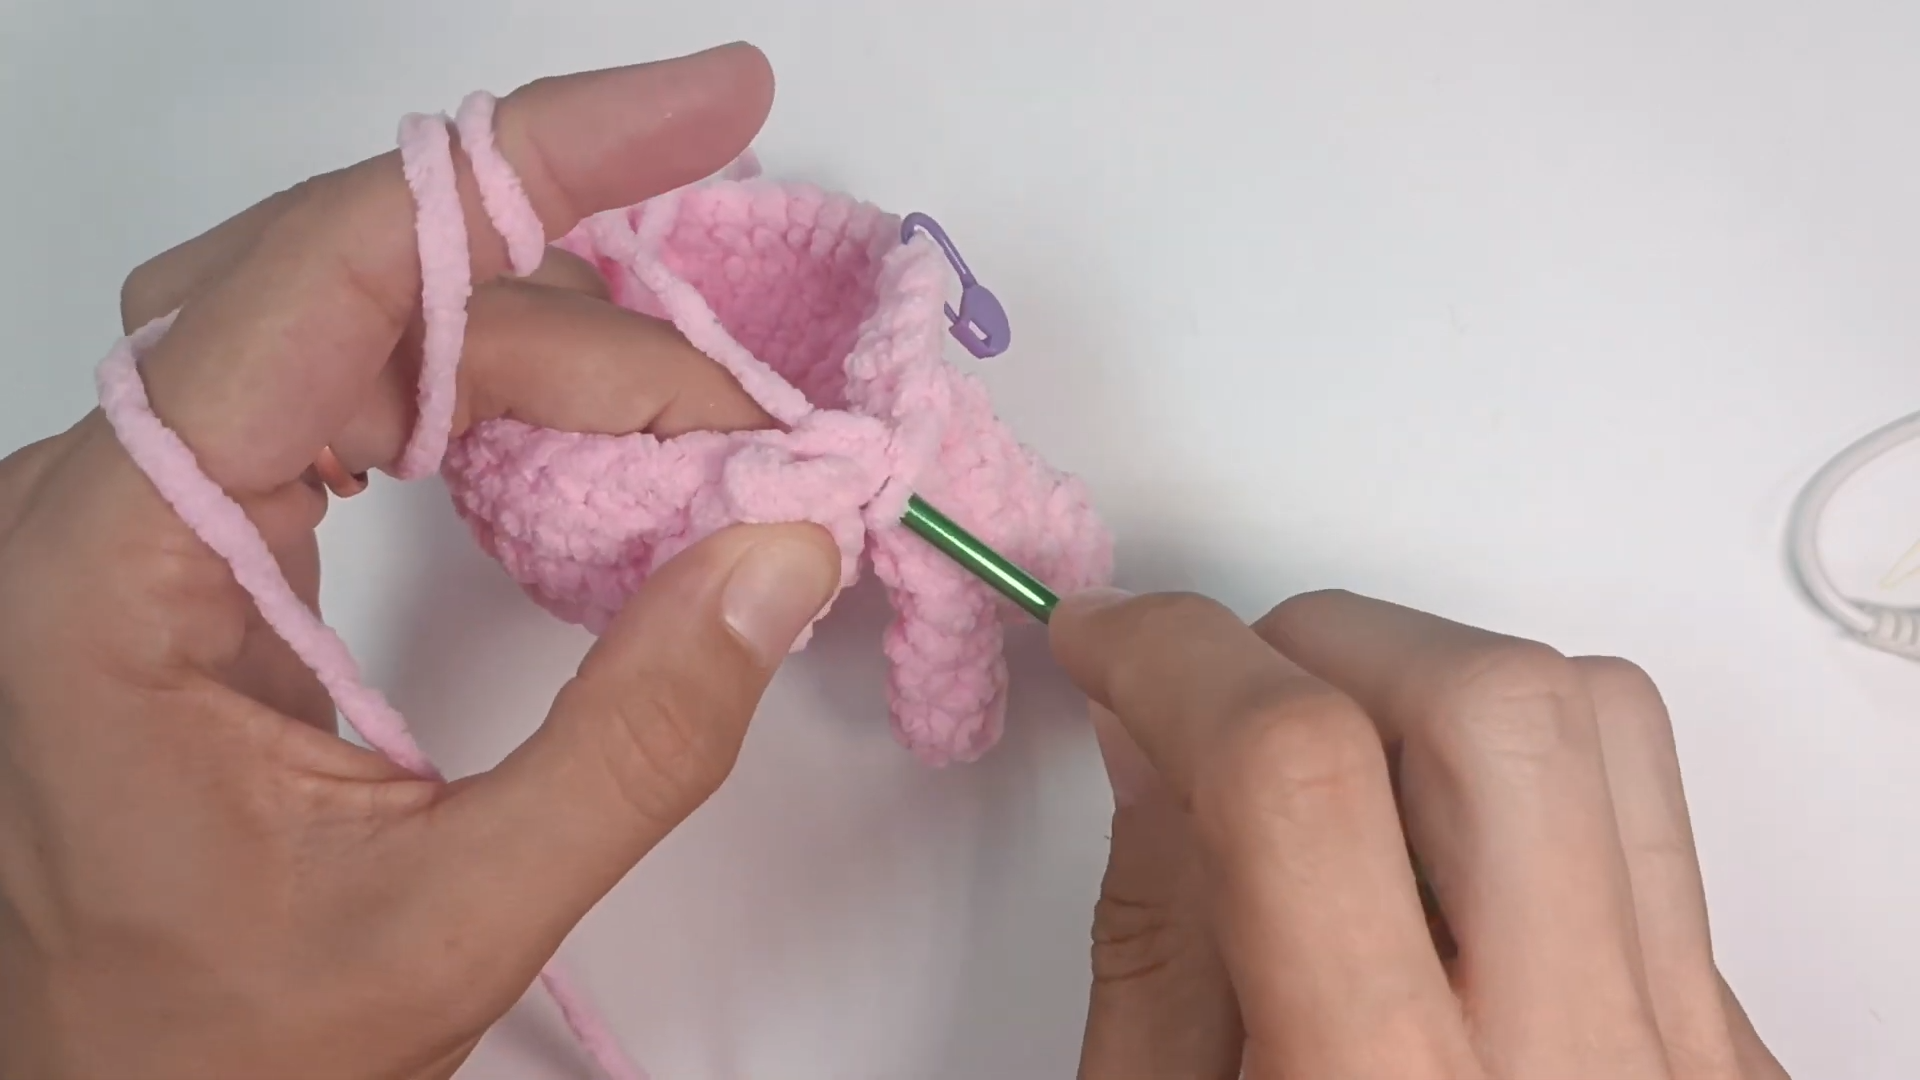
Add fiberfill stuffing before sealing the body during later rows.
Body Decreases and Closing
- Row 10: Work 3 SC, DEC (alternate 3 single crochets, 1 decrease). Repeat six times for a total of 24 stitches.
- Row 11: Work DEC, 2 SC (alternate 1 decrease, 2 single crochets). Repeat six times for a total of 18 stitches. Add stuffing as needed before continuing.
- Row 12: Work SC, DEC (alternate 1 single crochet, 1 decrease). Repeat this for a total of 12 stitches. Add stuffing again if necessary.
- Row 13: Work 6 DEC (decrease every stitch). Close the body and finish off with a slip stitch, chain 1, and leave a tail for sewing the small opening shut.
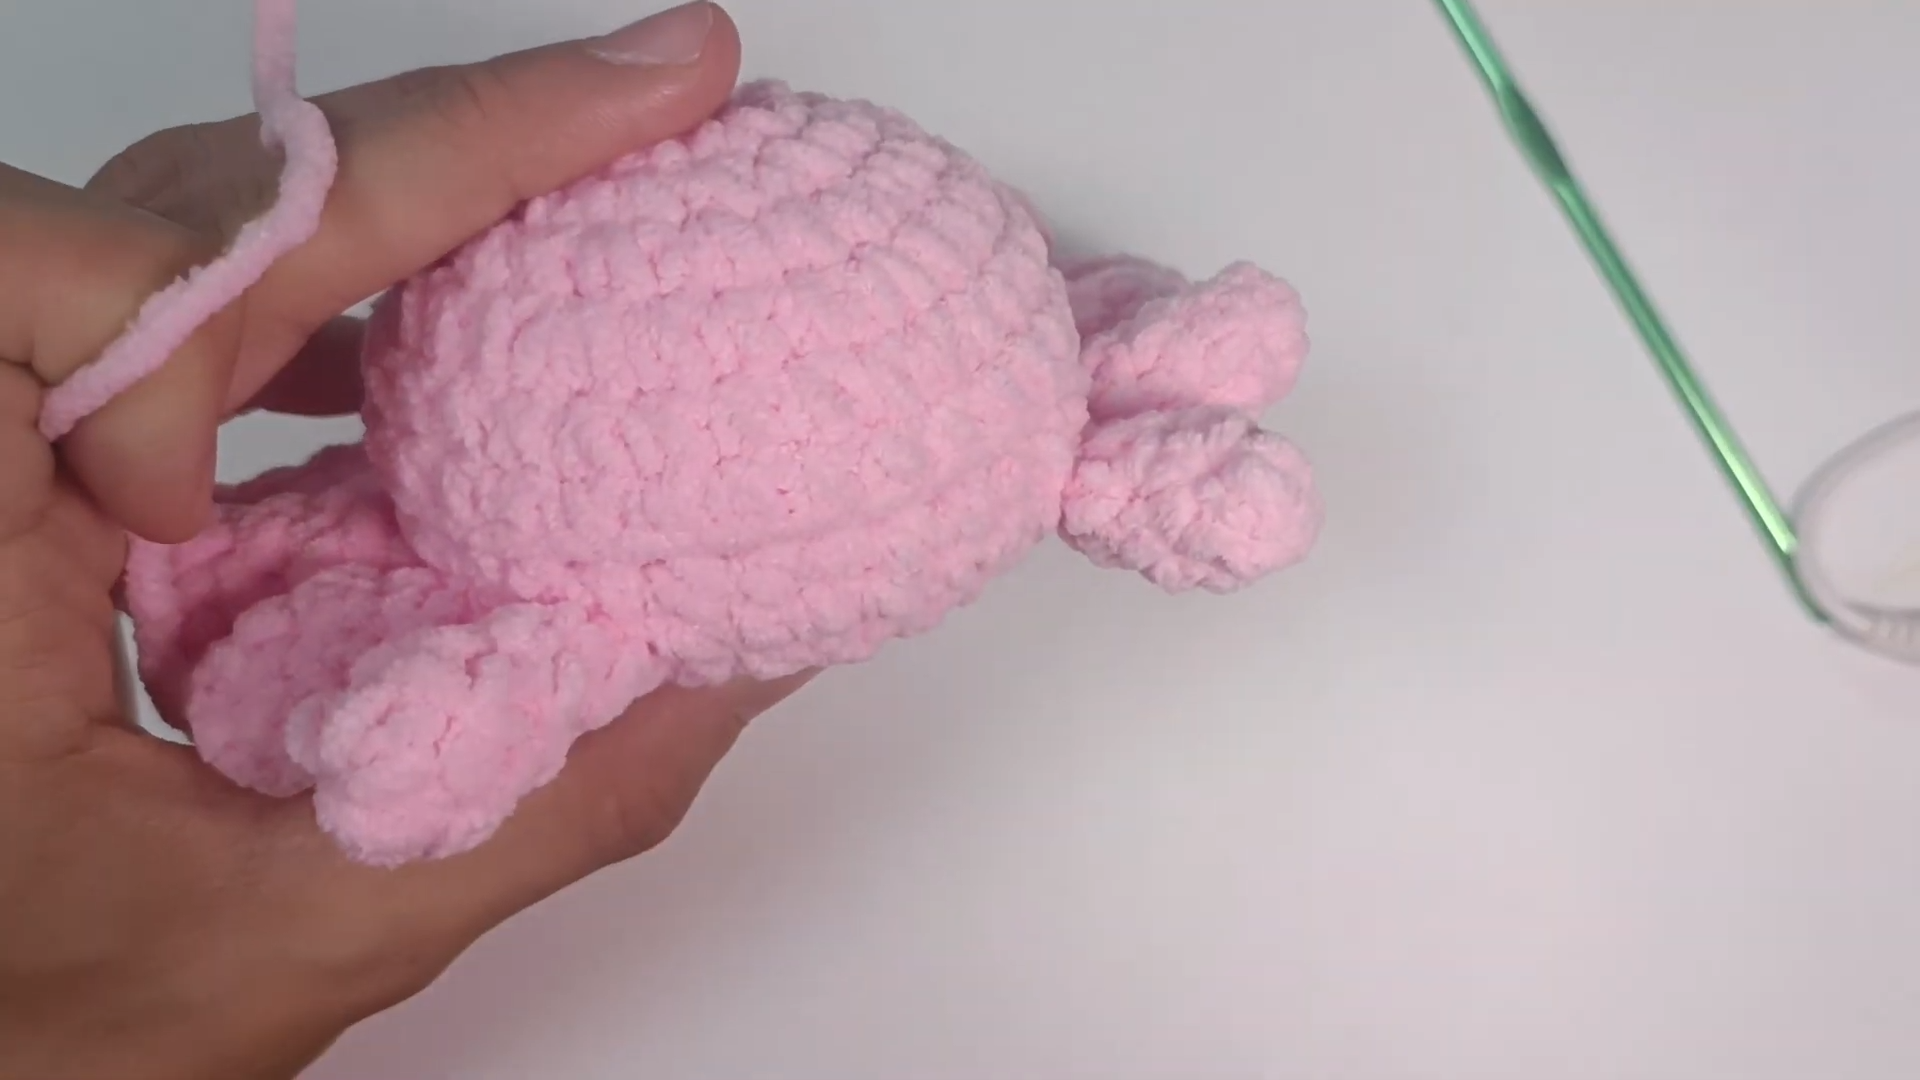
Adding Details
Decorate the Body
Using the FLO (Front Loop Only) stitches from Row 8, join a new yarn to one of the loops at the back side. Work 1 SC into each front loop around. After completing the row, finish with a slip stitch into the second stitch (not the chain). Trim and weave excess yarn into the body with the needle.
Add Eyes to the Body
Place the eyes on top of the body. Use long pins or needles to secure their placement. Sew the eyes onto the body using a needle and yarn tails. Insert safety pins into the body and tighten securely. Add some stuffing to each eye before completing its attachment.
Embroider the Smile
Using black thin yarn and a needle:
- Insert your needle into the body and come out where you want the smile to begin (often near the center area of the body).
- Create a curve by inserting the needle at an angle for the smile’s opposite end. Bring the thread back into a middle stitch to form a smile curve.
- Secure with knots and trim excess yarn.
Conclusion
Congratulations! You’ve successfully completed your adorable crochet crab. Using fundamental stitches such as single crochets, increases, decreases, and magic loops, you’ve created a fun and easy amigurumi project with minimal sewing required. This makes a great gift or decoration and allows room for personalization with yarn choices, colors, and facial expressions. Be sure to enjoy the process and share your creations!