
Crochet Baby Octopus Amigurumi Pattern for Unique Gifts
Turn colorful yarn into a lovable Baby Octopus Amigurumi with this pattern that’s both enjoyable and easy to make for ocean-themed crafts or gifts!
Miniature octopus designs have become a trendy favorite, adding charm to any space with their playful tentacles and cheerful expressions. The crochet baby octopus amigurumi pattern offers a cute and compact way to bring the beauty of sea-inspired decor into your life. Ideal as a heartwarming gift for loved ones or a whimsical decoration for nurseries, shelves, or workspaces, this tiny sea creature is equally functional, durable, and adorable, guaranteed to brighten moments.
Crochet Baby Octopus
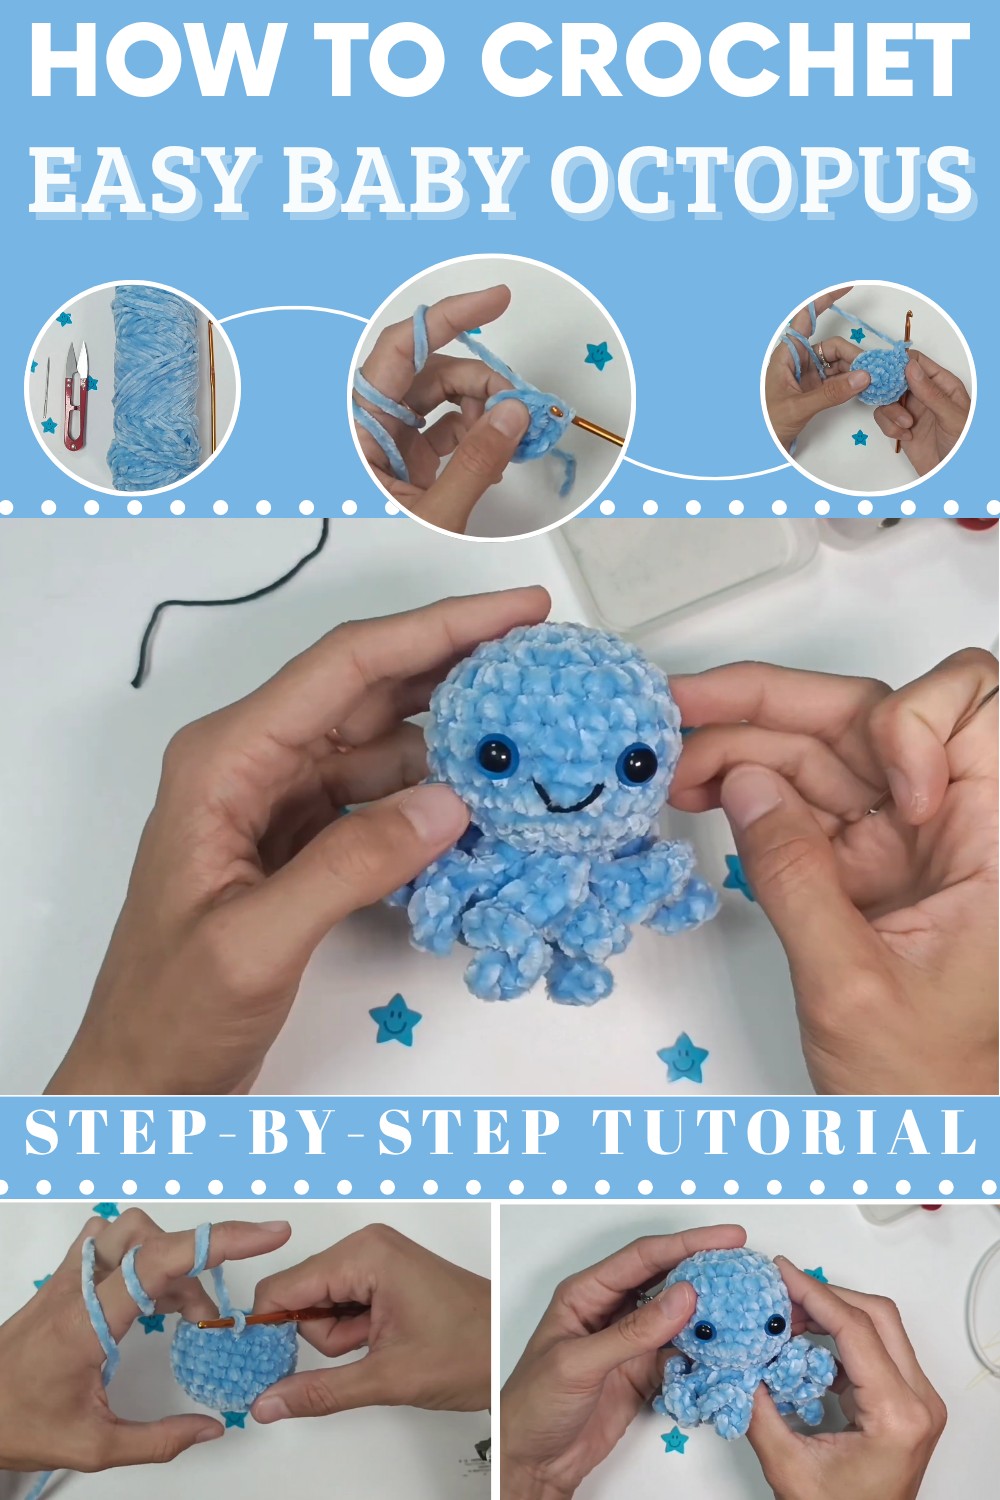
No-Sew Small Octopus Crochet Pattern
This is a step-by-step guide to creating a no-sew small octopus, based on the YouTube video, ensuring that even beginners can complete this adorable project. The pattern is simple, quick, and uses basic crochet techniques, making it ideal for learning and creating fun crafts at home!
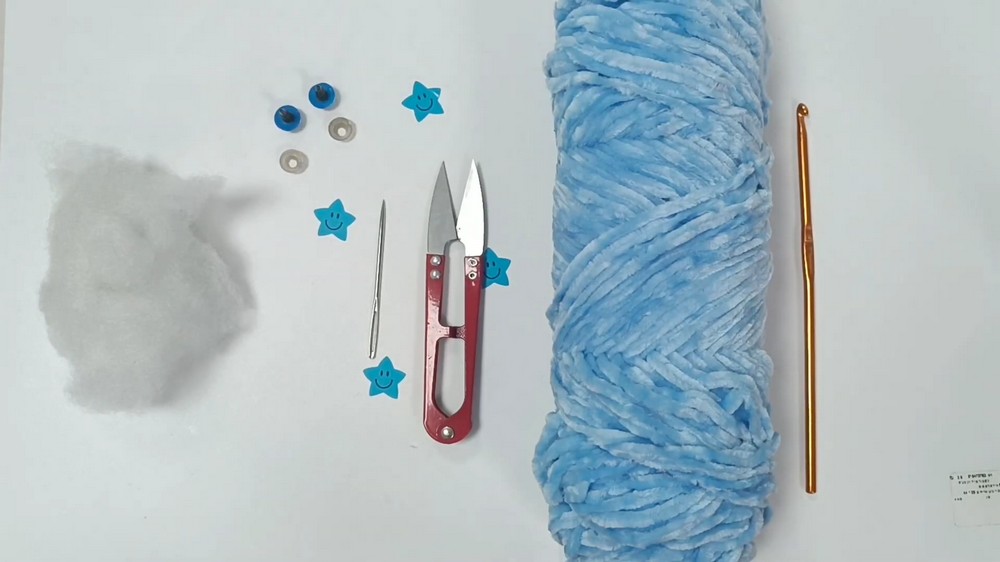
Materials Needed
- Yarn: Any yarn will work, but in the video, light blue yarn was used (130 meters per 100 grams).
- Crochet Hook: 2.0 mm metal crochet hook.
- Scissors.
- Needle: For closing the small hole at the bottom of the octopus and adding facial details.
- Safety Eyes: 6 mm or 8 mm, as preferred (two pieces are needed).
- Filling fiber: Polyester stuffing to fill the octopus.
- Black thick yarn: For embroidering the smile (optional).
Abbreviations Used
To follow the pattern, familiarize yourself with these key abbreviations:
- SC: Single Crochet
- INC: Increase (2 SC in one stitch)
- DEC: Decrease (Invisible Decrease suggested)
- Ch: Chain stitch
- Sl St: Slip Stitch
- Magic Circle: Method to begin crocheting in rounds to create a tight center.
- Front Loop Only (FLO): Working into the front loop of stitches.
Step-by-Step Crochet Pattern
Body
Rows 1–9: Shaping the Octopus Body
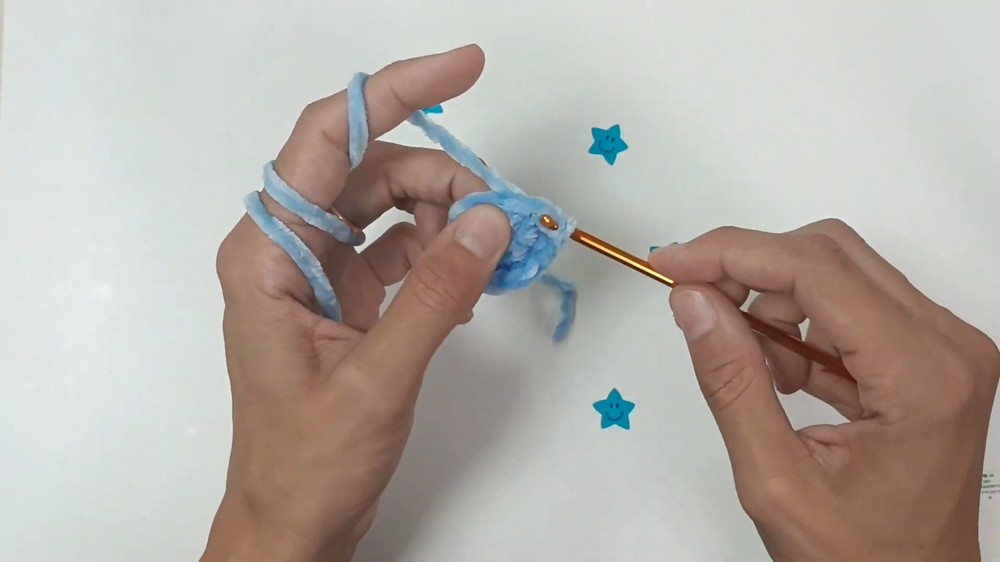
- Row 1: Start by making a magic circle. Crochet 6 SC inside the magic circle. (6)
- Pull the yarn tightly to close the loop.
- Row 2: Perform 6 increases (2 SC per stitch). You should have 12 SC. (12)
- Row 3: Alternate between 1 SC and 1 INC for 6 repeats. (18)
- Row 4: Alternate between 2 SC and 1 INC for 6 repeats. (24)
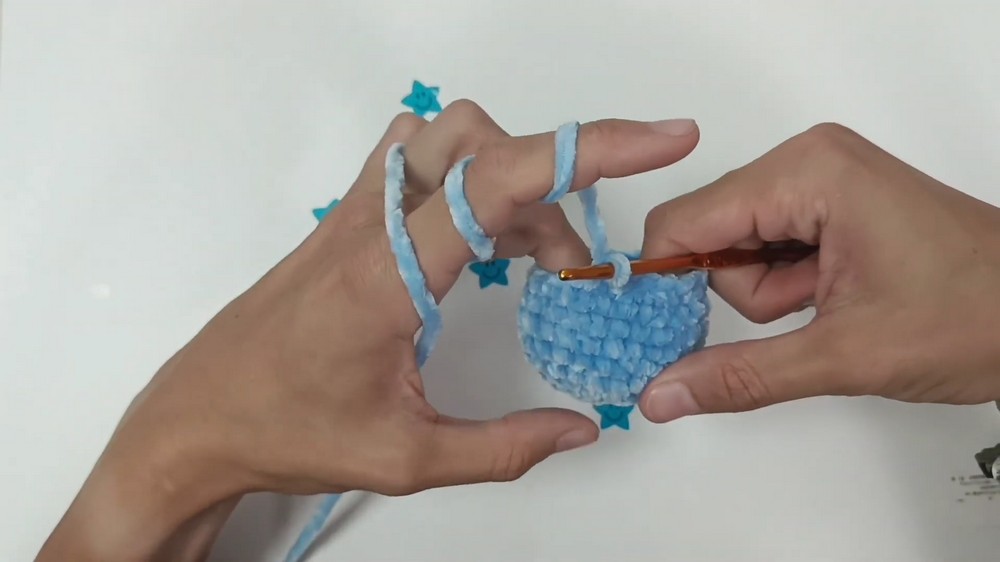
- Rows 5–8: Work 24 SC per row for 4 rows with no increases (one SC in each stitch). (24)
- Row 9: Alternate between 2 SC and 1 DEC for 6 repeats. Perform invisible decreases (FLO method is recommended). The total stitches should now reduce to 18 SC. (18)
Inserting Safety Eyes
Before continuing, insert the safety eyes between rows 6 and 7, spaced 3 stitches apart.
Steps:
- Identify rows 6 and 7 by counting upward from the bottom.
- Place the safety eyes 3 stitches apart and secure them.
Rows 10–11: Decreasing for Closure
- Row 10: Alternate between 1 SC and 1 DEC for 6 repeats. You should end up with 12 SC. Stuff the octopus lightly with fiber filling before proceeding. Don’t add too much stuffing yet. (12)
- Row 11: Alternate between 1 SC and 1 DEC for 4 repeats. You should now have 8 SC. (8)
- Perform a slip stitch into the next stitch and stop.
Tentacles
- After the last row of the octopus body, make slip stitch into the next stitch (FLO only).
- Chain 9: Create 9 chain stitches. (Ch 9)
- Starting from the second chain from the hook, create 8 increases (2 SC per chain), working back down the chain to the base.
- End with a slip stitch into the next stitch (FLO only).
Repeat these steps 7 more times to complete the 8 tentacles, ensuring you alternate slip stitching only into the front loops after each tentacle.
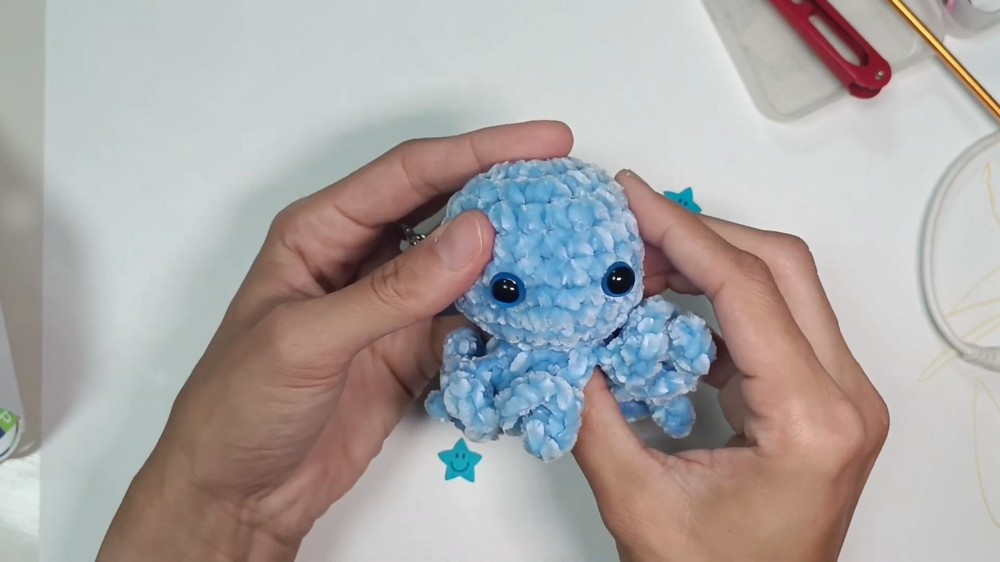
Stuffing and Closing
- After completing the tentacles, lightly stuff the octopus through the small hole.
- Use the needle to sew and close the bottom hole using the front loops of each of the last 8 stitches. Insert the needle into each loop from the outside to the center.
- Pull tight and secure. Knot the yarn and hide it by slipping it into the body.
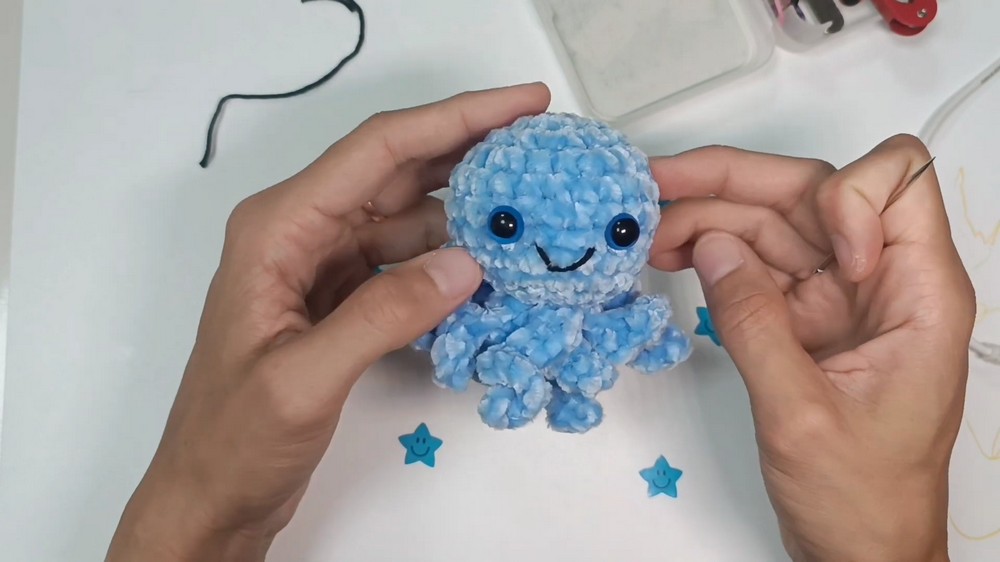
Adding the Smile
- Thread the black yarn onto the needle for the mouth. You’ll use basic embroidery stitches to achieve a simple smile.
- Insert the needle into one side of the face and bring it out 3 stitches apart.
- Repeat this step on the other side, creating an arc shape across the octopus's face. You can adjust the smile as needed until it looks clean.
- Tie off the black yarn securely inside the body and hide the tail.
Conclusion
Your adorable no-sew small octopus is complete! This is the perfect beginner-friendly project to help fine-tune your crochet skills. With its cute tentacles, safety eyes, and embroidered smile, your handmade octopus can be used as a gift, decoration, or plush toy. Happy crochetin