
Crochet Cherries Amigurumi Pattern Perfect DIY Gift Idea
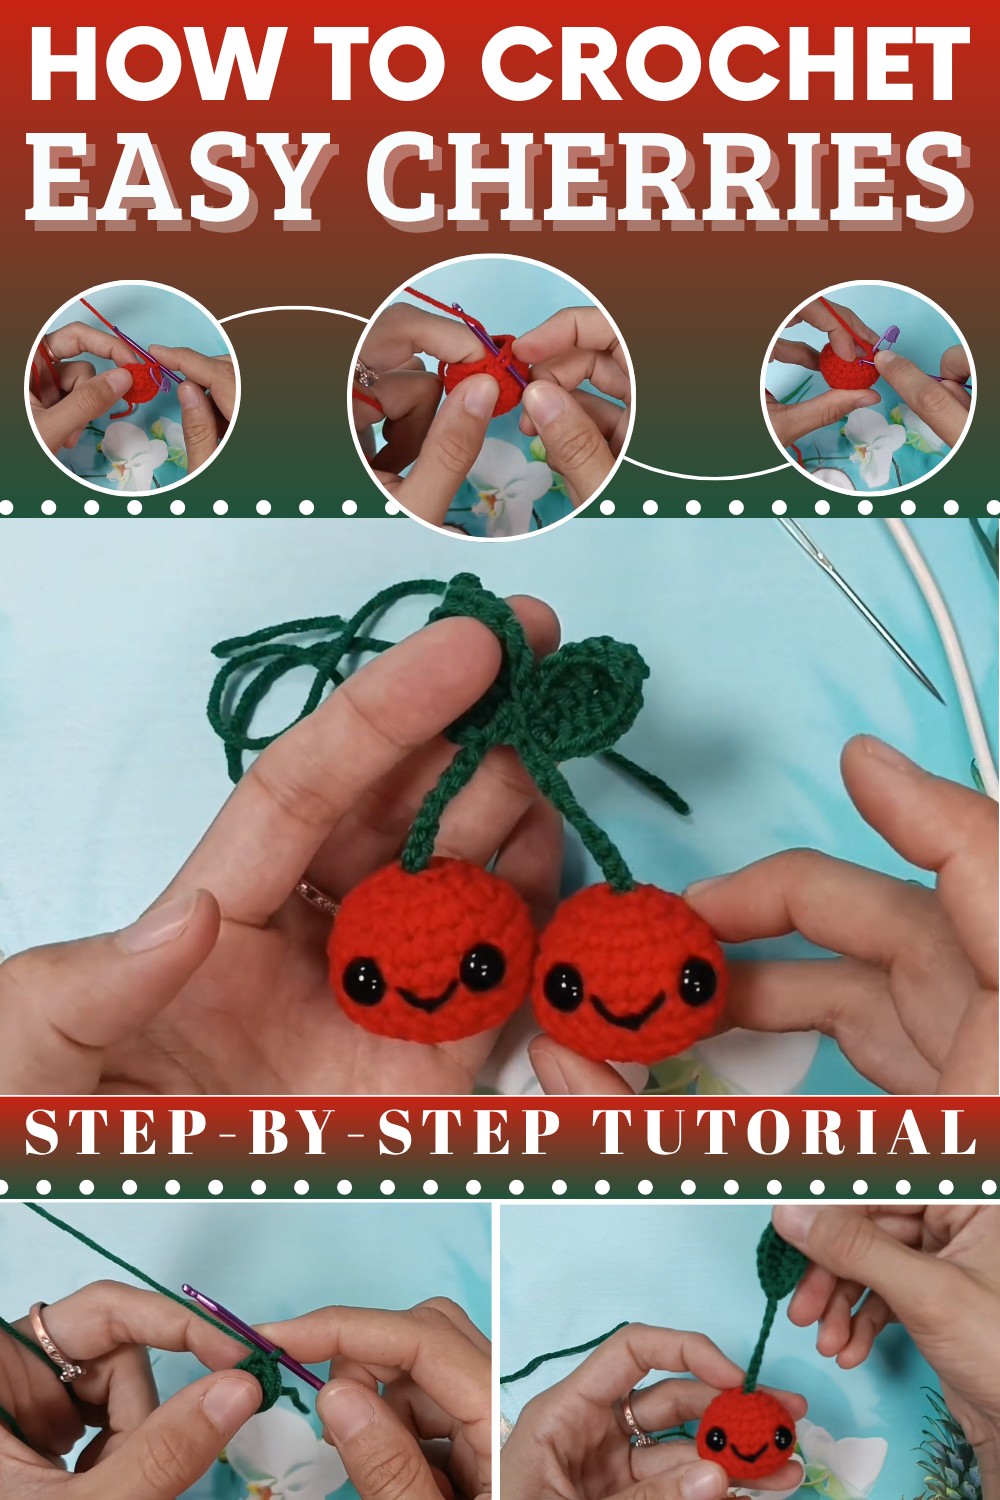
Sweeten your day with this unique crochet cherries amigurumi pattern – a project transforming yarn into cheerful, colorful designs for every occasion.
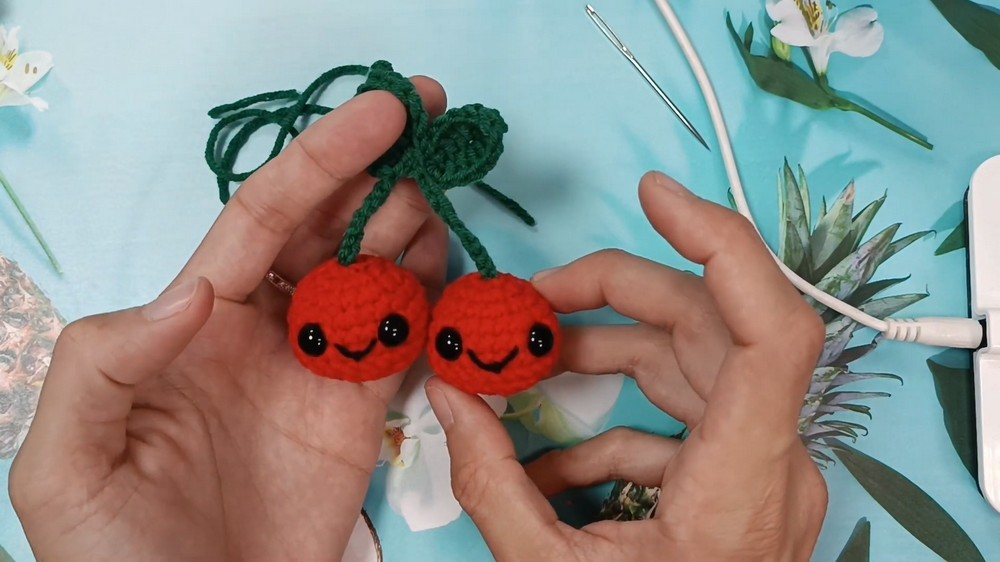
These playful crochet cherries stand out with their vibrant style and delicate design, perfect for decorating your space or adding as a quirky accessory to your crafts. With a delightful round shape, finely detailed stitches, and charming leaves, they bring a refreshing pop of color to any setting. Whether you're designing keychains, brooches, or adding accents to home décor, their versatility suits countless creative ideas. Perfect for gifting, these cherries are sure to leave a lasting impression with their cute and joyful appearance.
Crochet Cherries Amigurumi Pattern
Sure! Based on the information you’ve provided, I'll create a detailed and structured response with proper headings, materials required, stitch abbreviations, step-by-step instructions, and the design process for the crochet cherries mentioned in the video.
Crochet Cherry Pattern
This is an easy-to-follow step-by-step guide for crocheting cute amigurumi cherries with leaves and a smiley face! This project is suitable for beginners yet gives a beautifully detailed result. The finished cherries can be used for keychains, bag charms, or fun decorative gifts.
Materials Required
- Red yarn for the cherry.
- Green yarn for the leaves.
- Black embroidery yarn (or thread) for the smile.
- 8mm safety eyes.
- Stuffing material (polyester fiberfill or similar stuffing).
- Crochet hook: Appropriate hook size for your chosen yarn.
- Stitch markers to mark the start of rows.
- Yarn needle for sewing and weaving ends.
- Scissors.
- Plastic washers for safety eyes.
Abbreviations of Stitches
To make this pattern, the following stitches and abbreviations are used:
- ch: Chain
- sc: Single crochet
- dc: Double crochet
- hdc: Half double crochet
- sl st: Slip stitch
- inc: Increase (2 single crochets in the same stitch)
- dec: Decrease (crochet 2 stitches together)
Step-By-Step Instructions
Cherry Body
Row 1:
- Start with a magic ring.
- Create 6 single crochets (sc) into the magic ring. (6 stitches total).
- Place a stitch marker in the last stitch to mark the end of the row.
Row 2:
- Work 1 increase (inc) into each stitch around. (12 stitches total).
Row 3:
- (1 sc, 1 inc) – Repeat this pattern 6 times around. (18 stitches total).
- Each repeat consists of 1 single crochet in one stitch and 1 increase in the next.
Row 4:
- (1 inc, 2 sc) – Repeat for a total of 6 times. (24 stitches total).
- For example:
- Increase (2 single crochets in 1 stitch) in the first stitch.
- Work 1 single crochet in the next 2 stitches.
- Repeat the pattern.
- For example:
- Use the stitch marker to identify the last stitch.
Rows 5-7:
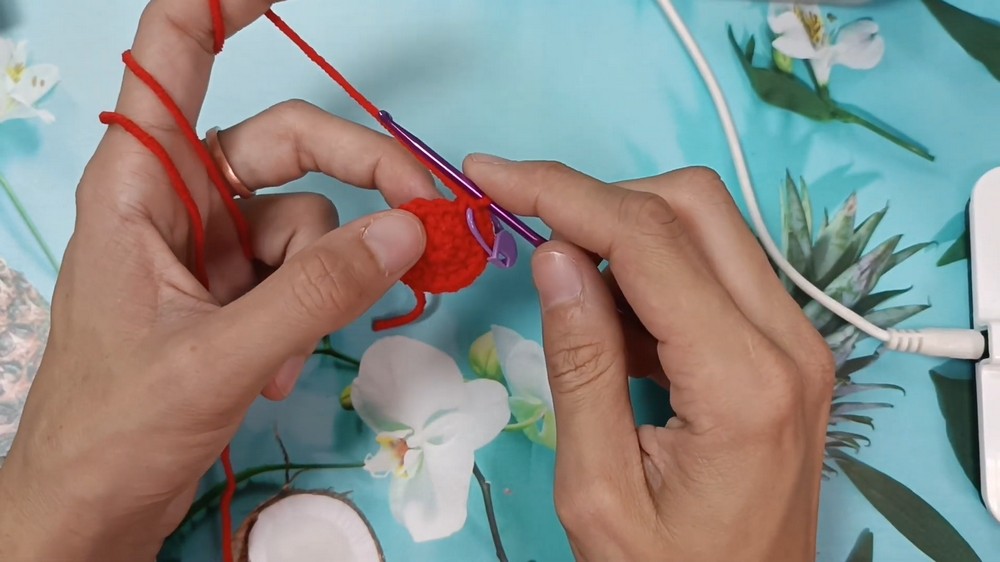
- Work 24 single crochets (sc) in each stitch around. (Maintain 24 stitches in total).
- Keep track of rows using the stitch marker.
- (Optional) Stop after completing each row to adjust your stitches if necessary.
Row 8:
- (1 sc, 1 sc, 1 dec) – Repeat this pattern a total of 6 times. (18 stitches total).
- For example:
- Work 1 single crochet in the first stitch.
- Work 1 single crochet in the second stitch.
- Decrease (crochet 2 stitches together) in the next stitch.
- Invisible decrease:
- Insert your hook into the front loop only of the next stitch.
- Then insert the hook into the front loop only of the following stitch.
- Yarn over and pull through the first 2 loops.
- Yarn over again and pull through the last 2 loops.
- For example:
- Continue this pattern until you reach the stitch marker.
Safety Eyes:
- Remove your crochet hook and temporarily set it aside.
- Place 8mm safety eyes between Rows 5 and 6.
- Space the safety eyes 5 stitches apart.
- Use plastic washers to secure the eyes.
Row 9:
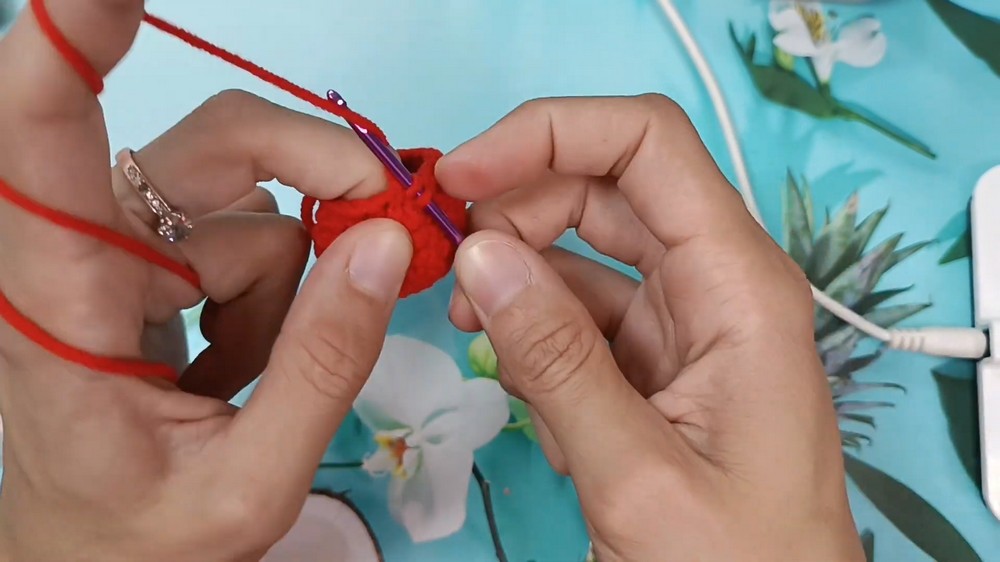
- (1 sc, 1 dec) – Repeat this pattern for a total of 6 times. (12 stitches total).
- For example:
- Work 1 single crochet in the first stitch.
- Decrease (crochet 2 stitches together) in the next stitch using an invisible decrease or regular decrease.
- For example:
- Continue this pattern until you reach the stitch marker.
Stuffing the Cherry:
- Add stuffing material (polyester fiberfill) to the cherry.
- Ensure the cherry is well-stuffed but not so much that stuffing starts to show through the stitches.
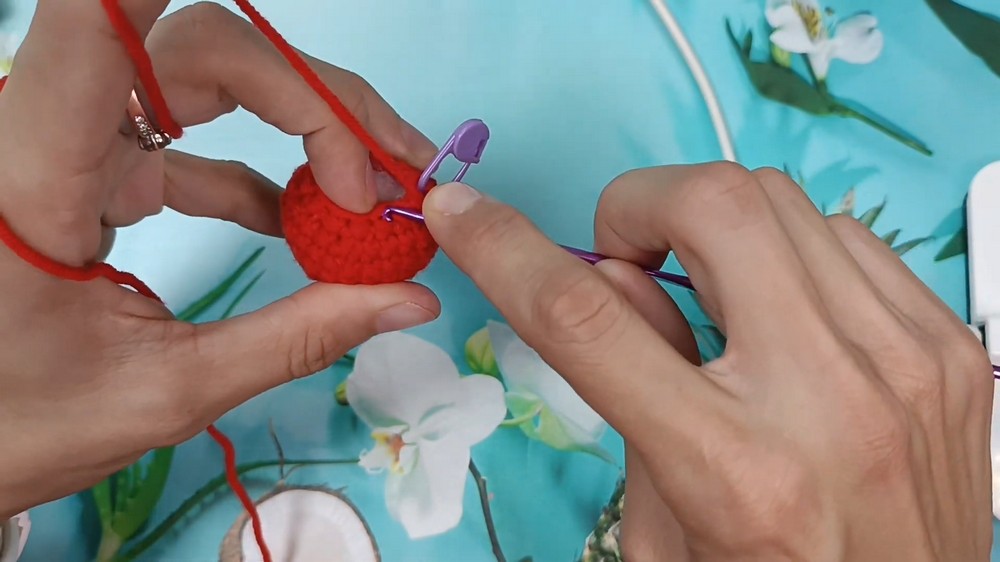
Final Row (Row 10):
- Work 6 decreases around. (6 stitches total).
- For each decrease, crochet 2 stitches together using the invisible decrease or regular decrease technique.
Closing the Hole:
- Once you’re down to 6 stitches, make 1 slip stitch in the next stitch and cut the yarn, leaving a tail.
- Use the yarn needle to weave the tail through the front loops of the remaining 6 stitches.
- Pull the yarn tight to close the small hole at the top.
- Secure the end of the yarn by bringing the needle through the cherry and out through another part of the body. Snip the excess yarn.
Adding the Smile
- Thread a yarn needle with black embroidery thread.
- Insert the needle at the base of the right eye and pull it out at the base of the left eye.
- Insert the needle back into the center (to make a curved smile) and pull the thread.
- Add a small stitch over the curve to complete the smile shape.
- Hide the black thread inside and snip off any excess.
Leaf
- Using green yarn, create a slip knot on your crochet hook.
- Chain 8.
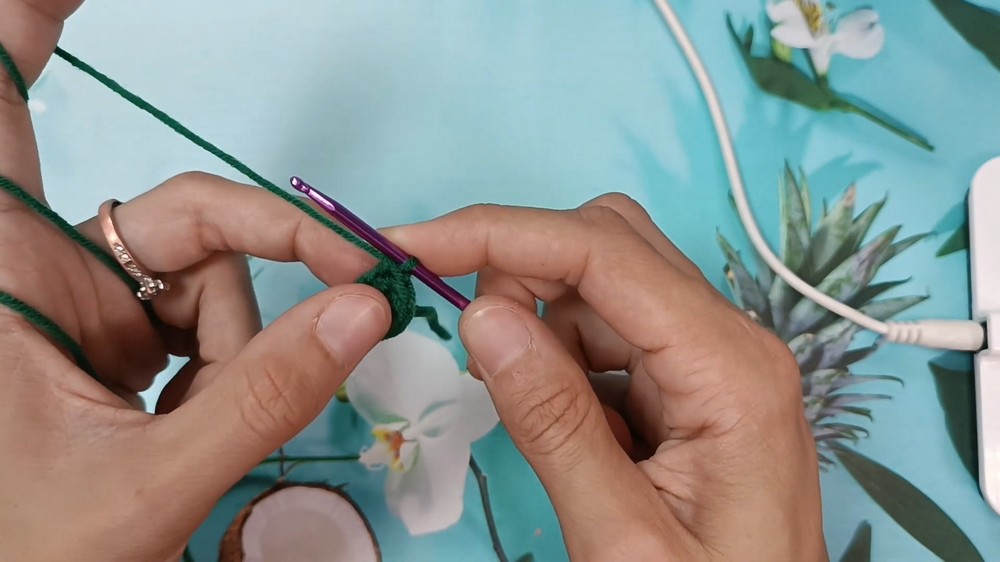
Working on the chain:
- Skip the first chain nearest the hook. Start in the second chain.
- Work the following:
- 1 single crochet (sc) in the first chain.
- 1 half double crochet (hdc) in the second chain.
- 1 double crochet (dc) in the third chain.
- 2 double crochets in the fourth chain (increase).
- 1 double crochet in the fifth chain.
- 1 half double crochet in the sixth chain.
- 1 single crochet in the seventh (last) chain.
- Turn around and work along the opposite side of the chain:
- 1 single crochet in the first chain (from the underside).
- 1 half double crochet in the second chain.
- 1 double crochet in the third chain.
- 2 double crochets in the fourth chain (increase).
- 1 double crochet in the fifth chain.
- 1 half double crochet in the sixth chain.
- 1 single crochet in the seventh chain.
- Slip stitch into the starting stitch to finish the leaf.
- Chain 10 for a stem and tie off, leaving a long tail for sewing.
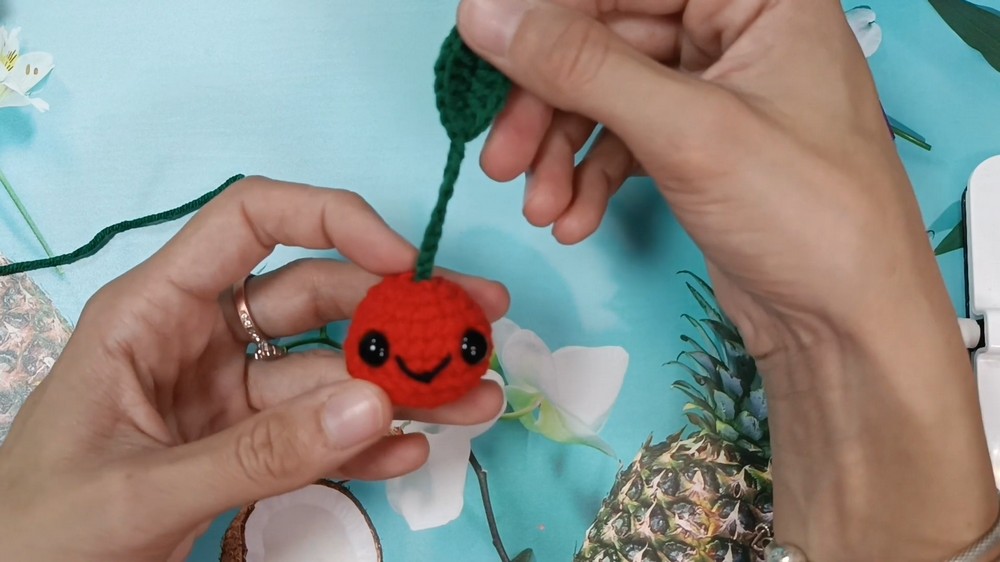
Assembly
- Sew the leaf to the cherry: Use the tail from the green yarn and a needle. Insert the leaf into the top of the cherry and secure it by stitching from the center outwards.
- Attach a second cherry (optional): Crochet a second cherry and leaf following the steps above. Use a piece of green yarn to sew the two cherries together by stitching their stems into place.
- Hide any excess yarn tails by weaving them through the stitches. Trim any excess yarn.
Conclusion
You’ve just completed a beautiful crochet cherry amigurumi! This project is perfect as a quick DIY gift or as decoration for bags, keychains, or even as part of a larger amigurumi creation. The simple pattern makes it a great choice for both beginners and experienced crocheters alike. Don’t forget to experiment with different colors to create fun and unique results.