
Trendy Free Crochet Little Bear Pattern That Everyone Will Love
Turn yarn into a timeless treasure with the Crochet little Bear, a charming, cuddly keepsake perfect for heartfelt gifts and cozy décor.
Once cherished as a bedtime companion, the humble teddy bear continues to warm hearts, now reimagined through the intricate art. The CROCHET LITTLE BEAR brings that timeless comfort into your hands, merging nostalgia with a touch of handmade charm. With every loop and stitch, this piece reveals personality: soft, round ears, a gentle snout, and a cuddly stature that fits perfectly in a child’s embrace or adds character to a nursery shelf.
Unique Free Crochet LITTLE BEAR Pattern to Any Space
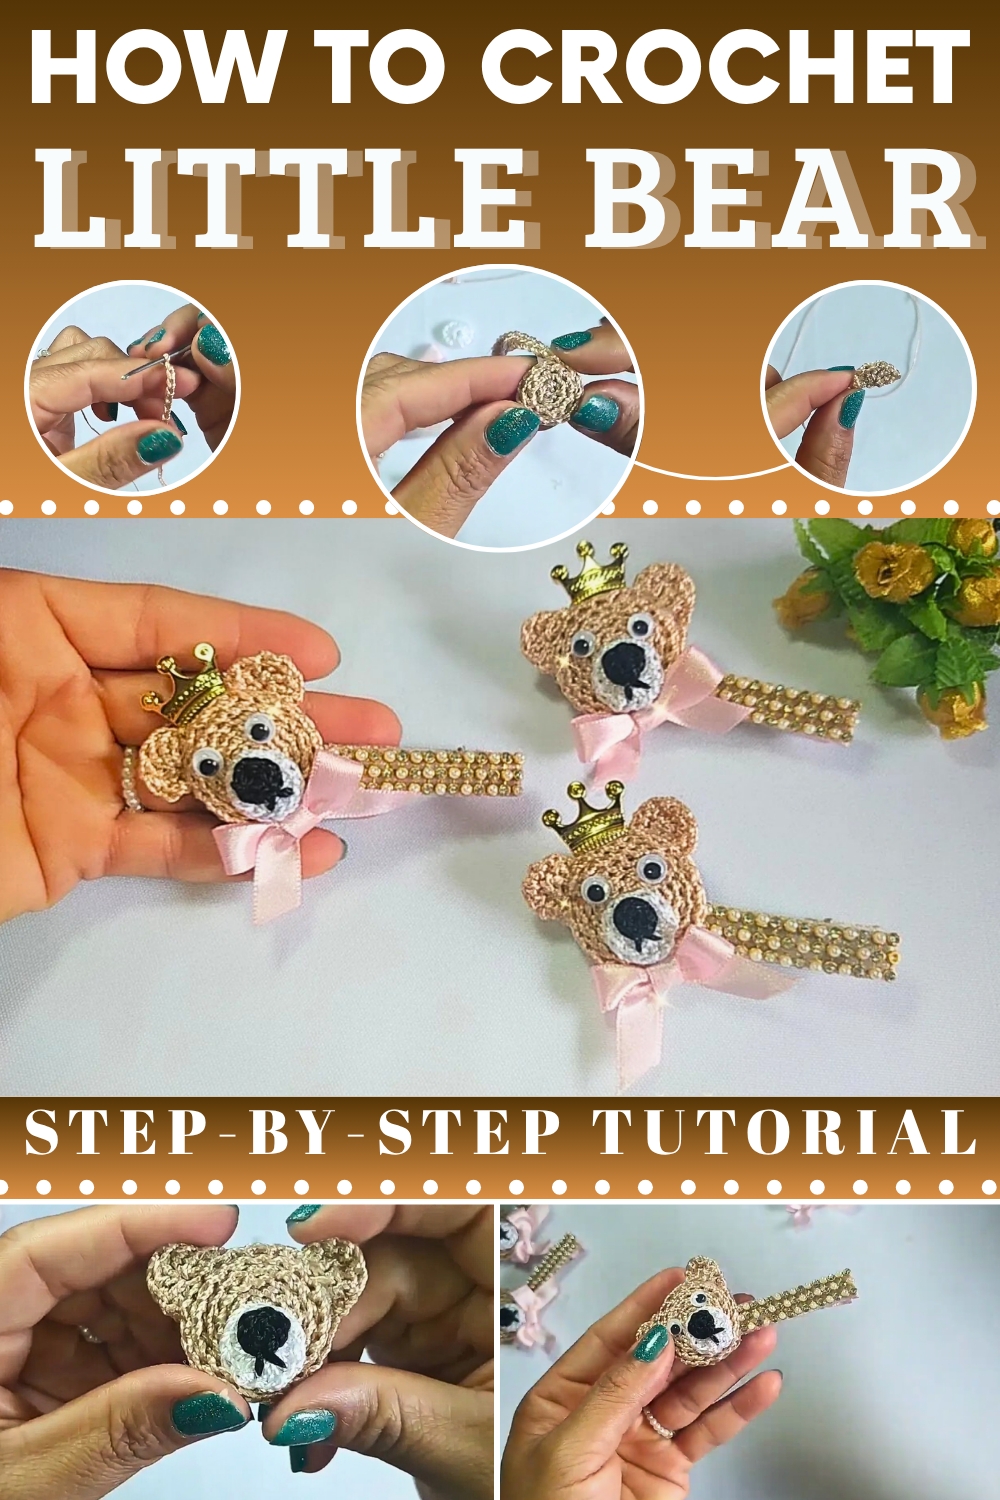
Perfect for baby showers, birthdays, or thoughtful home décor, this bear holds sentimental value while offering a peaceful, mindful activity for makers. Its structure is approachable for beginners yet engaging enough to satisfy experienced hands. Each element,from the shaping of the limbs to the expressive face, is thoughtfully arranged, ensuring a sense of pride in every finished project. This bear isn’t rushed; it’s a slow-made treasure that brings joy both in the making and in the gifting.

Customizable in any color palette, the LITTLE BEAR fits seamlessly into any theme or space, from muted modern nurseries to playful, colorful corners. Lightweight and portable, it’s ideal for on-the-go makers. The soft texture invites touch, and its gentle presence adds warmth wherever it’s placed, carrying with it the quiet beauty of something made with care.
Free Crochet Teddy Bear Pattern Step-by-Step
Finished Size
- Approximate finished size: 7–9 cm (2.8–3.5 inches) in diameter, depending on yarn tension.
Skill Level
Intermediate: This project involves simple stitches like chain, single crochet, and working in the Magic Ring, with small detailing for assembly.
Gauge
Gauge is not essential for this project, but a consistent yarn tension is recommended to ensure a polished finish.
Materials
- Yarn/Thread:
- Beige Yarn: For the head and ears (Tex 288, 100% polypropylene).
- White Yarn: For the teddy bear's snout.
- Black Yarn: For the nose and facial detailing.
- Hook Size:
- 1.75mm crochet hook (size 0).
- Accessories:
- Scissors: For cutting yarn.
- Lighter: For sealing synthetic yarn ends.
- Hot Glue Gun: To attach decorative elements.
- Duckbill Clips (Optional): For versatile application as hair accessories.
- Small Pieces of Felt: For finishing details.
- Rhinestones or Bows: For decoration.
- Pair of Plastic Eyes (Optional): 0.5 cm in diameter.
Key Abbreviations
(U.S. Crochet Terminology):
- ch = chain
- sl st = slip stitch
- sc = single crochet
- hdc = half double crochet
- MR = magic ring
- inc = increase (two stitches in the same space)
Special Techniques
- Magic Ring:
Creates a tight, adjustable circle at the center of the work. Wrap the yarn around your fingers to make a loop, insert the hook through the loop, and pull up a loop. Chain 1 to secure and proceed with your stitches. - Invisible Finish:
Use a lighter to seal synthetic yarn ends to avoid fraying. Be careful and handle with precision.
Pattern Instructions
Step 1: Teddy Bear Head
- Foundation Chain:
- Begin with 110 chains (ch).
- This measures approximately 41 cm (16 inches) in length.
- Single Crochet Row:
- Turn, and work 1 sc into the second chain from the hook.
- Continue working 1 sc into every chain across.
- Finishing the Row:
- At the end of the row, fasten off and seal the yarn using a lighter (if using polypropylene yarn).
- This chain forms the rolled base of the head. Reserve for assembly later.


Step 2: Teddy Bear's Ears
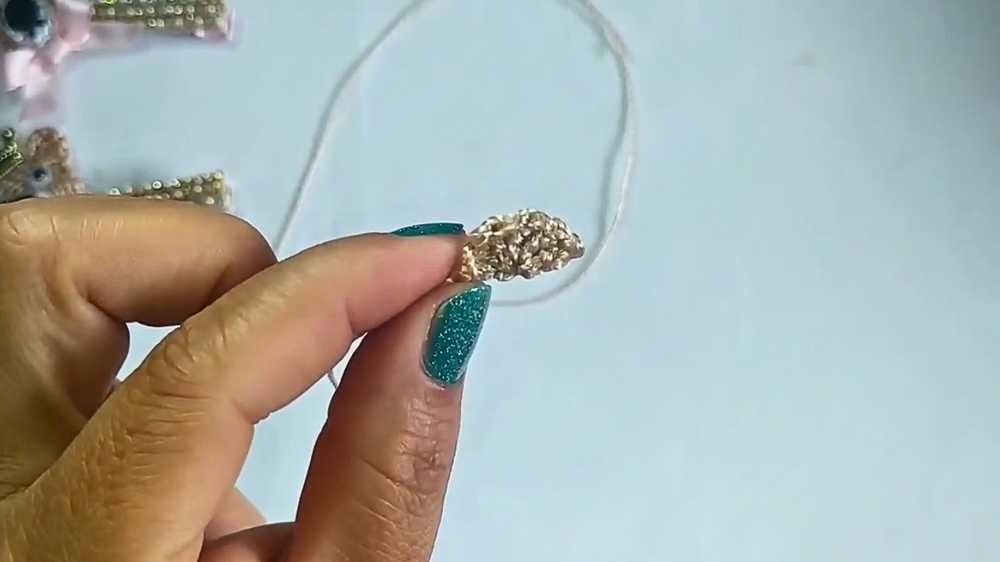
- Start with the Magic Ring:
- Work 6 sc into the MR, and pull tight to close.
- Second Round:
- Ch 1, turn your work. Work 1 sc in each st, totaling 6 sc for the second row.
- Create a Tail for Sewing:
- Chain 1, leave a long tail for stitching (approximately 10 cm).
- Finishing:
- Fasten off and use a lighter to seal ends.
- Create 2 ears for the teddy bear using the same process.
Step 3: Teddy Bear's Snout
- Start with the Magic Ring:
- Work 14 hdc into the MR, counting the 2 ch at the beginning as the first hdc.
- Pull tight, but leave some room in the center for a smooth finish.
- Close the Round:
- Join to the second chain of the first hdc with a sl st.
- Finishing:
- Fasten off, seal the ends, and reserve for assembly.
Step 4: Teddy Bear's Nose
- Using Black Yarn:
- Make a Magic Ring and work 6 sc into it.
- Pull the ring tight and join with a sl st to the first sc.
- Finishing:
- Fasten off, seal the yarn using a lighter, and reserve for assembly.

Step 5: Assembly
- Rolling the Head Base:
- Begin at one end of the 41 cm chain created earlier (Step 1). Apply hot glue sparingly along the edge and start rolling the chain inwards to form a circular, flat shape.
- Repeat the process consistently until the end of the chain to create the teddy bear's head.
- Attach the Snout:
- Position the white snout slightly below the center of the head base. Use hot glue or sew it into place.
- Attach the Nose (Black Yarn):
- Place the nose at the top center of the snout and secure with hot glue or sewing.
- Eyes:
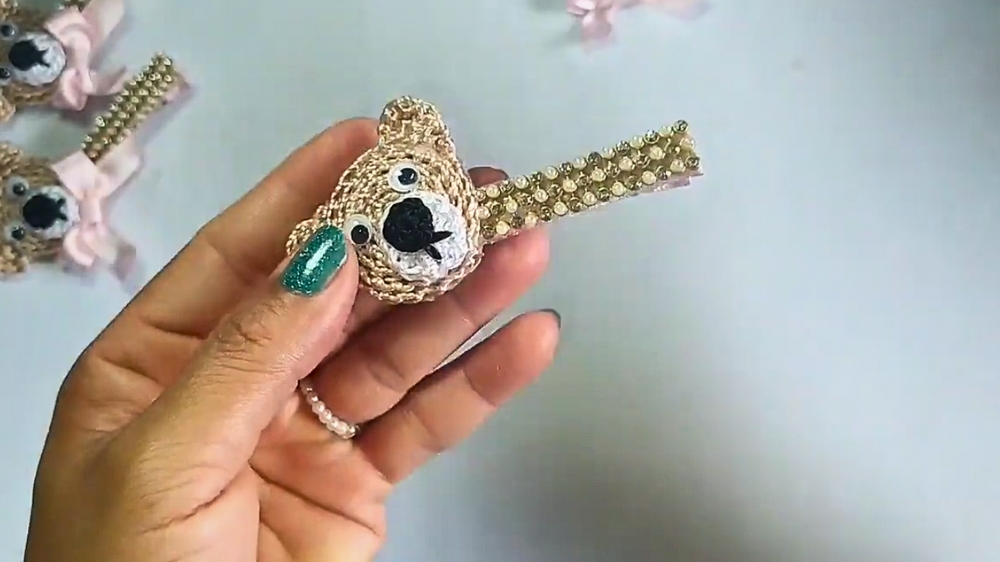
- Attach plastic eyes or embroidered black yarn dots for the eyes. Position them symmetrically above the snout.
- Attach the Ears:
- Position the ears on either side of the head and sew them securely using the yarn tail left earlier.
Step 6: Decoration
- Optional Additions:
- Add a rhinestone, bow, or crown between the ears for an extra decorative touch.
- You can also place felt on the back of the teddy bear for a cleaner finish.
- Duckbill Clip (Optional):
- Glue or sew the finished teddy bear onto a duckbill clip to transform it into a hair accessory.
Customization Ideas
- Colors:
- Switch the colors of the yarn to create teddy bears in different shades.
- Expressions:
- Alter the placement of the facial details to create different expressions.
- Decorative Themes:
- Add holiday-themed embellishments like tiny Christmas hats or floral crowns.
Final Size
The finished bear decoration measures between 7–9 cm (2.8–3.5 inches) across.
Conclusion
Your crochet teddy bear decoration is now complete! This versatile design can be used in multiple ways—clips, appliqués, or small gifts. These teddy bears are perfect for leftover yarn projects or handcrafted products for sale, especially for special occasions like Children's Day.
Pattern Corrections
- If your teddy head appears too large or small, adjust the number of chains accordingly.
- Make sure the nose and snout are proportionately centered and aligned before sewing or gluing.
Tips for Success
- Glue Application: Add glue sparingly to avoid visible residue or discoloration.
- Firm Assembly: Ensure all parts are securely attached to prevent accidental detachment.
- Customization: Test different color combinations and embellishments for unique creations.
- Finishing: Use the lighter carefully to seal ends on synthetic yarns without burning or melting them excessively.